This easy no-bake pineapple pie recipe comes together in about 10 minutes with a prepared graham-cracker crust, crushed pineapple, sweetened condensed milk, lemon juice, and thawed whipped topping. There is no oven and no cooking required; simply mix the filling, spoon it into the crust, and refrigerate the pie for at least 4 hours before slicing.
The finished pie is cool, creamy, sweet, and pleasantly bright from the pineapple and lemon juice. Its airy filling and crisp graham-cracker crust make it a refreshing dessert for potlucks, holidays, family dinners, and warm-weather gatherings, while an overnight chill gives you the firmest, cleanest slices.
Jump to RecipeWhy You’ll Love This Recipe
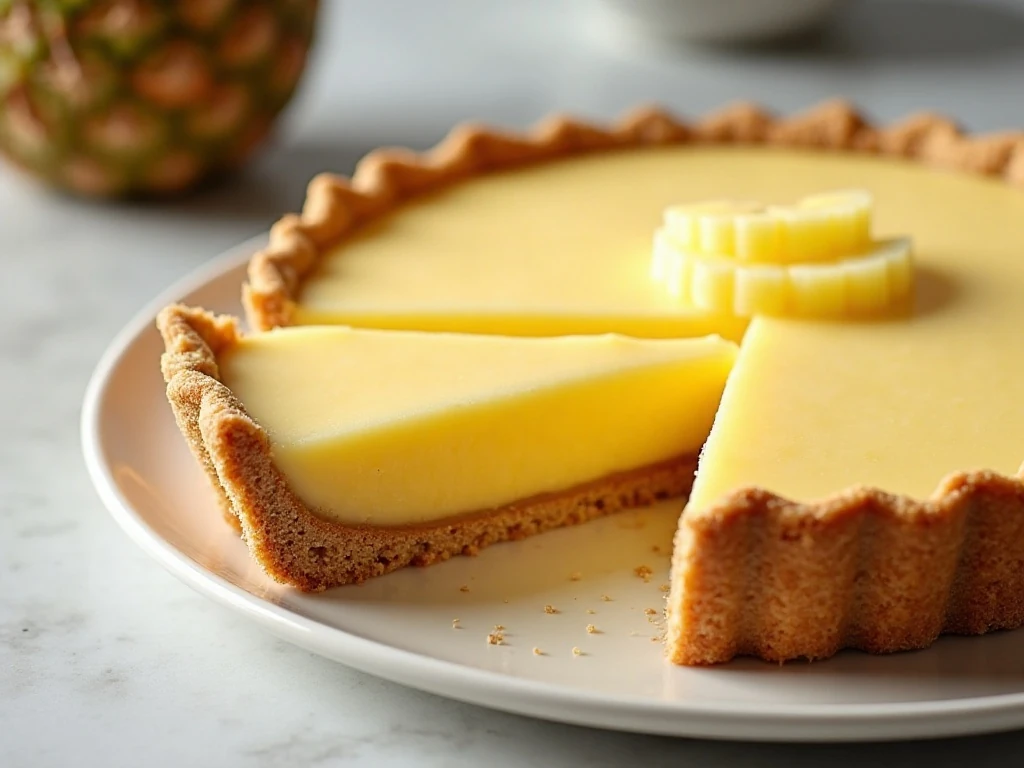
This is the kind of dessert that looks thoughtful without asking you to spend much time in the kitchen. The filling takes only a few minutes to mix, and the prepared graham-cracker crust means there is no pastry dough to roll, chill, or bake.
Every bite balances tropical fruit, creamy sweetness, and a gentle citrus tang. The crushed pineapple gives the pie a juicy, sunny flavor, while the whipped topping keeps the texture light rather than dense.
It is also an excellent make-ahead dessert. Prepare it the day before a gathering, let it chill overnight, and the pie will be ready to slice when dessert time arrives.
If you enjoy cool pineapple desserts, you may also like this easy pineapple lush cake, which offers another creamy way to serve the fruit.
Ingredients You’ll Need
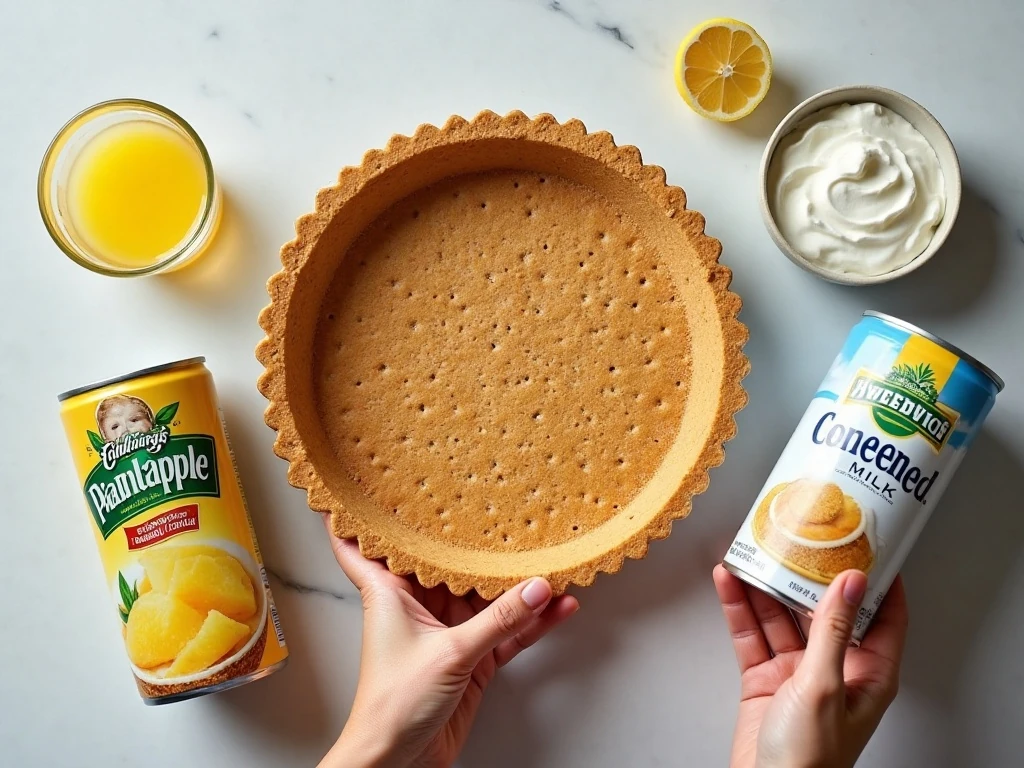
The ingredient list is short, but each item has an important role in the final texture. For the best result, measure the lemon juice carefully and use the pineapple exactly as directed.
- Graham-cracker crust: Use one prepared 9-inch crust weighing approximately 6 ounces. Its lightly crisp, honeyed flavor is a classic match for the creamy filling.
- Crushed pineapple: A 20-ounce can of crushed pineapple provides fruit and moisture. Do not drain it, since the juice contributes to the right filling consistency.
- Sweetened condensed milk: One 14-ounce can supplies sweetness and richness while helping create the smooth base. Do not substitute evaporated milk, which is a different product and is not interchangeable here.
- Lemon juice: One-third cup of freshly squeezed or bottled lemon juice adds brightness and helps thicken the condensed-milk mixture.
- Frozen whipped topping: An 8-ounce container should be thawed in the refrigerator before use. It brings a soft, airy texture to the pie.
For another simple dessert that requires no oven, try these no-bake cereal cookies when you want something quick and snackable.
How to Make It Step-by-Step

Step 1: Place the undrained crushed pineapple in a large mixing bowl. Give the can a brief stir first if the fruit and juice have separated, then transfer everything to the bowl so none of the flavorful liquid is lost.
Step 2: Add the sweetened condensed milk and lemon juice to the pineapple. Stir steadily until the fruit, milk, and citrus are evenly blended, scraping the sides and bottom of the bowl as needed.
Step 3: Add the thawed whipped topping and fold it in gently with a rubber spatula. Turn the mixture from the bottom toward the top until no large white streaks remain, but stop once it is combined to avoid flattening the airy texture.
Step 4: Spoon the filling into the prepared 9-inch graham-cracker crust. Spread it into the corners and smooth the surface with the back of a spoon or an offset spatula.
Step 5: Cover the pie carefully and place it in the refrigerator for at least 4 hours. An overnight chill is preferable because it gives the filling more time to firm up and makes slicing easier.
Step 6: Slice the pie while it is cold and serve immediately. Use a sharp knife, wipe the blade between cuts, and keep any remaining slices refrigerated.
Chef’s Tips for the Best Texture

The simplest detail to remember is to keep the crushed pineapple undrained. It may seem unusual to add the juice, but the liquid is part of the formula and helps the ingredients settle into the intended creamy consistency.
Thaw the whipped topping in the refrigerator rather than on the counter whenever possible. Cold, softened topping folds smoothly into the pineapple mixture and is less likely to become loose.
Folding is gentler than stirring. Use broad, slow motions with a spatula, and stop as soon as the filling looks uniform; vigorous mixing can reduce the volume and make the pie less airy.
For neat wedges, chill the pie overnight. If the filling still seems soft after 4 hours, return it to the refrigerator for more time instead of freezing it solid, which can affect the creamy texture.
Be sure to purchase sweetened condensed milk, not evaporated milk. Although both are sold in cans and may look similar on the shelf, they behave very differently in this no-bake filling.
Serving Ideas and Variations
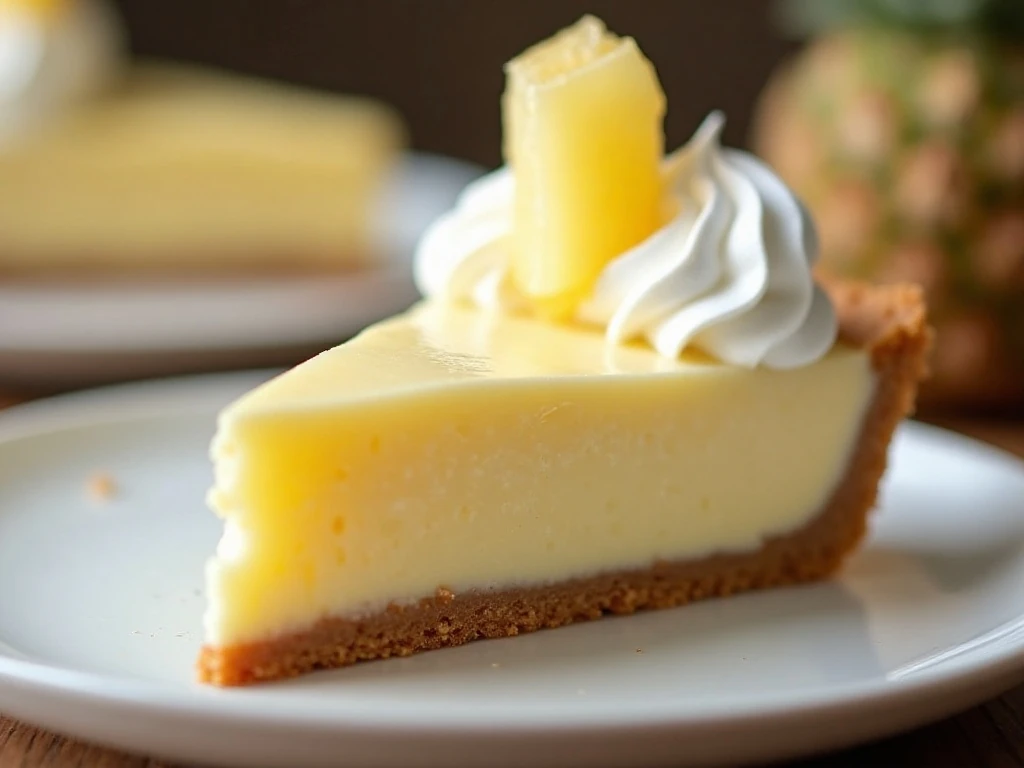
This pie is delicious served plain, straight from the refrigerator, because the creamy pineapple filling and graham crust already provide plenty of flavor. For a festive presentation, add a small spoonful of whipped topping or a few tiny pineapple pieces just before serving.
Keep garnishes light so they do not weigh down the slices. A little finely grated lemon zest can add a fresh aroma, but it is optional and not part of the core recipe.
For a related fruit dessert with a softer, layered style, take a look at this pineapple banana dessert. It is a useful choice when you want to serve pineapple in a different format.
Some published versions replace part or all of the whipped topping with softened cream cheese. That variation makes a denser, cheesecake-like filling, while this condensed-milk-and-whipped-topping version remains the lighter, widely used easy style.
Storage and Make-Ahead Advice
Cover the finished pie and keep it refrigerated. It is best sliced cold, and leftovers should remain chilled so the filling holds its shape and stays fresh.
Because the pie needs at least 4 hours to set, it is well suited to advance preparation. Making it the night before allows the filling to firm thoroughly without rushing the chilling process.
Store slices in the covered pie plate or transfer them to an airtight container with enough room to protect the topping. Avoid leaving the pie at room temperature for extended periods, especially during warm weather.
For a savory way to use the same tropical fruit, try this slow cooker pineapple chicken for dinner before serving this chilled pie.
Common Questions About Pineapple Pie
Can I drain the pineapple? No. This recipe uses crushed pineapple undrained, and the juice contributes to the correct consistency. Draining it may leave the filling too thick or change the balance of the ingredients.
Can I use evaporated milk? No. Use sweetened condensed milk as listed because it provides both sweetness and body. Evaporated milk is not an interchangeable substitute.
Can I freeze the pie to make it set faster? It is better to refrigerate the pie for at least 4 hours, preferably overnight. If it seems soft, give it additional refrigerator time rather than freezing it solid.
Can I use cream cheese? You can use it in a different published-style variation, but the result will be denser and more cheesecake-like. The recipe here is designed around whipped topping for a lighter filling.
For another pantry-friendly treat to keep in your dessert rotation, these no-bake oatmeal peanut butter bars are a satisfying option with a chewy texture.
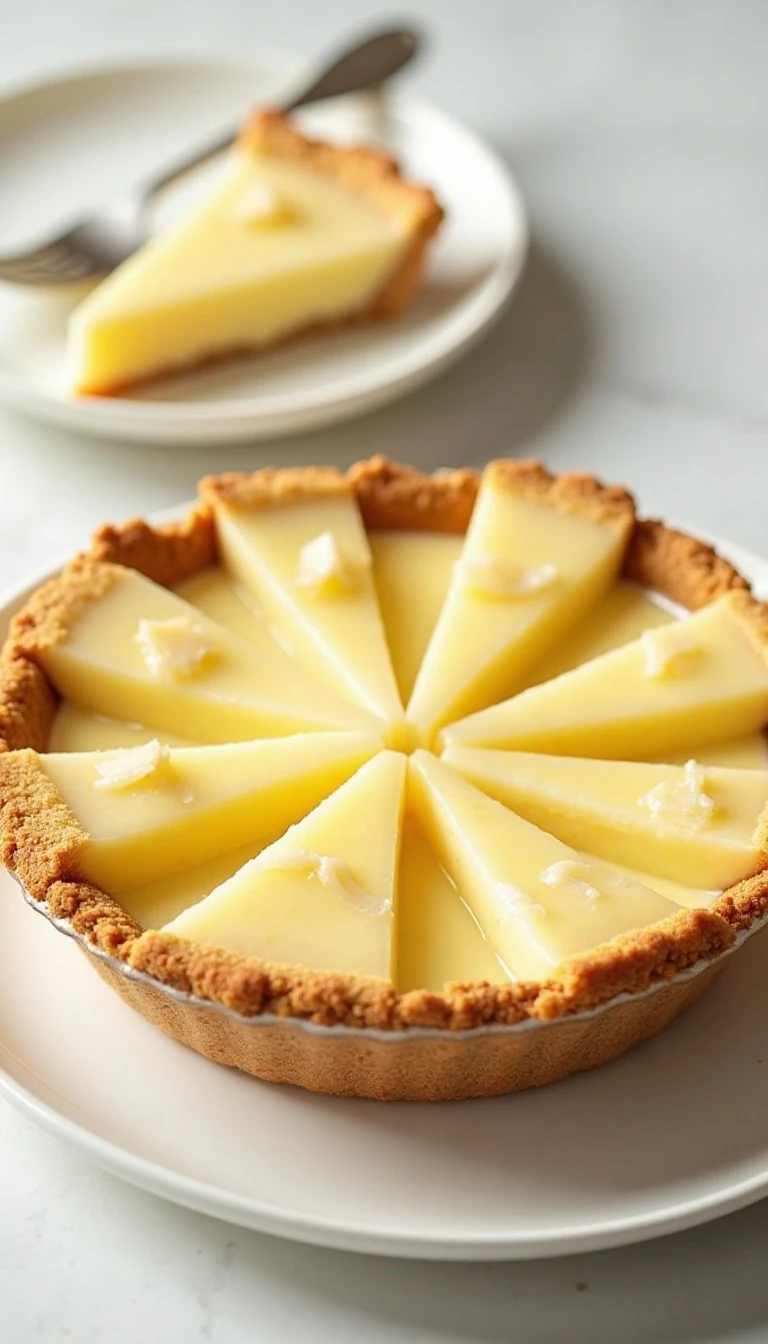
Easy No-Bake Pineapple Pie
Ingredients
Method
- Place the undrained crushed pineapple in a mixing bowl. Keeping the juice with the fruit is important because it contributes to the correct consistency of the filling.
- Stir in the sweetened condensed milk and lemon juice until the mixture is evenly combined. The lemon juice helps thicken the condensed-milk mixture as the filling comes together.
- Gently fold in the thawed whipped topping until no large streaks remain. Use a light hand instead of vigorous mixing so the whipped topping keeps the filling airy.
- Spoon the pineapple mixture into the prepared graham-cracker crust. Smooth the top with a spatula or the back of a spoon for an attractive finish.
- Cover the pie and refrigerate it for at least 4 hours, or preferably overnight, until firmly set. Slice the pie cold and return leftovers to the refrigerator promptly.
Notes
Final Thoughts
This easy no-bake pineapple pie is proof that a memorable dessert does not need a long ingredient list or a hot oven. In about 10 minutes of active preparation, you can create a creamy, citrus-kissed filling and settle it into a crisp graham-cracker crust.
Remember the essentials: use undrained pineapple, choose sweetened condensed milk, thaw the whipped topping in the refrigerator, and fold gently. Then give the pie at least 4 hours to chill, with an overnight rest preferred for the cleanest slices.
Serve it cold at your next family meal or gathering, and expect the bright pineapple flavor to make each cool, creamy bite disappear quickly. Once you try this easy refrigerator dessert, it is likely to become one of the most dependable recipes in your dessert collection.
14 thoughts on “Easy No-Bake Pineapple Pie Recipe”