This classic Danish butter cookies recipe makes about 30–36 delicate cookies with lightly golden edges, pale tender centers, and a rich buttery flavor. Made with softened unsalted butter, granulated sugar, egg, vanilla, flour, and salt, the dough can be piped into traditional rosettes, rings, S shapes, pretzels, or simple finger-shaped cookies.
The cookies take about 20–25 minutes to prepare and bake in a 350°F (175°C) oven for 10–12 minutes per tray. They are crisp around the edges but not hard, with a fine crumb that makes them perfect alongside coffee, tea, or a glass of cold milk.
Jump to RecipeWhy You’ll Love This Recipe
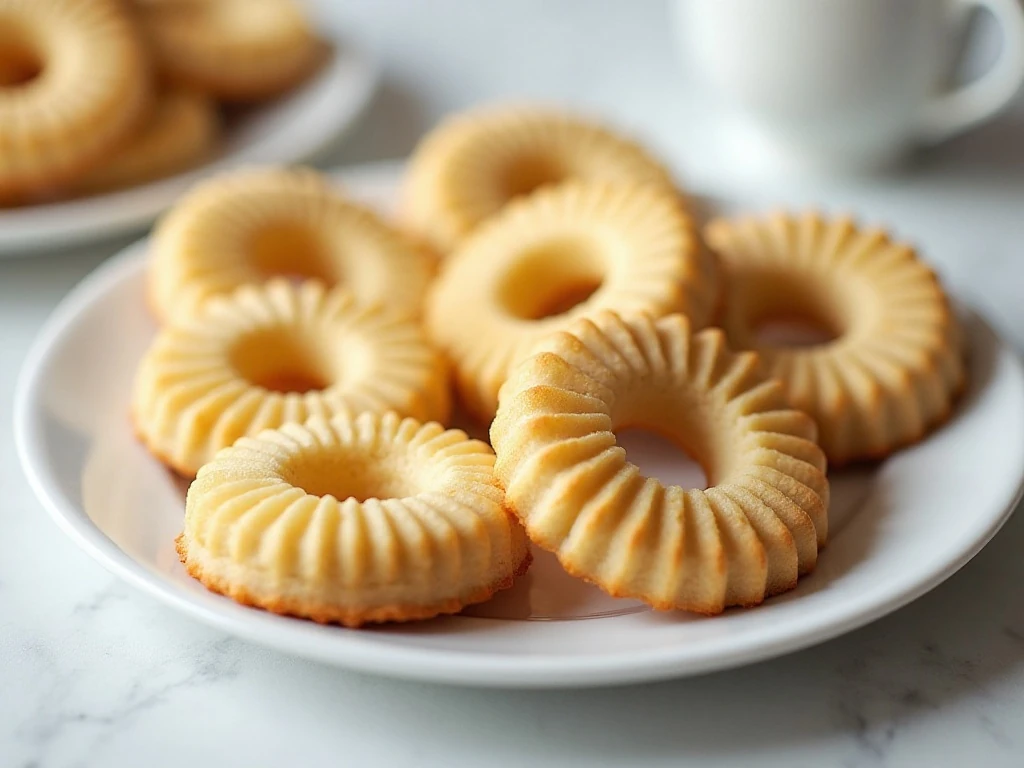
These classic Danish butter cookies are the kind of simple bake that feels special without requiring complicated ingredients. The dough is rich with butter, gently sweet, and fragrant with vanilla, while the fine crumb gives every bite a delicate, melt-in-your-mouth quality.
One dough can become an entire cookie assortment. Pipe some into ridged rosettes, twist others into rings, and shape the rest into short fingers or traditional S forms for a homemade presentation that looks wonderfully festive.
The cookies are also practical for gifting. Once completely cool, they can be layered in a tin with parchment between the rows, making them a lovely addition to a holiday dessert table or afternoon tea tray.
If you enjoy buttery cookies with a deeper, warmer sweetness, you may also like our brown sugar butter cookie recipe. It has a cozy flavor profile while keeping the same comforting spirit.
Ingredients You’ll Need
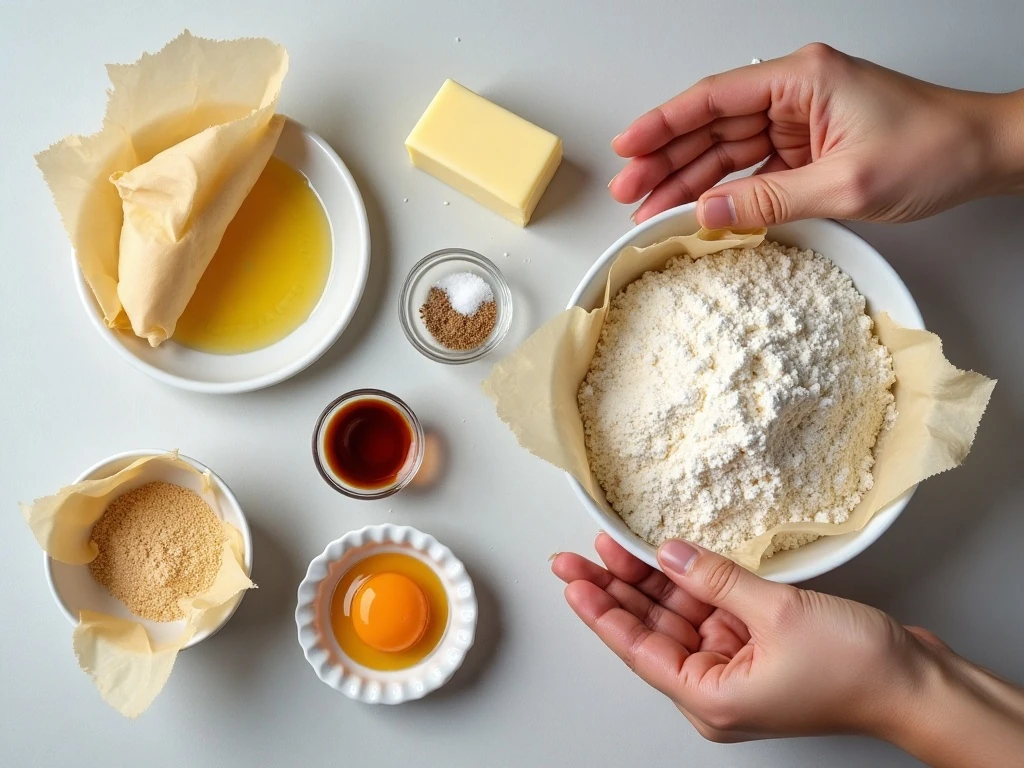
The ingredient list is short, so the quality and preparation of each item matter. Choose unsalted butter so you can control the salt, and use pure vanilla extract for a clean, rounded aroma.
- Butter: One cup of softened unsalted butter creates the rich flavor and tender texture associated with Danish-style butter cookies.
- Sugar: Use 2/3 cup, or approximately 135–150 grams, of granulated sugar for gentle sweetness and lightly crisp edges.
- Egg: One large egg binds the dough and contributes to its structure. Bring it close to room temperature if possible.
- Flour: Measure 2 cups, or 240–250 grams, of all-purpose flour by spooning it into the measuring cup and leveling the top.
- Salt and vanilla: Fine salt balances the sweetness, while one teaspoon of vanilla gives the cookies their familiar bakery aroma.
- Toppings: Coarse sugar, pearl sugar, or finely chopped nuts are optional but add attractive texture and sparkle.
For the most reliable result, avoid packing the flour into the cup. Too much flour can make the dough stiff and difficult to pipe, while accurately measured flour keeps the finished cookies delicate.
How to Make It Step-by-Step
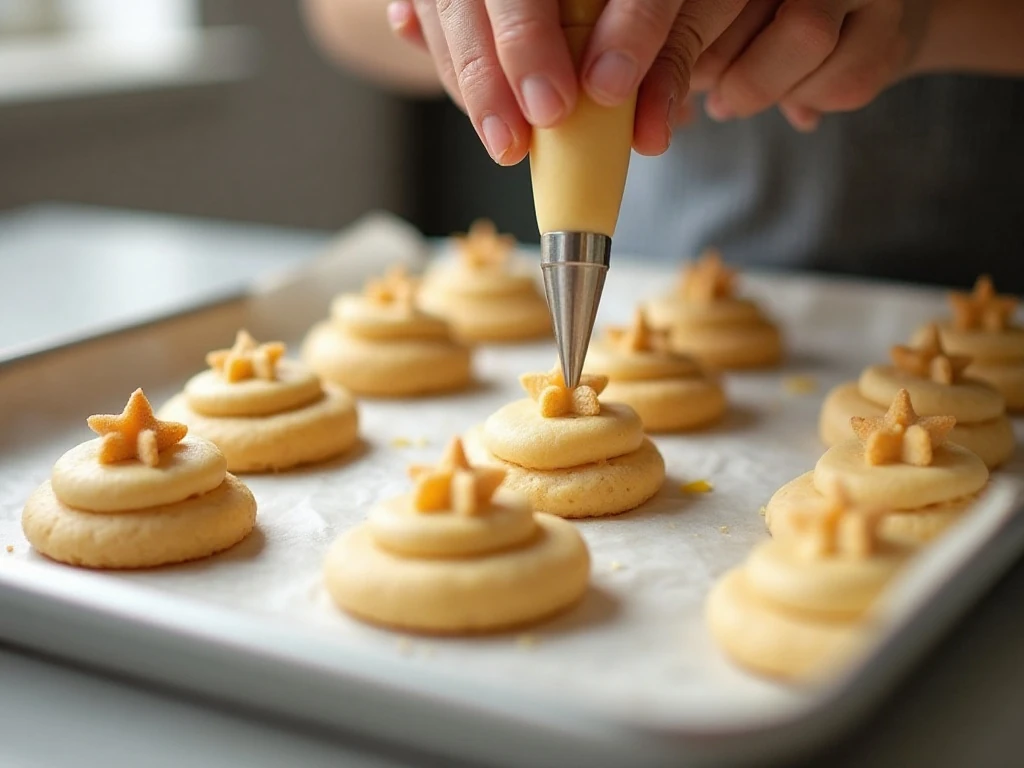
Step 1: Begin by heating the oven to 350°F (175°C). Line one or more baking sheets with parchment paper, which helps prevent sticking and makes it easier to transfer the fragile cookies after baking.
Step 2: Place the softened butter and sugar in a large mixing bowl. Beat them together for 2–3 minutes, stopping to scrape the bowl once or twice, until the mixture looks pale, fluffy, and smooth rather than dense.
Step 3: Beat in the egg and vanilla until no streaks remain. The mixture may look slightly loose at this stage, but it should be evenly blended before the flour is added.
Step 4: In a separate bowl, whisk together the spooned-and-leveled flour and fine salt. Add this mixture to the butter mixture in batches, mixing only until a soft dough forms; overmixing can make the cookies less tender.
Step 5: Fit a piping bag with a large open-star tip and fill it with the dough. Pipe 1 1/2–2-inch rosettes, rings, or short finger-shaped cookies onto the parchment, leaving a little space between each one.
Step 6: Add a light sprinkle of coarse sugar, pearl sugar, or finely chopped nuts if desired. If the dough feels too soft or the ridges begin to blur, chill the piped cookies for 20–30 minutes before putting them in the oven.
Step 7: Bake for 10–12 minutes per tray, rotating the baking sheet once if your oven browns unevenly. Watch closely near the end because the ideal cookies have lightly golden edges and pale centers.
Step 8: Leave the cookies on the baking sheet for 5 minutes after baking. Move them carefully to a wire rack, where they can finish cooling and firming before storage.
Piping and Shape Guide

A large open-star tip gives these cookies their signature ridged edges. Hold the piping bag upright for rosettes, pipe in a steady circle for rings, or move the bag in a short back-and-forth motion for S shapes.
Traditional Danish-style assortments often feature several shapes made from one dough. You can pipe compact rosettes for a classic look, make small loops for a crisp ring, or pipe short straight fingers for an easy shape that does not require much decoration.
If the dough is difficult to squeeze through the piping tip, the butter may be a little too cool. Warm the filled bag in your hands for a minute or two, then test a small amount; avoid placing the dough near direct heat, which can soften it too quickly.
For a different cookie assortment, pair these delicate biscuits with chewy peanut butter chocolate chip cookies. The contrast between crisp butter cookies and soft chocolate-studded cookies makes an inviting dessert platter.
Pro Tips for Tender Cookies

The most important detail is the butter. It should yield gently when pressed but should not appear oily, melted, or glossy. Melted butter makes the dough spread and prevents the clean ridges that define piped Danish butter cookies.
Mix the flour in gradually and stop as soon as the dough comes together. A heavy hand with the mixer can develop too much gluten, producing cookies that are firm instead of tender.
- Use parchment-lined baking sheets for even release.
- Keep the piped shapes similar in size so they finish baking at the same time.
- Chill soft piped dough for 20–30 minutes to help it hold its design.
- Rotate the tray once if your oven has a hot spot.
- Remove the cookies when only the edges are lightly golden.
Do not wait for the centers to turn brown. The centers should remain pale, and the cookies will continue to set as they cool on the baking sheet and wire rack.
For another nutty, rich dessert to serve with coffee, try these peanut butter fudge brownies. Their dense texture is a delicious counterpoint to these crisp-edged butter cookies.
Storage and Serving Ideas
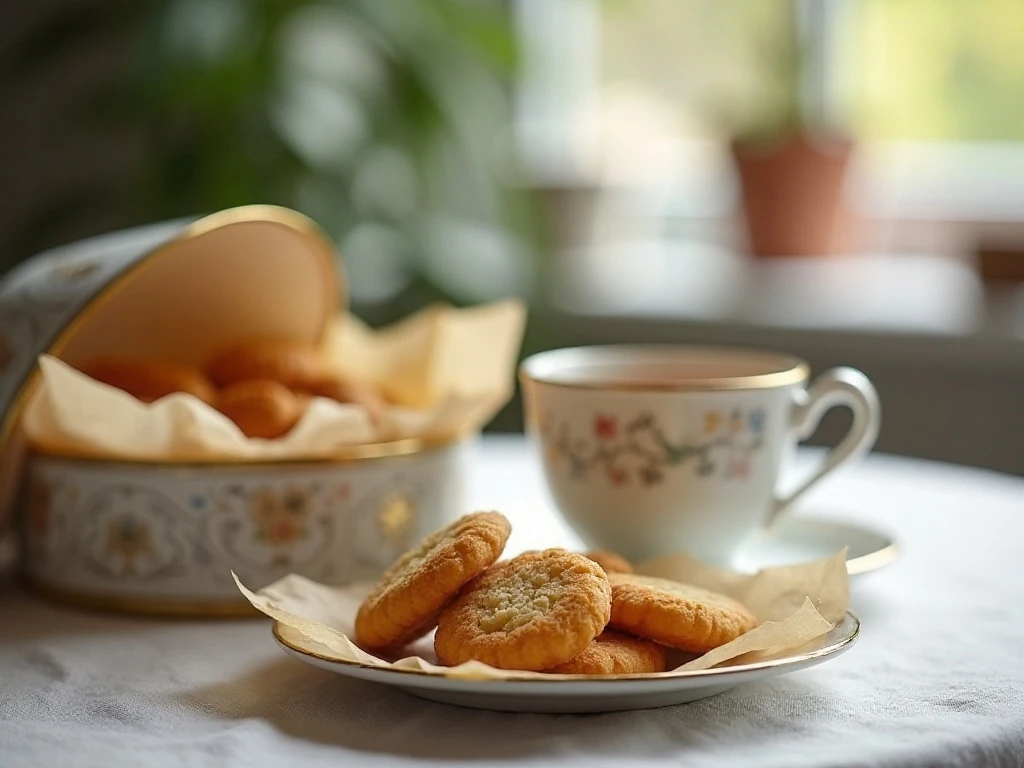
Cool the cookies completely before storing them. Place them in an airtight container at room temperature, using parchment between layers if you are stacking several shapes.
Stored properly, they are excellent for several days and often become even more enjoyable once the butter and vanilla flavors have settled. Keep the container away from heat and moisture so the edges stay pleasantly crisp.
Serve the cookies with black tea, coffee, hot chocolate, or a small scoop of vanilla ice cream. Their simple flavor also makes them a good base for a mixed cookie tin alongside chocolate or marshmallow treats.
For a playful dessert spread, include a batch of gooey s’mores cookies or these easy four-ingredient peanut butter cookies. The Danish butter cookies bring a refined, crisp contrast to those more intensely flavored options.

Classic Danish Butter Cookies
Ingredients
Method
- Heat the oven to 350°F (175°C) and line baking sheets with parchment paper. Make sure the butter is soft enough to beat easily but is not greasy, shiny, or melted.
- Beat the softened butter and granulated sugar for 2–3 minutes, until the mixture is smooth, pale, and fluffy. This step helps create a light texture and gives the dough enough structure for piping.
- Add the egg and vanilla extract, then beat until fully incorporated. Scrape down the sides of the bowl so the mixture is evenly blended.
- Whisk the flour and fine salt together in a separate bowl. Add the dry ingredients to the butter mixture in batches, mixing only until a soft dough forms.
- Transfer the dough to a piping bag fitted with a large open-star tip. Pipe 1 1/2–2-inch rosettes, rings, or short finger-shaped cookies onto the prepared baking sheets, or shape the dough by hand if it is too firm to pipe.
- Sprinkle the piped cookies with coarse sugar, pearl sugar, or finely chopped nuts if desired. If the dough looks soft or the shapes lose definition, chill the piped cookies for 20–30 minutes before baking.
- Bake each tray for 10–12 minutes, rotating the sheet once if needed. Remove the cookies when the edges are lightly golden while the centers remain pale.
- Let the cookies cool on the baking sheet for 5 minutes, then transfer them to a wire rack. Store them in an airtight container only after they are completely cool.
Notes
Final Thoughts
Classic Danish butter cookies prove that a short ingredient list can produce an exceptionally charming homemade treat. With softened butter, carefully measured flour, a touch of vanilla, and gentle baking, you get cookies that are crisp at the edges, pale in the middle, and richly buttery throughout.
Take your time with the creaming step, keep the butter from melting, and chill the piped dough whenever the shapes need extra support. Once you master the basic dough, experiment with rosettes, rings, pretzels, S shapes, and finger cookies to create your own traditional-style assortment.
These cookies are ideal for holiday tins, afternoon gatherings, edible gifts, and quiet moments with a warm drink. Bake one tray today, and let the delicate vanilla aroma fill your kitchen.
3 thoughts on “Classic Danish Butter Cookies Recipe: Crisp Edges and Tender, Buttery Centers”