These easy baked chicken tacos are ready in about 25 to 30 minutes, making them a practical dinner for busy weeknights. Toss 3 cups of cooked shredded chicken with chunky salsa and taco seasoning, fill 12 hard corn taco shells, cover them with cheese, and bake at 400°F for 10 to 12 minutes until hot, crisp, and wonderfully melty.
Every bite brings together savory seasoned chicken, juicy salsa, crunchy corn shells, and bubbling Mexican-blend cheese. Add crisp lettuce, creamy avocado, fresh tomato, sour cream, cilantro, and a squeeze of lime for a colorful taco bar dinner that serves 4 to 6 people.
Jump to RecipeWhy You’ll Love This Recipe
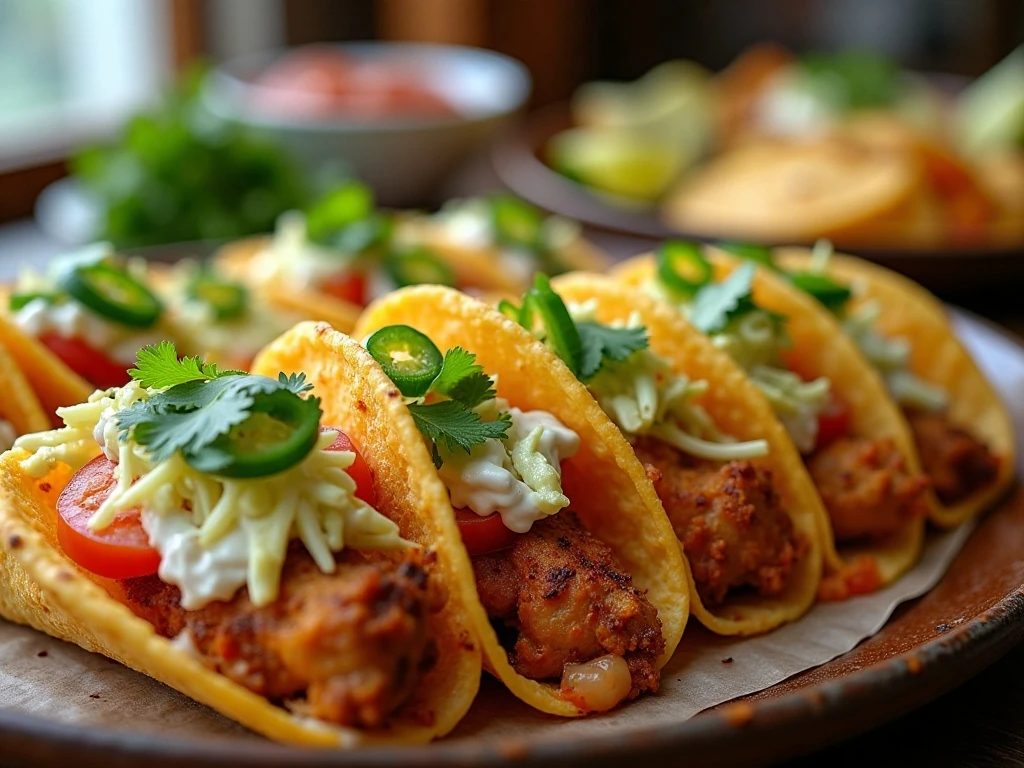
Baked chicken tacos deliver the pleasure of a taco-night favorite without requiring a skillet full of oil or a long list of complicated steps. The oven warms the filling, melts the cheese, and keeps the hard shells crisp while you prepare toppings and set the table.
This recipe is also an excellent way to use leftover chicken. Rotisserie chicken is especially convenient, and combining white and dark meat gives the filling a pleasant mix of tender texture and rich flavor.
The proportions are simple: 3 cups chicken, 1 cup salsa, one packet of taco seasoning, 12 shells, and 1 1/2 cups cheese. That balance gives every taco plenty of filling without making the shells difficult to hold or more likely to split.
If your family enjoys trying different taco fillings, you can also serve these alongside our ground chicken taco recipe for an easy two-taco dinner spread.
Ingredients You’ll Need
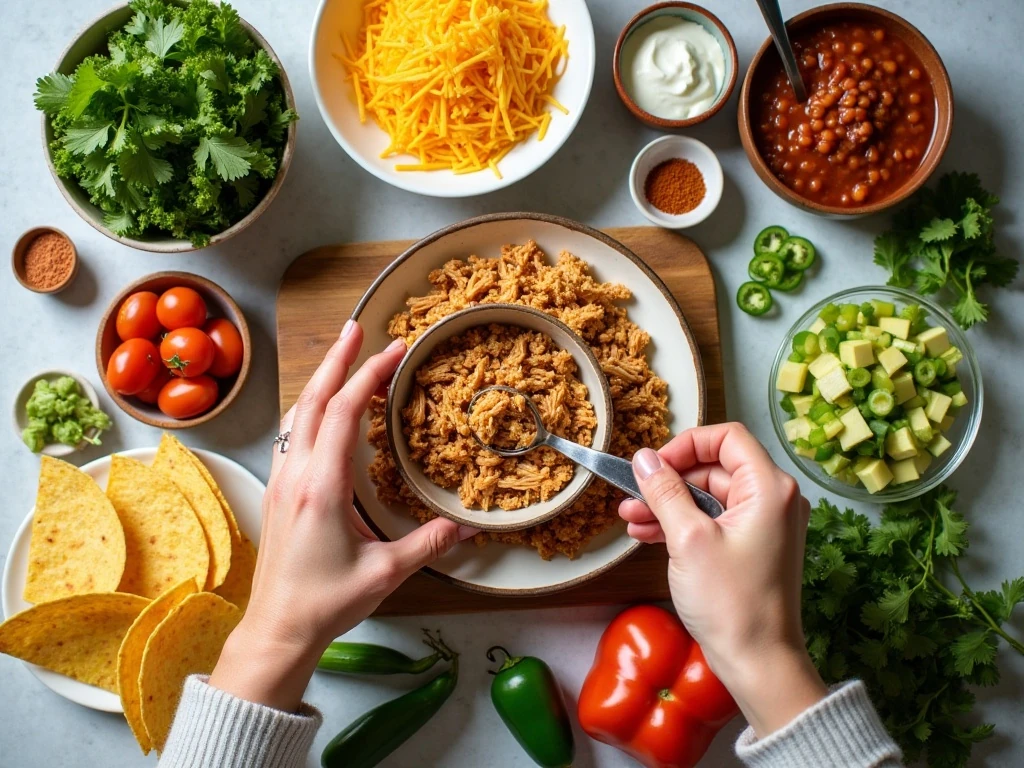
The ingredient list is short, but each item has an important job. Choose a thick, chunky salsa for moisture and flavor without making the shells soggy, and use a cheese that melts smoothly over the chicken.
- Cooked shredded chicken: You need 3 cups, or about 1 1/2 pounds of cooked chicken. Boneless, skinless breast or thigh meat both work well.
- Chunky salsa: Use 1 cup total, with about 3/4 cup mixed into the chicken and the remaining 1/4 cup spooned over the baked tacos.
- Taco seasoning: One packet, about 1 ounce or 2 to 3 tablespoons, gives the chicken a dependable blend of chili, cumin, garlic, and spices.
- Hard corn taco shells: Twelve shells fit neatly in a 9-by-13-inch baking dish or taco stand.
- Shredded cheese: Mexican-blend cheese or cheddar adds a savory, creamy topping. Measure 1 1/2 cups.
- Optional refried beans: A thin layer of the 1/2 cup adds body and helps create a hearty taco.
- Optional cilantro: The 1/4 cup chopped fresh cilantro adds a bright, herbal finish.
Set out toppings such as shredded lettuce, diced tomato, avocado, sour cream, lime wedges, pickled jalapeños, and sliced green onions. Having everything ready lets you serve the tacos as soon as they leave the oven.
How to Make It Step-by-Step
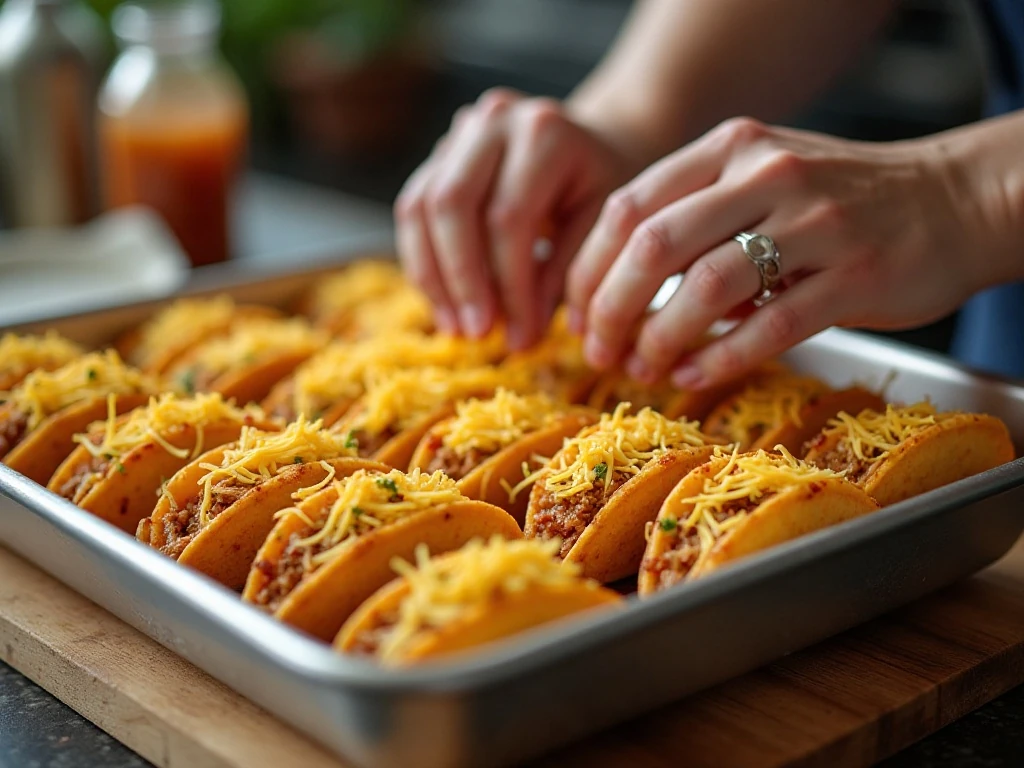
Step 1: Heat the oven to 400°F and gather a medium mixing bowl, a 9-by-13-inch baking dish or taco stand, and your toppings. If you are using rotisserie chicken, remove the skin and bones, then shred the meat into bite-size pieces so it fits comfortably inside the shells.
Step 2: Add the 3 cups of shredded chicken to the bowl along with 3/4 cup chunky salsa and one packet of taco seasoning. Stir thoroughly until the salsa and spices coat the chicken evenly, making sure to break up any large clumps.
Step 3: Arrange the hard taco shells upright in the baking dish or taco stand. Keeping the shells close together helps them remain upright while you fill them and makes it easier to transfer the dish to the oven.
Step 4: If you are using refried beans, spread a thin layer inside each shell rather than a thick one. The beans add creamy texture, but too much can crowd the shells and make the finished tacos harder to hold.
Step 5: Divide the chicken mixture evenly among all 12 shells. Add enough filling for a satisfying taco, but do not overfill; excess filling can cause the shells to split or become soft around the edges.
Step 6: Sprinkle the 1 1/2 cups of shredded cheese over the chicken. Try to distribute it from shell to shell so each taco has a warm, melted layer instead of leaving some tacos bare and others heavily covered.
Step 7: Bake the assembled tacos for 10 to 12 minutes, until the cheese has melted and the shells are hot and crisp. Watch the tacos closely near the end because oven temperatures and shell brands can vary.
Step 8: Carefully remove the dish and spoon the remaining salsa over the tacos. Finish with lettuce, tomato, avocado, sour cream, cilantro, jalapeños, green onions, and lime wedges, then serve immediately while the shells are at their crunchiest.
Pro Tips for Crisp, Flavorful Tacos
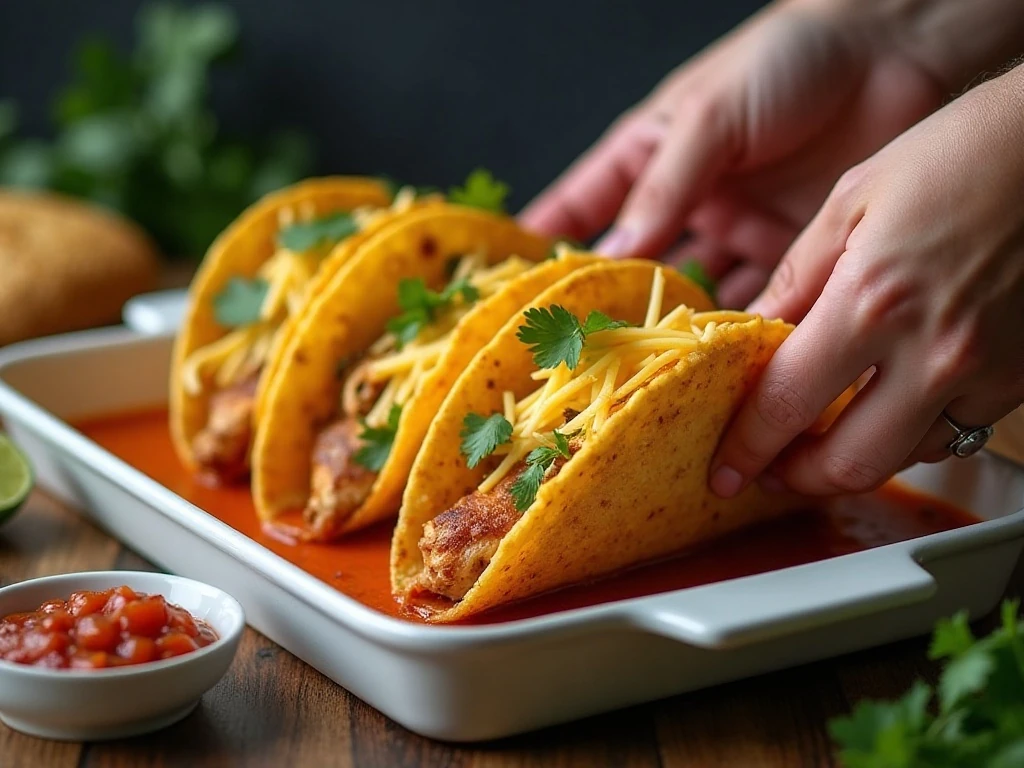
For especially crisp shells, arrange the empty shells in the baking dish and bake them for 3 to 5 minutes before filling. Add the chicken, cheese, and any optional beans afterward, then bake the assembled tacos for another 8 to 10 minutes.
Thick salsa is one of the most important details in this recipe. Watery salsa releases extra liquid into the shells, while chunky salsa clings to the chicken and contributes flavor without making the corn shells limp.
A small squeeze of lime in the chicken mixture adds freshness, especially when using mild rotisserie chicken. Add it sparingly so the filling stays thick and does not become wet.
If you are starting with raw chicken, use about 1 1/2 pounds of boneless, skinless breasts or thighs. Season the chicken with the taco seasoning, bake at 400°F for approximately 20 to 25 minutes until the thickest part reaches 165°F, rest it for 5 minutes, shred it, and then mix it with the salsa before filling the shells.
For another comforting chicken dinner idea, keep our easy chicken potpie handy for a cozy night when you want a completely different style of meal.
Serving Ideas and Topping Combinations
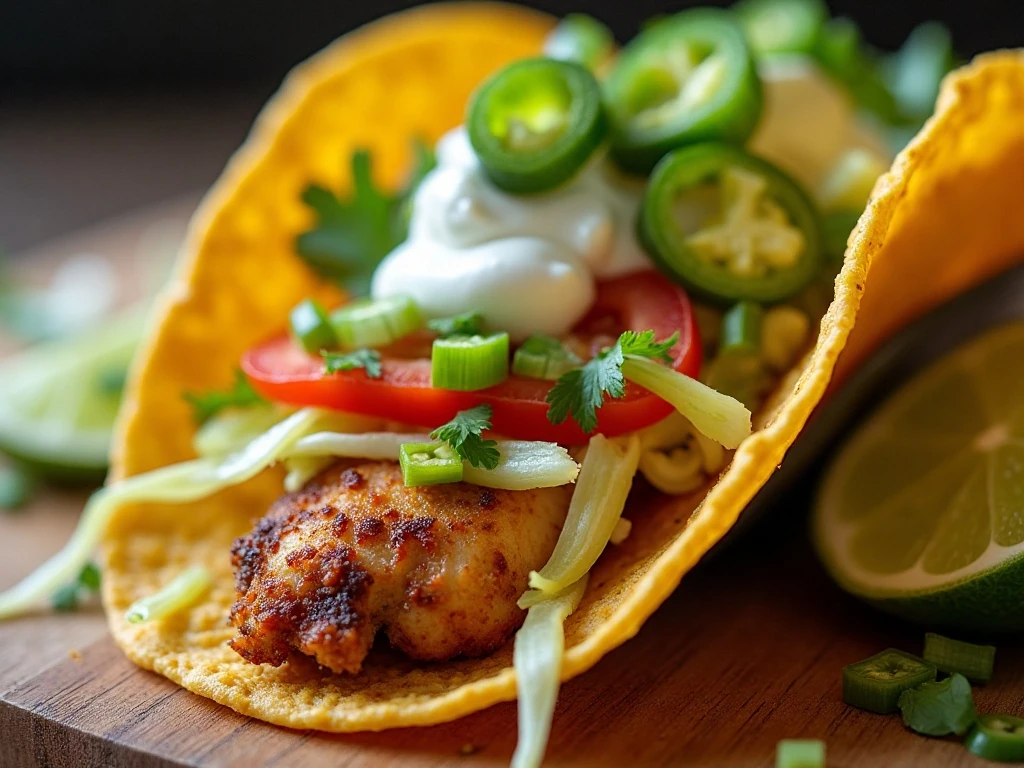
These tacos are filling enough to serve as a complete dinner, but a few simple sides can turn them into a generous family meal. Consider setting everything on the table buffet-style so each person can build a taco with the toppings they enjoy.
- Fresh and crisp: Add shredded lettuce, diced tomato, sliced green onions, and a squeeze of lime.
- Creamy: Spoon on sour cream and diced avocado, then finish with cilantro.
- Spicy: Add pickled jalapeños and a little extra salsa for a tangy kick.
- Bright and fresh: Use avocado, cilantro, lime, and tomato to balance the warm cheese and seasoned chicken.
Serve the tacos immediately after topping them. If they sit under wet toppings for too long, the shells will gradually lose their crunch.
For a party, bake the tacos in batches and keep the topping bowls separate. You can also offer mild and spicy salsa so everyone can adjust the flavor at the table.
Storage and Reheating
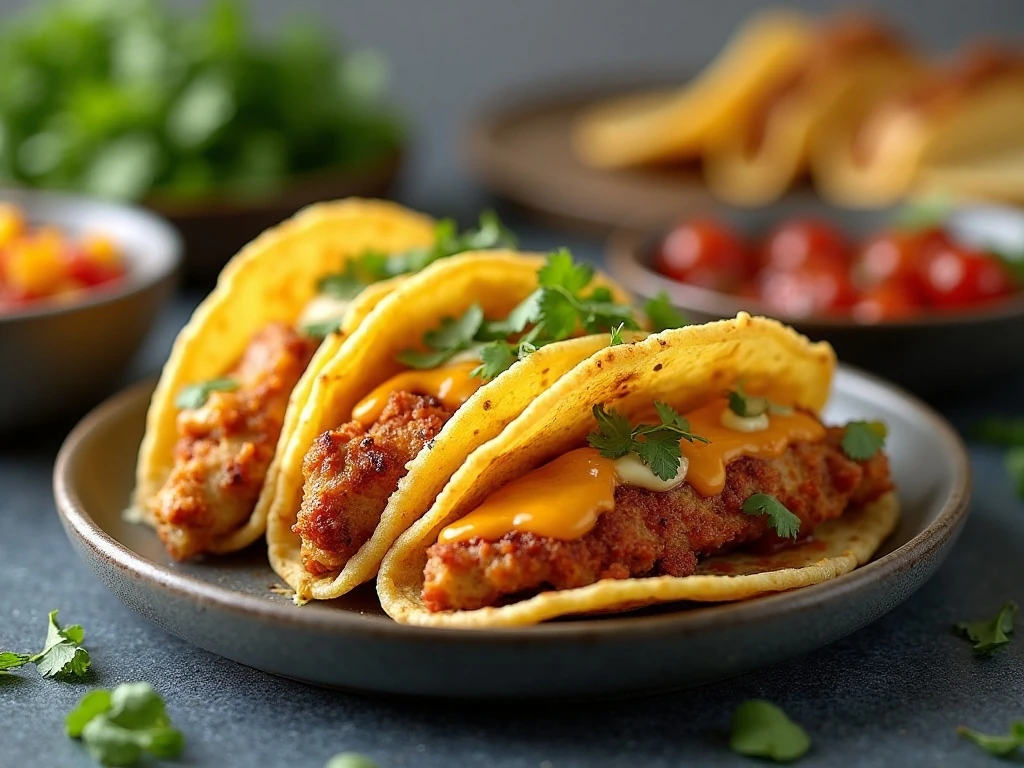
Baked tacos are best right away because hard shells soften as they absorb moisture from the filling and toppings. For leftovers, remove any lettuce, avocado, sour cream, or other fresh toppings before refrigerating.
Place leftover chicken filling in a covered container and refrigerate it promptly. Store unused shells in their original sealed package, and keep salsa and toppings in separate containers.
To reheat, warm the chicken filling in the microwave or in a skillet, then spoon it into fresh shells and top with cheese. If already assembled tacos must be reheated, use a 400°F oven until the filling is hot and the cheese melts, checking often so the shells do not overbrown.
For another oven-friendly chicken favorite, you may also enjoy these honey baked chicken wings when planning a casual dinner or game-night menu.
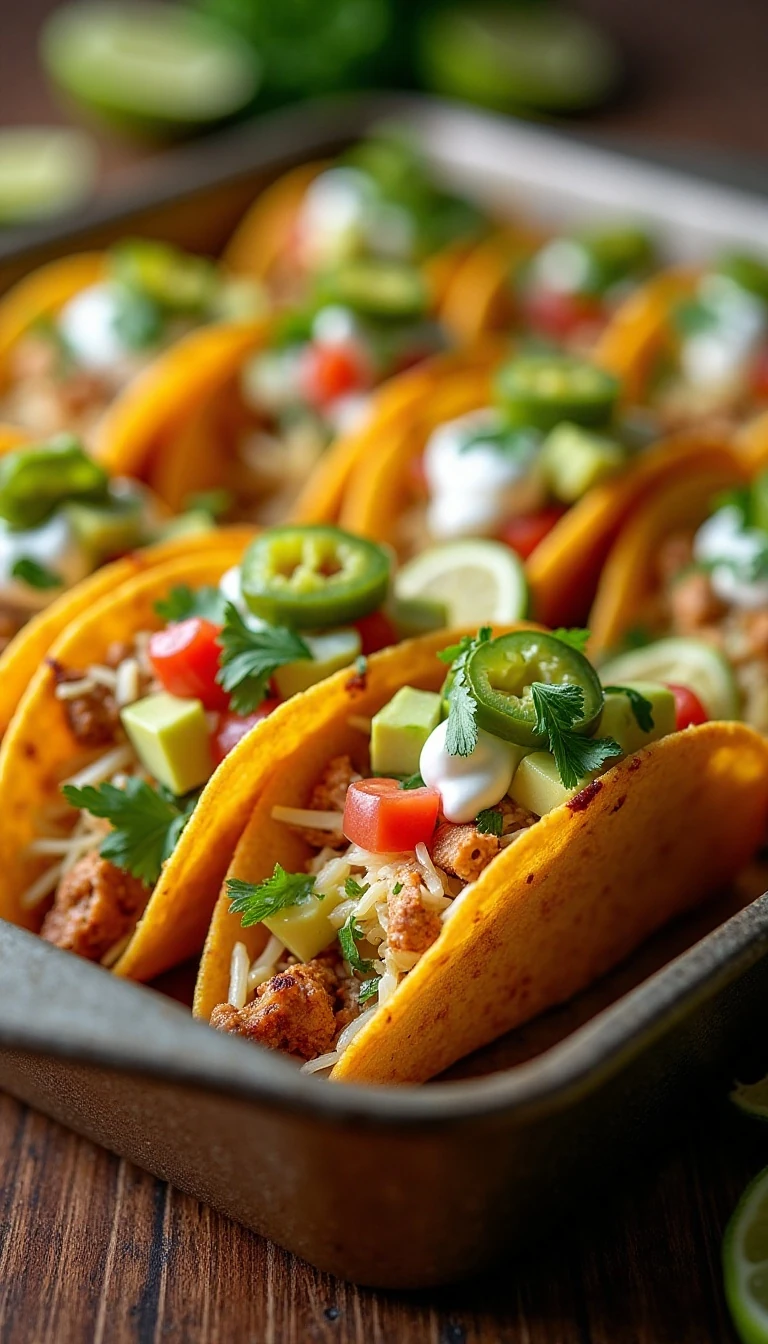
Easy Baked Chicken Tacos
Ingredients
Method
- Heat the oven to 400°F. In a bowl, combine the shredded chicken, 3/4 cup of the salsa, and taco seasoning, stirring until the chicken is evenly coated.
- Arrange 12 hard taco shells upright in a 9-by-13-inch baking dish or taco stand. If using refried beans, spread a thin layer inside each shell.
- Divide the chicken mixture among the shells without packing them too tightly. Sprinkle the shredded cheese evenly over each taco.
- Bake for 10 to 12 minutes, until the cheese is melted and the shells are hot and crisp. Top with the remaining salsa and desired toppings, then serve with lime wedges.
Notes
Final Thoughts
Easy baked chicken tacos are proof that a satisfying dinner does not need to take all evening. With cooked shredded chicken, chunky salsa, taco seasoning, hard shells, and melty cheese, you can have a hot, crisp meal on the table in about half an hour.
Keep the filling balanced, avoid overfilling the shells, and add fresh toppings just before serving for the best texture. Whether you use rotisserie chicken or cook your own, this recipe is flexible, family-friendly, and easy to customize with mild salsa, extra spice, creamy avocado, or bright lime.
Set out the toppings, call everyone to the table, and enjoy these crunchy baked chicken tacos while they are warm from the oven.
15 thoughts on “Easy Baked Chicken Tacos Recipe with Crispy Shells”