This easy homemade cherry cobbler recipe makes 8 servings in about 50 to 60 minutes, including 15 minutes of preparation and 35 to 40 minutes of baking. Juicy fresh or frozen cherries are tossed with sugar, cornstarch, lemon juice, vanilla, and salt, then covered with a tender homemade biscuit topping and baked until golden.
Every spoonful combines bubbling sweet-tart cherries with a buttery, lightly crisp topping that stays soft and tender underneath. Serve it warm after a short cooling period, preferably with vanilla ice cream or a generous spoonful of whipped cream for a comforting fruit dessert.
Jump to RecipeWhy You’ll Love This Recipe
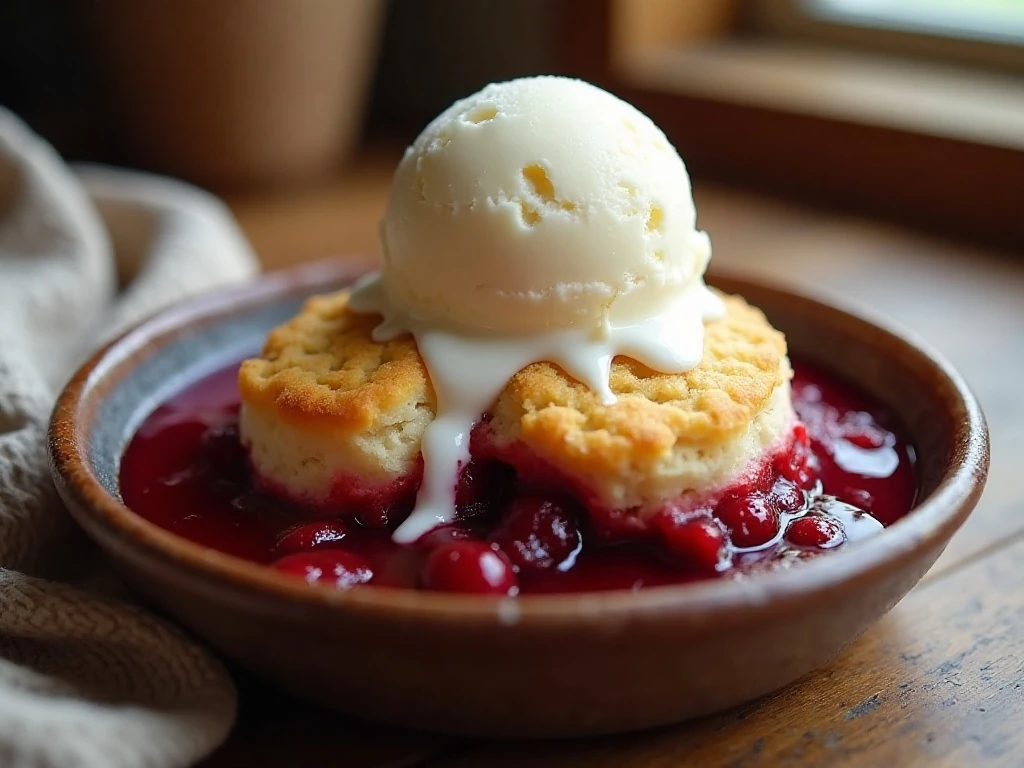
This cherry cobbler is simple enough for a weeknight dessert but special enough for a Sunday supper or holiday table. The filling comes together in one bowl, and the biscuit topping requires only a few pantry staples.
Unlike a complicated pastry dessert, cobbler does not require rolling, chilling, or shaping dough. Rustic spoonfuls of topping are exactly what you want because they create golden peaks, tender centers, and little openings where the cherry juices can bubble through.
The recipe works with either sweet or tart cherries. Sweet cherries give the cobbler a mellow, candy-like flavor, while tart cherries create a brighter filling with more contrast against the buttery topping.
For another cherry dessert with a creamy, bar-style finish, you can also try our cherry cheesecake bars.
Ingredients You’ll Need
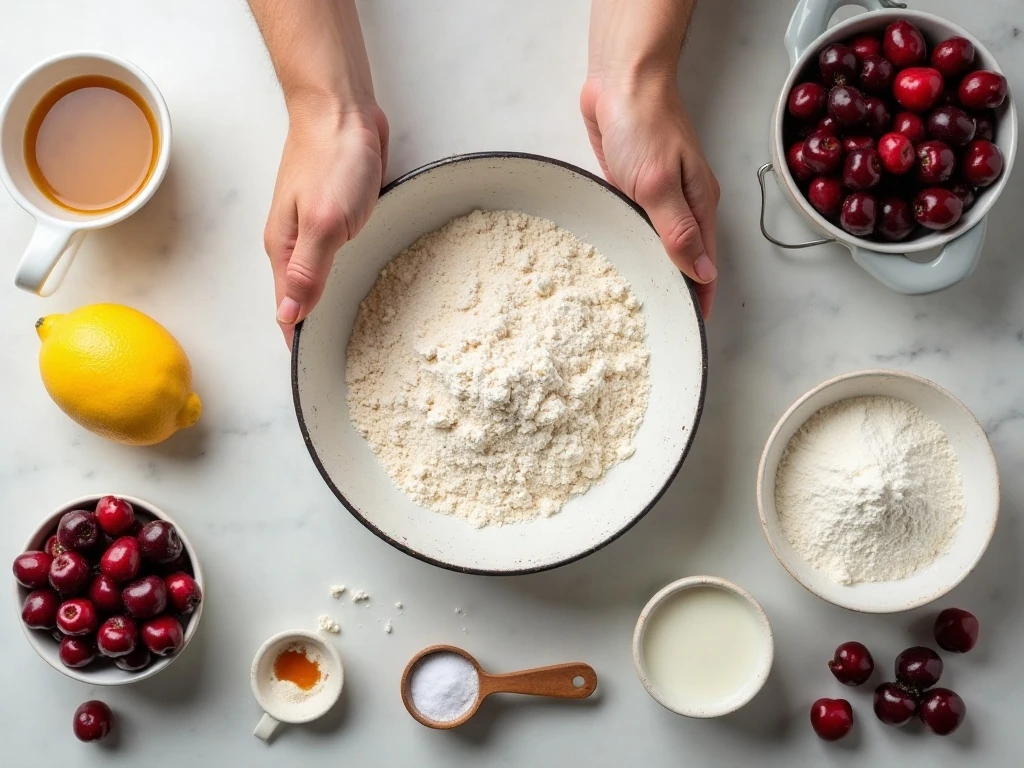
The filling needs 4 cups of pitted fresh or frozen cherries, granulated sugar, cornstarch, lemon juice, vanilla extract, and salt. Cornstarch thickens the fruit juices as the cobbler bakes, while lemon juice keeps the flavor lively instead of overly sweet.
The topping is made from all-purpose flour, sugar, baking powder, salt, cold unsalted butter, and milk. Baking powder gives the dough gentle lift, and cold butter creates small pockets that help the baked topping stay tender.
- Cherries: Use pitted fresh cherries when they are in season, or thawed and drained frozen cherries at other times of the year.
- Butter: Keep it cold and cut it into small pieces before mixing it into the flour.
- Milk: Add it after cutting in the butter and stir only until the dough comes together.
- Baking dish: A 9-inch square dish or another 2-quart baking dish gives the fruit and topping enough room to cook evenly.
Measure the ingredients before starting, especially the cornstarch and baking powder. Once the oven is hot and the fruit is prepared, the rest of the recipe moves quickly.
How to Make It Step-by-Step
Step 1: Heat the oven to 375°F and lightly butter or spray a 9-inch square baking dish, or use a similar 2-quart baking dish. Greasing the dish makes serving easier and helps prevent sticky cherry juices from clinging to the sides.
Step 2: Add the pitted cherries, 3/4 cup granulated sugar, cornstarch, lemon juice, vanilla extract, and 1/4 teaspoon salt to a bowl. Stir gently until the cherries are evenly coated, then transfer the mixture to the prepared baking dish.
Step 3: In a separate bowl, whisk together the flour, 1/2 cup granulated sugar, baking powder, and 1/4 teaspoon salt. A quick whisk distributes the baking powder and salt so the topping rises and seasons evenly.
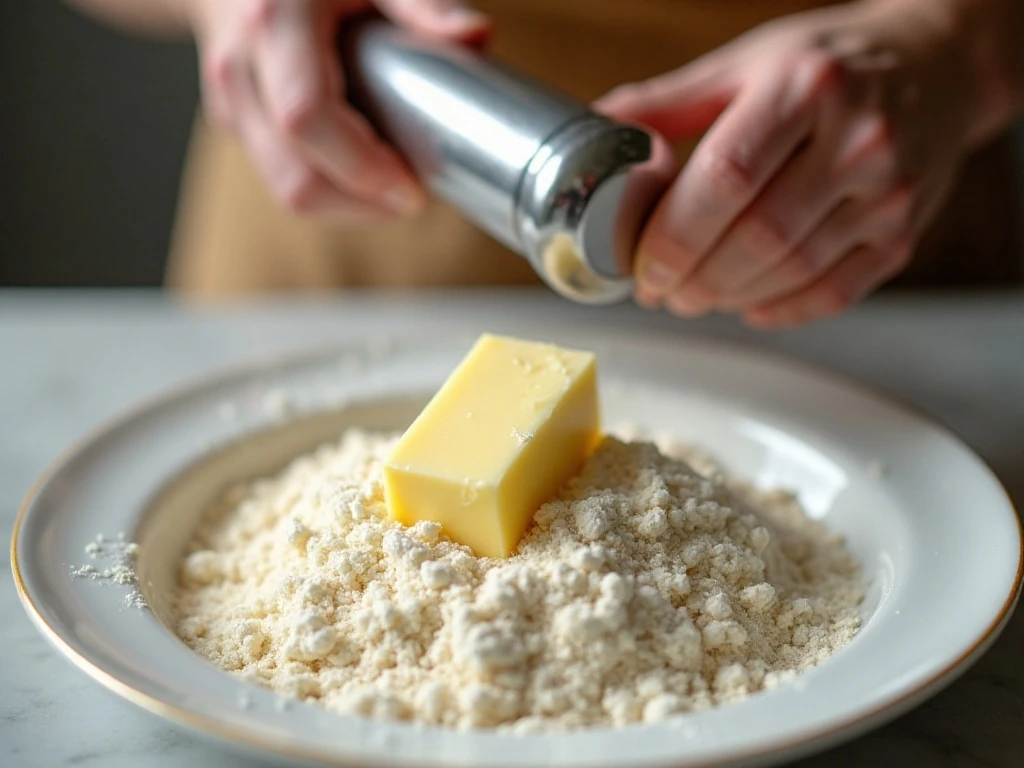
Step 4: Add the cold butter pieces to the dry ingredients and cut them in with a pastry cutter or your fingertips. Stop when the mixture resembles coarse crumbs with a few small butter pieces still visible, since those pieces help create a tender texture.
Step 5: Pour in the milk and stir just until a soft dough forms. Do not overmix, because working the dough too much can make the topping dense instead of light.
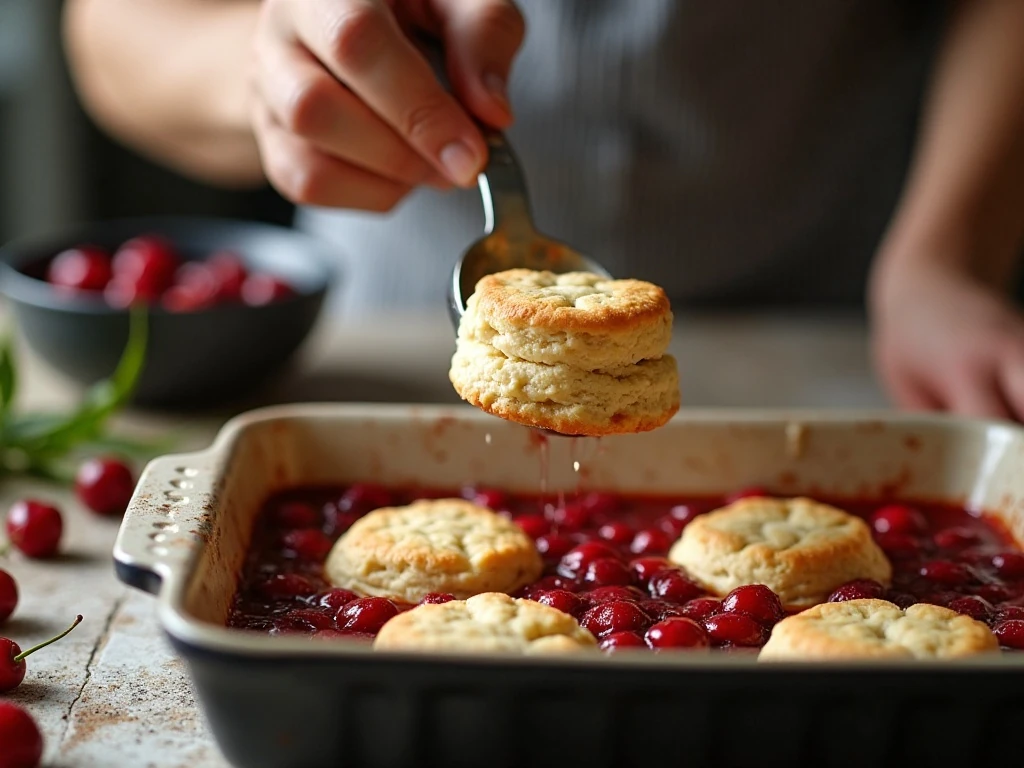
Step 6: Drop spoonfuls of dough over the cherries, distributing them fairly evenly while leaving a few small gaps. The openings allow steam to escape and give the finished cobbler its appealing rustic appearance.
Step 7: Bake for 35 to 40 minutes, watching for a golden-brown topping and cherry filling that bubbles around the edges. If the topping browns before the fruit is visibly bubbling, continue baking until the filling reaches that stage.
Step 8: Let the cobbler cool for at least 10 to 15 minutes before serving. This resting time allows the hot cherry juices to thicken so each portion is spoonable rather than watery.
Pro Tips for the Best Cherry Cobbler
If you are using frozen cherries, thaw and drain them before mixing the filling. Frozen fruit can release extra liquid, and that excess moisture may make the cobbler runny.
For especially juicy cherries, add 1 to 2 teaspoons of extra cornstarch. Avoid adding a large amount, however, because too much thickener can make the fruit layer gummy.
Cold butter is one of the most important details in the topping. Soft butter blends too thoroughly into the flour, while cold pieces remain distinct and help produce a tender, crumbly biscuit crust.
Use a light touch when combining the milk with the flour mixture. The dough does not need to look perfectly smooth, and a few rough edges bake into delicious crisp patches.
Sweet and tart cherries can vary significantly in flavor. If you use tart cherries, the stated sugar creates a pleasantly balanced filling; if your cherries are exceptionally sweet, the lemon juice will provide helpful brightness.
Do not rush the cooling period. The cobbler will be hot when it leaves the oven, and waiting at least 10 to 15 minutes gives the cornstarch time to thicken the filling without sacrificing warmth.
For a festive pastry idea to serve at another gathering, take a look at these Christmas tree pastries.
Easy Shortcut Variations
When fresh or frozen cherries are unavailable, replace the homemade filling with two 21-ounce cans of cherry pie filling. Spread the canned filling in the baking dish, then prepare and add the same biscuit topping; reduce or omit the added sugar in the filling because canned pie filling is already sweetened.
This shortcut keeps the traditional biscuit-style character of the dessert while cutting down on preparation. It is especially useful when you need a dependable dessert with minimal measuring.
Another widely published variation uses one box of yellow cake mix and 1 cup melted butter over canned cherry pie filling. Bake that version at 350°F for approximately 40 to 45 minutes for a crisp, cakey topping rather than the soft biscuit topping in this recipe.
For a small dessert table, pair a warm serving of cobbler with easy homemade fudge. The rich chocolate squares make a nice contrast to the bright cherry filling.
Serving Suggestions
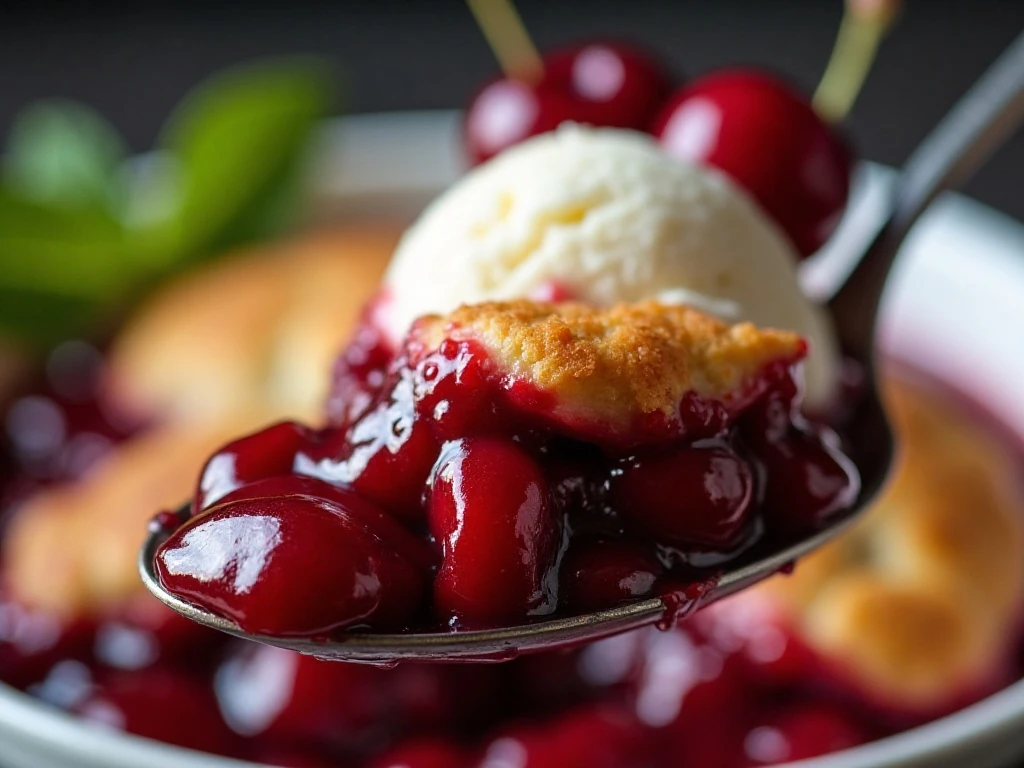
Serve the cobbler warm in shallow bowls so every portion includes cherries and plenty of topping. Vanilla ice cream is the classic choice because it melts into the fruit juices and creates a creamy sauce.
Whipped cream, lightly sweetened crème fraîche, or plain Greek yogurt also works well. For a simple finishing touch, add a few fresh cherries or a very small dusting of powdered sugar just before serving.
The dessert is sweet and comforting on its own, but a cup of black coffee, tea, or cold milk makes it feel especially complete. For a more varied snack spread, our hot pepper jelly can add a bright savory option alongside other party foods.
Storage and Reheating
Cool leftover cobbler, cover the baking dish, and refrigerate it. The fruit filling will continue to set as it chills, and the topping may soften slightly overnight.
Reheat individual portions gently in the microwave until warm, or warm a larger portion in the oven until heated through. The oven is preferable when you want to bring back a little crispness to the topping.
For the best texture, enjoy the cobbler within a few days. Store ice cream or whipped cream separately and add it only when serving.
If you are planning a larger buffet and need a savory make-ahead bite as well, these easy air fryer meatballs are a practical pairing before dessert.
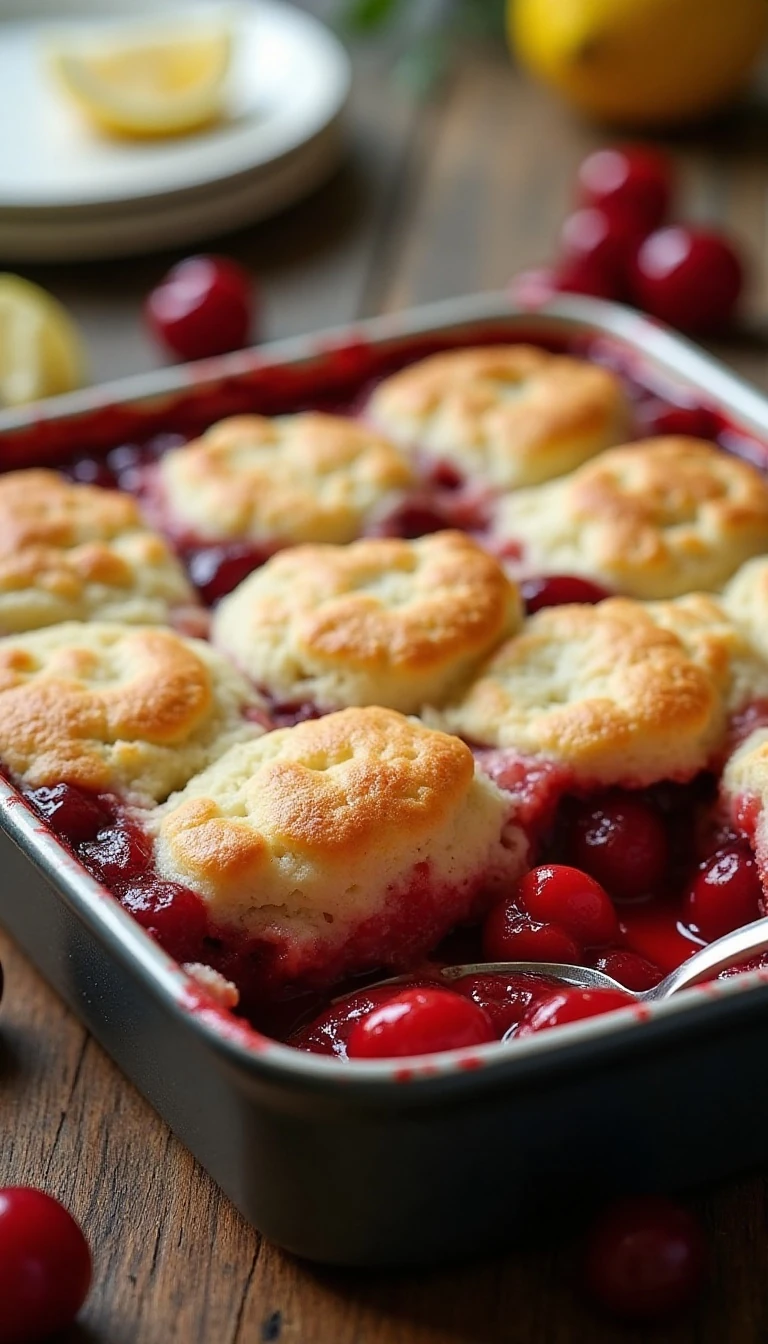
Easy Homemade Cherry Cobbler
Ingredients
Method
- Heat the oven to 375°F and lightly butter or spray a 9-inch square baking dish or similar 2-quart baking dish.
- Combine the cherries, 3/4 cup sugar, cornstarch, lemon juice, vanilla extract, and 1/4 teaspoon salt. Transfer the fruit mixture to the prepared baking dish.
- Whisk the flour, 1/2 cup sugar, baking powder, and 1/4 teaspoon salt in a bowl. Cut in the cold butter with a pastry cutter or your fingertips until coarse crumbs form.
- Stir in the milk just until a soft dough forms, taking care not to overmix. Drop spoonfuls of dough over the cherries, leaving a few small gaps for steam to escape.
- Bake at 375°F for 35 to 40 minutes, until the topping is golden brown and the filling bubbles around the edges. Cool for at least 10 to 15 minutes before serving.
Notes
Final Thoughts
This easy homemade cherry cobbler delivers the cozy flavor of a classic fruit dessert without complicated pastry work. With juicy cherries, a lightly sweet filling, and a tender golden biscuit topping, it is a reliable recipe for both new and experienced bakers.
Remember the essentials: drain thawed frozen cherries, keep the butter cold, avoid overmixing, and allow the baked cobbler to rest for at least 10 to 15 minutes. Add vanilla ice cream while it is still warm, and you have a simple dessert that is ready to earn a place in your regular recipe rotation.