This easy homemade fudge recipe makes rich, creamy chocolate squares with just a saucepan, a 9-by-13-inch pan, and a few classic ingredients. Combine sugar, butter, and evaporated milk, boil the mixture for 5 minutes, then quickly stir in semi-sweet chocolate chips, marshmallow creme, vanilla, and optional nuts before cooling and cutting.
The finished fudge is smooth, soft, and deeply chocolatey, with a pleasant melt-in-your-mouth texture and optional walnut or pecan crunch. You can have the mixture prepared in about 15 to 20 minutes, but allow 2 to 3 hours at room temperature, or about 1 hour in the refrigerator, for the candy to set completely.
Jump to RecipeWhy You’ll Love This Recipe
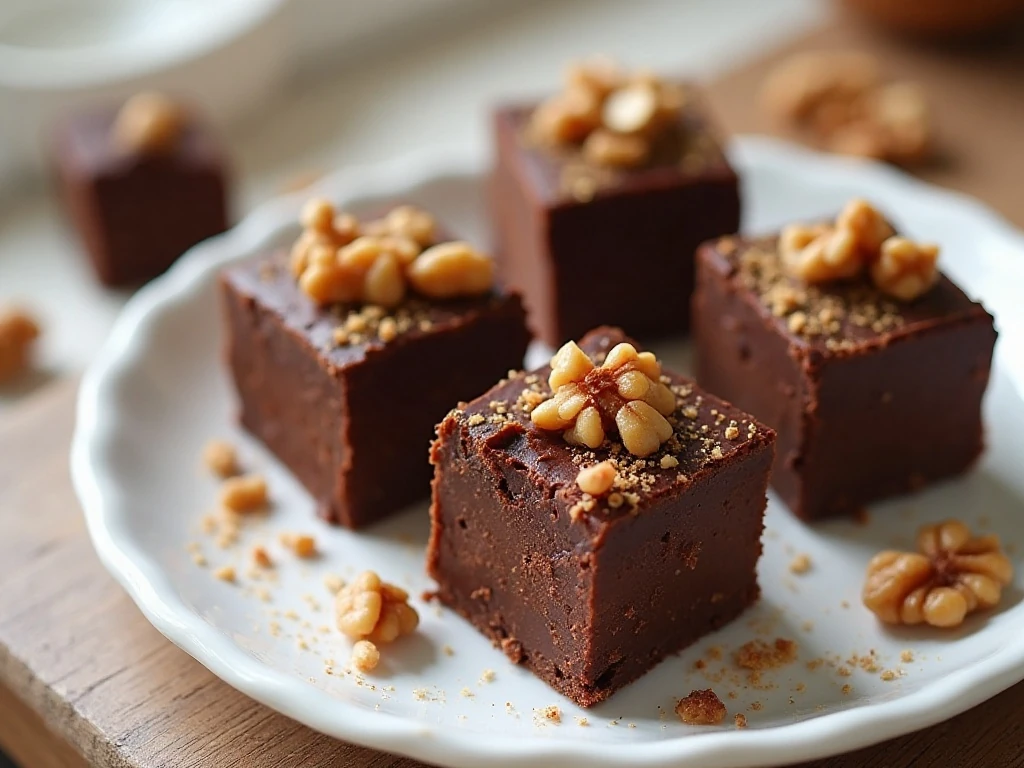
This homemade fudge has the nostalgic flavor of a classic candy-shop treat without requiring complicated equipment or specialty chocolate. The combination of evaporated milk, butter, chocolate chips, and marshmallow creme creates a soft, creamy texture that slices beautifully once chilled.
It is also a practical make-ahead candy. One pan yields about 24 to 36 pieces, depending on how large you cut the squares, making it a lovely choice for cookie exchanges, holiday tins, potlucks, bake sales, or an after-dinner sweet.
The recipe is easy to customize while keeping the reliable base intact. Leave out the nuts for a smooth chocolate fudge, or stir in chopped walnuts or pecans for a buttery, crunchy contrast.
If you enjoy creamy candy variations, you may also like this colorful cake batter fudge for a festive dessert tray.
Ingredients You’ll Need
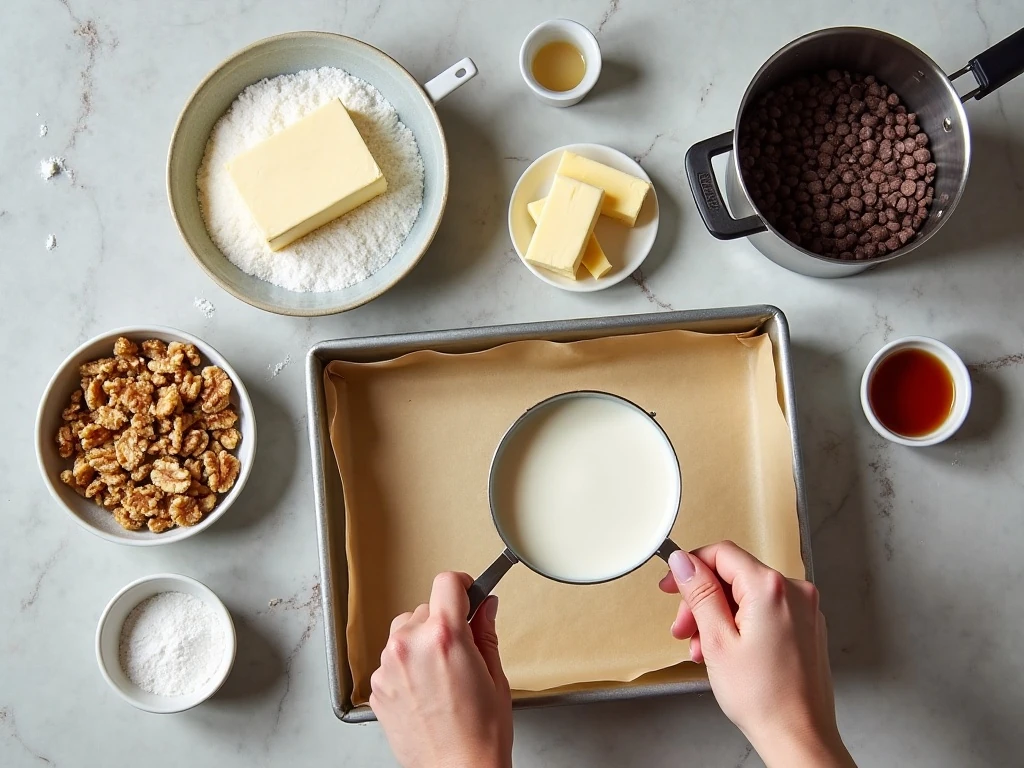
Gather every ingredient before turning on the burner. Once the sugar mixture reaches the correct temperature, the chocolate chips and marshmallow creme need to be added immediately so the fudge stays smooth and easy to spread.
- Granulated sugar: Three cups provide the sweetness and structure needed for the fudge to set.
- Unsalted butter: Three-fourths cup adds richness and helps create a tender, creamy bite.
- Evaporated milk: Two-thirds cup supplies moisture without making the mixture as thin as regular milk can.
- Semi-sweet chocolate chips: Twelve ounces give the fudge its rich chocolate flavor and glossy finish.
- Marshmallow creme: One 7-ounce jar helps produce the soft, smooth texture associated with this classic formula.
- Vanilla extract: One teaspoon rounds out the chocolate flavor.
- Walnuts or pecans: One cup, chopped, is optional for added crunch and a toasty nutty flavor.
You will also need a heavy saucepan, a heatproof spoon or spatula, a candy thermometer if available, and a lined 9-by-13-inch pan. Lightly grease the parchment paper or foil so the set candy releases easily.
How to Make It Step-by-Step
Step 1: Line a 9-by-13-inch pan with parchment paper or foil, leaving enough overhang to lift the fudge out later. Lightly grease the lining, then measure the chocolate chips, marshmallow creme, vanilla, and nuts so they are ready beside the stove.
Step 2: Add the granulated sugar, unsalted butter, and evaporated milk to a heavy saucepan. Set the pan over medium heat and stir constantly until the butter has melted and the mixture reaches a full rolling boil.
Step 3: Once the mixture is boiling, continue to cook it for 5 minutes while stirring continuously. For the most dependable result, use a candy thermometer and watch for approximately 234°F (112°C), known as the soft-ball stage.
Step 4: Remove the saucepan from the heat as soon as the boiling time and temperature are reached. Do not leave the hot mixture sitting in the pan, because overcooking can lead to dry, grainy, or firm fudge.
Step 5: Immediately add the semi-sweet chocolate chips, marshmallow creme, vanilla extract, and chopped walnuts or pecans if using. Stir briskly until every chocolate chip has melted and the mixture looks completely smooth and evenly combined.
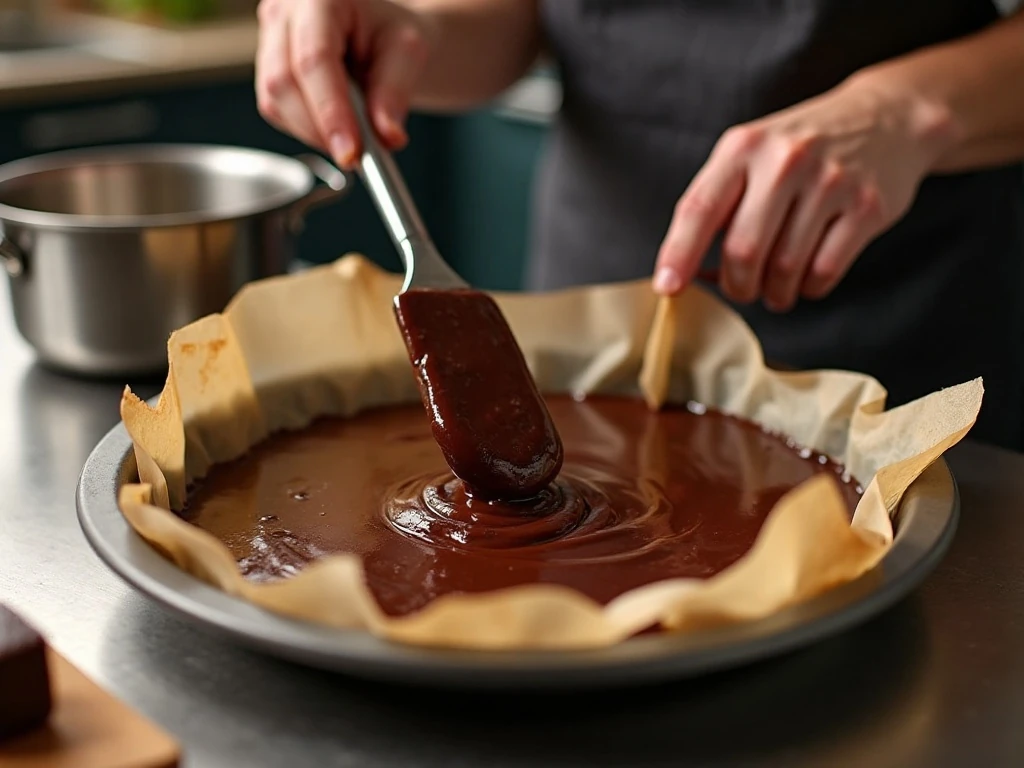
Step 6: Pour the fudge into the prepared pan while it is still warm and fluid. Use a spatula to spread it into an even layer, working quickly because it will begin to thicken as it cools.
Step 7: Leave the pan undisturbed at room temperature for 2 to 3 hours, or refrigerate it for about 1 hour if you need the fudge to set sooner. It should feel firm when lightly pressed and lift cleanly from the lining.
Step 8: Use the parchment or foil overhang to transfer the slab to a cutting board. Slice it into 24 to 36 squares with a sharp knife, making smaller pieces for a candy platter or larger pieces for generous dessert servings.
Pro Tips for Smooth, Creamy Fudge
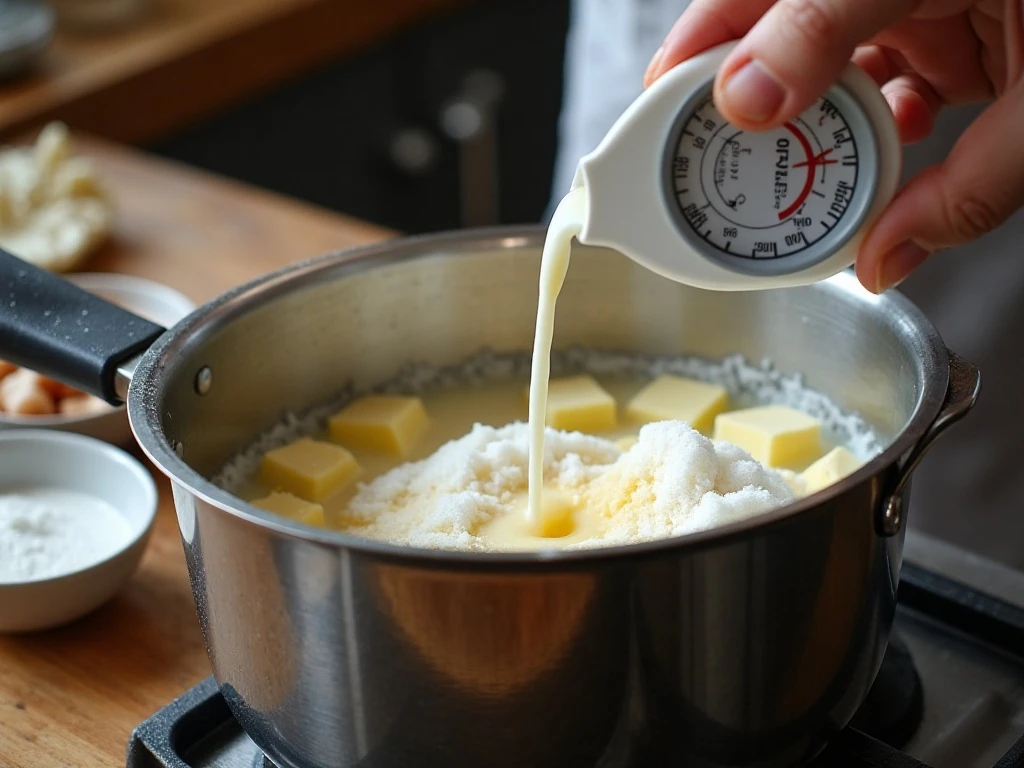
A heavy saucepan is useful because it distributes heat more evenly and reduces the chance of scorching. Keep the burner at medium heat and stir constantly during the butter-and-milk stage as well as throughout the 5-minute boil.
A candy thermometer is the best tool for consistent results. Cooking time can change with the size of the pan, the strength of your burner, and your altitude, so reaching approximately 234°F (112°C) is more dependable than relying on the clock alone.
- Prepare first: Have all add-ins measured before the syrup begins boiling.
- Work off the heat: Add the chocolate chips, marshmallow creme, and vanilla only after removing the saucepan from the burner.
- Stir promptly: Mix until smooth without pausing, then transfer the fudge to the pan right away.
- Do not overcook: Excess heat can make the finished candy dry, crumbly, or grainy.
- Cut cleanly: Let the fudge fully set and wipe the knife between cuts for polished-looking squares.
For a dessert spread with contrasting flavors, serve the fudge alongside sweet and spicy pepper jelly with crackers and cheese. The bright fruit-and-pepper flavor makes the rich chocolate bites feel especially indulgent.
Storage and Serving Ideas
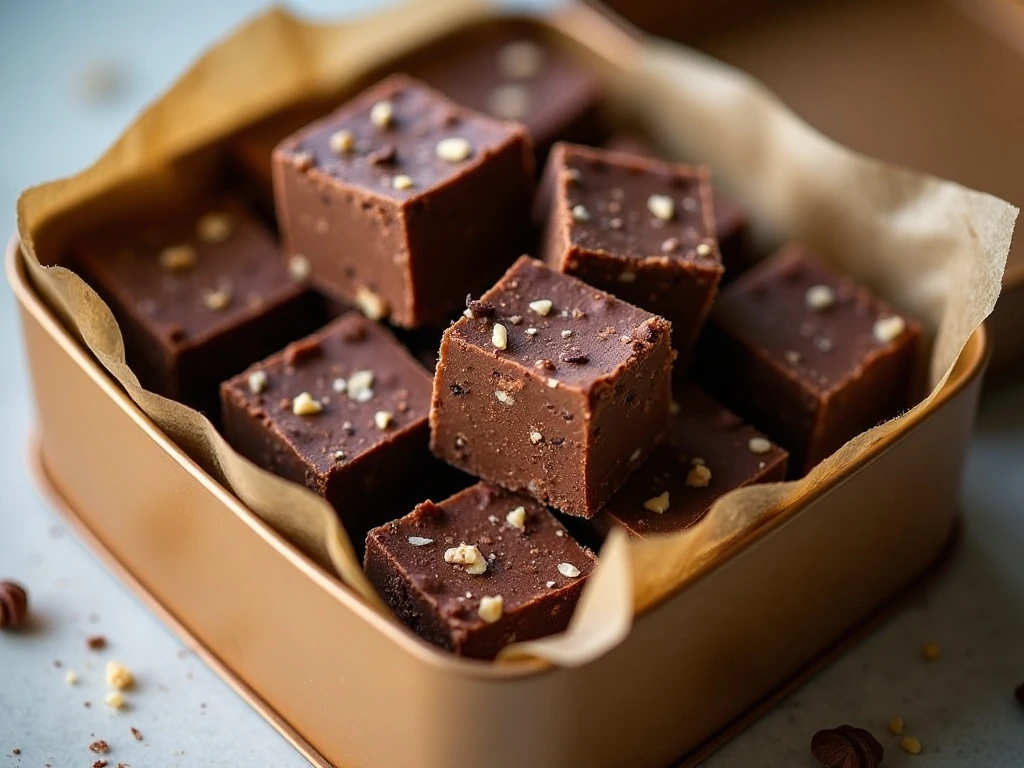
Store the cooled fudge in an airtight container, separating layers with parchment paper to prevent sticking. It can be kept at room temperature for a soft bite or refrigerated when you prefer a firmer texture.
For the best flavor and texture, allow refrigerated pieces to sit at room temperature briefly before serving. The chocolate becomes creamier as it warms, while the surface remains pleasantly firm.
Fudge makes an easy homemade gift when arranged in a lined tin or small treat bags. Cut all of the pieces to a similar size, then add parchment between layers so the squares stay neat during storage and transport.
This candy also works well on a dessert board with fruit, cookies, and creamy frozen treats. For another chocolate-inspired presentation, try layering a few squares beside our mint fudge ice cream dessert.
Serving Suggestions and Variations
The classic walnut or pecan version is hard to beat, but the smooth base is flexible. You can omit the nuts entirely for a silky texture, or choose walnuts for a slightly earthy bite and pecans for a rounder, buttery crunch.
Keep the add-ins modest so the fudge remains easy to spread. The specified 1 cup of chopped nuts gives plenty of texture without overwhelming the chocolate or making the squares difficult to cut.
Serve two or three small squares with coffee, tea, or a glass of cold milk. Although the recipe is simple, the finished candy looks special when placed in miniature paper liners on a dessert platter.
If you are assembling a larger party table, pair the fudge with savory bites such as these easy air fryer meatballs. A balanced spread of sweet and savory dishes gives guests plenty of choices.
Troubleshooting Common Fudge Problems
If the fudge turns out grainy, the sugar mixture may not have been cooked correctly, or the ingredients may not have been combined promptly after boiling. A candy thermometer and continuous stirring can help keep the texture smooth.
If the candy becomes too firm or dry, it may have cooked beyond the soft-ball stage. Next time, remove it from the heat at approximately 234°F (112°C), then add the chocolate chips and marshmallow creme without delay.
If the fudge is difficult to spread, the mixture may have cooled too much before it reached the pan. Keep the prepared pan and all measured add-ins ready so the warm mixture can be poured and leveled immediately.
For a complete candy-and-cooking collection, you can also browse our homemade basil pesto when planning savory recipes to serve before dessert.
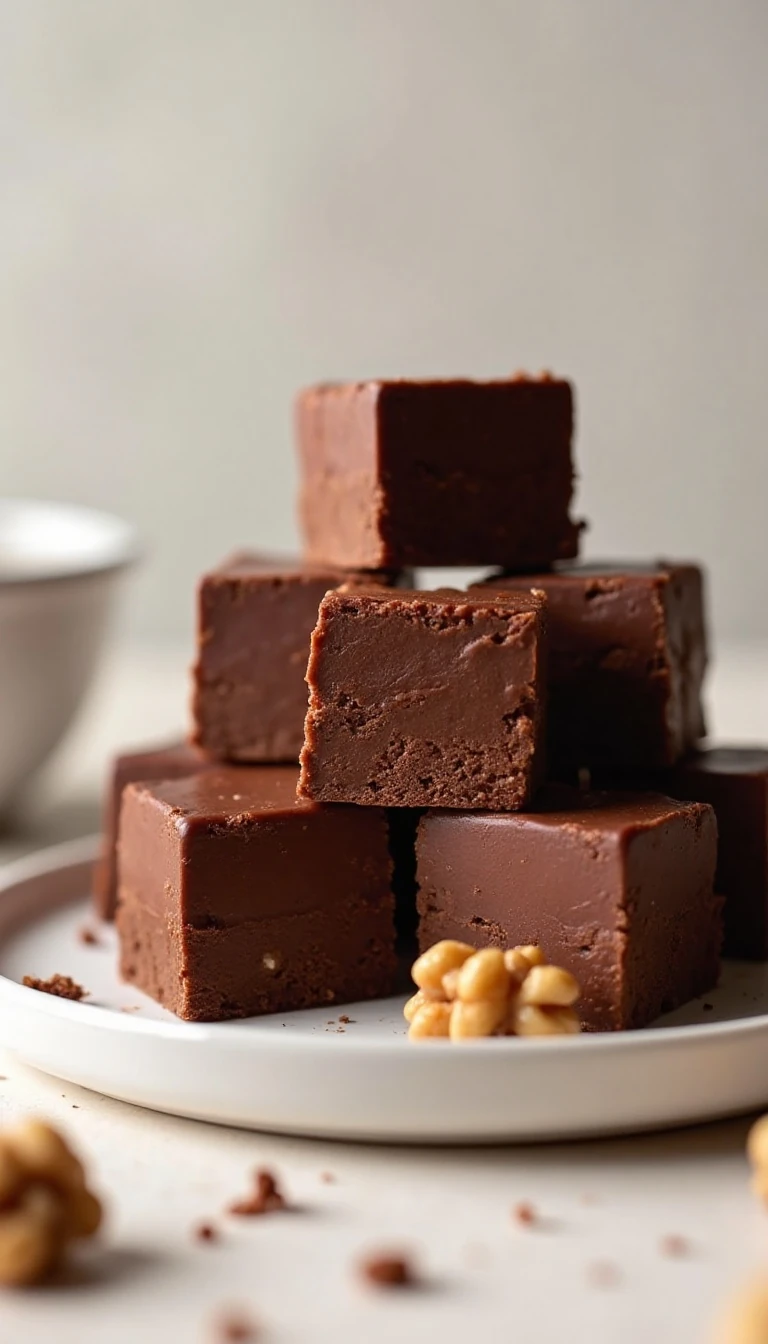
Easy Homemade Fudge Recipe
Ingredients
Method
- Line a 9-by-13-inch pan with parchment paper or foil and lightly grease it. Measure the chocolate chips, marshmallow creme, vanilla, and optional nuts before cooking so everything can be added promptly.
- Place the sugar, butter, and evaporated milk in a heavy saucepan over medium heat. Stir constantly until the butter melts and the mixture reaches a full rolling boil.
- Continue boiling for 5 minutes while stirring continuously. If using a candy thermometer, cook until the mixture reaches approximately 234°F (112°C), the soft-ball stage.
- Remove the saucepan from the heat immediately. Quickly stir in the chocolate chips, marshmallow creme, vanilla, and optional nuts until the mixture is completely smooth.
- Pour the hot fudge into the prepared pan and spread it evenly. Let it cool and set for 2 to 3 hours at room temperature, or refrigerate it for about 1 hour.
- Lift the set fudge from the pan using the parchment or foil lining. Cut it into 24 to 36 squares with a sharp knife, wiping the blade between cuts for tidy edges.
Notes
Final Thoughts
This easy homemade fudge recipe delivers classic chocolate flavor with a straightforward stovetop method. Boil the sugar, butter, and evaporated milk mixture for 5 minutes, aim for the soft-ball stage, then quickly blend in the chocolate chips, marshmallow creme, vanilla, and optional nuts.
Give the fudge enough time to set before cutting, and you will have smooth, rich squares ready for sharing. Whether you make it for a holiday tin, a family dessert, or a simple chocolate craving, this reliable candy recipe belongs in every home baker’s collection.
Keep the recipe close for special occasions, and remember the most important details: prepare your add-ins first, stir continuously, remove the pan from the heat before adding the chocolate, and work quickly while the mixture is warm.
4 thoughts on “Easy Homemade Fudge Recipe with Chocolate Chips and Marshmallow Creme”