This easy Cherry Cheesecake Bars recipe makes 24 rich, creamy dessert bars in a 13 x 9-inch pan. Refrigerated crescent-roll dough creates a tender golden crust and topping, while full-fat cream cheese, sugar, egg, vanilla, and cherry pie filling form the classic cheesecake-and-cherry center.
With only 15–20 minutes of preparation and 30–35 minutes of baking at 350°F, these bars are simple enough for a weeknight treat and pretty enough for a potluck. Let them cool for at least 1 hour, then chill them for cleaner slices and a firm, luscious cheesecake layer.
Jump to RecipeWhy You’ll Love This Recipe

Cherry cheesecake bars bring together three irresistible textures in one pan: soft pastry, creamy cheesecake, and juicy fruit. The crescent dough keeps the preparation quick, so there is no need to mix a separate pastry crust or prepare a complicated water bath.
The flavor is familiar and comforting, with tangy cream cheese balanced by sugar and vanilla. Bright cherry pie filling adds color and a sweet-tart fruit note that makes every bite taste like a classic bakery dessert.
This recipe is also made for sharing. One 13 x 9-inch pan produces 24 bars, making it a practical choice for holiday dessert tables, family gatherings, bake sales, and casual weekend entertaining.
If you enjoy fruit-forward desserts, you may also like these bright lime bars for a citrusy alternative with a fresh, tangy finish.
Ingredients You’ll Need
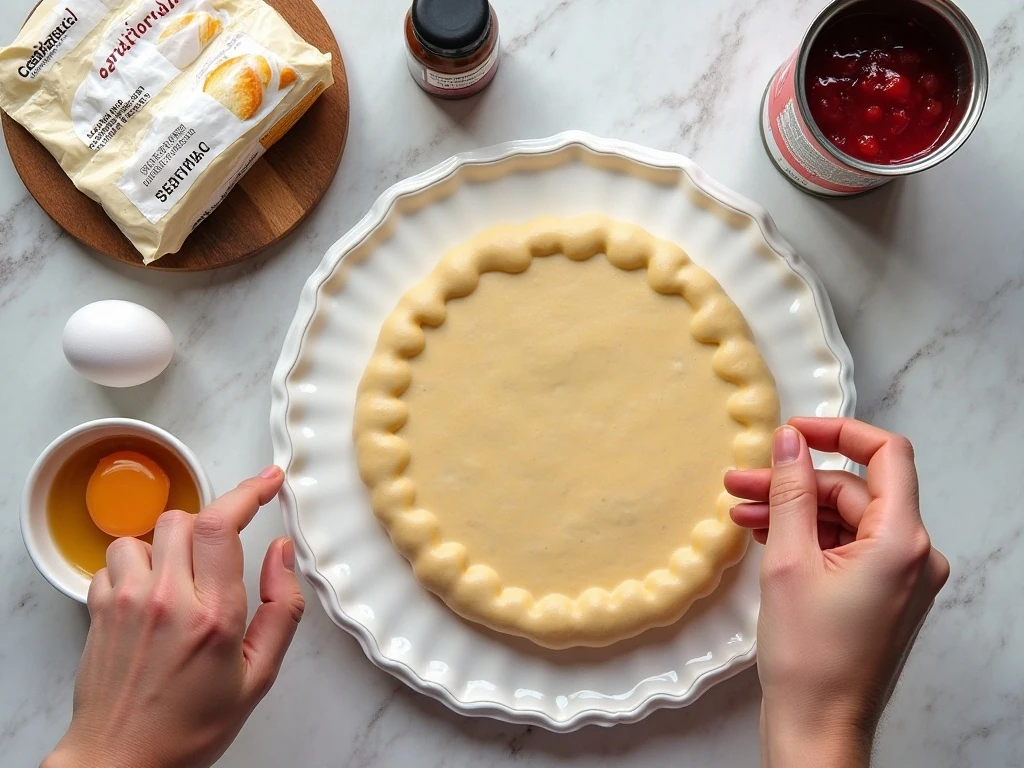
The ingredient list is short, but each item has an important job. Full-fat cream cheese gives the center its richest texture, while softened cream cheese blends smoothly with the sugar, egg, and vanilla.
- Crescent-roll dough: Two 8-ounce cans provide the bottom crust and golden top layer.
- Full-fat cream cheese: Two 8-ounce packages create a thick, creamy cheesecake filling.
- Granulated sugar: One-half cup sweetens the tangy cream cheese without overpowering the cherries.
- Large egg: One egg helps the cheesecake mixture set as it bakes.
- Vanilla extract: One teaspoon rounds out the flavor and adds warmth.
- Cherry pie filling: One 21-ounce can supplies the fruit layer and its glossy cherry sauce.
Set the cream cheese on the counter before starting so it can soften. Cold cream cheese is more likely to leave small lumps, even after mixing.
For another very simple cherry dessert idea, take a look at these two-ingredient cherry bars. They are a handy option when you want a fruit dessert with an even shorter ingredient list.
How to Make It Step-by-Step
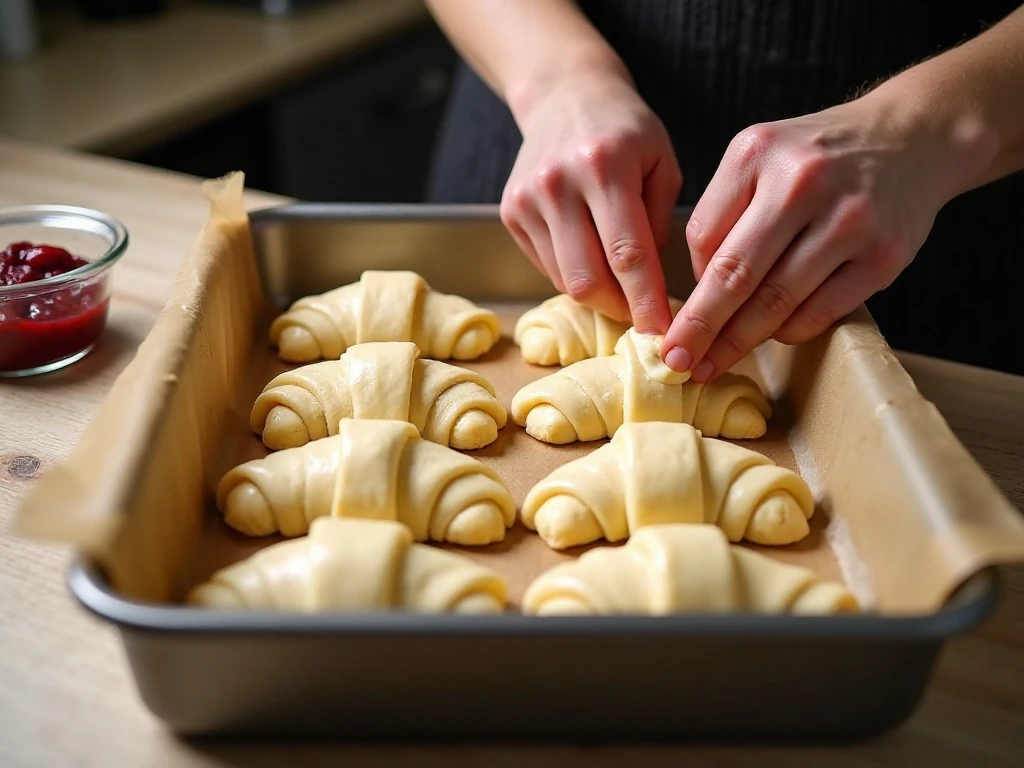
Step 1: Heat the oven to 350°F and prepare a 13 x 9-inch baking pan. Lightly grease it, or line it with parchment paper, leaving enough overhang to lift the cooled bars out later.
Step 2: Unroll one can of crescent-roll dough and press it into the bottom of the pan. Pinch together every visible seam and perforation so the base is as continuous and even as possible.
Step 3: Add the softened cream cheese, sugar, egg, and vanilla to a mixing bowl. Beat until the filling looks smooth and creamy, then stop mixing rather than continuing to whip it after it has come together.
Step 4: Spread the cheesecake mixture over the dough in an even layer. Work gently so the dough stays in place and the filling reaches the corners without tearing the crust.
Step 5: Spoon the cherry pie filling over the cream cheese. Distribute the cherries and sauce carefully, using the back of a spoon with a light touch instead of dragging forcefully through the cheesecake layer.
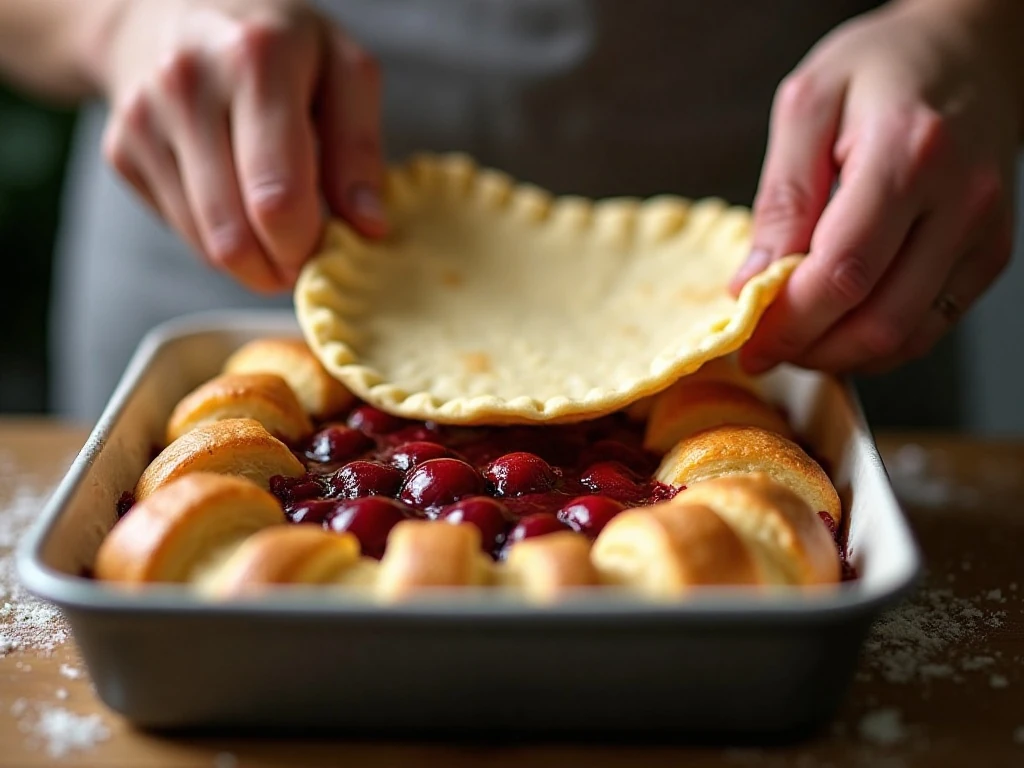
Step 6: Unroll the second can of crescent dough and place it over the cherry layer. Pinch or lightly press the seams together, but do not aggressively stretch or smooth the dough, since that can push the cherries toward the pan edges.
Step 7: Bake the assembled bars for 30–35 minutes. The top should be lightly golden, and the cheesecake layer should look set rather than wet or loose in the center.
Step 8: Transfer the pan to a cooling rack and let the dessert cool completely, allowing at least 1 hour. For the cleanest cuts, refrigerate the cooled bars for several hours before lifting them from the pan and slicing into 24 pieces.
Pro Tips for Perfect Cheesecake Bars
Room-temperature cream cheese is the most important preparation detail. It combines with the sugar and egg quickly, giving you a smooth filling without the need for excessive beating.
Parchment paper is especially useful for this recipe because the cherry filling can cling to the sides of the pan. Leave an overhang on two opposite sides, then lift the chilled dessert out in one piece before cutting.
When placing the top dough over the cherries, remember that it does not need to look perfectly stretched. Lay it down carefully, pinch the seams, and avoid pressing hard against the fruit layer.
Watch the bars closely near the end of the baking time. The top should be lightly golden, while the center should appear set; overbaking can make the pastry drier and the cheesecake layer less creamy.
Use a sharp knife for portioning, and wipe the blade between cuts if you want especially tidy layers. Chilling also makes the cherry filling less likely to smear across the cheesecake when sliced.
Serving Suggestions
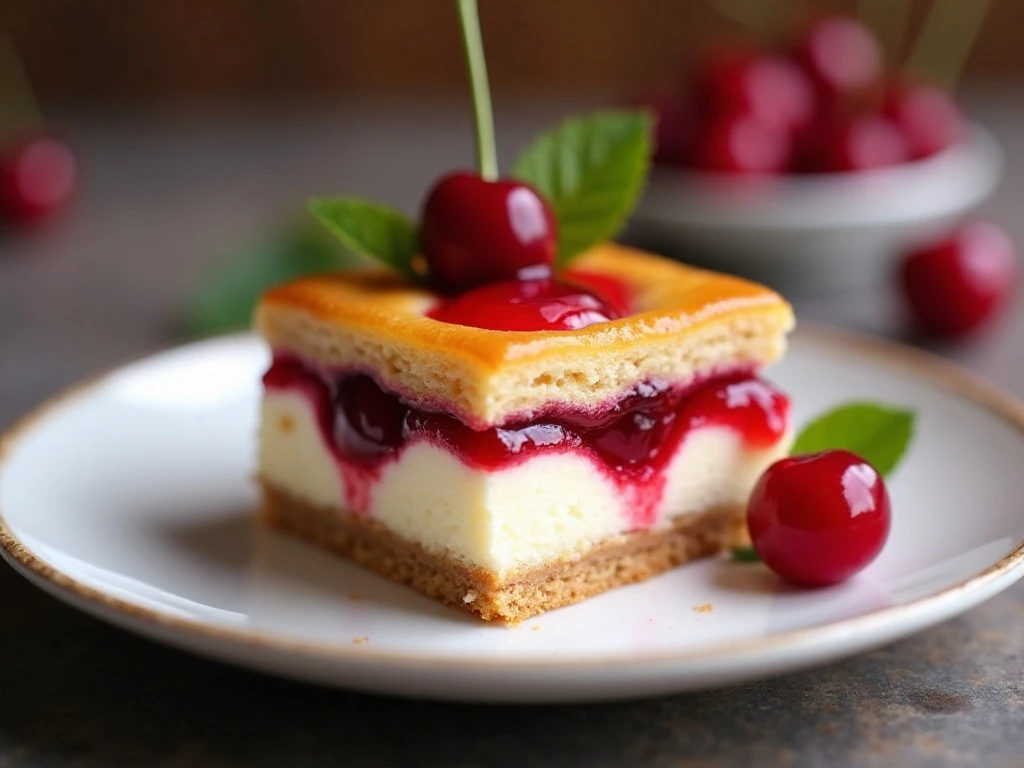
Serve these bars cold or slightly cool, depending on the texture you prefer. Chilled bars have the firmest cheesecake layer and the cleanest layers, while briefly resting them at room temperature makes the filling a little softer.
A simple dusting of powdered sugar can add a pretty finish, although the golden top and red cherry layer already make the dessert attractive. You can also serve each bar on its own for an easy hand-held treat.
For a dessert table, arrange the bars in paper liners or on a white platter so the cherry color stands out. Cut them smaller for a buffet with several sweets, or leave the pieces generous when serving them as the main dessert.
After a rich meal, something fruity and sweet can be a welcome finish. For a different seasonal treat, you can pair the dessert course with stovetop caramel apples when autumn flavors are calling.
Storage and Make-Ahead Advice
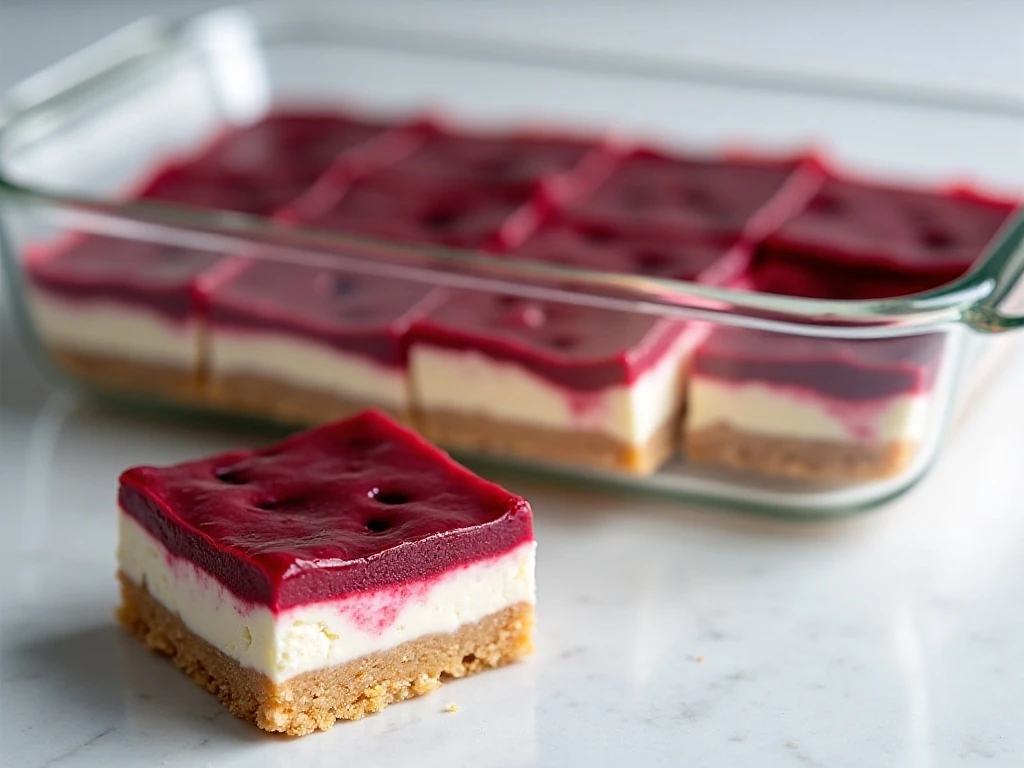
Cool the bars completely before covering them and placing them in the refrigerator. Chilling is not only helpful for slicing; it also keeps the cream cheese layer firm and the fruit filling in place.
For the best texture, chill the bars for several hours before serving. Store leftovers refrigerated in a tightly covered container, and use a sheet of parchment between layers if you need to stack them.
These bars are convenient to prepare ahead for a gathering because the finished dessert can cool and chill while you work on other dishes. Cut them shortly before serving for the neatest presentation.
If you are planning a full comfort-food spread, our easy bread stuffing is a useful savory companion for a holiday menu. For a heartier main course, see this slow-cooker pork belly recipe, then finish the meal with these chilled cherry bars.
Common Questions
Can I use low-fat cream cheese? Full-fat cream cheese is recommended because it provides the richest and creamiest texture. The supplied recipe is designed around two 8-ounce packages of full-fat cream cheese.
Why does the cheesecake layer need to cool? The filling continues to firm as it cools. Cutting too soon can cause the layers to slide or look loose, so allow at least 1 hour of cooling and chill the bars for a firmer result.
Can I use a sugar-cookie crust? Yes, a common variation replaces the two cans of crescent dough with one 16.5-ounce package of refrigerated sugar-cookie dough. That version generally uses the same cream cheese, sugar, egg, vanilla, and cherry filling quantities, but it may require pressing or partially baking the crust and baking approximately 35–45 minutes at 350°F depending on the recipe.
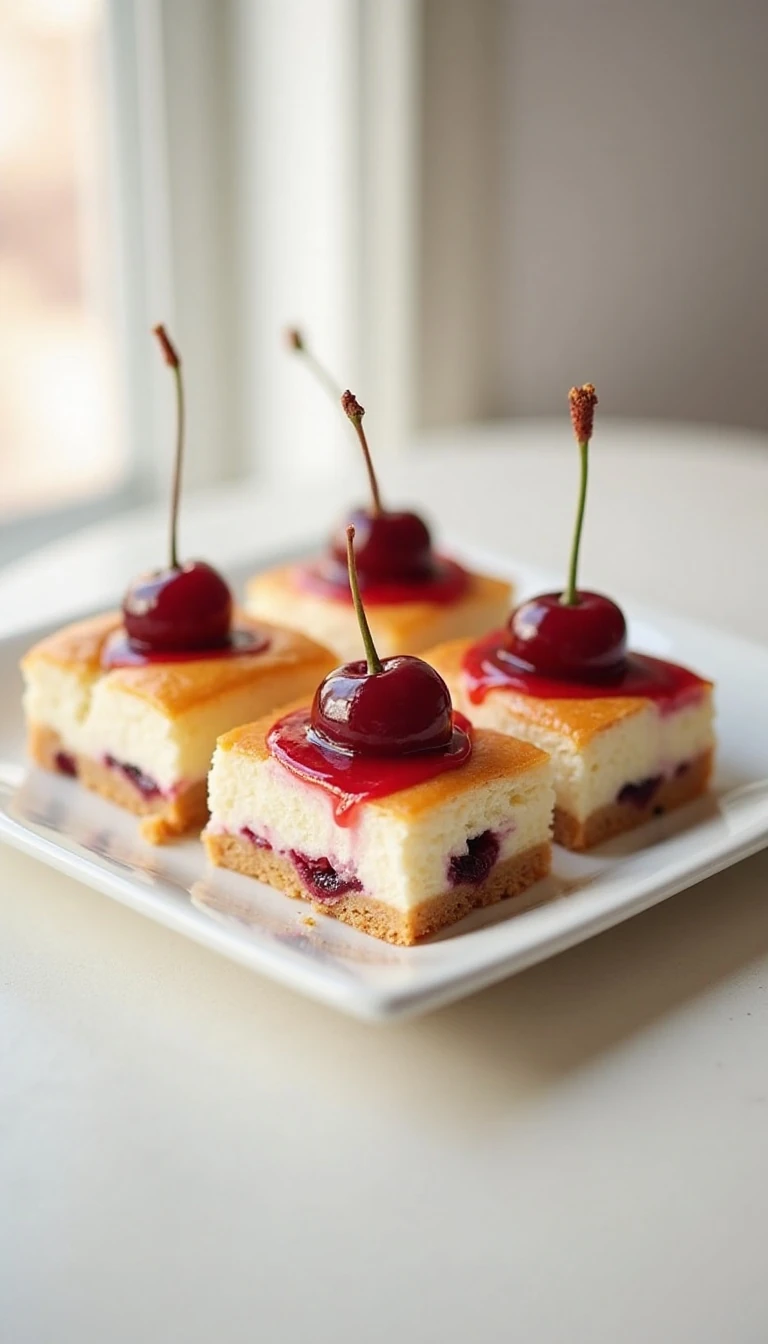
Easy Cherry Cheesecake Bars
Ingredients
Method
- Heat the oven to 350°F. Lightly grease a 13 x 9-inch baking pan, or line it with parchment paper and leave an overhang on two sides for lifting the cooled bars.
- Unroll one can of crescent-roll dough and press it across the bottom of the prepared pan. Pinch together the seams and perforations so the dough forms one even base.
- Beat the softened cream cheese, granulated sugar, egg, and vanilla extract until smooth. Stop mixing once the ingredients are combined to avoid excessive beating.
- Spread the cream-cheese mixture evenly over the crescent dough. Spoon the cherry pie filling over the cheesecake layer, distributing it gently from edge to edge.
- Unroll the second can of crescent dough and carefully place it over the cherries. Pinch or lightly press the seams together, taking care not to push the cherry filling toward the edges.
- Bake for 30–35 minutes, until the top is lightly golden and the cheesecake layer is set. Place the pan on a cooling rack and let the bars cool completely before cutting.
- For firmer, cleaner-cut bars, refrigerate the cooled dessert for several hours. Use the parchment overhang to lift the slab from the pan, then cut it into 24 bars.
Notes
Final Thoughts
These Easy Cherry Cheesecake Bars deliver the flavor of a classic cherry cheesecake without the work of making a traditional cake. Crescent-roll dough keeps the crust and topping simple, while the smooth cream cheese layer and ruby-red cherry filling make every square look and taste special.
Prepare the pan with parchment, use softened cream cheese, and handle the top dough gently for the best results. Once the bars have baked for 30–35 minutes and cooled for at least 1 hour, a few hours in the refrigerator will give you beautifully firm, clean-cut pieces.
Whether you are bringing dessert to a gathering or keeping a pan ready for afternoon cravings, this 24-bar recipe is dependable, colorful, and wonderfully easy. Slice, chill, serve, and enjoy the creamy cherry combination in every bite.
4 thoughts on “Easy Cherry Cheesecake Bars Recipe with Crescent Roll Crust”