This Easy No-Bake Four-Layer Chocolate Dessert is a creamy chocolate lush made in a 9×13-inch pan with a cookie crust, sweet cream-cheese layer, chocolate pudding, and whipped topping. It takes about 20 to 30 minutes to assemble, requires no oven time, and needs at least 4 hours in the refrigerator to set properly.
Every bite brings together a crisp, buttery chocolate-cookie base, tangy-sweet cream cheese, silky pudding, and cloudlike whipped topping. Add chocolate shavings or mini chocolate chips for a pretty finish, then chill it overnight for the cleanest slices and the most spoon-licking-worthy texture.
Jump to RecipeWhy You’ll Love This Recipe
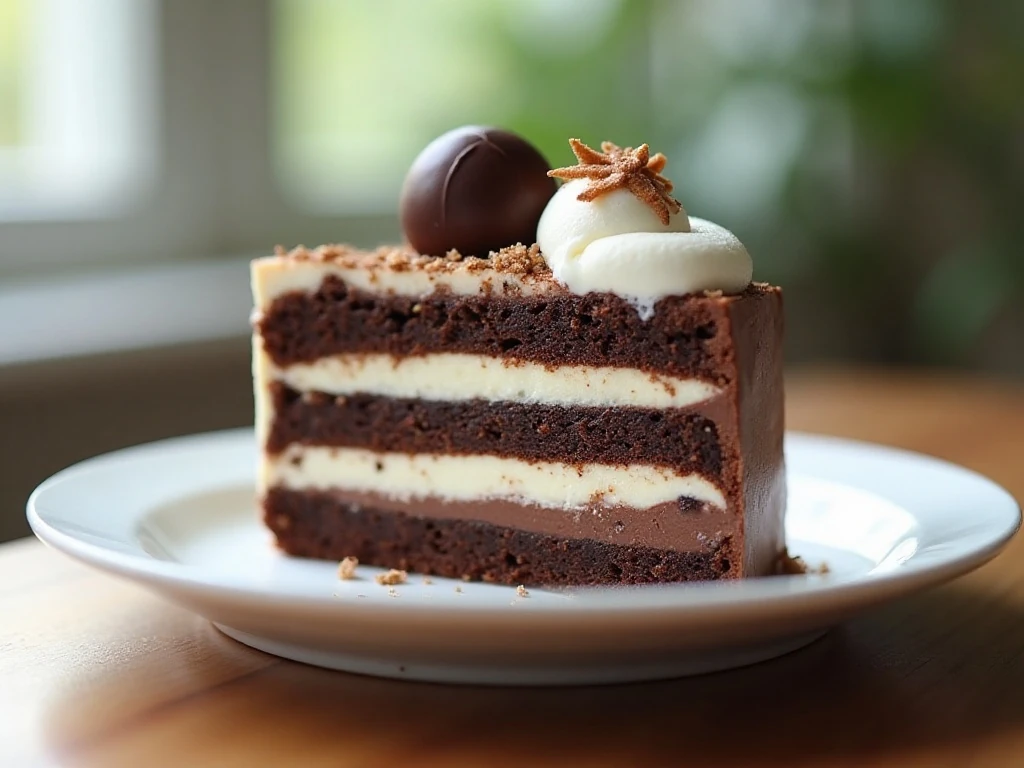
This dessert is the answer when you want something rich and chocolatey without turning on the oven. The entire recipe comes together in a single baking dish, and the refrigerator does the work of setting each layer into a cool, sliceable treat.
The contrast of textures makes this chocolate lush especially satisfying. The cookie crust has a gentle buttery crunch, the cream-cheese layer adds a slight tang, the pudding is smooth and deeply chocolatey, and the whipped topping keeps every forkful light.
It is also a wonderful make-ahead dessert for birthdays, potlucks, holidays, and family dinners. Since the pan yields about 12 servings, one batch can provide dessert for a crowd without complicated decorating or last-minute baking.
If you are planning a dessert table, you can pair this chilled chocolate treat with bright, fruity flavors such as our mandarin orange dessert. The citrus notes offer a refreshing contrast to the creamy chocolate layers.
Ingredients You’ll Need

The crust begins with 36 regular chocolate sandwich cookies, finely crushed into about 3 cups of crumbs. Melted unsalted butter binds those crumbs together and gives the base enough richness to hold its shape after chilling.
For the second layer, use 8 ounces of cream cheese, 1 cup of confectioners’ sugar, 1 teaspoon of vanilla extract, and 1 cup of thawed whipped topping. The cream cheese should be fully softened; this small preparation detail is important because cold cream cheese can leave stubborn lumps in the finished layer.
The pudding layer needs two 3.9-ounce packages of instant chocolate pudding mix and 3 cups of cold whole or 2% milk. Instant pudding thickens quickly, so measure the milk carefully and whisk for the full two minutes called for in the recipe.
The final layer uses 2 cups of thawed whipped topping. Finish with 1/3 to 1/2 cup of semisweet chocolate shavings or mini chocolate chips, depending on whether you prefer an elegant garnish or a little extra chocolate crunch.
- Equipment: 9×13-inch baking dish, mixing bowls, electric mixer or sturdy whisk, spatula, measuring cups, and a refrigerator-safe cover.
- Optional preparation: Line the pan with parchment for easier lifting, although the dessert can also be served directly from the dish.
How to Make It Step-by-Step
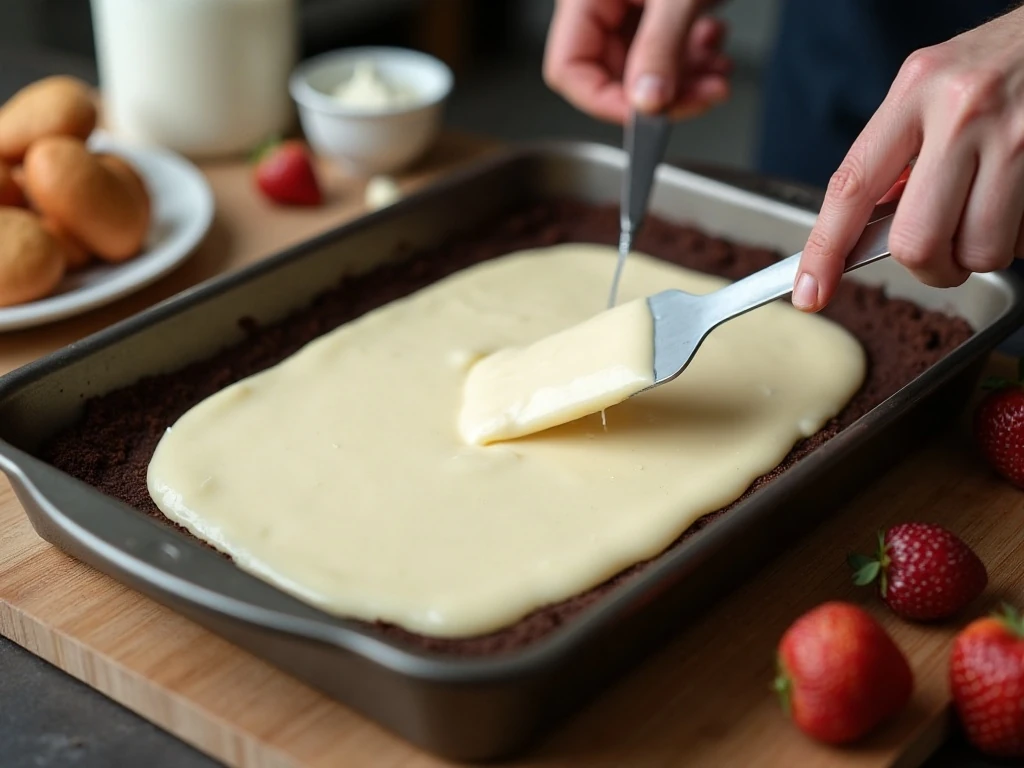
Step 1: Prepare the cookie crust by combining the finely crushed chocolate sandwich cookies and melted unsalted butter in a bowl. Mix until the crumbs look evenly moistened, with no large dry pockets remaining, then press them firmly across the bottom of a 9×13-inch baking dish.
Step 2: Refrigerate the crust for 15 to 20 minutes. This brief rest gives the butter time to firm and helps the base stay in place when the creamy layers are spread over it.
Step 3: Make the cream-cheese layer by beating the softened cream cheese until completely smooth. Add the confectioners’ sugar and vanilla extract, beat until creamy, then gently fold in 1 cup of thawed whipped topping to create a fluffy, spreadable mixture.
Step 4: Spread the cream-cheese mixture over the chilled cookie crust. Work gently from the center toward the edges so the crust remains intact and the layer reaches the corners in an even thickness.
Step 5: Whisk the two instant chocolate pudding mixes with 3 cups of cold whole or 2% milk for about 2 minutes. Let the mixture stand for 3 to 5 minutes, allowing it to thicken before you spoon it over the cream-cheese layer.
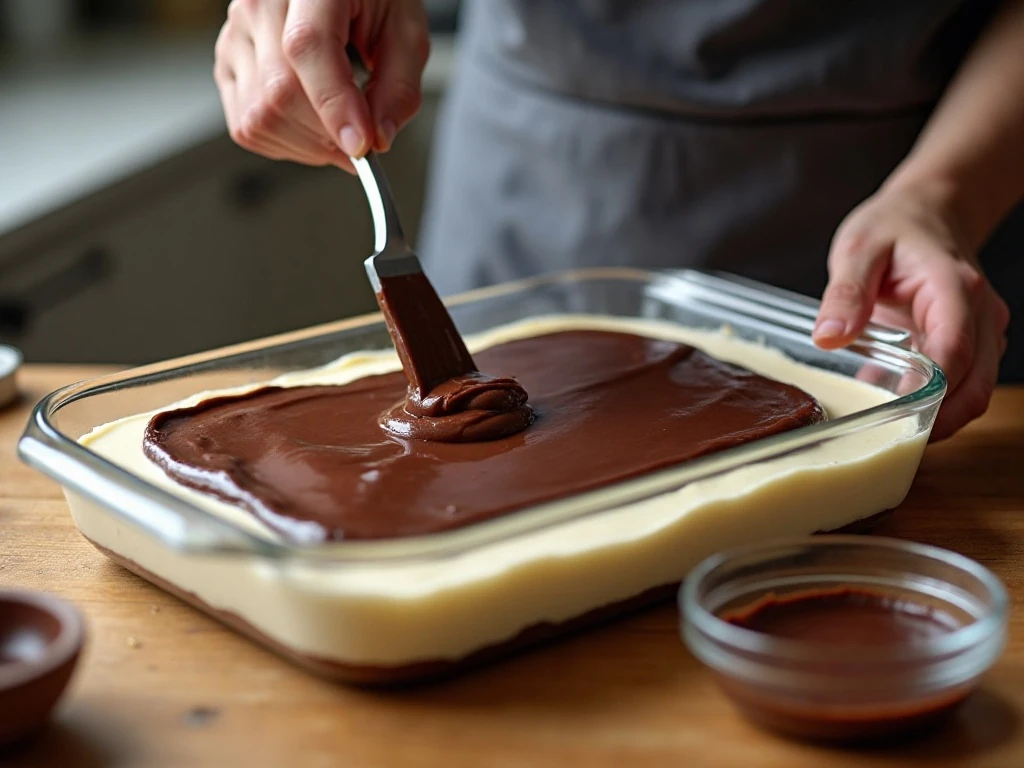
Step 6: Spread the thickened pudding carefully over the cream-cheese layer. A silicone spatula or the back of a spoon works well, and light pressure will help keep the layers distinct rather than blending them together.
Step 7: Add the remaining 2 cups of whipped topping, spreading it into a smooth blanket over the pudding. Sprinkle the top with 1/3 to 1/2 cup of semisweet chocolate shavings or mini chocolate chips for a finished look.
Step 8: Cover the pan and refrigerate the dessert for at least 4 hours before serving. For the firmest texture and cleanest slices, let it chill overnight, then cut with a sharp knife.
Pro Tips for Perfect Layers
Start with properly softened cream cheese. Leave it at room temperature long enough to become pliable, then beat it by itself until smooth before adding the sugar and vanilla; this prevents small lumps from becoming trapped in the layer.
Press the cookie crust firmly but evenly. Use the flat bottom of a measuring cup or a glass to compact the crumbs, paying special attention to the corners where loose crumbs can make slices fragile.
Keep the milk cold when mixing the pudding. Cold milk helps the instant pudding thicken as expected, while letting it stand for 3 to 5 minutes after whisking gives it enough body to spread without running.
Use a gentle hand when adding each layer. Spoon the pudding in several spots over the cream cheese, then connect those areas with a spatula rather than pushing hard in one direction.
For easy serving, dip your knife in warm water, wipe it dry, and slice. Repeat between cuts for tidy portions, especially if you are serving the dessert at a gathering.
This recipe is sweet and creamy enough to stand alone, but it can also follow a casual meal. For a party menu that includes savory snacks, try serving it after a warm cheeseburger dip with crackers and vegetables.
Chilling, Storage, and Serving
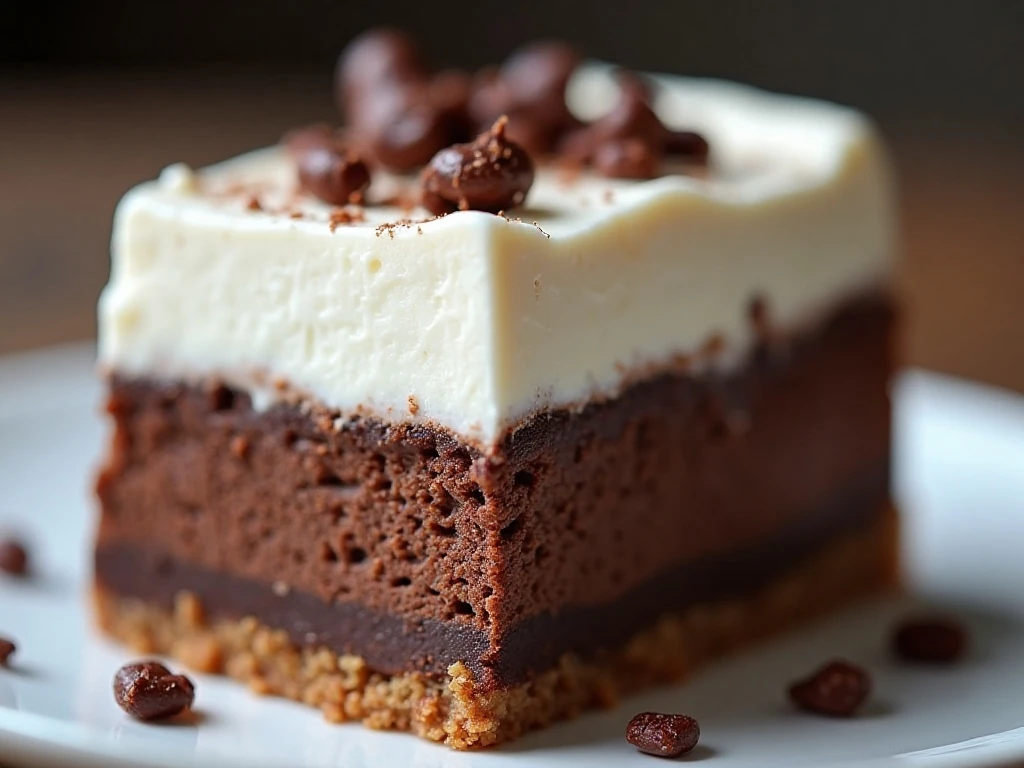
The dessert must be refrigerated for at least 4 hours before cutting. A longer overnight chill gives the cookie base time to firm, allows the pudding to set fully, and makes the layers easier to distinguish in every slice.
Keep the pan covered while it chills and whenever leftovers are stored. The whipped topping can absorb refrigerator odors, so a snug lid or plastic wrap is helpful; if using plastic wrap, tent it slightly so it does not press into the garnish.
Store leftovers in the refrigerator and serve them cold. Because this is a no-bake layered dessert with whipped topping and pudding, it is best enjoyed chilled rather than warmed or reheated.
For a polished presentation, cut the dessert into about 12 portions and place each serving on a small plate. A sprinkle of chocolate shavings at the table adds a fresh finish, while a small dessert fork makes it easy to scoop through all four layers.
If you enjoy simple sweets that are made for sharing, you might also like these easy homemade beignets. They offer a warm, powdered-sugar contrast to this cool chocolate dessert.
Variations and Serving Ideas
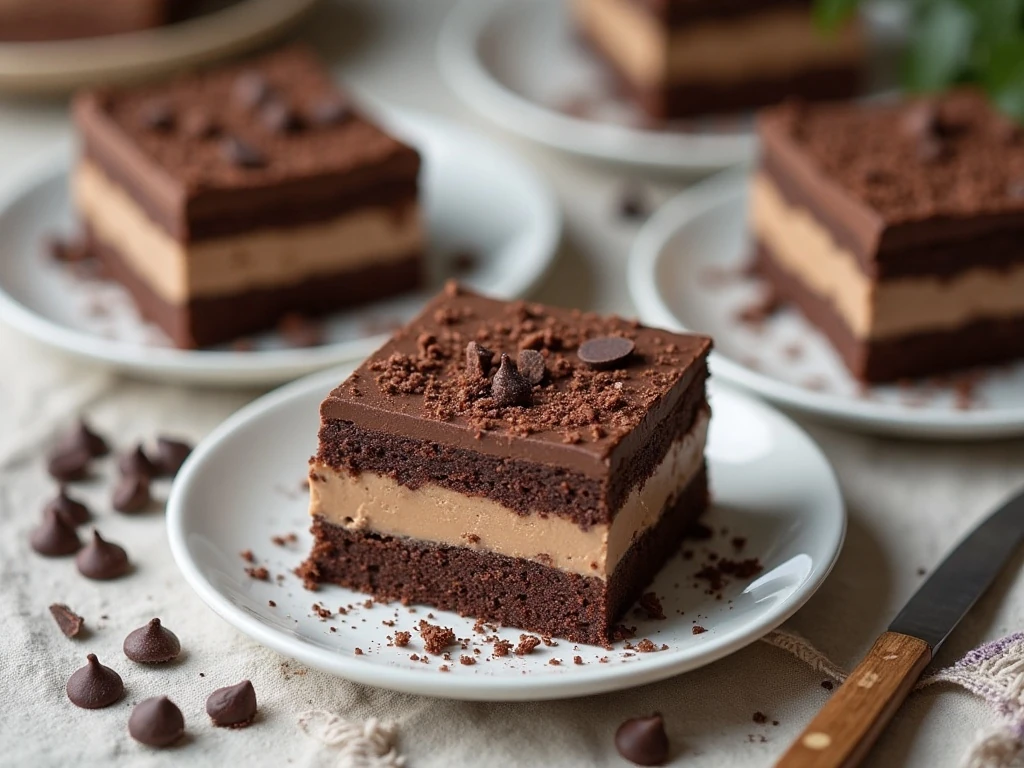
The classic version is deliberately straightforward, so each layer remains recognizable. You can change the garnish without changing the structure: use chocolate shavings for a delicate finish or mini chocolate chips for a more noticeable bite.
For a holiday table, arrange the chocolate chips in a simple border around the edge of the whipped topping. For a birthday, sprinkle them over the entire surface and add candles only after the dessert has chilled and just before serving.
A square slice looks especially attractive when the layers are visible from the side. If the first piece is difficult to remove, use a small offset spatula to loosen the crust from the pan before lifting the serving.
Chocolate lovers can place this recipe beside other rich treats on a dessert buffet, including these chocolate bark cupcakes. The two desserts have different textures, giving guests a choice between a chilled layered pudding dessert and a hand-held cupcake.
Although this recipe is designed for a 9×13-inch pan, avoid reducing the chilling time if you divide it into smaller portions. The layers still need time to firm, and overnight refrigeration remains the safest choice for clean presentation.
For a complete meal ending, serve modest slices after a comforting dinner. A hearty side such as easy roasted potatoes can precede this cool, creamy dessert when you are building a relaxed family-style menu.
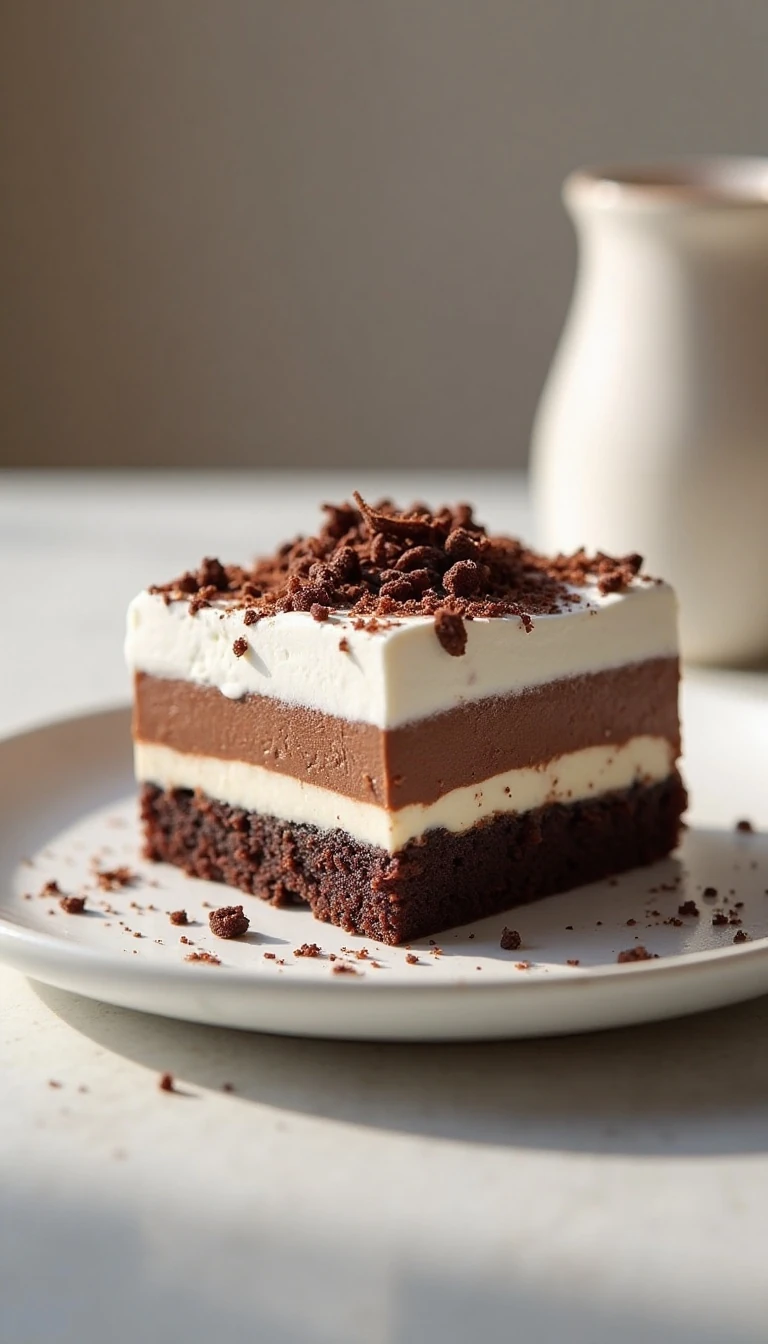
Easy No-Bake Four-Layer Chocolate Dessert
Ingredients
Method
- Line a 9x13-inch baking dish with parchment if desired. Stir the finely crushed chocolate sandwich cookies with the melted butter until all the crumbs are evenly moistened, then firmly press the mixture into the bottom of the dish and refrigerate for 15 to 20 minutes.
- Beat the fully softened cream cheese until smooth before adding the confectioners’ sugar and vanilla. Beat again until creamy, fold in 1 cup of thawed whipped topping, and spread the mixture over the chilled crust.
- Whisk both instant chocolate pudding mixes with 3 cups of cold whole or 2% milk for about 2 minutes. Let the pudding stand for 3 to 5 minutes so it thickens, then spread it over the cream-cheese layer.
- Spread the remaining 2 cups of whipped topping over the pudding layer, taking care not to disturb the surface. Sprinkle with 1/3 to 1/2 cup of semisweet chocolate shavings or mini chocolate chips if using.
- Cover the pan and refrigerate for at least 4 hours before cutting. Chill overnight when possible for the firmest pudding layer and the neatest slices.
Notes
Final Thoughts
This Easy No-Bake Four-Layer Chocolate Dessert earns its place in any recipe collection because it delivers impressive layers with very little hands-on effort. There is no cook time, no pastry dough, and no complicated decoration—just a buttery cookie crust, smooth cream cheese, thick chocolate pudding, and fluffy topping.
Give the cream cheese time to soften, keep the pudding milk cold, and do not rush the refrigerator stage. After at least 4 hours, and preferably overnight, you will have a firm, creamy dessert that cuts beautifully and tastes even better when shared.
Prepare the pan a day ahead for your next gathering, add the chocolate garnish just before serving, and enjoy the contrast of crisp crumbs and velvety layers in every bite. This is the kind of dependable chocolate dessert that disappears quickly and leaves everyone asking for the recipe.
2 thoughts on “Easy No-Bake Four-Layer Chocolate Dessert Recipe”