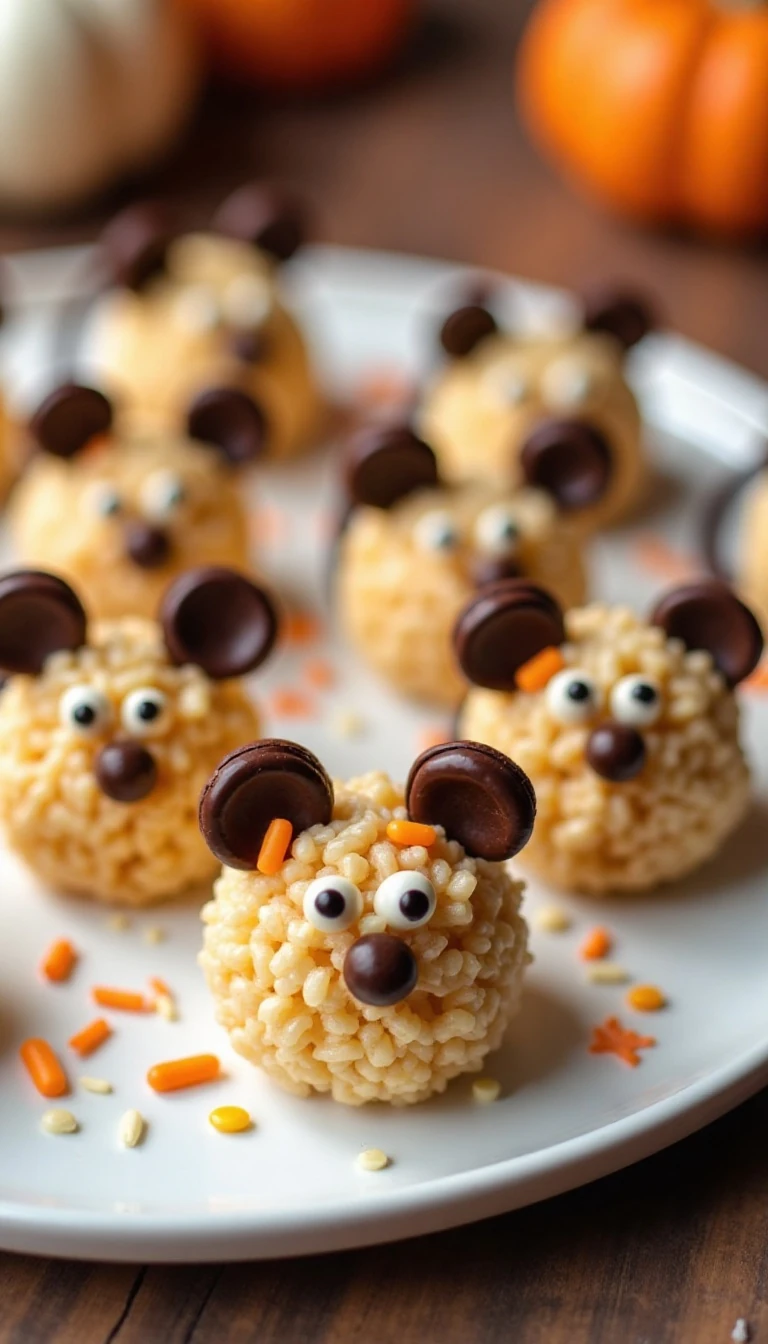
These adorable Mice Rice Krispie Treats are an easy no-bake dessert made from buttery marshmallows and crisp rice cereal, shaped into twelve tiny mouse bodies and finished with almond ears, candy eyes, licorice tails, and optional candy noses. The treats take about 25–35 minutes to prepare, 5–8 minutes to melt and mix, and another 20–30 minutes to set.
Every bite is soft, chewy, buttery, and lightly crisp, while the chocolate details add a rich finish. They are especially fun for Halloween parties, classroom celebrations, animal-themed birthdays, and dessert tables where a playful homemade treat is sure to attract attention.
Jump to RecipeWhy You’ll Love This Recipe
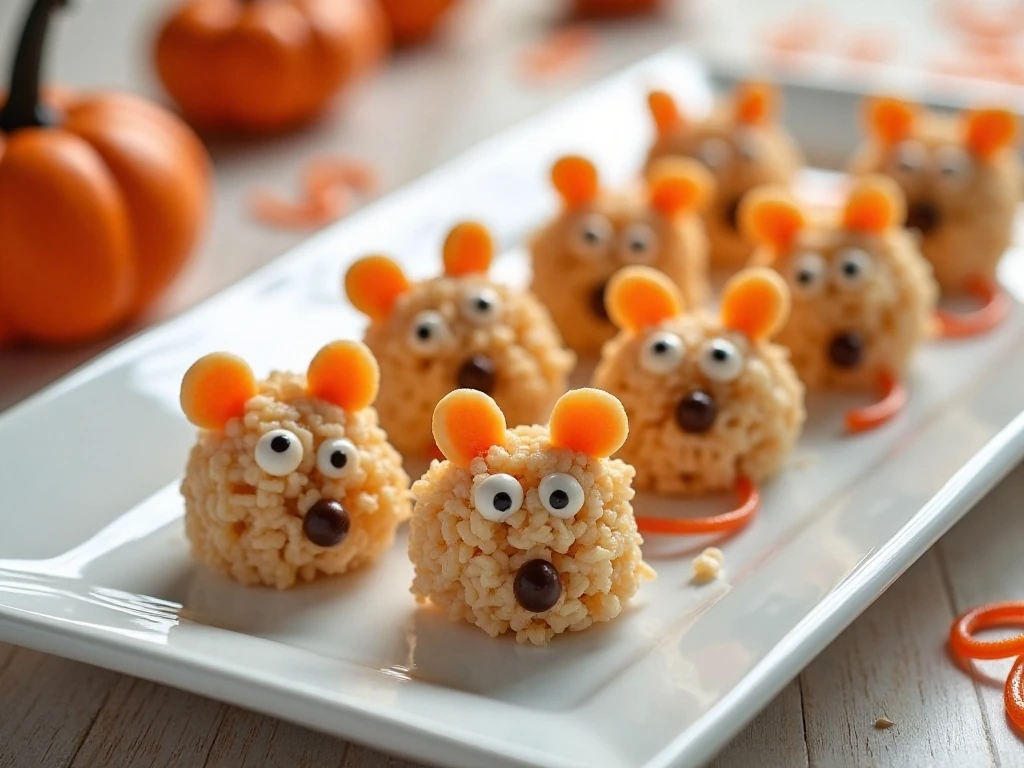
These mouse-shaped treats use the familiar three-ingredient Rice Krispie base, so the recipe is simple enough for a busy party day and charming enough to feel special. There is no oven required, and the decorations can be prepared while the cereal mixture cools.
The shape does most of the visual work. A slightly pointed end instantly suggests a nose, while two almond slices and a curving licorice tail transform an ordinary cereal treat into a tiny edible mouse.
Children can help add the eyes, ears, and noses once the mixture is cool enough to handle. For a larger party menu, pair these sweet treats with a savory snack such as cranberry maple bacon Brussels sprouts for a colorful balance of flavors.
Ingredients You’ll Need
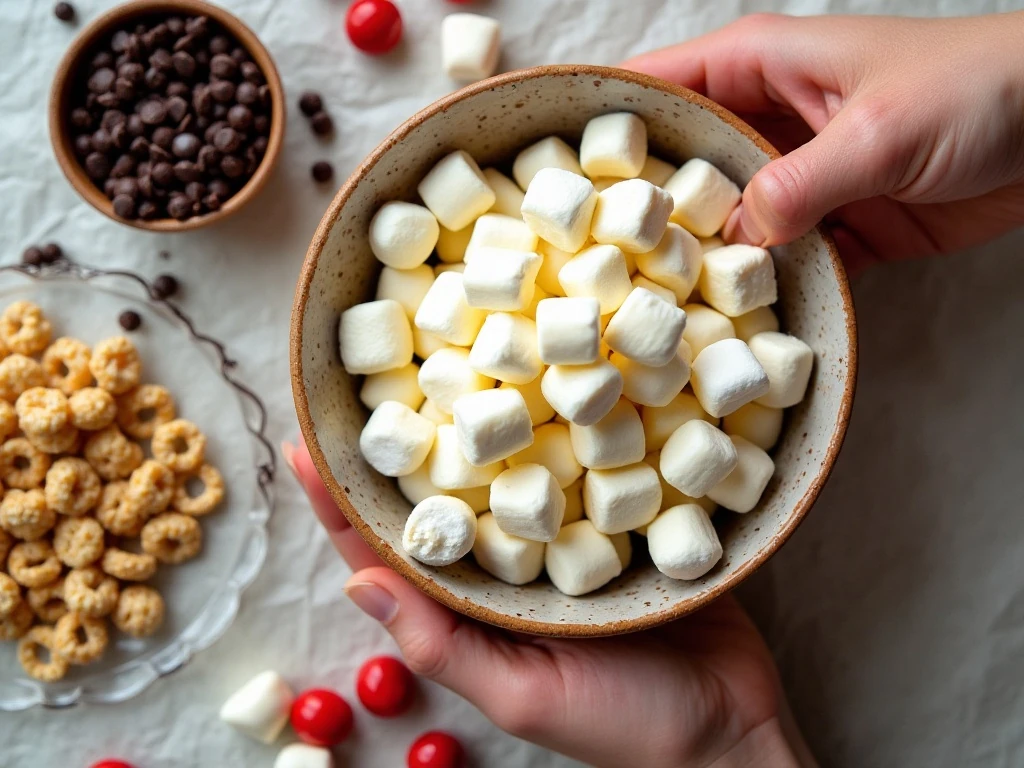
The base requires only butter, miniature marshmallows, and crisp rice cereal. Use a large saucepan because the marshmallow mixture expands as it melts, and choose a sturdy spoon or silicone spatula for stirring.
- Butter: Three tablespoons add richness and help prevent the marshmallows from sticking too much.
- Miniature marshmallows: One 10-ounce package, or about 5 1/2 cups, creates the soft binder for the cereal.
- Crisp rice cereal: Six cups provide the classic light crunch and shapeable texture.
- Chocolate: One cup of semisweet chocolate chips or candy melts can be drizzled, piped, or used for dipping.
- Almonds and candy: Twenty-four sliced almonds become the ears, while twenty-four mini chocolate chips, candy eyes, or small candies become the eyes.
- Licorice: Twelve pieces of black licorice lace, each about 3 to 4 inches long, form the tails.
- Optional noses: Small candies or red licorice pieces add a bright finishing detail.
Regular marshmallows may also be used if miniature marshmallows are unavailable. Have every decoration ready before shaping because the ears and tails attach best while the treats are still soft.
How to Make It Step-by-Step
Step 1: Prepare the work area by lining a baking sheet with parchment or waxed paper. Set out the sliced almonds, candy eyes, licorice tails, optional noses, and chocolate so decorating can move quickly once the cereal mixture is ready.
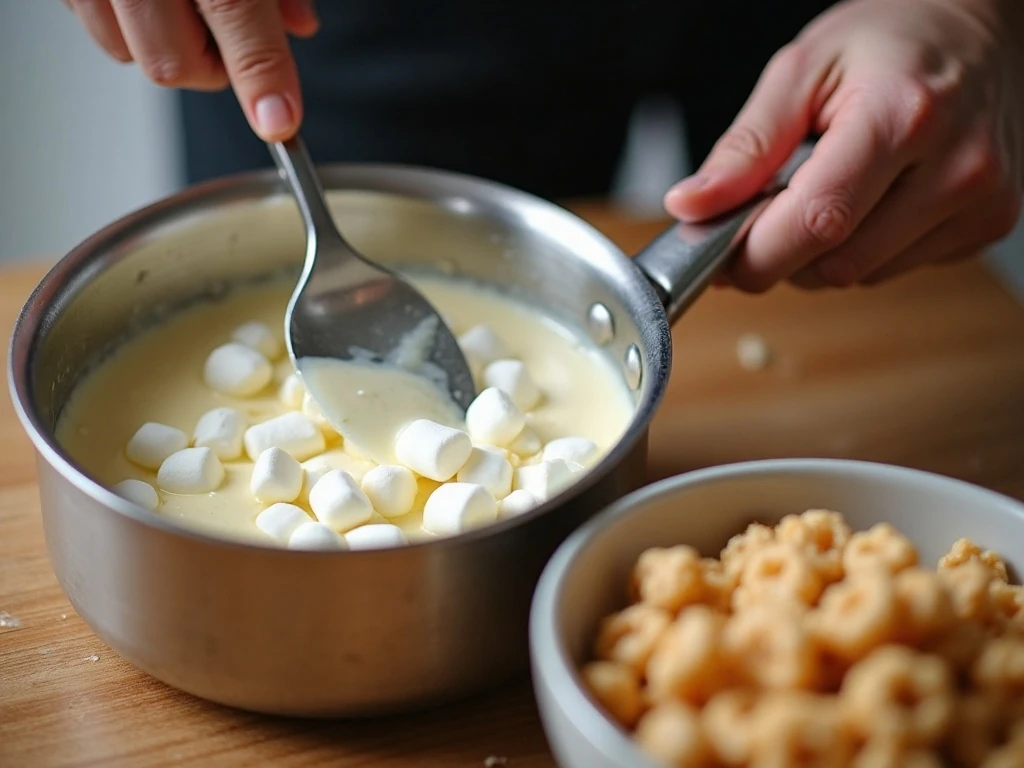
Step 2: Place the butter in a large saucepan over low heat and let it melt gently. Add the marshmallows and stir continuously until they are completely melted and smooth, taking care not to let the mixture scorch along the bottom or sides.
Step 3: Remove the pan from the heat before adding the cereal. Immediately stir in all 6 cups of crisp rice cereal, folding from the bottom upward until the marshmallow mixture coats the cereal evenly and no dry pockets remain.
Step 4: Allow the mixture to cool for several minutes, just until it is comfortable to handle but still pliable. Lightly butter or dampen your hands, or use a small amount of cooking spray, because the warm mixture is naturally very sticky.
Step 5: Divide the mixture into twelve portions. Roll and press each portion into a tapered oval or teardrop, making one end narrower and pointed for the mouse’s nose while leaving the other end rounded for the tail.
Step 6: Insert two sliced almonds into the top of each soft mouse to create ears. Press one licorice piece into the rounded back end, twisting it slightly if desired so the tail curves away from the body.
Step 7: Add two candy eyes to each treat and press an optional small candy or red licorice piece onto the pointed end for a nose. If the surface has begun to firm, microwave the mixture briefly for about 5–10 seconds before finishing the remaining shapes.
Step 8: Melt the chocolate chips or candy melts and use a spoon, piping bag, or small zip-top bag with a corner snipped off to add chocolate details. You can also dip the pointed ends for little chocolate noses, then place the finished mice on the lined baking sheet.
Step 9: Let the treats stand at room temperature for 20–30 minutes, or until the shapes and chocolate details are firm. Serve them on a platter with the tails arranged outward so each mouse is easy to recognize.
Shaping and Decorating Tips

Do not wait until the mixture is completely cool to add the ears and tails. Warm cereal treats hold decorations securely, while fully cooled treats can become difficult to pierce without cracking.
For evenly sized mice, press the warm mixture into a lightly greased pan, cut it into twelve rectangles, and shape each rectangle individually. This approach is useful when preparing treats for a party and wanting every mouse to look similar.
Keep the pointed noses modest rather than making them extremely thin. A firm, rounded point is easier to decorate and less likely to break when the treats are moved to a serving plate.
If you are serving a mixed dessert table, these mice look delightful beside colorful baked treats such as baked strawberry donuts. The pink glaze and red noses create a cheerful contrast with the dark licorice tails.
Chocolate Finish and Party Presentation
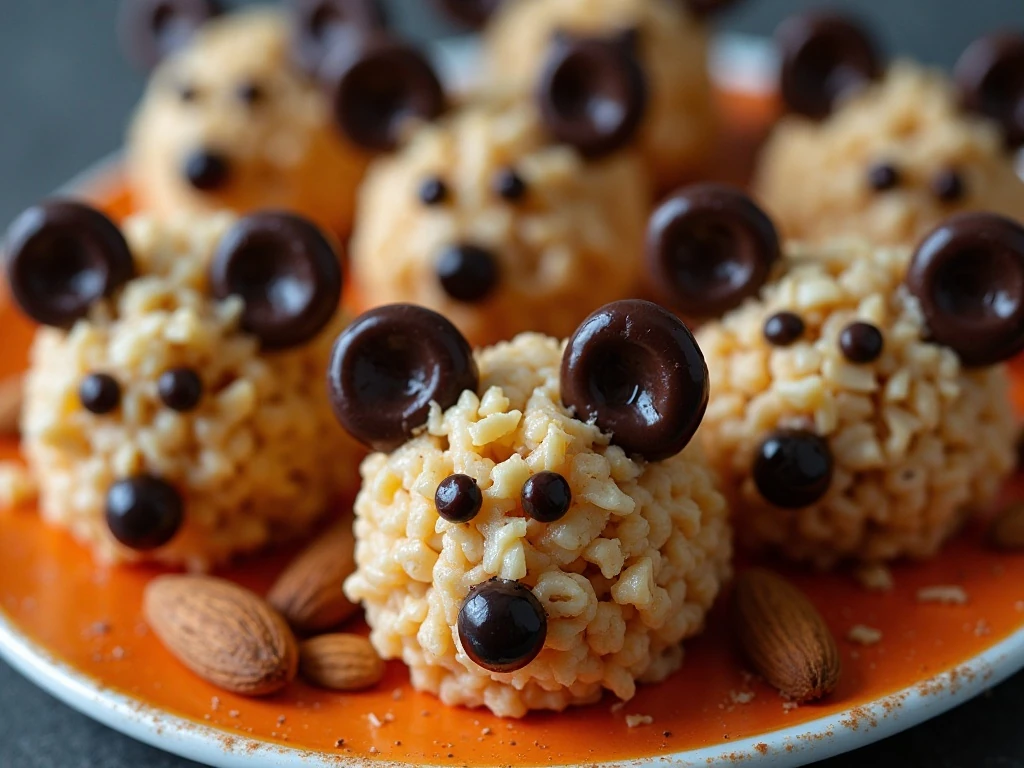
Semisweet chocolate adds a deeper flavor to the sweet marshmallow base, but candy melts are convenient when you want a quick, smooth coating. Melt the chocolate gently and stir often so it remains fluid without becoming overheated.
For a neat presentation, arrange the mice in rows with their tails pointing in alternating directions. A few orange or black sprinkles around the platter can suggest Halloween without hiding the details that make the treats look like mice.
These desserts are also easy to include in a larger celebration menu. If you are hosting a casual gathering with substantial food, consider serving them after crispy chicken katsu or alongside other finger foods.
Storage and Serving Advice
Keep the finished treats covered at room temperature until serving. They are best enjoyed while the cereal remains soft and chewy, and the decorations should be protected from moisture that could soften the licorice or candy.
Arrange the mice in a single layer whenever possible so the almond ears and tails do not get crushed. If you need to stack them, place parchment or waxed paper between layers and handle them gently.
For a party schedule, shape and decorate the mice earlier on the same day, then let them set fully before transferring them to a covered container. Their compact size makes them convenient for individual dessert plates, lunch boxes, and buffet displays.
When planning a seasonal meal, these playful sweets can follow a comforting soup course such as slow cooker broccoli cheese soup. For a lighter dinner before dessert, lemon pan-fried fish offers a fresh contrast to the rich, chewy treats.
Adorable Mice Rice Krispie Treats
Ingredients
Method
- Line a baking sheet with parchment or waxed paper. Melt the butter in a large saucepan over low heat, add the miniature marshmallows, and stir continuously until smooth.
- Remove the saucepan from the heat before adding the crisp rice cereal. Stir immediately until every piece of cereal is evenly coated.
- Let the mixture cool for several minutes, then lightly butter or dampen your hands. Divide it into twelve portions and shape each portion into a tapered oval or teardrop with one pointed end for the nose.
- While the treats are still soft, insert two sliced almonds into each mouse for ears and press one 3- to 4-inch licorice piece into the rounded end for the tail. Add two candy eyes and an optional candy or red licorice nose.
- Melt the chocolate chips or candy melts if using them for dipping or drizzling. Pipe small chocolate dots onto the treats or dip the pointed ends, then let the mice stand at room temperature for 20–30 minutes until firm.
Notes
Final Thoughts
Adorable Mice Rice Krispie Treats turn a familiar marshmallow cereal square into a memorable party dessert with only a few simple decorations. The recipe is quick, flexible, and inviting for kids and adults to assemble together.
Keep the heat low, add the cereal after removing the pan from the burner, and shape the mice while the mixture is still soft. With almond ears, candy eyes, licorice tails, and optional chocolate details, these little treats are ready to bring personality to any dessert table.