This easy classic cherry crisp recipe combines 5 cups of sweet cherries with a buttery oat topping and bakes at 350°F for 35–45 minutes. With just 15–20 minutes of preparation, it is a simple fruit dessert that delivers bubbling cherry filling and golden-brown crumbs with very little effort.
The flavor is bright, jammy, buttery, and gently spiced with cinnamon. Serve each warm portion after a 10–15 minute rest with vanilla ice cream, whipped cream, or plain yogurt for a comforting dessert that tastes homemade from the very first bite.
Jump to RecipeWhy You’ll Love This Recipe
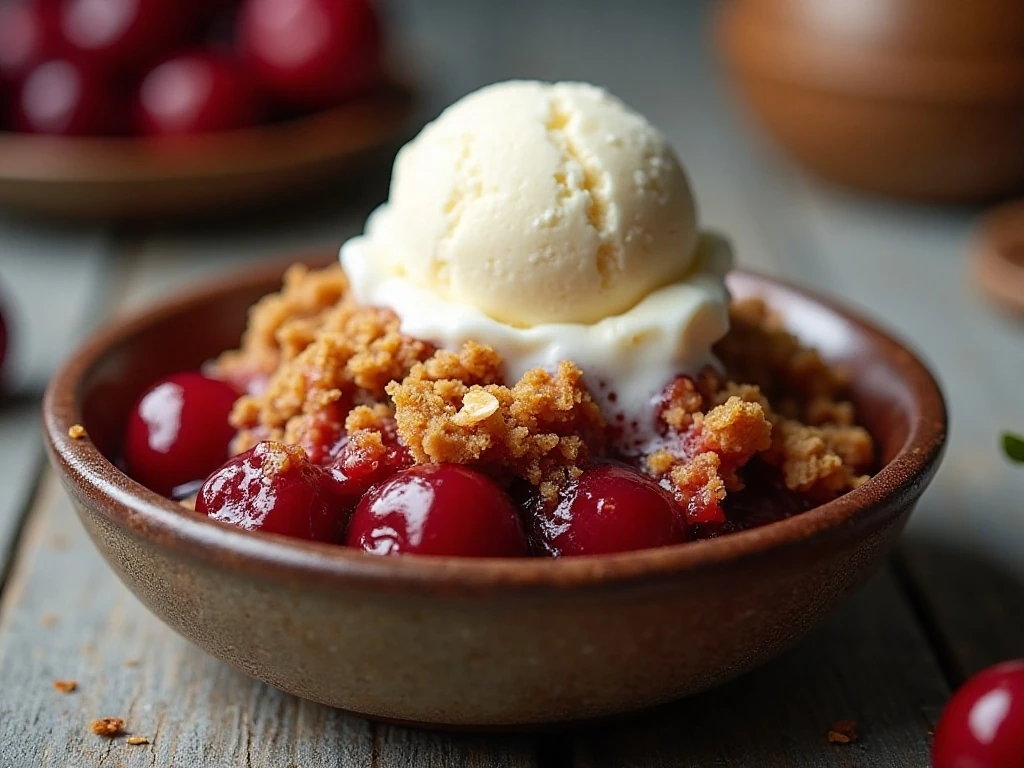
This classic cherry crisp is the kind of dessert that feels special without requiring complicated pastry work. There is no crust to roll, no mixer to wash, and no advanced baking technique to master.
The filling has a lovely balance of sweetness and acidity. Cornstarch helps the cherry juices become glossy and spoonable, while lemon juice keeps the flavor fresh rather than heavy.
On top, old-fashioned oats, flour, brown sugar, cinnamon, and melted butter create a rustic crumble with crisp edges and tender, buttery clusters. It is especially inviting when served warm, with cool vanilla ice cream melting into the fruit.
If you enjoy easy fruit desserts, you may also like this cherry dessert idea for another sweet way to use the same beloved fruit.
Ingredients You’ll Need
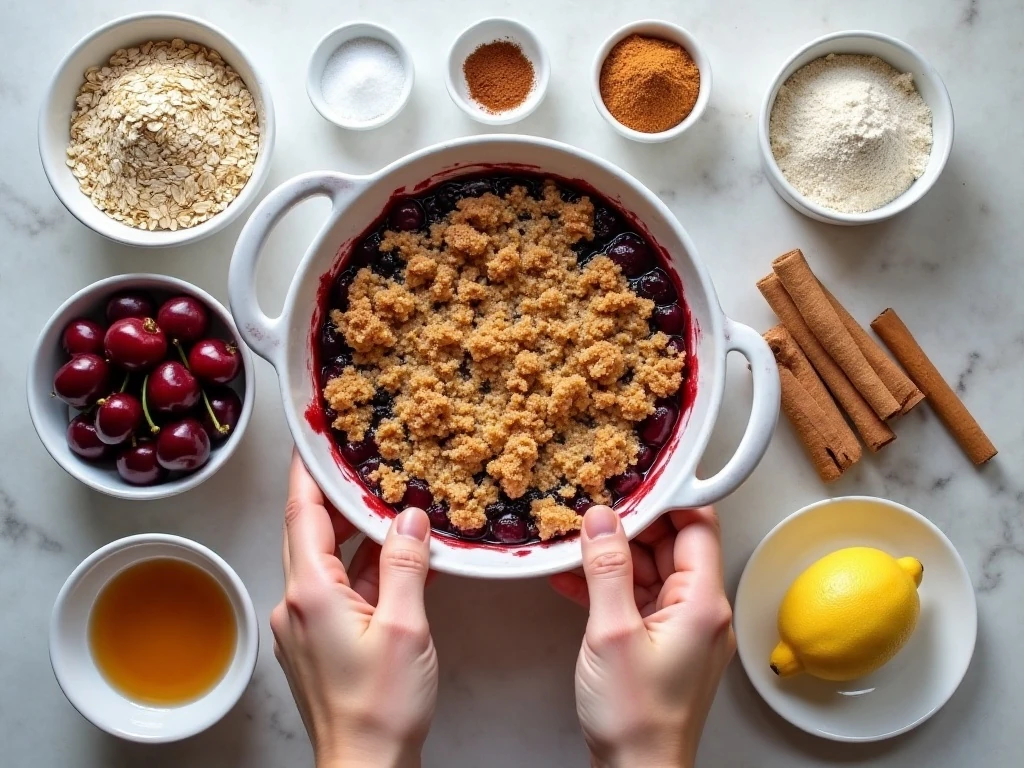
The filling begins with 5 cups of pitted fresh or frozen sweet cherries. Fresh cherries are wonderful in season, but frozen cherries make this dessert practical all year and do not need to be thawed before baking.
- Sweet cherries: Use pitted cherries for easy serving and a smooth bite.
- Granulated sugar: Sweetens the fruit while allowing its cherry flavor to remain noticeable.
- Cornstarch: Thickens the juices as the crisp bakes and cools.
- Lemon juice and vanilla: Lemon brightens the filling, while vanilla adds a soft dessert aroma.
- Rolled oats and flour: These form the structure of the crumbly topping.
- Brown sugar, cinnamon, and salt: They give the topping warm, caramel-like flavor and balance.
- Unsalted butter: Melted butter binds the topping and helps it brown beautifully.
For the best texture, choose old-fashioned rolled oats instead of quick oats. The larger flakes stay distinct and produce a more pleasantly crisp topping.
When planning a full comfort-food menu, pair dessert with savory favorites such as this easy skillet dinner. For a relaxed weekend breakfast another day, our cheesy omelet is a useful recipe to keep nearby.
How to Make It Step-by-Step
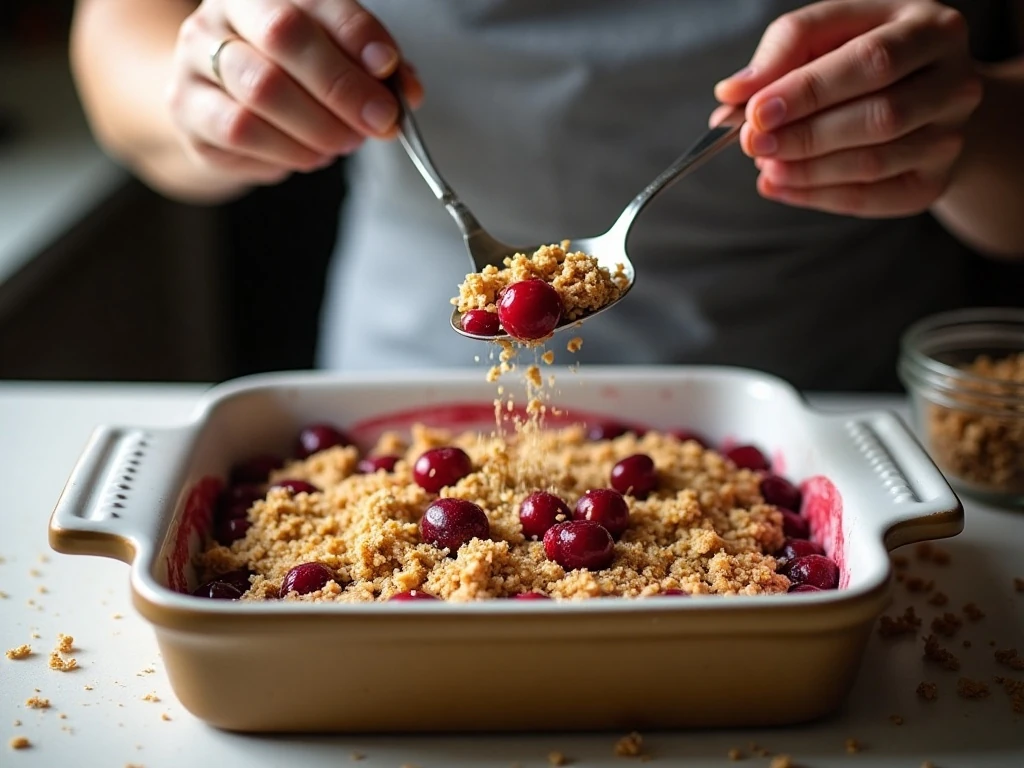
Step 1: Heat the oven to 350°F (175°C), then lightly butter an 8-inch square or similarly sized 2-quart baking dish. Greasing the dish makes serving easier and helps prevent the bubbling fruit from sticking around the edges.
Step 2: Add the pitted cherries, granulated sugar, cornstarch, lemon juice, and vanilla extract to a bowl. Stir gently until the cherries are evenly coated and no visible pockets of cornstarch remain.
Step 3: Transfer the coated cherry mixture to the prepared baking dish and spread it into an even layer. If using frozen cherries, place them in the dish straight from the freezer rather than thawing them first.
Step 4: In a separate bowl, stir together the old-fashioned oats, all-purpose flour, packed light brown sugar, cinnamon, and salt. Mixing the dry ingredients first distributes the cinnamon and salt throughout the topping.
Step 5: Pour in the melted unsalted butter and stir until the mixture forms moist, irregular crumbs. Stop mixing once the dry ingredients are moistened so the topping remains pleasantly nubby instead of turning into a paste.
Step 6: Scatter the crumb mixture loosely and evenly over the cherries. Do not press it into a solid layer, because open spaces allow steam to escape and help the topping stay crisp.
Step 7: Bake for 35–45 minutes, watching for bubbling cherry juices around the edges and a golden-brown topping. Frozen fruit may require approximately 5–10 additional minutes, depending on how quickly the filling becomes hot and bubbly.
Step 8: Remove the baking dish from the oven and let the crisp rest for at least 10–15 minutes. The filling thickens as it cools, giving you a spoonable texture instead of a thin pool of juice.
Pro Tips for the Best Cherry Crisp
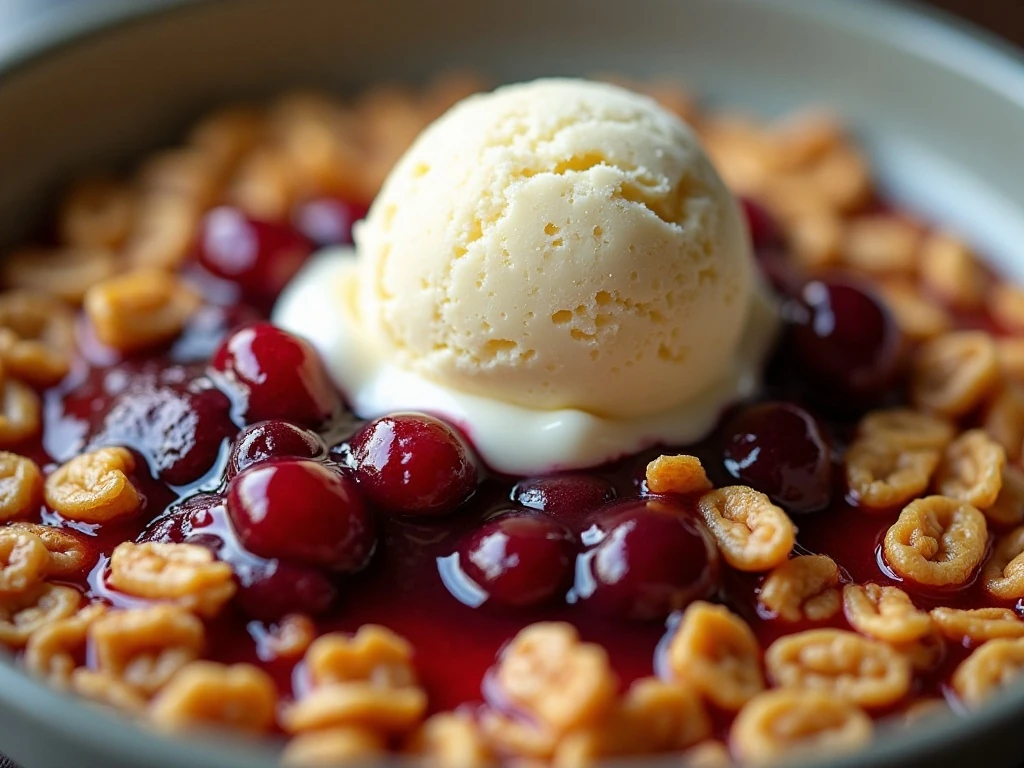
Keep the topping loose when you distribute it over the fruit. Pressing it down can create a dense blanket that steams rather than crisps, while scattered crumbs brown more evenly.
Do not skip the lemon juice. One tablespoon is enough to balance the sweetness and sharpen the natural cherry flavor without making the filling taste sour.
Look for bubbling around the edges as an important doneness cue. The topping should be golden brown, but the fruit must also be actively bubbling so the cornstarch has properly thickened the juices.
If your cherries are particularly juicy, the resting period is even more important. Give the dessert the full 10–15 minutes before serving, and the filling will settle into a richer, thicker consistency.
Fresh, Frozen, Sour, or Canned Cherries
Fresh sweet cherries offer a bright, plump texture when they are in season. Pit them carefully and measure the 5 cups after pitting so the fruit-to-topping balance stays correct.
Frozen sweet cherries are a convenient choice and can be used without thawing. Because they begin colder, plan on adding approximately 5–10 minutes to the baking time if the fruit is not bubbling by the end of the usual range.
Sour cherries also work very well, especially if you prefer a more pronounced fruit flavor. They usually need 3/4 cup sugar rather than the 1/2 cup used for sweet cherries.
Canned cherries require a little more attention. Thoroughly drain them before mixing, and reduce the sugar because many canned cherries are packed in sweet syrup.
For another no-fuss dessert to serve at a gathering, consider this no-bake pineapple pie. Its cool, creamy texture offers a pleasant contrast to a warm fruit crisp.
Serving Suggestions
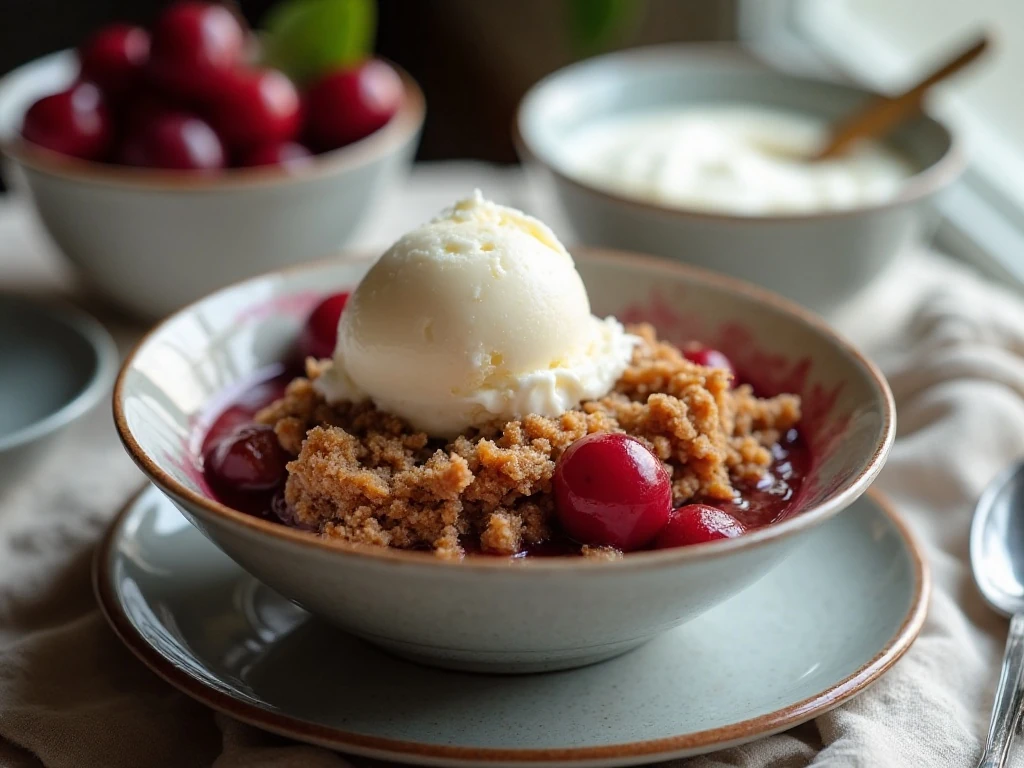
Serve the crisp warm, but not piping hot, so the filling has time to settle. A generous scoop of vanilla ice cream is the classic pairing, allowing the cold creaminess to melt over the cherries and crumb topping.
Whipped cream adds a light finish, while plain yogurt gives each serving a gently tangy contrast. For breakfast-style enjoyment, a small portion with yogurt makes the fruit and oats feel right at home.
- Vanilla ice cream for a classic dessert plate
- Whipped cream for a soft, airy topping
- Plain yogurt for a lightly tangy finish
- A warm mug of coffee or tea alongside
For a dessert table with several easy choices, this pineapple lush cake makes a creamy companion to the rustic cherry crisp.
Storage and Reheating
Let leftover crisp cool, then cover the baking dish and refrigerate it. The topping is best on the first day, but leftovers remain delicious when warmed gently.
Reheat individual portions until warm, or warm the covered baking dish in the oven until heated through. If you want to refresh the topping, uncover the dish toward the end of reheating so the crumbs can regain some of their crisp texture.
Keep the crisp refrigerated rather than leaving it at room temperature for an extended period. Add ice cream, whipped cream, or yogurt just before serving.
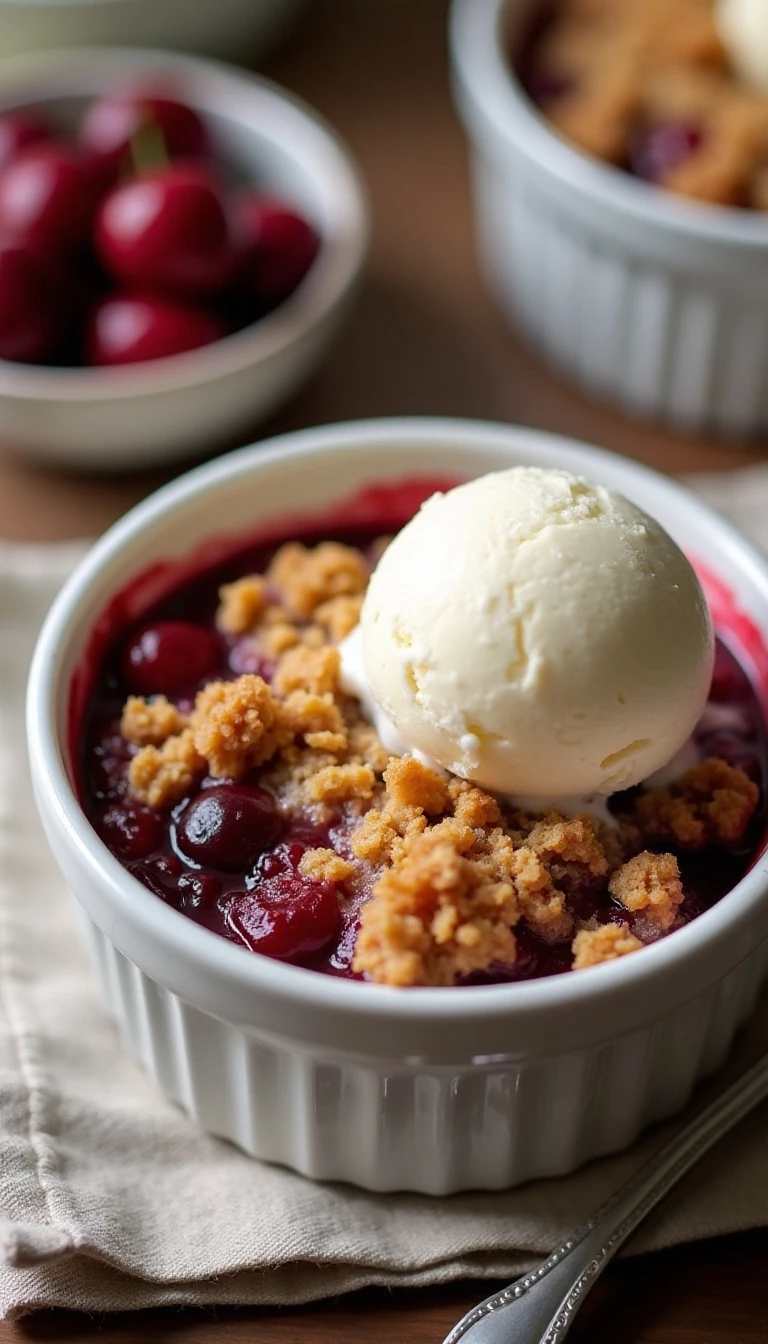
Easy Classic Cherry Crisp
Ingredients
Method
- Heat the oven to 350°F (175°C), and lightly butter an 8-inch square or similarly sized 2-quart baking dish.
- Combine the cherries, granulated sugar, cornstarch, lemon juice, and vanilla extract in a bowl. Transfer the fruit mixture to the prepared baking dish.
- In a separate bowl, stir together the rolled oats, flour, brown sugar, cinnamon, and salt.
- Add the melted butter to the dry topping mixture. Stir until moist, irregular crumbs form.
- Scatter the topping loosely and evenly over the cherries without pressing it into a solid layer.
- Bake for 35–45 minutes, until the cherry filling bubbles around the edges and the topping is golden brown. If using frozen cherries without thawing, add approximately 5–10 minutes if needed.
- Let the crisp rest for at least 10–15 minutes before serving. This allows the cherry juices to thicken so the portions are less watery.
Notes
Final Thoughts
This easy classic cherry crisp is a dependable dessert for family dinners, summer gatherings, and cozy evenings at home. The recipe uses straightforward ingredients, a single baking dish, and a short preparation time to create bubbling fruit beneath a golden oat topping.
Remember the three details that make the biggest difference: use old-fashioned oats, scatter the topping loosely, and rest the crisp for at least 10–15 minutes after baking. Once it has thickened slightly, spoon it into bowls and finish with vanilla ice cream for an irresistible homemade treat.
5 thoughts on “Easy Classic Cherry Crisp Recipe with Buttery Oat Topping”