These easy apple crisp bars are the perfect cozy baking project when you want the flavor of homemade apple crisp in a sturdy, sliceable dessert. The recipe makes 16 bars in a 9 x 13-inch pan, with a buttery oat crust, cinnamon-coated apples, and a golden crumb topping.
Thinly sliced apples bake into a tender, lightly sweet filling while lemon juice adds brightness and cinnamon brings familiar fall warmth. Prepare the bars in about 20 to 25 minutes, par-bake the crust for 10 minutes, then finish baking for 30 to 35 minutes before cooling completely for clean slices.
Jump to RecipeWhy You’ll Love This Recipe
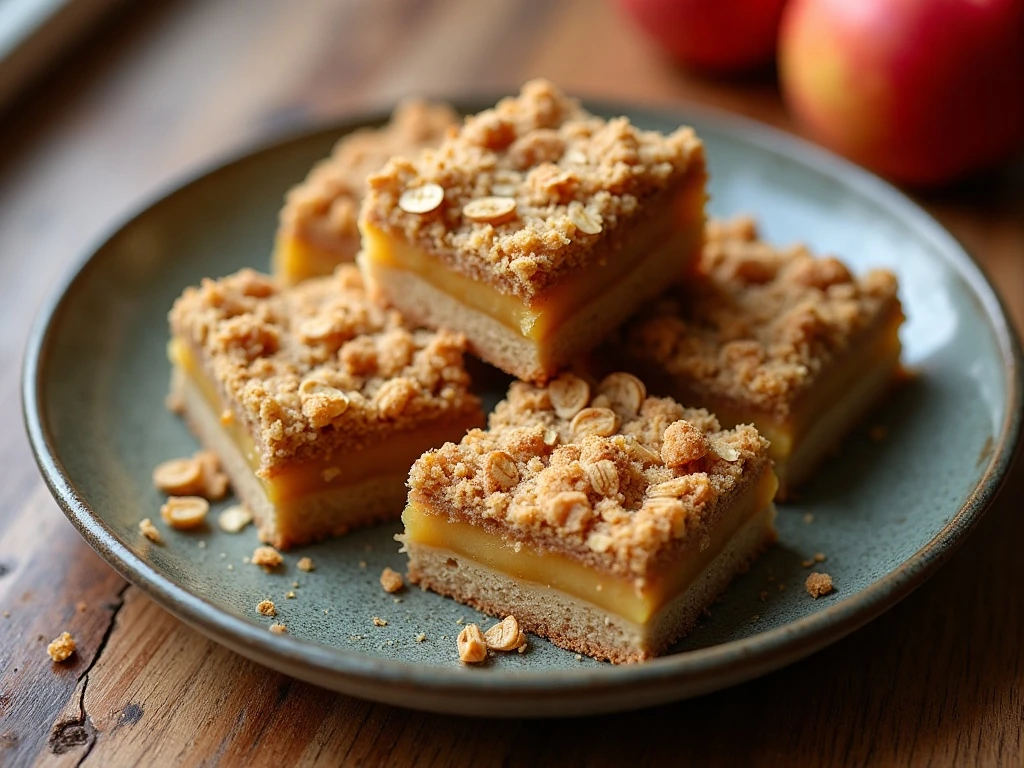
Apple crisp bars bring together two wonderful desserts in one easy pan: a fruit-filled crisp and a buttery oat shortbread-style bar. The crust gives each piece enough structure to pick up, while the soft apples and crumb topping keep every bite tender and comforting.
This recipe is also wonderfully practical. The same mixture forms both the bottom crust and the topping, so there is no second dough to prepare and no complicated pastry technique to learn.
- Makes 16 generous bars in one 9 x 13-inch pan.
- Uses simple pantry ingredients and fresh apples.
- Offers a crisp, buttery top with a soft cinnamon apple center.
- Can be served as an afternoon treat or a warm dessert.
If you enjoy classic fruit desserts, you may also like these classic cherry crisp ideas for another easy baked favorite.
Ingredients You’ll Need
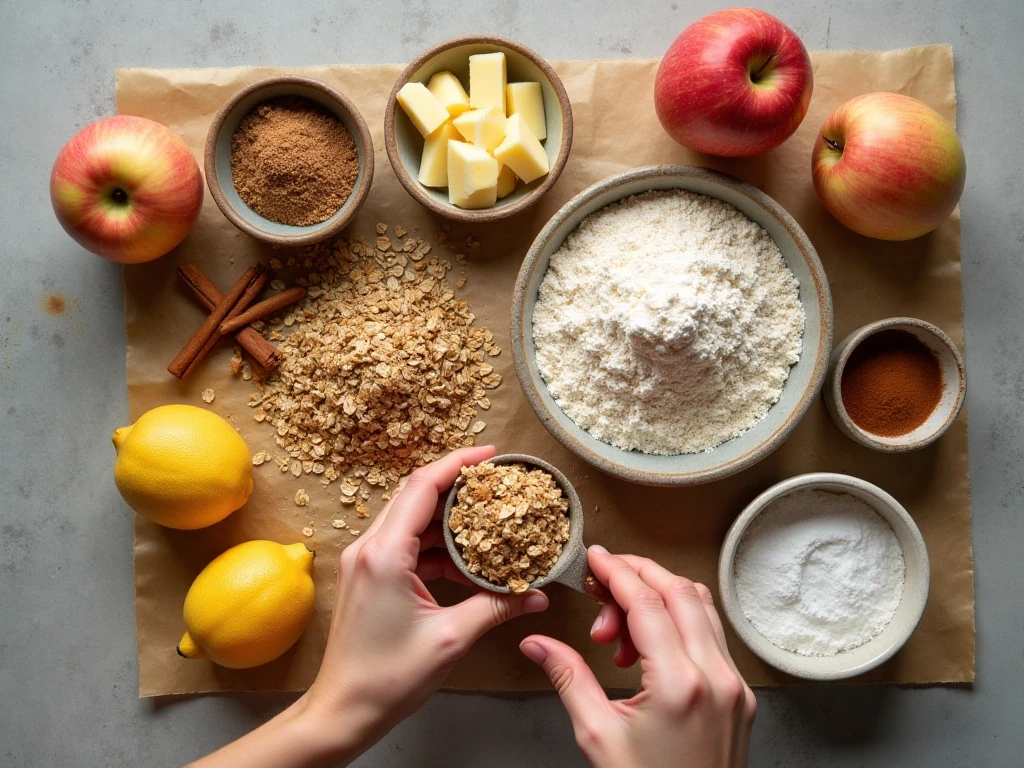
Choose five medium apples, about 2 pounds total, and slice them between 1/8 and 1/4 inch thick. Granny Smith apples bring a lively tart flavor and hold their shape well, while Honeycrisp, Pink Lady, and Braeburn provide natural sweetness with good structure.
A mixture of tart and sweet apples gives the filling the most balanced flavor. Whichever apples you choose, peel and core them first, then aim for slices that are similar in thickness so they soften at the same rate.
The crust and topping begin with all-purpose flour, old-fashioned rolled oats, light brown sugar, cinnamon, baking soda, and salt. Melted unsalted butter binds these ingredients together, and vanilla extract adds a gentle bakery-style aroma.
For the filling, granulated sugar sweetens the fruit, while flour or cornstarch helps thicken the juices as the apples bake. Lemon juice keeps the flavor bright, cinnamon adds warmth, optional nutmeg contributes a deeper spice note, and a small amount of salt keeps the sweetness balanced.
For another apple dessert with a classic homemade feel, try these homemade apple pie flavors when you are planning a larger gathering.
How to Make It Step-by-Step
Step 1: Heat the oven to 350°F (175°C). Line a 9 x 13-inch baking pan with parchment paper, leaving an overhang along the long sides so the cooled dessert can be lifted out easily. The parchment also makes cleanup much simpler.
Step 2: Make the crumb mixture by whisking together the flour, old-fashioned oats, packed brown sugar, cinnamon, baking soda, and salt in a large bowl. Add the melted butter and vanilla, then stir until all the dry ingredients look evenly moistened and the mixture holds together in loose crumbs.
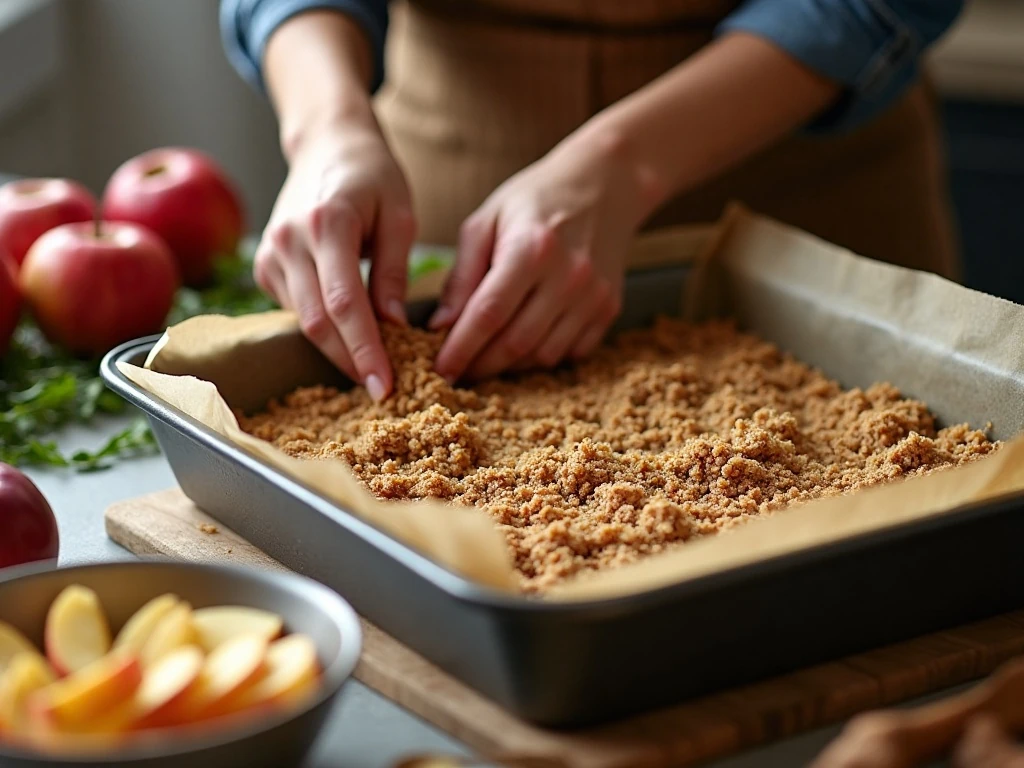
Step 3: Measure about two-thirds of the crumb mixture and press it firmly into the parchment-lined pan. Use the bottom of a measuring cup or a flat spatula to create an even layer, since a compact crust will support the juicy apple filling.
Step 4: Bake the crust for 10 minutes. While it is in the oven, prepare the apples so the filling is ready to spread over the warm crust as soon as the par-baking time is finished.
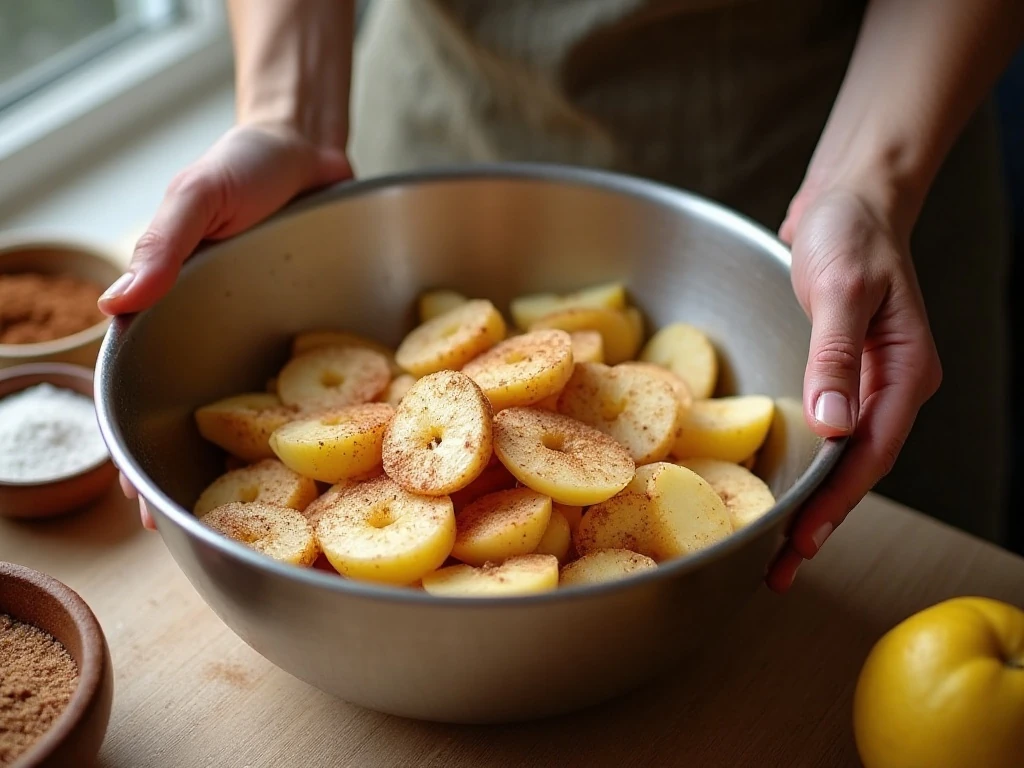
Step 5: Place the thinly sliced apples in a large bowl and add the granulated sugar, flour or cornstarch, lemon juice, cinnamon, optional nutmeg, and salt. Toss gently but thoroughly until the slices are evenly coated without breaking them apart.
Step 6: Spread the apple mixture over the warm crust, arranging the slices into an even layer. Sprinkle the reserved oat mixture across the top, covering the apples from edge to edge for a crumbly golden finish.
Step 7: Bake for 30 to 35 minutes, watching for a golden-brown topping and tender apples. If the top begins to brown too quickly before the apples are soft, loosely cover the pan with foil and continue baking.
Step 8: Cool the bars completely in the pan for at least 1 hour. The apple juices and butter-rich crust need time to set, and a brief chill after cooling can make the bars even easier to slice neatly.
Choosing and Preparing the Apples
Granny Smith apples are a dependable choice when you want a tart filling that contrasts with the sweet brown sugar topping. Their firm texture also helps them stay pleasantly structured instead of disappearing into applesauce.
Honeycrisp, Pink Lady, or Braeburn apples work well when you prefer a naturally sweeter bar. Combining one tart variety with one sweet variety creates a filling with more dimension than using only one type.
Thin, even slices are important because thick pieces may remain firm while the topping is already browned. Aim for slices about 1/8 to 1/4 inch thick, and toss them gently with the filling ingredients so they stay intact.
For a different take on tart apples, you can browse this green apple pie inspiration and compare the flavor of a more sharply spiced filling.
Pro Tips for Golden, Sturdy Bars
Do not skip the 10-minute par-bake. It gives the bottom crust a head start and helps prevent the apple juices from making it seem soft or underbaked after the fruit is added.
Press the crust firmly but keep the topping loose and crumbly. A compact bottom layer creates a solid base, while a lighter hand with the reserved mixture produces the nubbly texture that makes apple crisp so inviting.
Use melted butter that has cooled slightly rather than piping hot butter. Slightly cooled butter mixes more evenly with the dry ingredients and reduces the chance of warming the crumb mixture excessively.
Keep an eye on the pan during the final bake. Ovens vary, so the best visual cues are a golden topping and apples that can be pierced easily with a thin knife; foil can protect the crumbs if they color before the filling is ready.
Allow the bars to cool fully before cutting. Warm bars may crumble or appear underbaked because the fruit juices and butter-rich crust have not finished setting.
If you enjoy baking with cinnamon, pair these bars with easy cinnamon muffins for a cozy breakfast spread or an afternoon dessert table.
Serving Suggestions
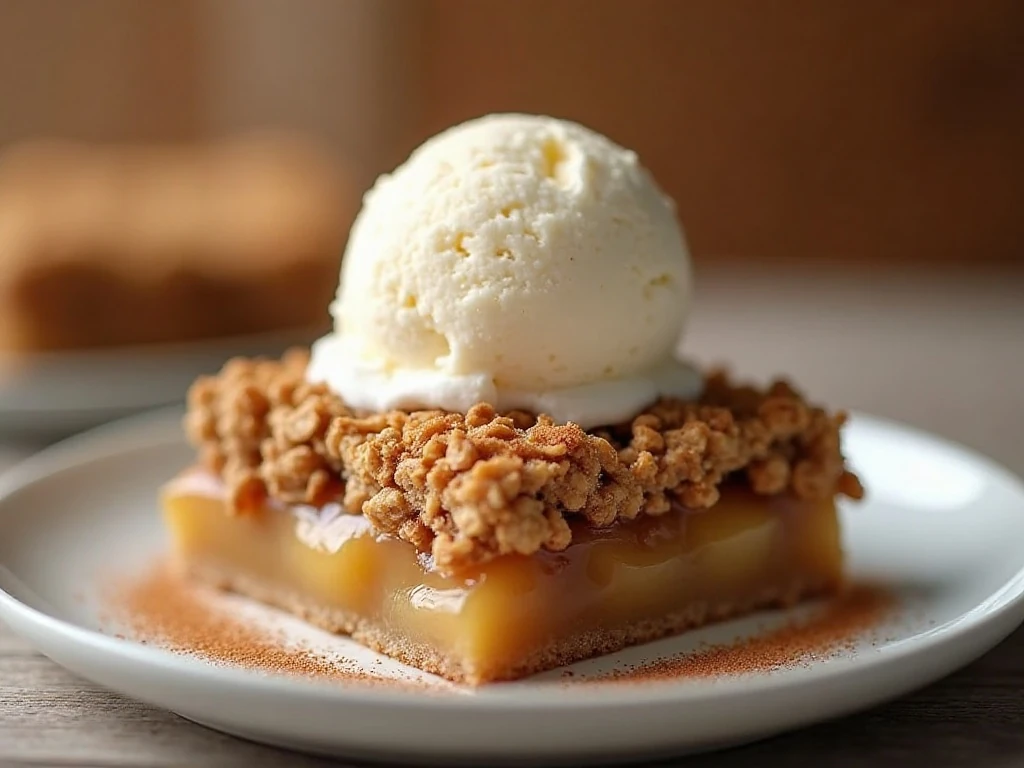
Apple crisp bars are delicious at room temperature, when the crust is firm and the apple layer is easy to taste. They are equally inviting slightly warm, especially when served after dinner.
- Serve each bar plain for a simple lunchbox or coffee break treat.
- Add a scoop of vanilla ice cream for a warm-and-cold dessert.
- Top with lightly sweetened whipped cream for a softer finish.
- Sprinkle a pinch of cinnamon over the ice cream or cream just before serving.
For the neatest presentation, use the parchment overhang to lift the cooled slab from the pan. Cut it into four equal rows in each direction to create 16 bars, wiping the knife between cuts when you want especially tidy edges.
Although this is a sweet dessert, it fits beautifully into a cozy comfort-food menu. If you are planning a hearty dinner before dessert, you can pair the meal with this classic Salisbury steak dinner.
Storage and Reheating
Store the completely cooled bars covered at room temperature for up to 2 days. This keeps the crust pleasantly tender while making the bars convenient for serving.
For longer storage, refrigerate them covered for up to 5 days. Chilled bars are firmer and easier to transport, and you can bring individual portions back to a warmer texture with a brief reheat before serving.
When reheating, warm one bar briefly and check it before adding more time. Serve it with vanilla ice cream or lightly sweetened whipped cream once the apple layer is pleasantly warm.
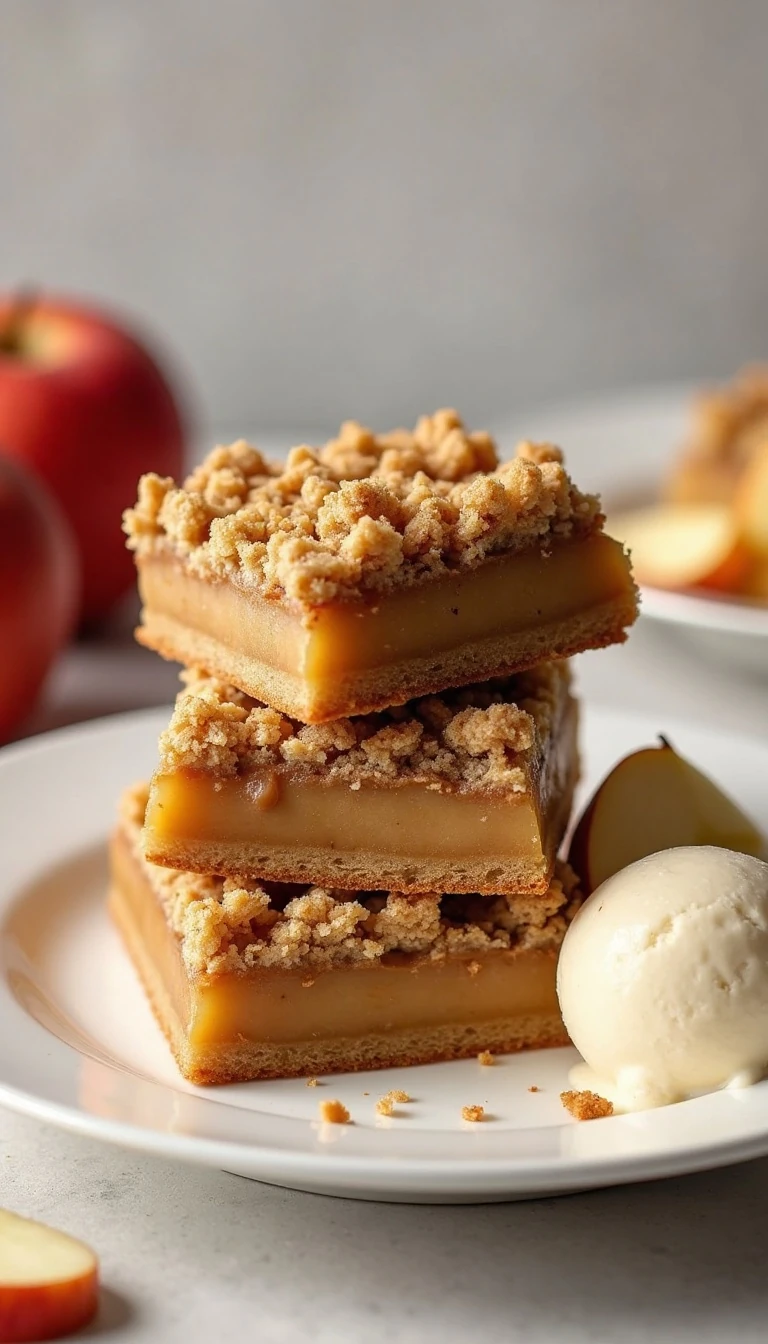
Easy Apple Crisp Bars
Ingredients
Method
- Heat the oven to 350°F (175°C). Line a 9 x 13-inch baking pan with parchment paper, leaving enough overhang on the sides to lift out the cooled bars.
- Whisk together the flour, oats, brown sugar, cinnamon, baking soda, and salt. Stir in the melted butter and vanilla until the mixture is evenly moistened and crumbly.
- Press about two-thirds of the crumb mixture firmly into the prepared pan. Bake the crust for 10 minutes while you prepare the apples.
- Combine the sliced apples, granulated sugar, flour or cornstarch, lemon juice, cinnamon, optional nutmeg, and salt. Toss gently until every slice is coated.
- Spread the apple mixture over the warm par-baked crust. Sprinkle the remaining oat mixture evenly over the apples.
- Bake for 30 to 35 minutes, until the topping is golden brown and the apples are tender. If the topping browns too quickly, loosely cover the pan with foil.
- Cool the bars completely in the pan for at least 1 hour before slicing. For especially clean bars, chill them briefly after cooling, then lift them out using the parchment.
Notes
Final Thoughts
This easy apple crisp bars recipe is a reliable way to enjoy the flavors of a homemade apple dessert without preparing a traditional pie crust. A single crumb mixture creates the buttery base and golden topping, while thinly sliced apples provide a warmly spiced center.
Give the finished bars at least 1 hour to cool before slicing, and use a brief chill if you want especially clean squares. Whether served plain, warmed with vanilla ice cream, or finished with lightly sweetened whipped cream, these bars are made for crisp afternoons, holiday gatherings, and relaxed weekends at home.