The best homemade apple pie recipe from scratch starts with a flaky all-butter pastry, firm sweet-tart apples, warm cinnamon, and a high-heat-then-low-heat baking method. This recipe makes one 9-inch double-crust pie with about 8 servings, requiring 35–45 minutes of active preparation, at least 1 hour of chilling, and 55–70 minutes in the oven.
Every bite brings together crisp, deeply golden crust and tender apples in a fragrant filling that is sweet, lightly tangy, and warmly spiced. Let the finished pie cool for at least 2 hours before slicing so the juices thicken into a luscious filling instead of running across the plate.
Jump to RecipeWhy You’ll Love This Recipe
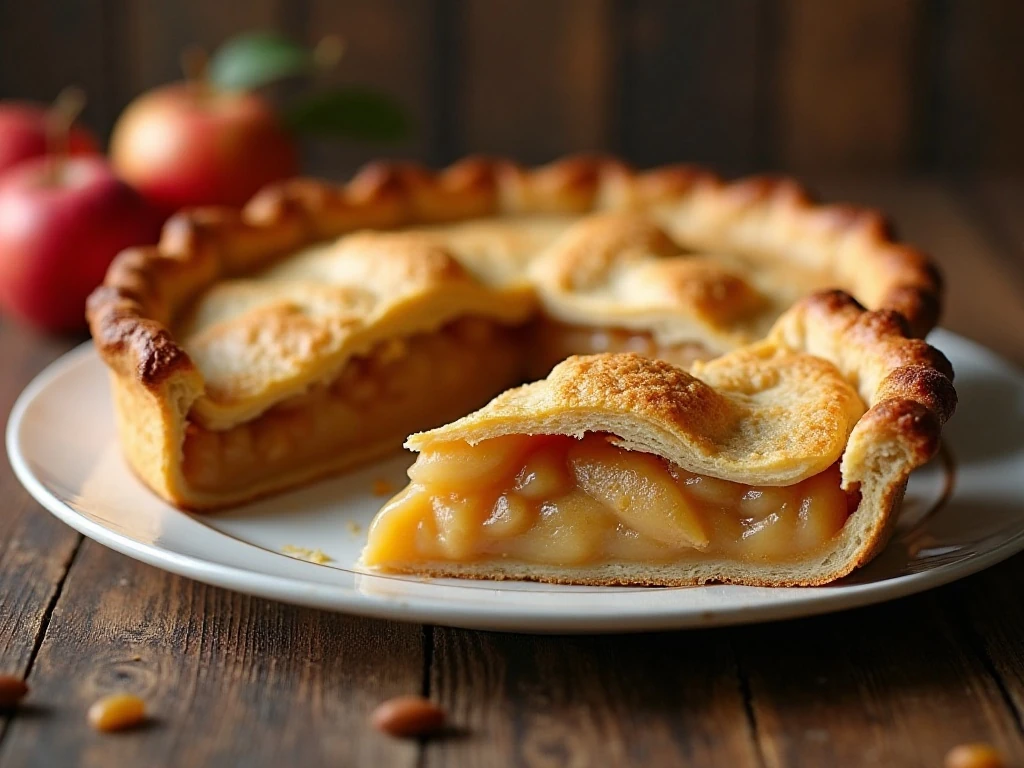
This is the classic apple pie to make when you want a traditional dessert with a homemade flavor that no packaged crust can match. The pastry is rich and flaky because it uses very cold butter, while the filling balances sweet apples with lemon juice, cinnamon, nutmeg, and just enough flour to create a spoonable sauce.
The two-temperature bake is especially important. The first 15–20 minutes at 425°F (220°C) gives the crust a strong start, while the remaining 40–50 minutes at 375°F (190°C) cooks the apples gently and allows the filling to bubble and thicken.
If you enjoy turning familiar apple desserts into party-friendly treats, you can also try these cinnamon roll apple pie cups for a charming variation.
Ingredients You’ll Need
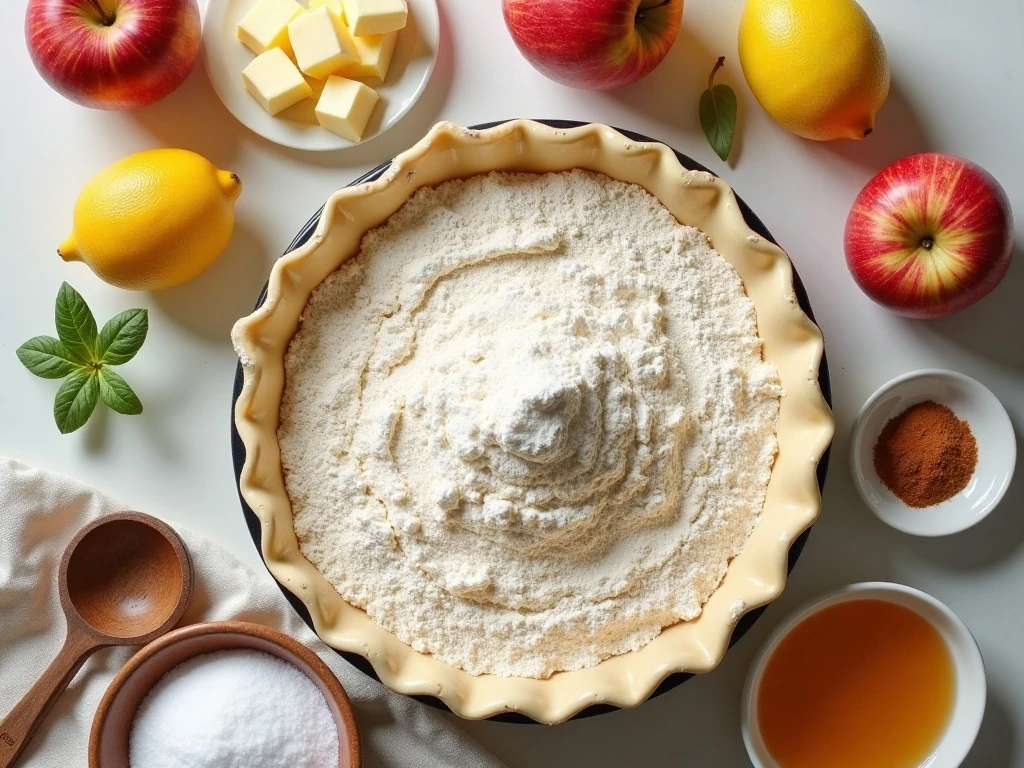
Gather the ingredients before beginning, especially the butter and ice water. Keeping the pastry components cold helps preserve distinct pieces of butter, which melt in the oven and create flaky layers.
- Pastry: All-purpose flour, granulated sugar, table salt, very cold unsalted butter, and 6–8 tablespoons of ice water.
- Apples: Eight medium baking apples, about 3 pounds before peeling. Granny Smith, Honeycrisp, Braeburn, and Golden Delicious all work well.
- Filling: Granulated sugar, flour, lemon juice, cinnamon, nutmeg, salt, optional vanilla extract, and butter for dotting.
- Finish: One large egg mixed with water or milk, plus optional coarse sugar.
A combination of apple varieties gives the pie more character. Firm tart apples help the slices hold their shape, while sweeter apples bring mellow flavor; relying only on soft apples can leave the filling mushy.
For another creative apple dessert using a crisp coating, keep our apple pie egg rolls in mind for your next gathering.
How to Make It Step-by-Step
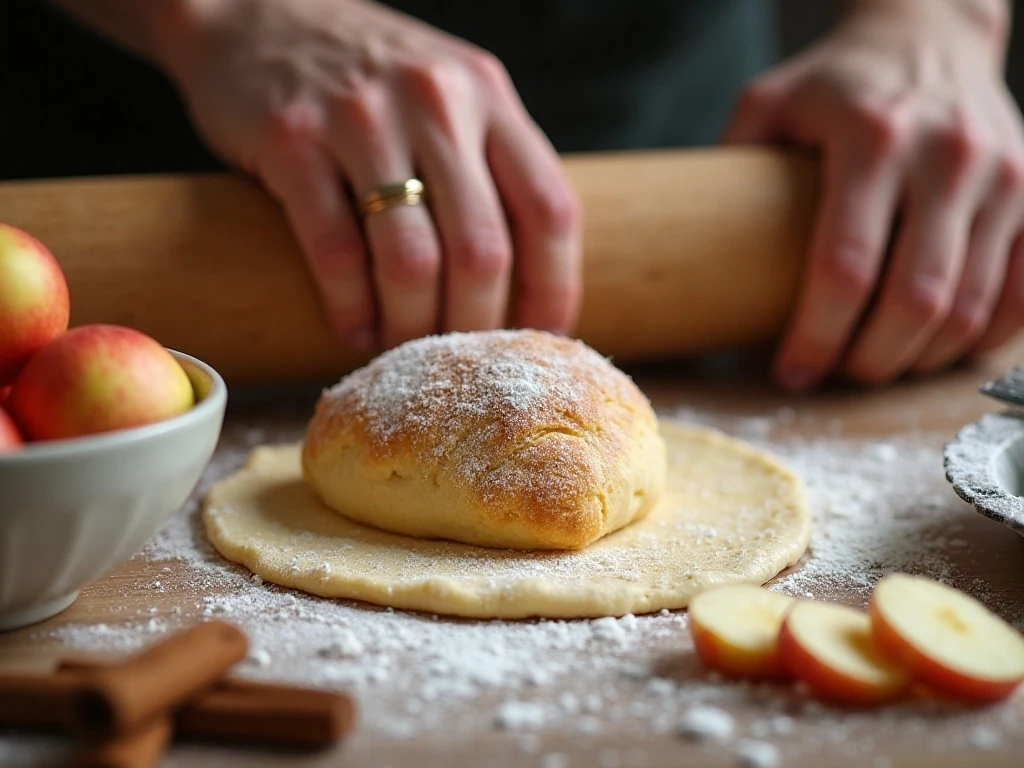
Step 1: Make the pastry by whisking together the flour, granulated sugar, and salt in a large bowl. Add the cold butter and cut it in with a pastry cutter or your fingertips until pea-sized pieces remain alongside a few larger buttery flakes.
Step 2: Sprinkle in the ice water one tablespoon at a time, tossing gently after each addition. Stop as soon as the dough holds together when pressed; it should not look uniformly smooth, because overworking it can produce a tough crust.
Step 3: Turn the dough onto a work surface and divide it into two equal portions. Shape each portion into a disk, wrap tightly, and refrigerate for at least 1 hour; an overnight chill is also suitable.
Step 4: Prepare the apples while the dough chills. Peel and core the apples, slice them about 1/4 inch thick, and place them in a large bowl with the sugar, flour, lemon juice, cinnamon, nutmeg, salt, and optional vanilla.
Step 5: Toss the apple mixture until every slice is lightly coated. The flour will help thicken the juices as the pie bakes, while the lemon juice keeps the flavor bright and helps balance the sugar.
Step 6: On a lightly floured surface, roll one pastry disk into a round large enough to fit a 9-inch pie plate with a slight overhang. Ease it into the plate without stretching the dough, then spoon in the apples and arrange them a little higher in the center because they shrink during baking.
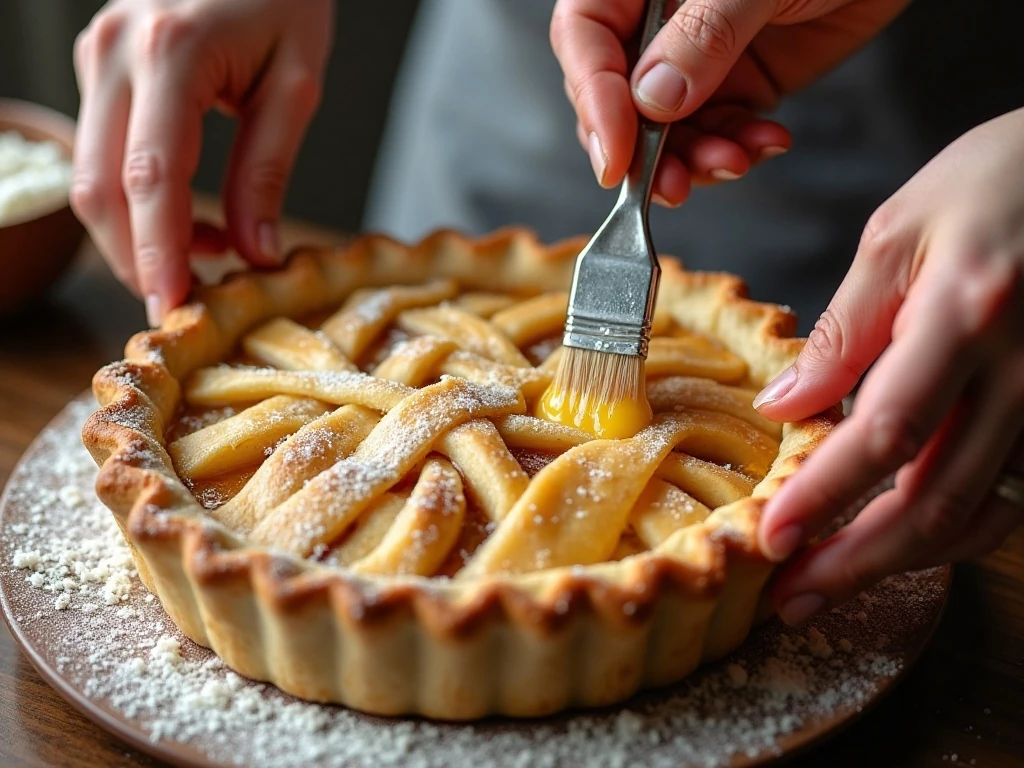
Step 7: Dot the top of the apples with the 2 tablespoons of butter cut into small pieces. Roll out the second pastry disk and lay it over the filling, or cut it into strips and arrange a lattice pattern.
Step 8: Trim the pastry edges, leaving enough overhang to seal, then fold and crimp the rim. If using a solid top crust, cut several vents through the pastry so steam can escape during baking.
Step 9: Beat the egg with 1 tablespoon of water or milk and brush it over the top crust and edges. Sprinkle with 1 teaspoon of coarse sugar if you want a delicate crunch and extra sparkle.
Step 10: Bake at 425°F (220°C) for 15–20 minutes, then reduce the oven to 375°F (190°C) and continue baking for 40–50 minutes. The pie is ready when the crust is deeply golden and the filling is visibly bubbling, especially near the center.
Step 11: Transfer the pie to a wire rack and cool for at least 2 hours. This resting time allows the thickened juices to settle, making it possible to cut clean slices instead of serving a watery filling.
Pro Tips for a Flaky Crust and Thick Filling
Cold ingredients are the foundation of excellent pie pastry. If your kitchen is warm, chill the bowl, flour, and prepared dough whenever the butter begins to soften.
- Do not add all the water at once. Flour absorbs moisture differently, so begin with 6 tablespoons and add more only if needed.
- Keep the butter pieces visible rather than blending them completely into the flour.
- Do not stretch the bottom crust into the pie plate, since stretched dough can shrink while baking.
- Arrange the apples higher in the center to account for natural settling.
- Bake for bubbling, not just browning. Bubbling shows that the flour thickener has activated.
- If the edges become dark before the center bubbles, loosely cover the edges with foil.
For the cleanest presentation, chill the assembled pie briefly while the oven finishes heating. This is optional, but it gives the pastry another chance to firm up before it meets the heat.
Serving, Storage, and Reheating
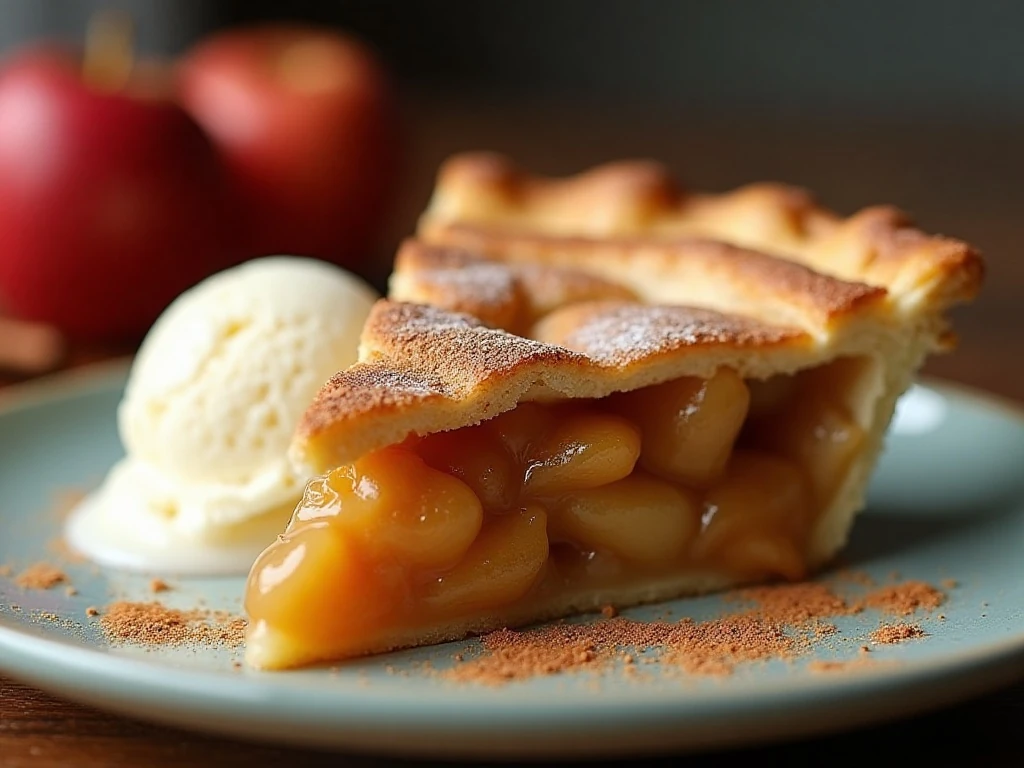
Serve this pie after its full 2-hour cooling period. A slice is wonderful on its own, but it is also delicious with vanilla ice cream, lightly sweetened whipped cream, or a spoonful of plain yogurt.
Store leftover pie covered at room temperature for up to 2 days, or refrigerate it for longer storage. To refresh a slice, warm it gently in the oven until the crust is crisp and the filling is pleasantly warm.
For a broader dessert spread, pair this pie with our best ever crumb cake. If you are planning a full comfort-food menu before dessert, our classic chicken Parmesan makes a satisfying savory main.
Make-Ahead and Menu Ideas
The pastry can be made and refrigerated overnight, which makes this recipe easier to schedule for a holiday meal. You can also assemble the pie several hours ahead, keep it chilled, and bake it when you are ready, allowing extra time for the cold pastry to begin baking.
Plan the pie as the final course after a hearty dinner, or serve it at brunch with coffee and fresh fruit. For a savory appetizer before the meal, our caramelized French onion dip offers a rich contrast to the bright apple dessert.
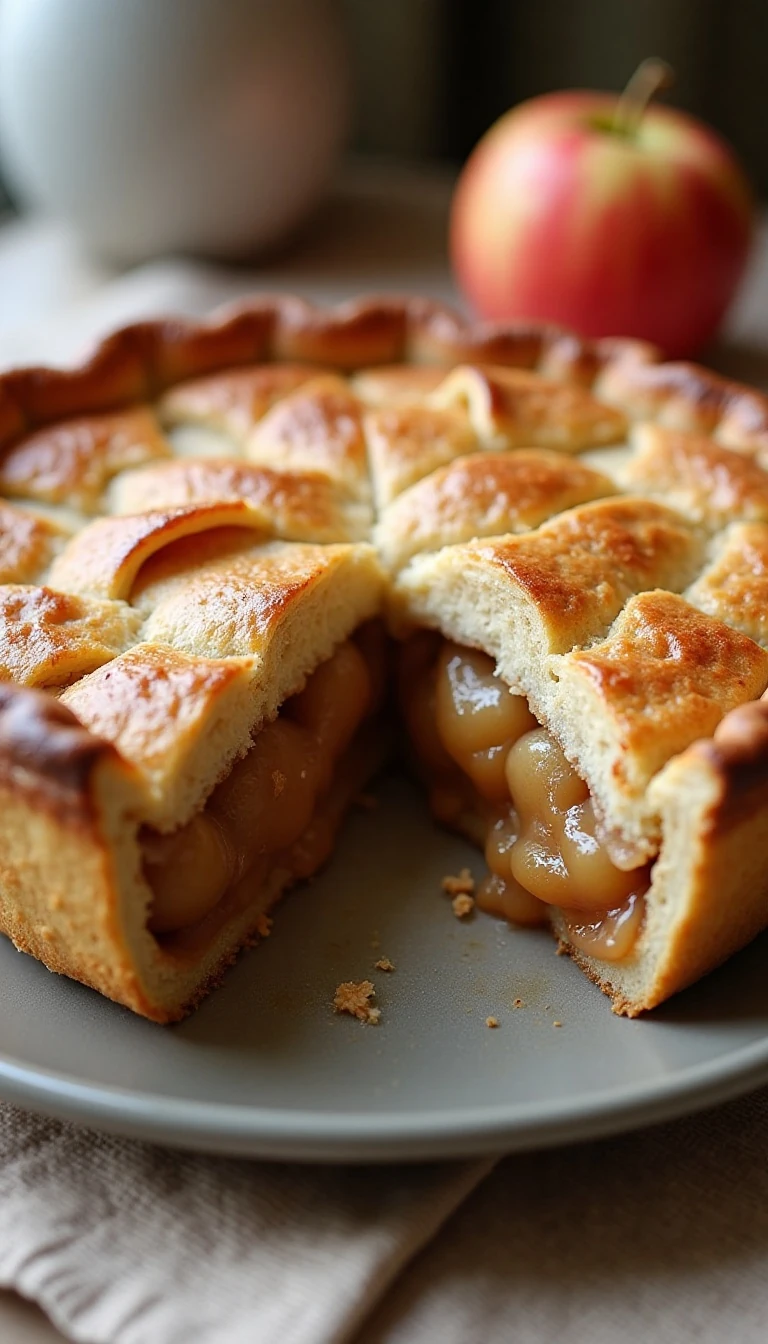
The Best Homemade Apple Pie Recipe From Scratch
Ingredients
Method
- Mix the flour, sugar, and salt. Cut in the very cold cubed butter until the mixture has pea-sized pieces and a few larger flakes.
- Add ice water one tablespoon at a time, mixing only until the dough holds together. Divide it into two disks, wrap each disk, and refrigerate for at least 1 hour.
- Peel, core, and slice the apples about 1/4 inch thick. Toss them with sugar, flour, lemon juice, cinnamon, nutmeg, salt, and optional vanilla.
- Roll out one chilled pastry disk and fit it into a 9-inch pie plate, leaving a slight overhang. Add the apple mixture, arranging it slightly higher in the center, then dot with butter.
- Roll out the second disk and place it over the apples, or cut it into strips for a lattice. Trim and crimp the edges, then cut several vents if using a solid top crust.
- Beat the egg with the water or milk and brush it over the crust. Sprinkle with coarse sugar if desired.
- Bake at 425°F (220°C) for 15–20 minutes. Reduce the oven to 375°F (190°C) and bake for another 40–50 minutes, until deeply golden and visibly bubbling.
- Cool on a rack for at least 2 hours before slicing so the juices can thicken.
Notes
Final Thoughts
A truly memorable homemade apple pie depends on a few simple details: cold butter, minimal dough handling, a flavorful blend of firm apples, and patience after baking. Follow the temperature change exactly and wait until the filling bubbles in the center before taking the pie from the oven.
Once it has cooled for at least 2 hours, slice through the crisp crust and tender cinnamon apples for the full classic pie experience. This is a dependable from-scratch dessert for holidays, Sunday dinners, and any afternoon when the kitchen should smell wonderfully of butter, apples, and spice.