This easy Cherry Cheesecake Poke Cake Recipe combines a tender white or vanilla cake, sweet cherry pie filling, and a smooth cream cheese whipped topping in one wonderfully simple dessert. Bake the cake in a 9-by-13-inch pan, poke holes throughout, fill them with cherry sauce and cherries, then finish it with a fluffy cheesecake layer and more cherry topping.
The result is cool, creamy, fruity, and soft enough to serve with a spoon or fork. It takes about 15 to 20 minutes to prepare, bakes at 350°F for 28 to 33 minutes, and should chill for at least 1 hour, with 2 hours preferred for the cleanest slices.
Jump to RecipeWhy You’ll Love This Recipe
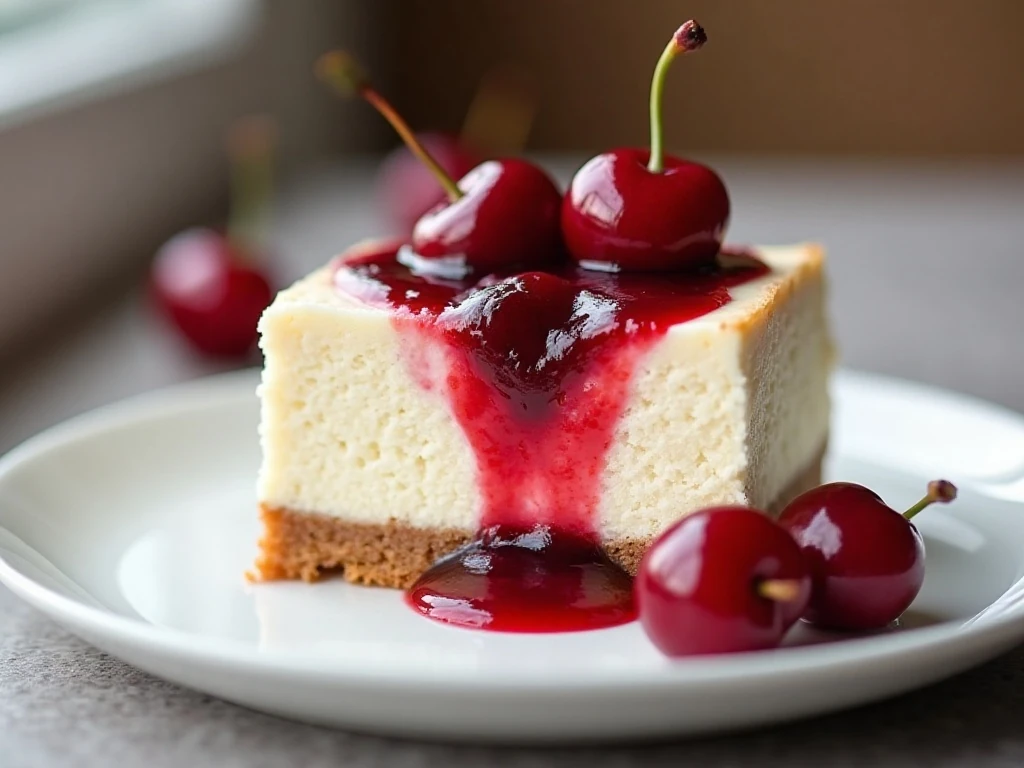
This cake has the charm of a classic cheesecake without requiring a springform pan, water bath, or complicated crust. The boxed cake mix keeps the process quick, while the cherry filling supplies bright fruit flavor and beautiful color in every slice.
The cream cheese topping tastes rich and tangy, but the whipped topping keeps it soft and airy rather than dense. Together, the layers create a dessert that feels special enough for a celebration and easy enough for a casual weeknight treat.
It is also a wonderful make-ahead dessert. The cake needs time to chill, so you can prepare it earlier in the day and simply slice it when guests are ready for something sweet.
If poke cakes are a favorite in your household, you may also enjoy this chocolate poke cake idea when you want a rich cocoa-based variation.
Ingredients You’ll Need
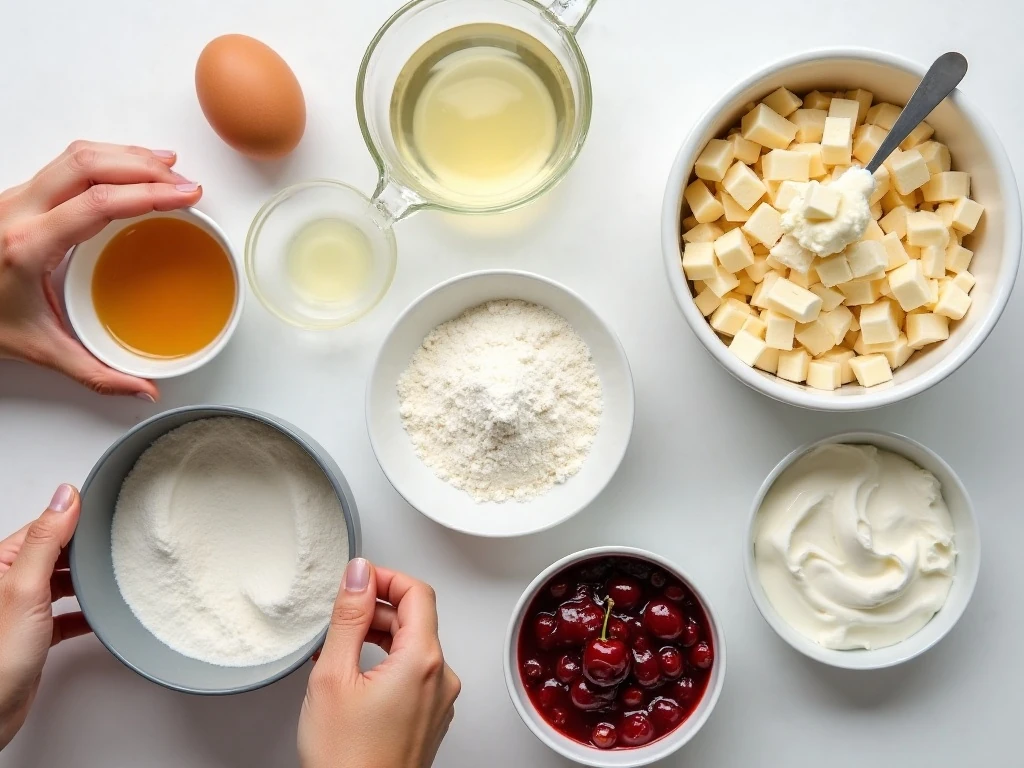
The ingredient list is short and dependable, with most items available at any grocery store. Use a white or vanilla cake mix in a standard 15.25-ounce box, and follow the package directions using 3 large eggs, 1 cup water, and 1/2 cup vegetable oil.
- White or vanilla cake mix: This forms a soft, neutral base that lets the cherries and cheesecake topping stand out.
- Cherry pie filling: One 21-ounce can is divided between the cake and the finishing layer, so the fruit appears throughout the dessert.
- Full-fat cream cheese: Full-fat cream cheese gives the topping its best flavor and creamy structure.
- Powdered sugar and vanilla: These sweeten and flavor the cream cheese without adding graininess.
- Frozen whipped topping: Thaw it before folding so the cheesecake mixture stays smooth and fluffy.
For the prettiest result, choose a cherry pie filling with plenty of visible cherries and glossy sauce. The filling does not need to be warmed; it can be spooned directly from the can.
For another fruit-forward dessert with a soft, creamy texture, take a look at this pineapple lush cake.
How to Make It Step-by-Step
Step 1: Begin by heating the oven to 350°F (175°C) and greasing a 9-by-13-inch baking pan. A light coating of cooking spray or butter helps the cake release from the sides while still allowing it to remain in the pan for serving.
Step 2: Prepare the white or vanilla cake mix according to the package directions, using the listed eggs, water, and vegetable oil. Mix just until the batter is smooth, then spread it evenly in the pan so the cake bakes at the same rate from edge to edge.
Step 3: Bake for 28 to 33 minutes, checking for doneness near the end of the baking window. The center should spring back when lightly touched, and a toothpick inserted in the middle should come out clean or with only a few moist crumbs.
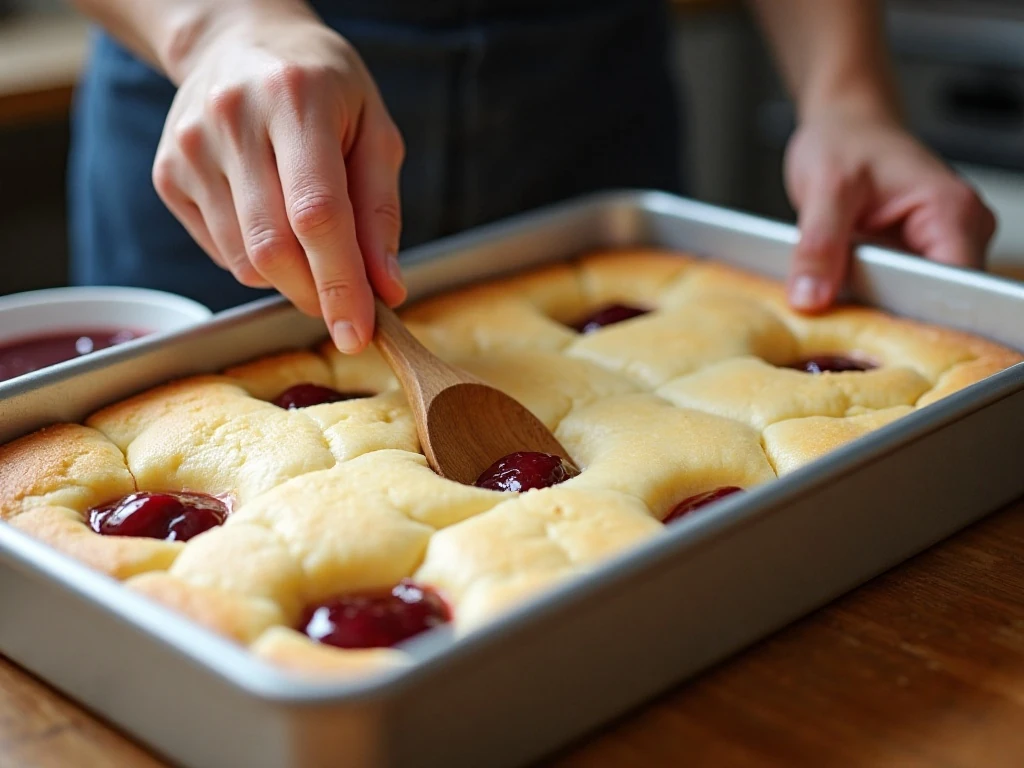
Step 4: Let the cake cool for about 10 to 15 minutes before poking it. Use a wooden spoon handle or large round skewer to make holes about 1 inch apart throughout the cake, creating plenty of spaces for the cherry sauce to travel into.
Step 5: Spoon about half of the cherry pie filling over the warm cake. Gently guide some of the cherries and sauce into the holes, but do not press so hard that you mash the cake into a paste.
Step 6: Add the softened cream cheese, powdered sugar, and vanilla extract to a mixing bowl. Beat until the mixture is smooth and creamy, scraping down the bowl as needed so no cold cream cheese lumps remain.
Step 7: Fold the thawed whipped topping into the cream cheese mixture with a spatula. Use gentle strokes and stop as soon as the topping looks evenly blended, since overmixing can reduce its light texture.
Step 8: Spread the cheesecake topping over the cooled cake, covering the cherry-filled surface from corner to corner. Take your time with this layer so the topping stays thick and does not pull up too much cake.
Step 9: Spoon the remaining cherry pie filling over the topping. You can cover the surface lightly, create decorative stripes, or add small cherry-filled dollops for a more casual finish.
Step 10: Refrigerate the cake until it is thoroughly chilled and set, at least 1 hour and preferably 2 hours. Use a sharp knife wiped clean between slices for tidy layers and a polished presentation.
Pro Tips for the Creamiest Cake
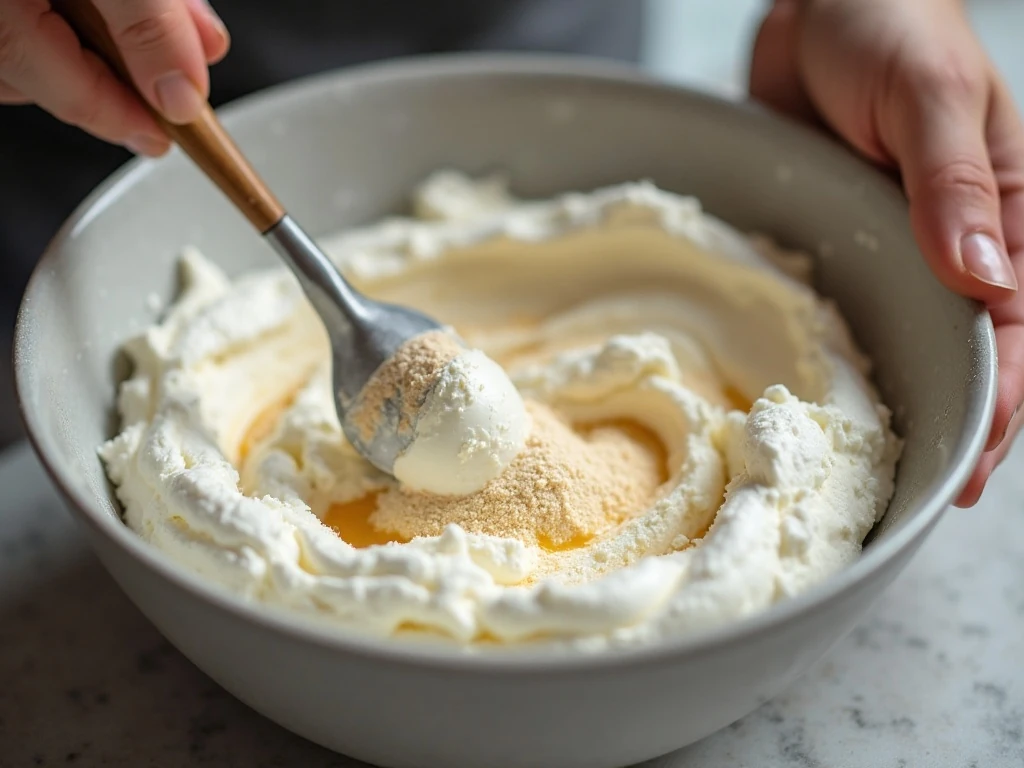
Softened cream cheese is the most important detail for a smooth cheesecake topping. Set it out long enough to soften completely, because cold cream cheese can leave small lumps that are difficult to remove after the whipped topping has been folded in.
Do not poke the cake while it is piping hot. Allowing it to cool briefly gives the crumb enough strength to hold the cherry filling and helps keep the sauce from becoming thin and watery.
Make the holes evenly, about 1 inch apart, so every portion receives some filling. If the holes are too close together, the cake may become fragile; if they are too far apart, some slices may not have enough cherry flavor inside.
When spreading the cheesecake layer, use a flexible spatula and work from the center toward the edges. If the cake is still very warm, the topping may soften, so let the cake cool further before adding the cream cheese mixture.
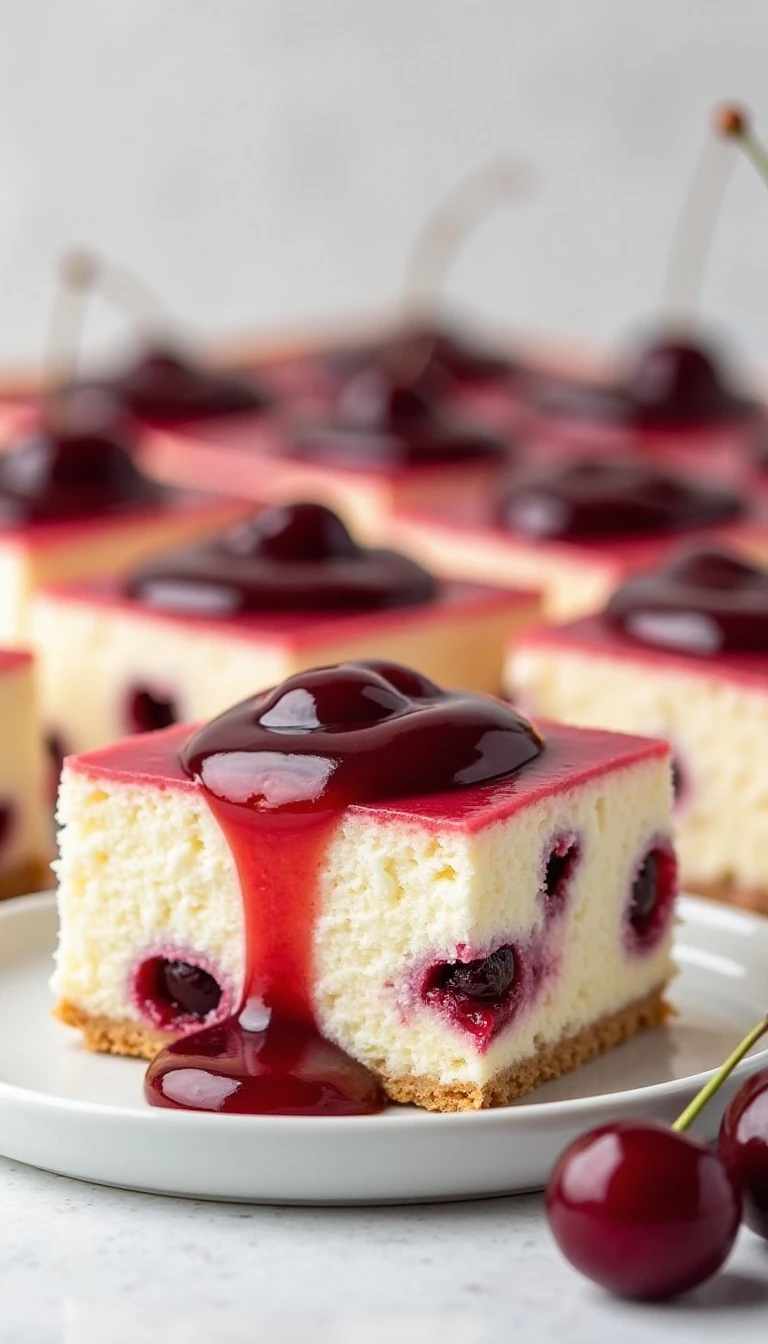
For a clean presentation, chill the completed cake for 2 hours whenever possible. A sharp knife wiped clean between cuts will reveal the pale cake, red cherry pockets, creamy topping, and glossy fruit on top.
This recipe intentionally keeps the topping to cream cheese, powdered sugar, vanilla, and whipped topping. Some versions add instant pudding or sweetened condensed milk, but neither is required for this cherry pie filling and cream cheese style.
Serving and Storage
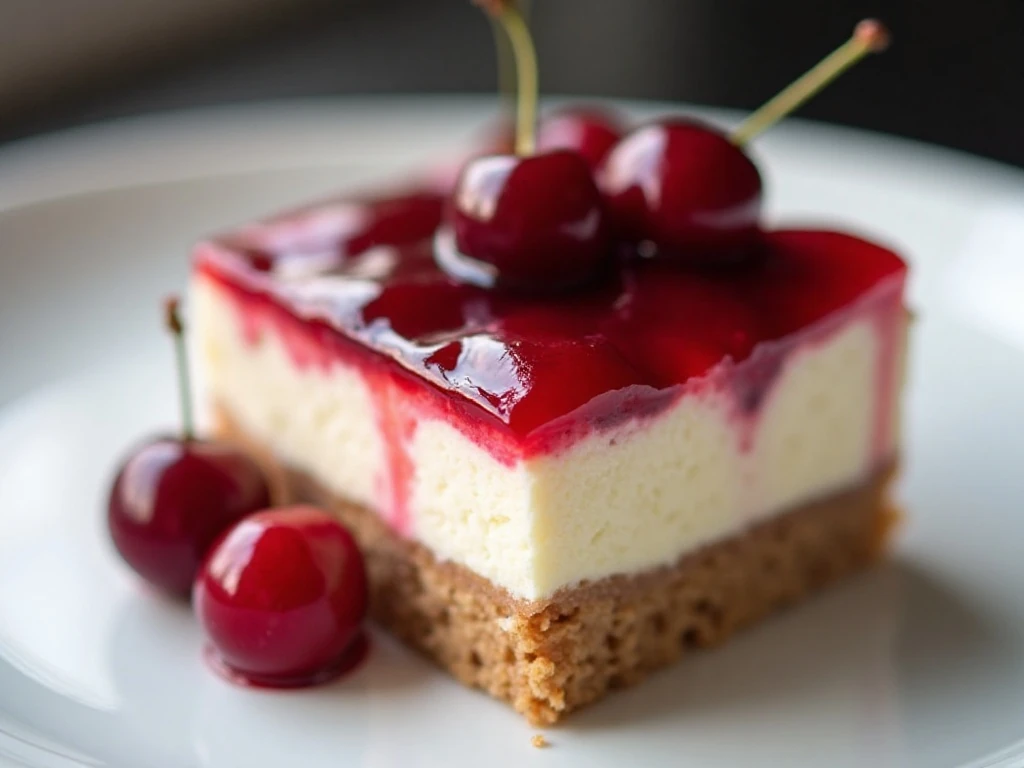
Serve the cake cold, cut into squares directly from the pan. The bright cherry topping is attractive on its own, so extra decoration is optional; a few fresh cherries beside the serving platter can provide a simple finishing touch.
Keep leftovers covered in the refrigerator because the cheesecake topping and fruit filling need to remain chilled. The cake is especially pleasant after it has rested, when the cherry sauce has had time to flavor the crumb and the topping has firmed.
This dessert is well suited to potlucks because it travels in its baking pan and does not need last-minute assembly. Bring it chilled, keep it refrigerated as long as practical, and slice it just before serving for the best texture.
If you want another easy chilled dessert for a no-oven menu, try this no-bake chocolate pudding cake. A fruity option is this no-bake pineapple pie, which also makes a refreshing finish after a hearty meal.
Flavor Variations and Pairing Ideas
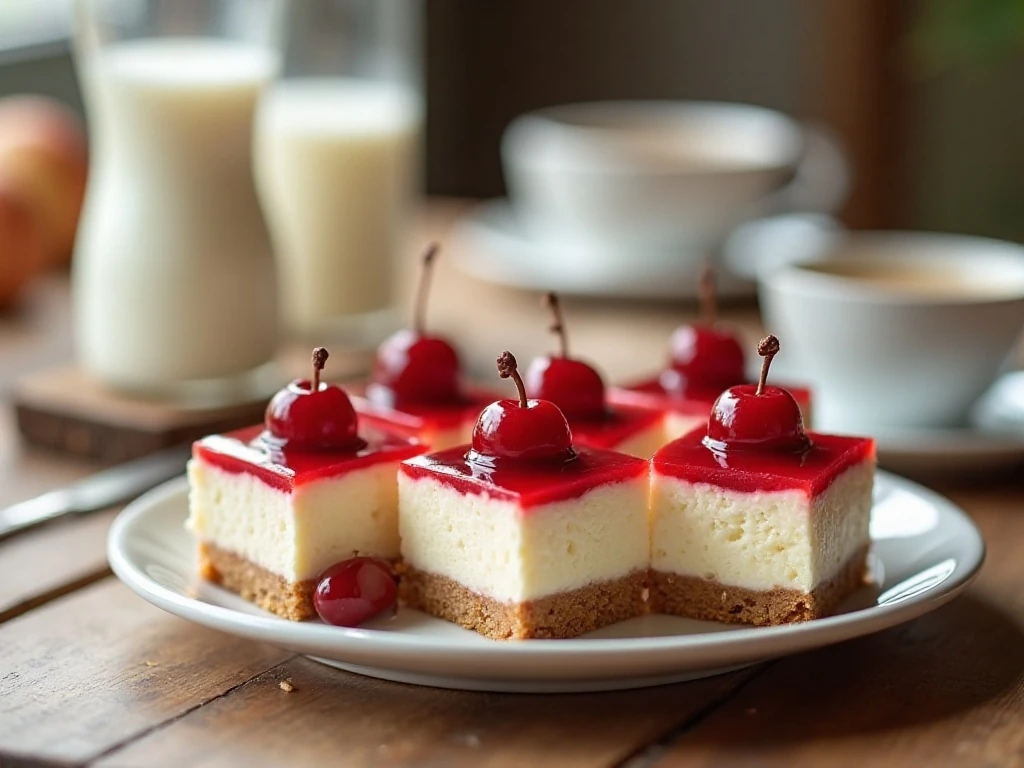
The simplest variation is to switch between white and vanilla cake mix, depending on whether you prefer a very light cake flavor or a warmer vanilla note. The cherry filling works beautifully with both choices.
You can also change the look of the topping without changing the recipe. Spread the remaining cherry filling in thin lines for a striped finish, or spoon it into separate dollops so each serving has a concentrated cherry crown.
For a dessert table, pair this cake with coffee, unsweetened tea, or a glass of cold milk. Its sweetness and creamy texture also make it a fitting ending after a savory family-style meal; for a skillet dinner idea before dessert, see this easy skillet lasagna.
Easy Cherry Cheesecake Poke Cake Recipe
Ingredients
Method
- Heat the oven to 350°F (175°C) and grease a 9-by-13-inch baking pan. Prepare the cake mix with the eggs, water, and vegetable oil according to the package directions, then spread the batter evenly in the prepared pan.
- Bake the cake for 28 to 33 minutes, or until the center springs back lightly and a toothpick inserted in the middle comes out clean. Let it cool in the pan for about 10 to 15 minutes before making the holes.
- Use the handle of a wooden spoon or a large round skewer to poke holes throughout the cake, spacing them about 1 inch apart. Make the holes deep enough to hold filling, but avoid tearing up the cake or pushing all the way through the bottom.
- Spoon roughly half of the cherry pie filling over the cake, gently working some of the cherry pieces and sauce into the holes. Spread the remaining sauce across the surface only after the cheesecake topping is ready.
- Beat the softened cream cheese, powdered sugar, and vanilla extract until completely smooth. Fold in the thawed whipped topping until the mixture is evenly combined, light, and creamy.
- Spread the cheesecake topping carefully over the cooled cake, using an offset spatula or the back of a spoon to reach the corners. Spoon the remaining cherry pie filling over the top in stripes, dollops, or a light layer.
- Refrigerate the finished cake until thoroughly chilled and set, at least 1 hour and preferably 2 hours. Slice with a sharp knife wiped clean between cuts, then serve cold.
Notes
Final Thoughts
This Easy Cherry Cheesecake Poke Cake Recipe delivers layers of comfort with very little fuss. A soft boxed cake, juicy cherry filling, and creamy cheesecake topping come together in a dessert that looks festive, slices beautifully, and tastes even better when served cold.
Remember the three details that make the biggest difference: cool the cake briefly before poking, soften the cream cheese fully, and allow the finished dessert to chill for 2 hours when you can. Once those steps are done, all that remains is to cut generous squares and enjoy the cherry-filled center.
Whether you are preparing dessert for a holiday, birthday, potluck, or ordinary family dinner, this cake is an easy recipe to keep in your regular rotation. It is colorful, creamy, and refreshingly simple from the first stir to the final chilled slice.
2 thoughts on “Easy Cherry Cheesecake Poke Cake Recipe”