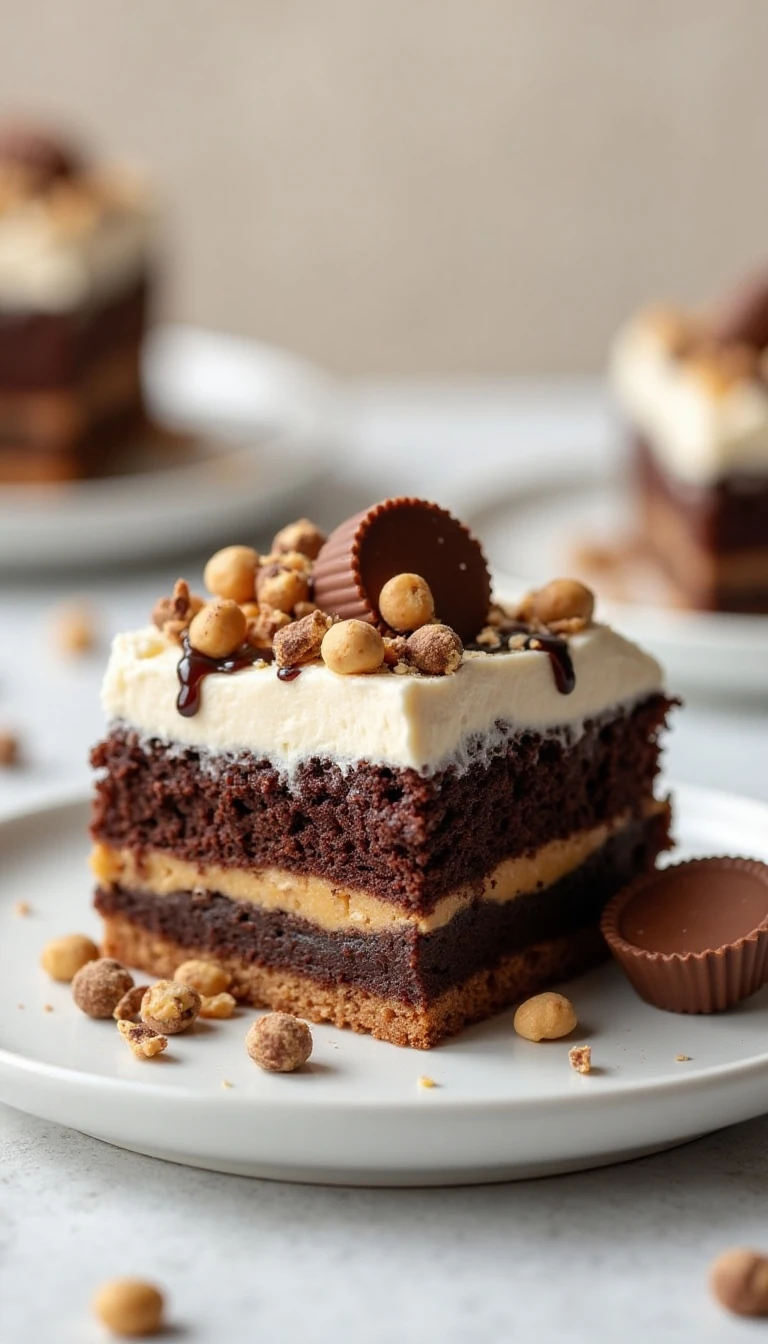
The best peanut butter poke cake starts with a moist chocolate cake, filled with sweetened condensed milk and creamy peanut butter, then topped with hot fudge, whipped topping, and chopped Reese’s Peanut Butter Cups. This easy 9-by-13-inch dessert takes about 10 to 15 minutes to prepare, bakes for 28 to 35 minutes, and needs at least 1 hour to chill before serving.
Every forkful brings together soft chocolate cake, a sweet peanut butter center, smooth fudge, and light whipped topping with a little candy crunch. It is a simple make-ahead dessert for birthdays, potlucks, holidays, family dinners, and any occasion that calls for a rich chocolate and peanut butter treat.
Jump to RecipeWhy You’ll Love This Recipe
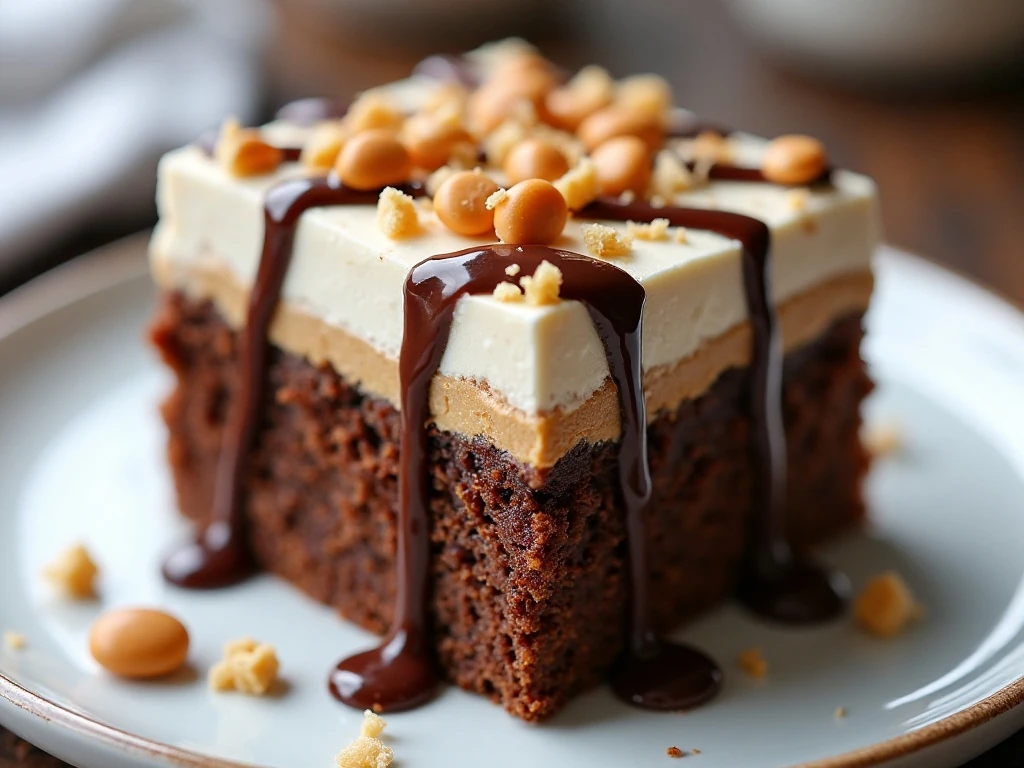
This peanut butter poke cake is designed for easy preparation and generous serving. A boxed chocolate cake mix gives you a dependable base, while the filling and toppings make the finished dessert taste like a special bakery-style creation.
The poke-cake method is the secret to its soft, rich texture. Small holes allow sweetened condensed milk and warm peanut butter to move into the cake instead of staying only on the surface, giving every slice a moist, flavorful center.
It is also a practical dessert for entertaining because it can be assembled ahead of time and chilled before guests arrive. The rectangular baking dish makes it easy to cut into neat squares, and the recipe produces enough portions for a gathering.
If you enjoy peanut butter in every layer, you may also like this peanut butter cake with creamy peanut butter frosting. It has a different style but the same cozy chocolate-and-peanut-butter appeal.
Ingredients You’ll Need
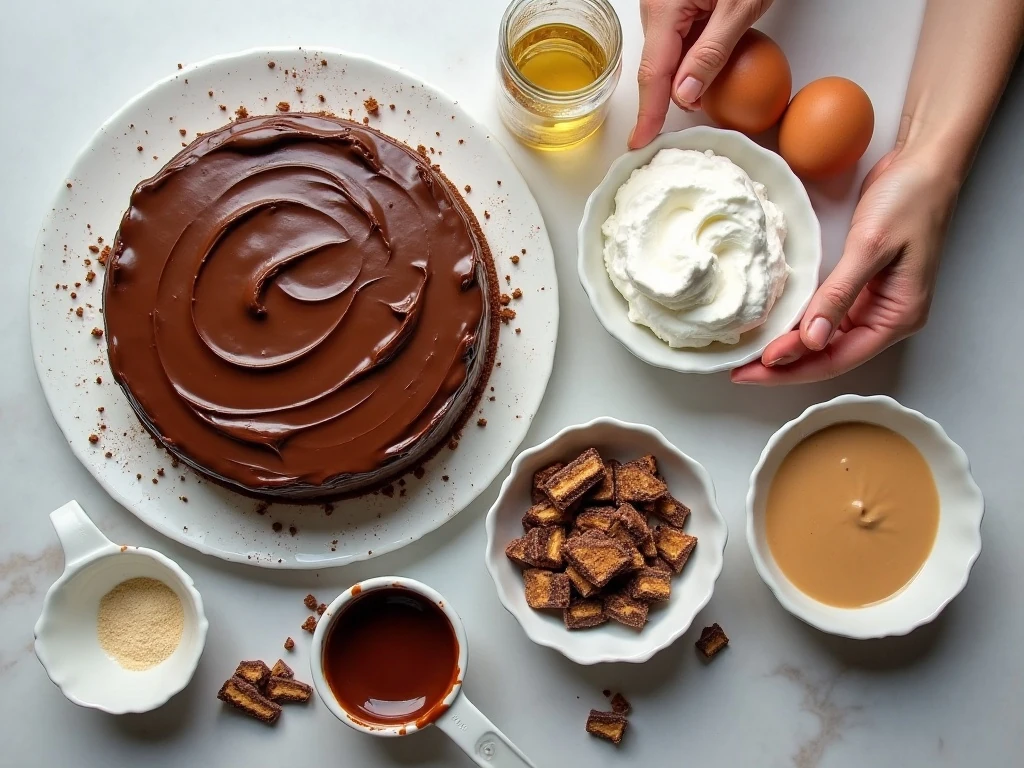
The ingredient list is short, familiar, and easy to find. Have the cake ingredients ready according to the package directions, then gather the filling and toppings before you begin.
- One 15.25-ounce box of chocolate cake mix
- Three large eggs, one-half cup vegetable oil, and 1 1/4 cups water
- One 14-ounce can of sweetened condensed milk
- One cup creamy peanut butter
- One jar of hot fudge sauce, approximately 11.75 to 12 ounces
- One 8-ounce container of frozen whipped topping, thawed
- One cup chopped Reese’s Peanut Butter Cups, or about 8 to 10 regular cups
Creamy peanut butter is the best choice for a smooth drizzle that sinks into the cake. Natural peanut butter with a separated layer of oil can be more difficult to warm and spread evenly, so use a well-stirred creamy variety for the most consistent result.
For another rich chocolate and peanut butter dessert, save this chocolate peanut butter dump cake for a future baking day. It is especially handy when you want a low-fuss dessert with familiar pantry ingredients.
How to Make It Step-by-Step

Step 1: Heat the oven to 350°F and grease a 9-by-13-inch baking dish, making sure the corners and sides are coated. Prepare the chocolate cake mix according to the package directions, using the three eggs, one-half cup vegetable oil, and 1 1/4 cups water listed here.
Step 2: Pour the batter into the prepared baking dish and smooth it into an even layer. Bake for 28 to 35 minutes, or until a toothpick inserted near the center comes out clean and the cake looks set.
Step 3: Let the cake cool for about 10 minutes so it is warm but not piping hot. Using the handle of a wooden spoon or a large straw, poke holes throughout the cake about 1 inch apart, reaching deeply enough to create room for the filling.
Step 4: Slowly pour the sweetened condensed milk over the cake, taking your time so it has a chance to flow into the holes. If some areas look drier than others, gently guide the milk across the surface without tearing the cake.
Step 5: Warm the peanut butter in the microwave for 15 to 30 seconds, stirring afterward until it is loose enough to pour. Drizzle it across the cake and spread it gently with a spatula if necessary, being careful not to disturb the soft surface.
Step 6: Allow the cake to cool completely before adding the final layers. This cooling period gives the condensed milk and peanut butter time to soak in and prevents the whipped topping from becoming runny.
Step 7: Warm the hot fudge sauce only until it is spreadable, not hot. Spoon it over the cooled cake and spread it into an even chocolate layer from edge to edge.
Step 8: Cover the fudge with the thawed whipped topping, spreading it gently so the layers beneath remain in place. Sprinkle the chopped Reese’s Peanut Butter Cups over the top, distributing some pieces toward the edges for a finished look.
Step 9: Refrigerate the assembled cake for at least 1 hour before serving. Use a sharp knife to cut chilled squares, wiping the blade between cuts if you want especially clean layers.
Pro Tips for the Best Texture
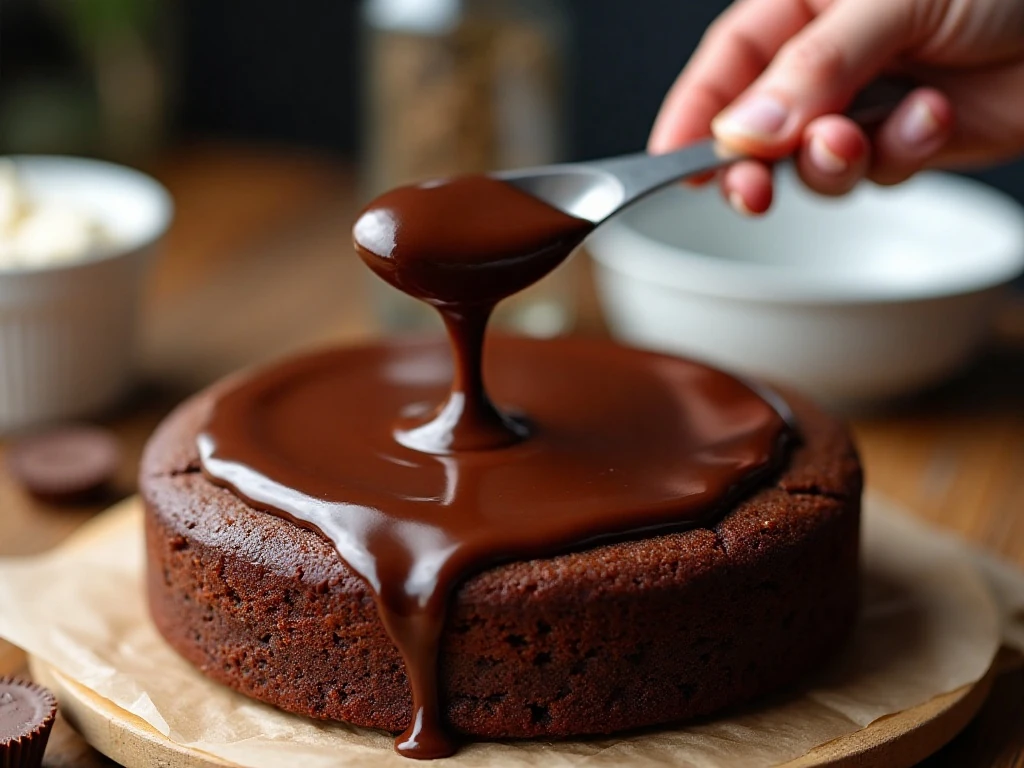
The timing of each layer matters. Poke the holes while the cake is still slightly warm, but wait until the cake is completely cool before spreading on the whipped topping.
Warm the peanut butter and hot fudge in short intervals rather than heating them for a long stretch. The goal is a pourable or spreadable texture; overheating may make the peanut butter greasy or soften the whipped topping.
Make the holes fairly even and space them about 1 inch apart. This gives the condensed milk and peanut butter a balanced path through the cake, so one slice is not dry while another is overly saturated.
Chilling is more than a storage step. It helps the cake firm up, lets the filling settle, and makes the fudge, whipped topping, and candy topping easier to slice neatly.
For a snack with the same chocolate-peanut butter flavor profile, try these chocolate peanut butter muddy buddies. They are a crunchy companion for parties, movie nights, or dessert tables.
Serving Ideas for Any Occasion
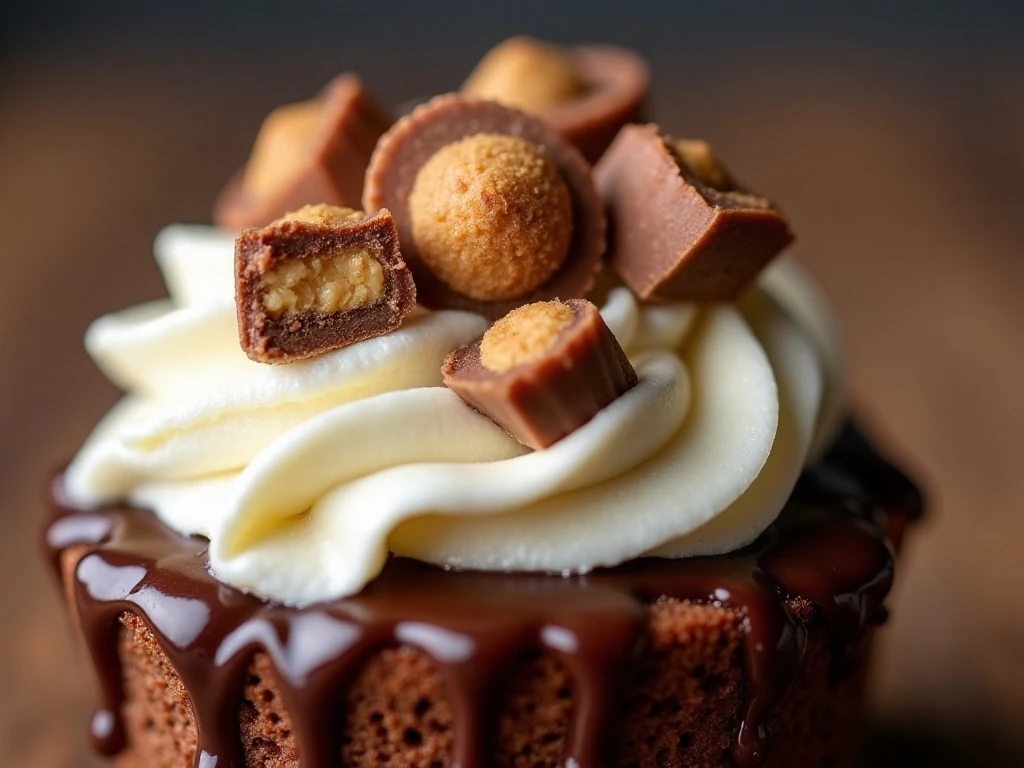
Serve this cake cold or just slightly tempered from the refrigerator. The chilled texture keeps the layers distinct, while the soft cake and creamy filling still provide a rich, spoon-tender bite.
For a birthday, add extra chopped peanut butter cups over individual slices just before serving. For a potluck, keep the cake in its covered baking dish and bring a chilled serving spoon so the topping stays in place.
This dessert also fits holiday tables because the dark chocolate cake and creamy white topping create an attractive contrast. A simple scatter of candy pieces is all the decoration it needs, although evenly sized chunks will give the surface a more polished appearance.
When planning a dessert spread, pair it with a lighter fruit-based option such as this cherry cheesecake poke cake. The two cakes offer different flavors while sharing the same easy chilled-dessert style.
Storage and Make-Ahead Notes
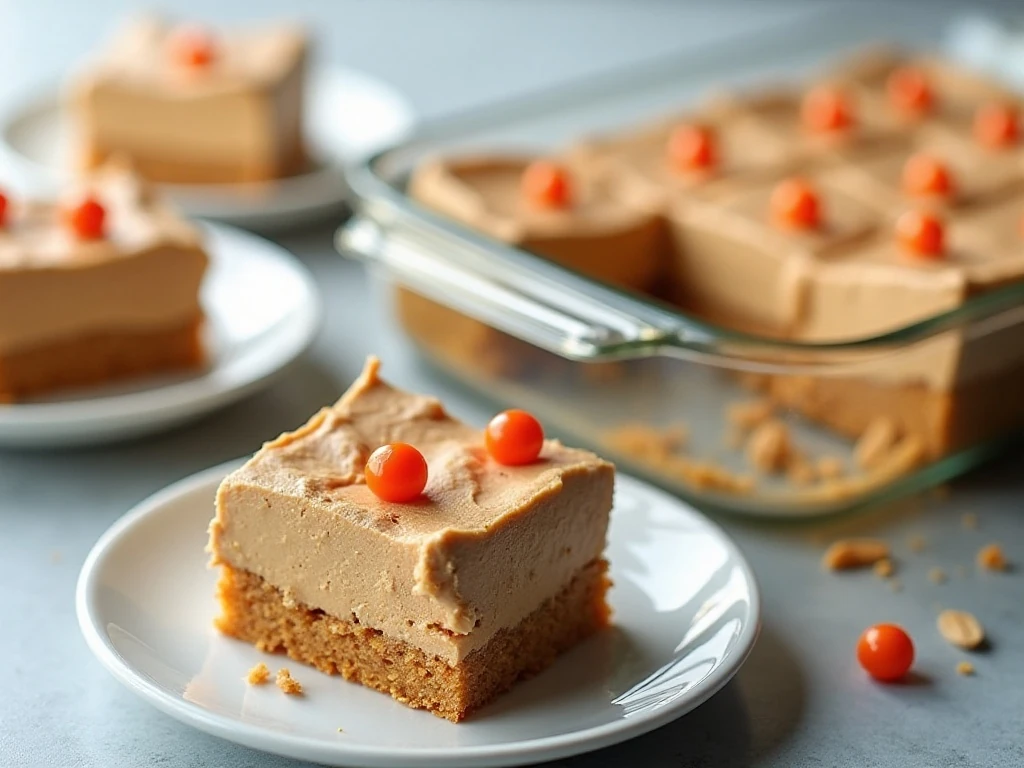
Store leftover peanut butter poke cake covered in the refrigerator. Because it contains sweetened condensed milk and whipped topping, it should remain chilled between servings.
The cake benefits from resting for at least 1 hour before serving, so it is well suited to make-ahead entertaining. Assemble it earlier in the day, cover the dish, and keep it refrigerated until dessert time.
For the best texture, add the chopped candy before serving if you are preparing the cake well ahead of time and want the pieces to retain more of their bite. If the candy softens slightly in the refrigerator, the flavor will still be delicious, but the crunch will be gentler.
Cut only the portions you expect to serve and return the remaining cake to the refrigerator promptly. A covered dish helps protect the whipped topping and keeps the chocolate cake from absorbing refrigerator odors.
If you are collecting more poke-cake ideas, this candy bar poke cake is another fun choice for celebrations and casual gatherings.
The Best Peanut Butter Poke Cake
Ingredients
Method
- Heat the oven to 350°F and grease a 9-by-13-inch baking dish. Prepare the chocolate cake mix according to the package directions using the eggs, vegetable oil, and water.
- Pour the batter into the prepared baking dish and bake for 28 to 35 minutes, or until a toothpick inserted near the center comes out clean. Let the cake cool for about 10 minutes.
- Use the handle of a wooden spoon or a large straw to poke holes throughout the warm cake, spacing them about 1 inch apart. Slowly pour the sweetened condensed milk over the surface so it can soak into the holes.
- Warm the peanut butter in the microwave for 15 to 30 seconds, just until pourable. Drizzle it over the cake and spread it gently if needed.
- Allow the cake to cool completely. Warm the hot fudge sauce only until spreadable, then spread it over the cooled cake.
- Cover the fudge layer with thawed whipped topping and sprinkle the chopped Reese’s Peanut Butter Cups evenly over the top. Refrigerate the finished cake for at least 1 hour before slicing and serving.
Notes
Final Thoughts
This is the best peanut butter poke cake recipe for any occasion because it combines convenience with the irresistible flavor of chocolate and peanut butter. The cake mix keeps the preparation simple, while the condensed milk, peanut butter, fudge, whipped topping, and Reese’s candies make every layer taste generous and memorable.
Follow the cooling and warming instructions closely, especially when preparing the peanut butter and hot fudge. Once the cake has chilled for at least 1 hour, slice it into squares and serve a dessert that is soft, creamy, chocolaty, and filled with peanut butter flavor from the first bite to the last.