Beautiful rustic bread baked in a Dutch oven requires only flour, water, salt, yeast, and patience. Stir together 3 cups of flour, 1 1/2 cups of water, 1 1/4 teaspoons of salt, and 1/4 teaspoon of yeast, let the sticky dough ferment for 12–18 hours, then bake it in a thoroughly preheated 4–6-quart Dutch oven at 450°F for 30 minutes covered and 15–20 minutes uncovered.
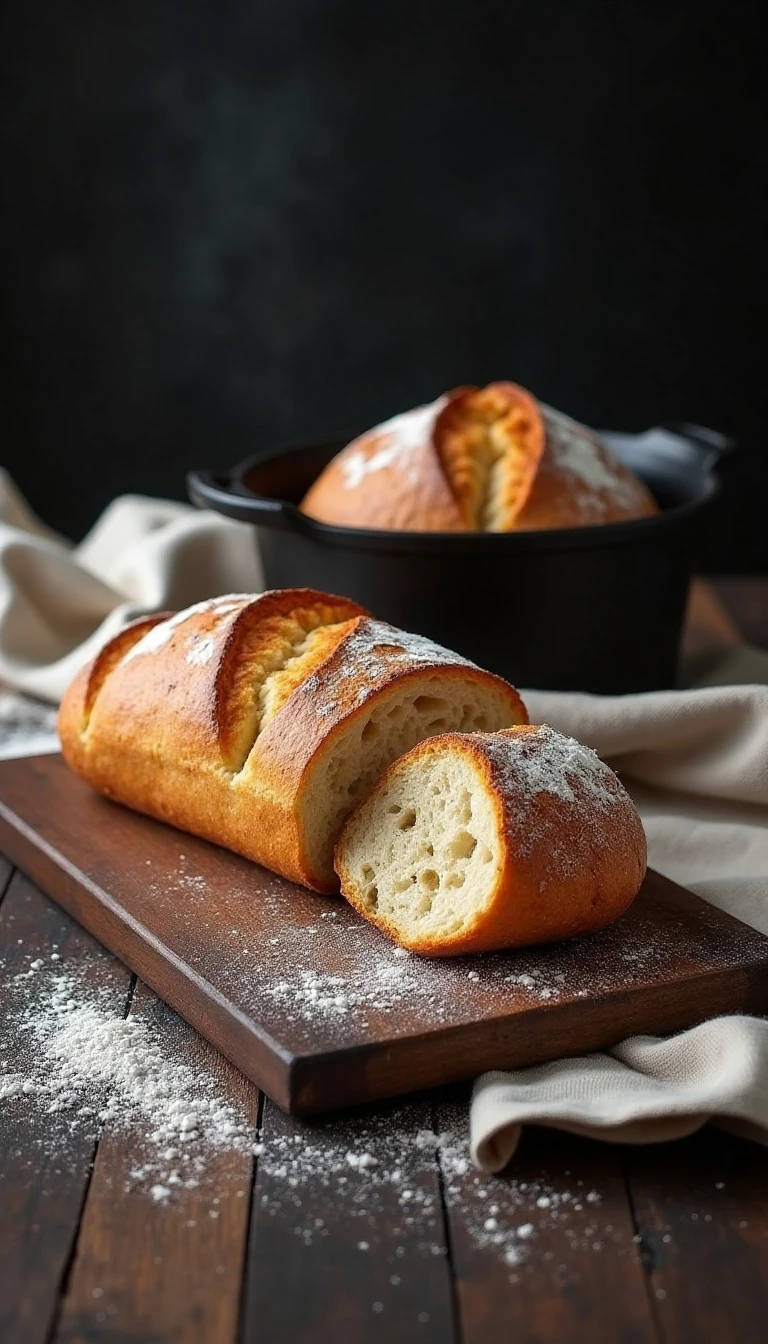
The result is a crackly, deeply browned crust surrounding a tender, airy crumb with the gentle flavor of long fermentation. This no-knead loaf is wonderfully simple, yet it looks and tastes like it came from a small artisan bakery.
Jump to RecipeWhy You’ll Love This Recipe
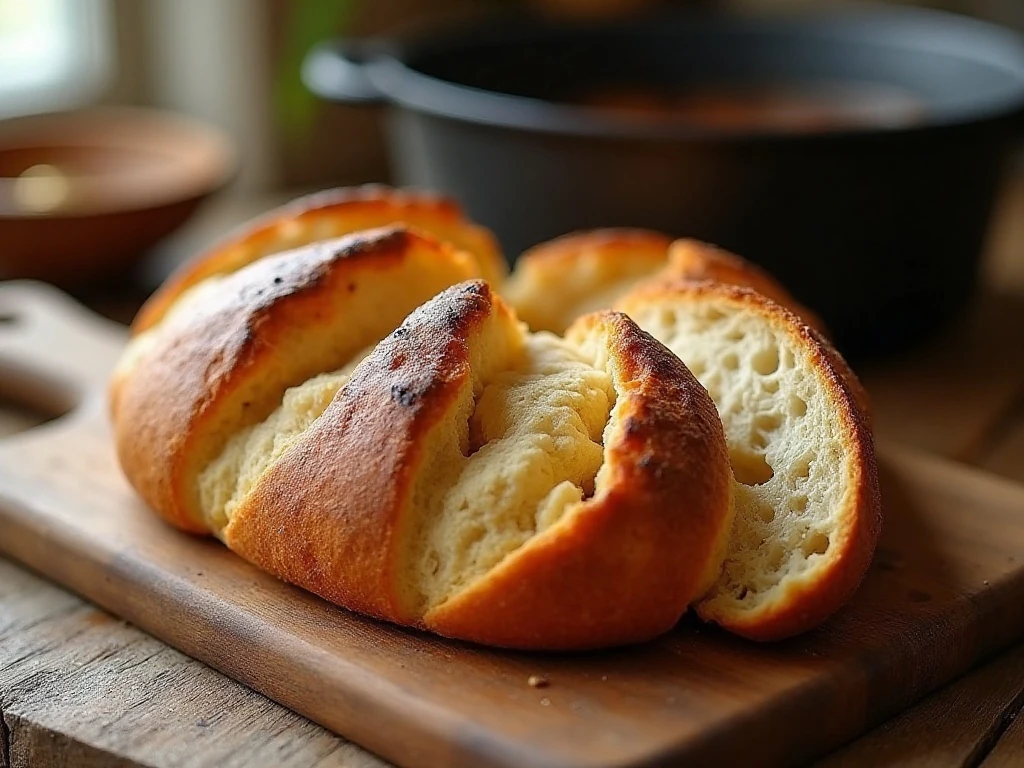
This loaf delivers the visual drama of artisan bread without complicated shaping, special equipment, or a lengthy kneading session. The dough comes together in about 10–15 minutes, while the long first fermentation builds flavor and gives the yeast time to create a light, bubbly structure.
The Dutch oven does much of the work. Its heavy walls hold steady heat, and the covered pot captures moisture released from the dough, creating steam that encourages a lofty rise and a crisp, blistered crust.
Inside, the crumb is soft and pleasantly chewy, with irregular holes that make every slice feel special. Serve it with salted butter, olive oil, soup, eggs, or a generous spoonful of jam.
If you enjoy making bread for entertaining, this loaf also pairs beautifully with our bread bowl recipe, especially when you want a hearty presentation for soup or stew.
Ingredients You’ll Need
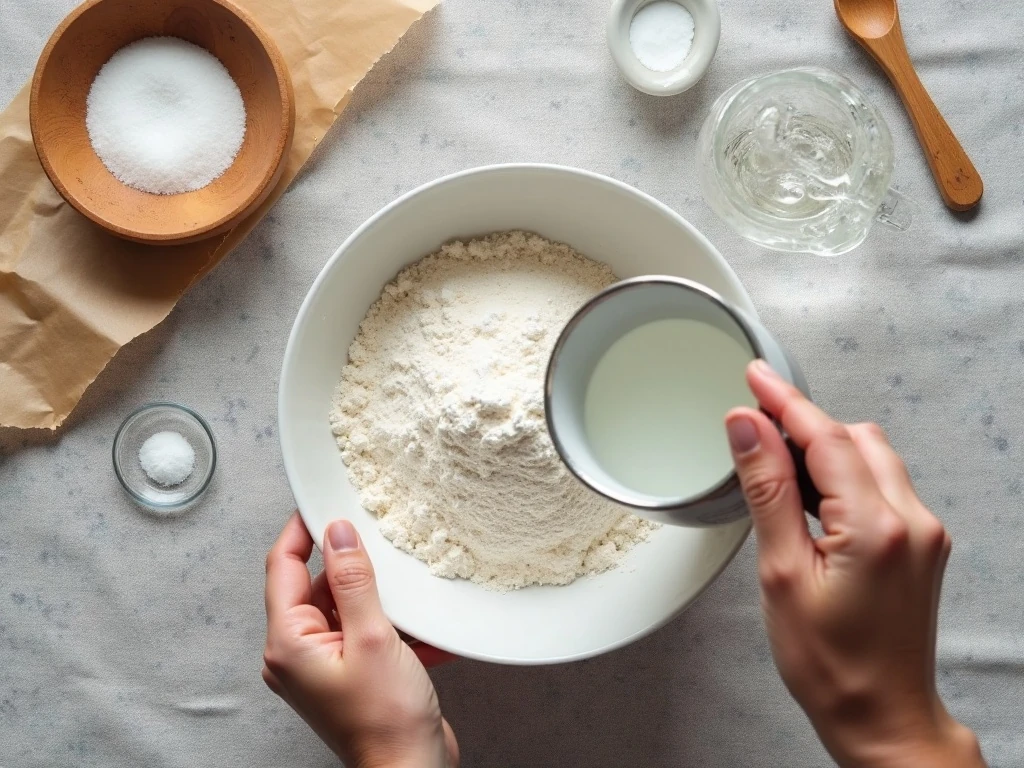
The ingredient list is deliberately short, but each item matters. Choose all-purpose or bread flour, depending on what you have available; either works well for this rustic loaf.
- Flour: Use 3 cups, or about 400–430 grams, of all-purpose or bread flour. Weighing is helpful, but careful cup measurements also work.
- Water: Add 1 1/2 cups, or about 345–360 grams, of room-temperature or lukewarm water. Avoid very hot water, which can damage the yeast.
- Salt: Use 1 1/4 teaspoons of fine salt, about 7–8 grams, for balanced flavor and dough strength.
- Yeast: Only 1/4 teaspoon of instant or active dry yeast is needed because the dough ferments for many hours.
- For handling: Keep a little extra flour, cornmeal, or parchment paper nearby if desired. These are optional aids rather than additional dough ingredients.
For a different quick homemade loaf, you can also compare the method with this easy beer bread. That style has a different texture and flavor, while this Dutch oven version gets its character from long fermentation and trapped steam.
How to Make It Step-by-Step
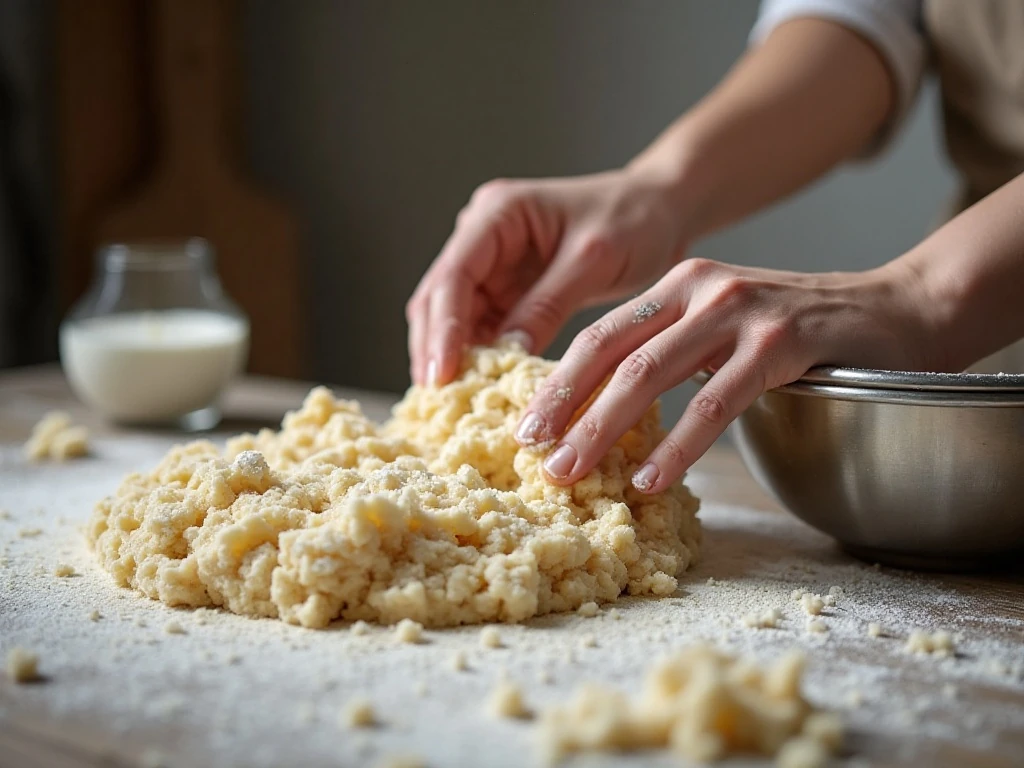
Step 1: Add the flour, salt, and yeast to a large bowl and stir to distribute the ingredients evenly. Pour in the water and mix with a wooden spoon or sturdy spatula until the dough looks shaggy and sticky, with no obvious patches of dry flour.
Step 2: Cover the bowl tightly with a lid, reusable cover, or plastic wrap. Leave it at room temperature for 12–18 hours, choosing a draft-free spot where the dough can rest undisturbed.
Step 3: Check the dough after the overnight fermentation. It should look bubbly, feel loose, and be roughly doubled in size; if the room is cool, it may need the longer end of the 12–18-hour range.
Step 4: Flour a work surface generously and turn out the dough. With lightly floured or damp hands, fold the dough over itself several times, then tuck it into a loose round without trying to make the surface perfectly smooth.
Step 5: Cover the shaped round and let it rest for 30–60 minutes. This second rise gives the dough a final chance to relax while you prepare the oven and Dutch oven.
Step 6: Place a 4–6-quart cast-iron Dutch oven, including its lid, in the oven. Preheat to 450°F (230°C) for about 30 minutes so the pot is thoroughly hot before the dough goes inside.
Step 7: Carefully transfer the dough into the preheated pot, using parchment paper if that makes the transfer easier. Score the top with a sharp knife or bread lame, then immediately cover the pot with its hot lid.
Step 8: Bake covered at 450°F for 30 minutes, then remove the lid and bake for another 15–20 minutes. The finished loaf should be deeply golden, sound hollow when tapped, and generally register 205–210°F internally.
Step 9: Lift the bread from the Dutch oven and place it on a wire rack. Cool for at least 1 hour before slicing, even though the aroma will make waiting difficult.
Pro Tips for a Crisp Crust
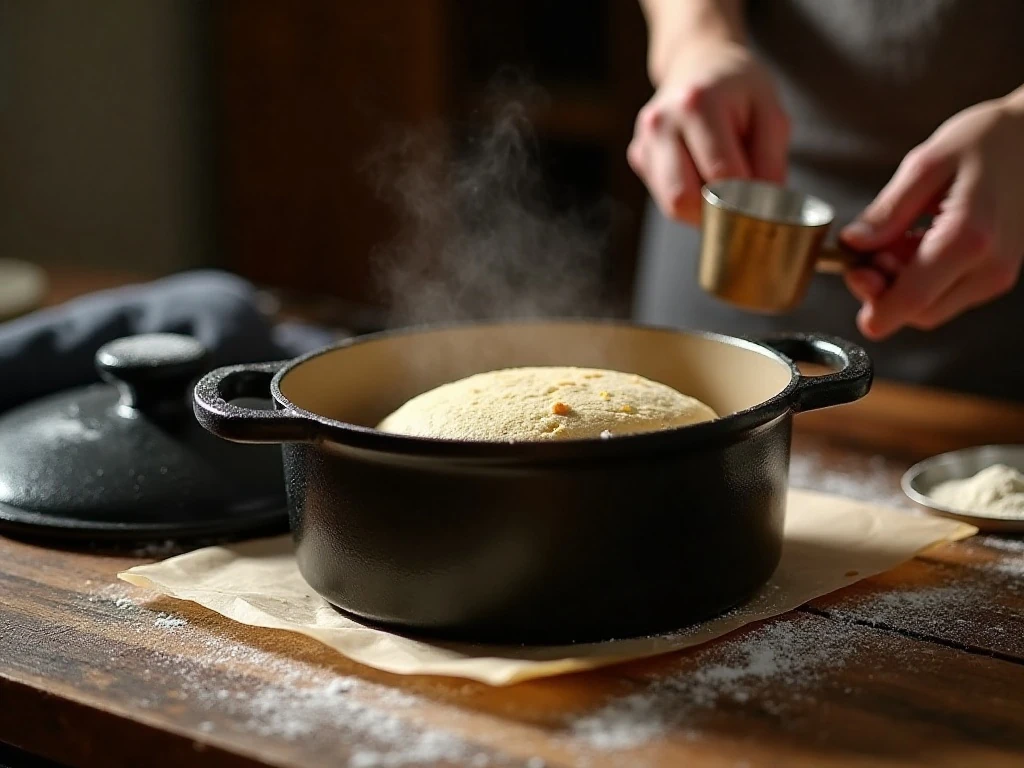
Thorough preheating is the most important detail. A Dutch oven that has spent about 30 minutes heating at 450°F provides the strong initial burst of heat needed for good expansion.
Do not panic when the dough feels wetter and stickier than a conventional kneaded dough. That texture is intentional; adding a large amount of flour during shaping can make the finished bread dense.
Use a light touch when handling the fermented dough. Preserve as many of the bubbles as possible, and use damp or lightly floured hands rather than pressing or kneading the dough aggressively.
A score gives expanding steam a planned path and adds a beautiful bakery-style finish. A simple slash across the top is enough, though a shallow cross or curved design also works.
When removing the lid, protect your hands and face from hot steam. The lid and pot become extremely hot, so use sturdy oven mitts and place the lid on a heat-safe surface.
Serving Ideas and Flavor Pairings
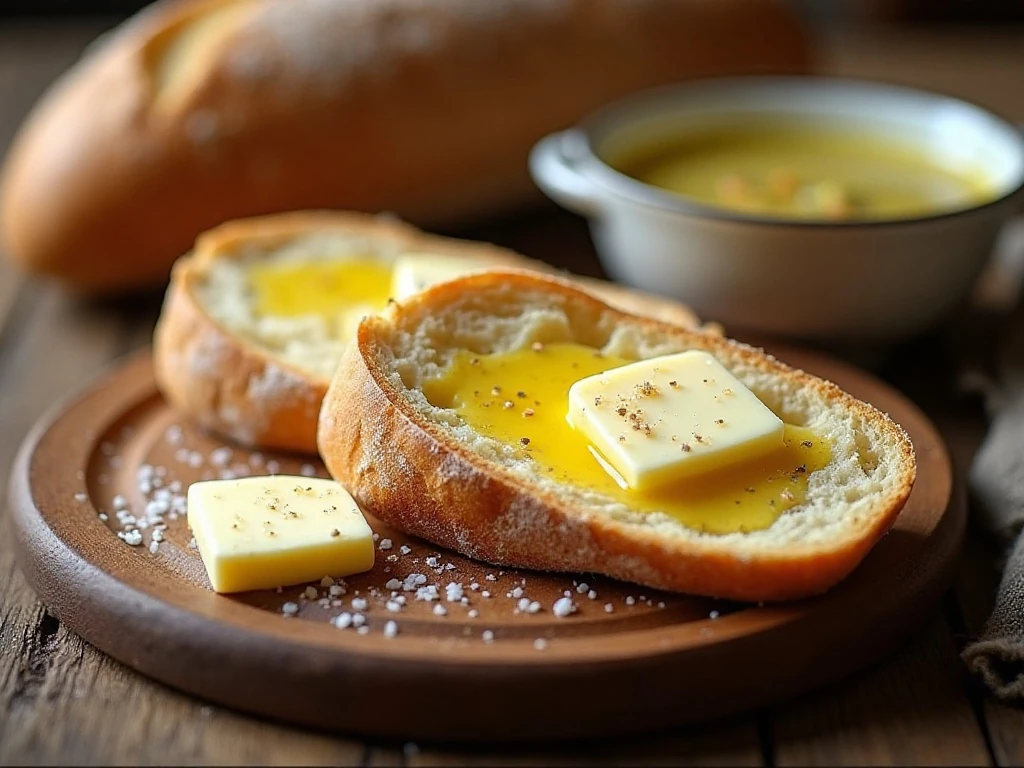
Let the loaf cool fully, then cut it with a serrated bread knife. Thick slices are ideal for toast, while thinner slices make excellent sandwiches with roasted vegetables, cheese, or sliced chicken.
For breakfast, serve warm bread with butter, honey, or fruit preserves. At dinner, tear it into pieces for dipping in olive oil, or use it to soak up the broth from a bowl of soup.
The bread’s mild flavor also leaves room for sweet pairings. A slice alongside our cranberry orange loaf creates a lovely brunch spread with contrasting textures and flavors.
Keep the toppings simple if you want the crust and crumb to remain the focus. Flaky salt, softened butter, roasted garlic, or a drizzle of olive oil are all delicious choices.
Storage, Reheating, and Troubleshooting
Cool the bread completely before storing it. Keep it at room temperature in a paper bag, bread bag, or clean kitchen towel for up to 2 days; avoid refrigerating it, since cold storage can make bread stale more quickly.
To refresh the crust, warm the loaf or individual slices in a hot oven for a few minutes. Toasting is also an excellent way to revive day-old bread and bring back some crispness.
If the loaf seems gummy, it was likely sliced before the crumb finished setting or needed a little more baking time. Always allow at least 1 hour of cooling, and use the internal temperature range of 205–210°F as a helpful doneness check.
If the bread spreads instead of rising, the dough may have fermented too long or become difficult to handle during shaping. Next time, use a little less fermentation time within the 12–18-hour range and work on a well-floured surface.
For a sweet, party-style bread project, try our chocolate chip monkey bread. It is a very different recipe, but it is another inviting way to make homemade bread the centerpiece of a gathering.
Beautiful Rustic Bread Baked in a Dutch Oven
Ingredients
Method
- Mix the flour, salt, and yeast in a large bowl. Add the water and stir until no dry flour remains and a shaggy, sticky dough forms; do not knead.
- Cover the bowl tightly and leave it at room temperature for 12-18 hours. The dough should become bubbly and roughly double in size.
- Turn the dough onto a well-floured surface, using lightly floured or damp hands to manage the sticky texture. Fold the dough over itself several times and shape it into a loose round.
- Cover the shaped dough and let it rest for 30-60 minutes. During this rest, place a 4-6-quart cast-iron Dutch oven and its lid in the oven and preheat to 450°F (230°C) for about 30 minutes.
- Carefully transfer the dough into the hot Dutch oven. Score the top with a sharp knife or bread lame if desired, working quickly and cautiously around the heated pot.
- Cover the Dutch oven and bake at 450°F (230°C) for 30 minutes. The covered pot traps steam, helping the loaf expand and form its characteristic crust.
- Remove the lid and continue baking for 15-20 minutes, until the loaf is deeply golden brown. It should sound hollow when tapped and generally reach about 205-210°F (96-99°C) internally.
- Transfer the bread to a wire rack and cool for at least 1 hour before slicing. This resting period allows the crumb to finish setting and helps prevent a gummy interior.
Notes
Final Thoughts
This beautiful rustic bread proves that excellent homemade bread can come from a simple bowl, a few pantry ingredients, and an overnight rest. The no-knead dough stays wonderfully forgiving, while the preheated Dutch oven creates the crisp crust and airy interior that make the loaf so satisfying.
Give the dough plenty of time to become bubbly, handle it gently, and resist slicing until it has cooled for at least an hour. Once you are comfortable with the basic method, you can explore other decorative loaves, including this striking leopard bread.
Set the finished loaf on the table whole, let everyone admire the crackly crust, and slice it just before serving. Whether paired with soup, butter, cheese, or jam, this Dutch oven bread is a dependable recipe worth making again and again.