This easy 3-ingredient beer bread recipe is a quick, no-yeast loaf made with self-rising flour, granulated sugar, and one 12-fluid-ounce bottle or can of beer. Stir the ingredients together in about 5 to 10 minutes, transfer the thick batter to a loaf pan, and bake at 375°F (190°C) for approximately 40 to 50 minutes.
The finished bread has a golden crust, a soft and tender center, and a subtle malty flavor that changes with the beer you choose. Serve it warm with butter, alongside soup or chili, or with homemade jam for a simple loaf that tastes far more special than its short ingredient list suggests.
Jump to RecipeWhy You’ll Love This Recipe
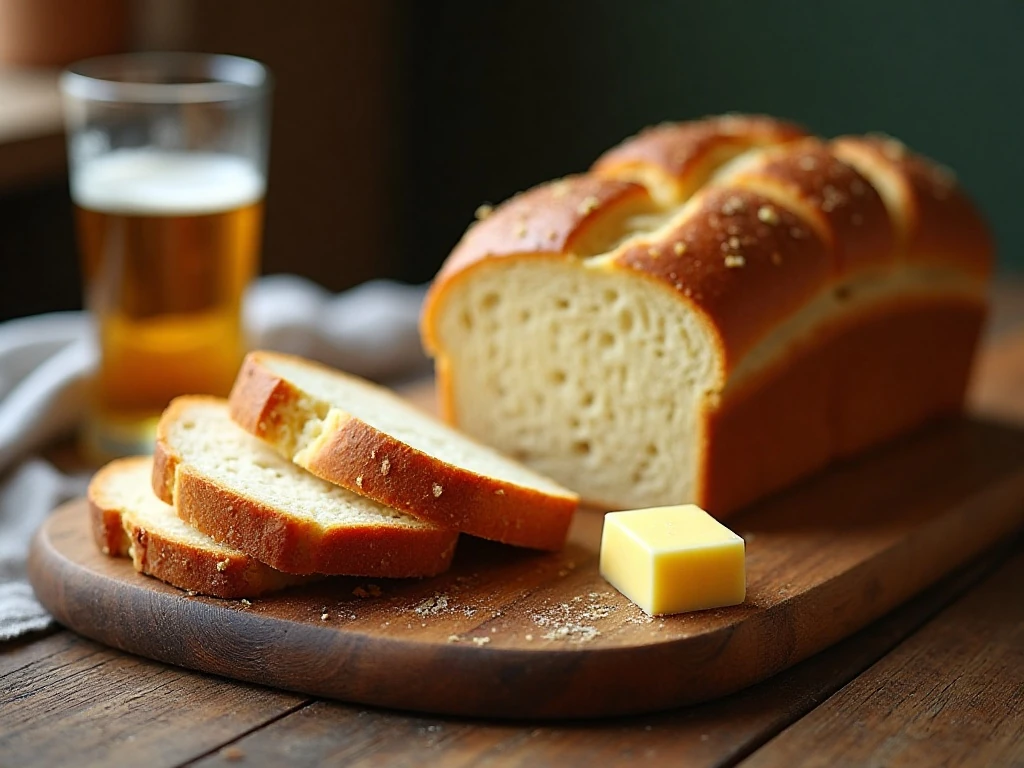
This beer bread is one of the easiest homemade loaves you can bake because there is no yeast, kneading, proofing, or complicated shaping. The batter comes together in one bowl, and the loaf can be in the oven before you have finished cleaning the mixing spoon.
Self-rising flour provides the baking powder and salt required for the bread to rise, while beer brings moisture, carbonation, and a gentle malty note. The sugar balances the beer’s flavor and helps the crust turn beautifully golden.
The texture is somewhere between a classic quick bread and a rustic sandwich loaf. It is sturdy enough for dunking into soup, yet tender enough to enjoy with butter and preserves.
If you enjoy making simple breads with a little extra personality, you may also like this cranberry orange loaf for a fruity, fragrant variation.
Ingredients You’ll Need
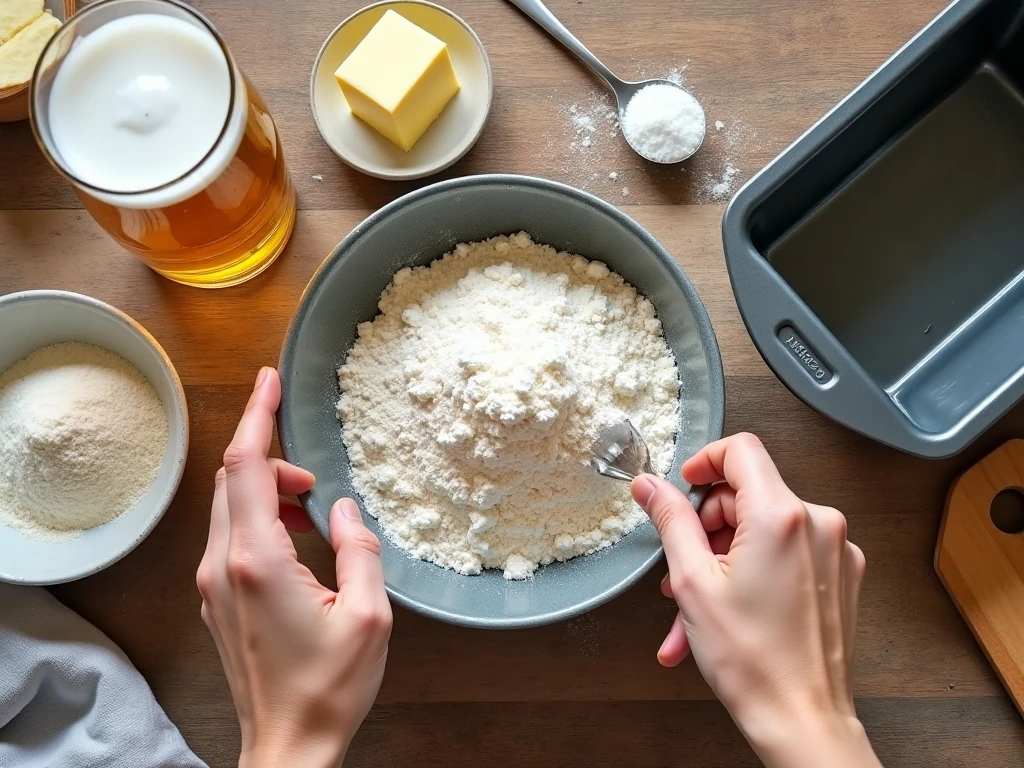
The basic recipe uses only three ingredients, so each one matters. Measure the flour carefully and avoid replacing the self-rising flour with plain all-purpose flour unless you also add the necessary leavening and salt.
- Self-rising flour: Use 3 cups, or about 360 grams. This flour already contains baking powder and salt, which are essential to the loaf’s rise and flavor.
- Granulated sugar: Three tablespoons add a mild sweetness and encourage a nicely browned crust without making the bread taste like cake.
- Beer: Use one 12-fluid-ounce bottle or can, preferably at room temperature. A lager creates a relatively mild loaf, while an amber ale or stout gives it a stronger malt character.
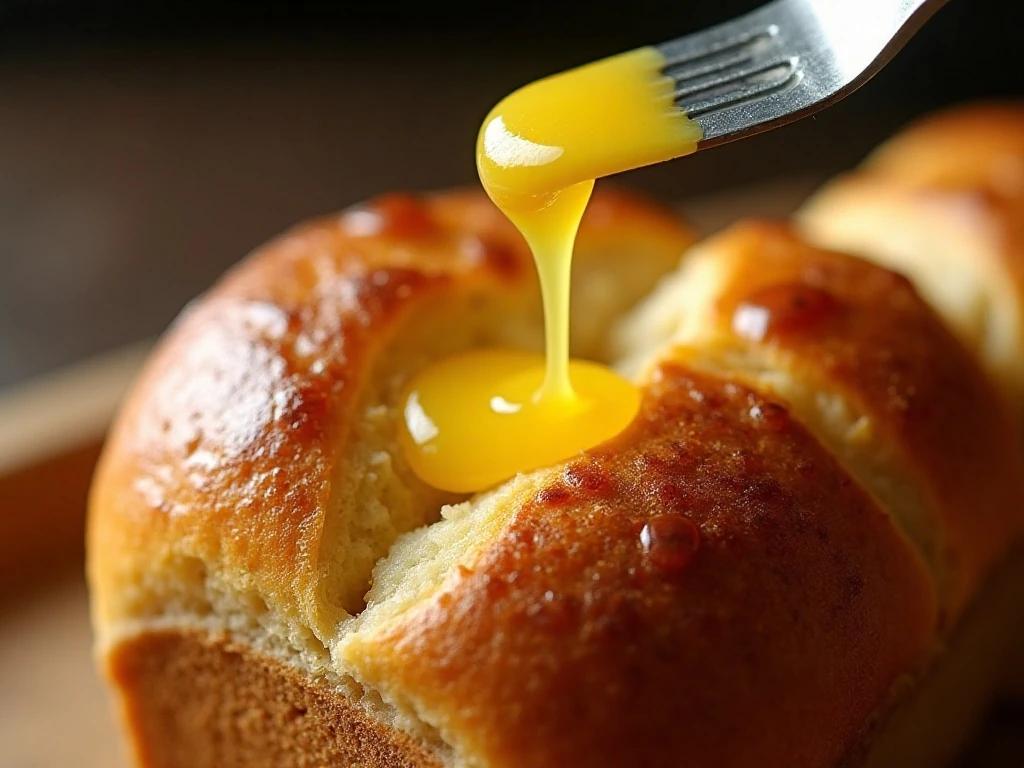
- Optional melted butter: Brush 1 to 2 tablespoons over the top before or after baking for a softer crust, richer flavor, and extra browning.
Choose a beer you would happily drink because its flavor will remain noticeable in the finished bread. Avoid a beer with a taste you strongly dislike, as baking will not completely hide it.
For a sweet breakfast spread, slice this loaf and serve it with quick homemade microwave jam. The bright fruit flavor is a wonderful contrast to the bread’s malty crumb.
How to Make It Step-by-Step
Step 1: Heat your oven to 375°F (190°C) so it is fully ready when the batter is mixed. Grease a standard 9 x 5-inch loaf pan thoroughly, paying attention to the corners and sides; an 8 1/2 x 4 1/2-inch pan also works and will produce a taller loaf.
Step 2: Add the self-rising flour and granulated sugar to a large bowl. Whisk them together until the sugar is evenly distributed and there are no visible pockets of flour or sugar.
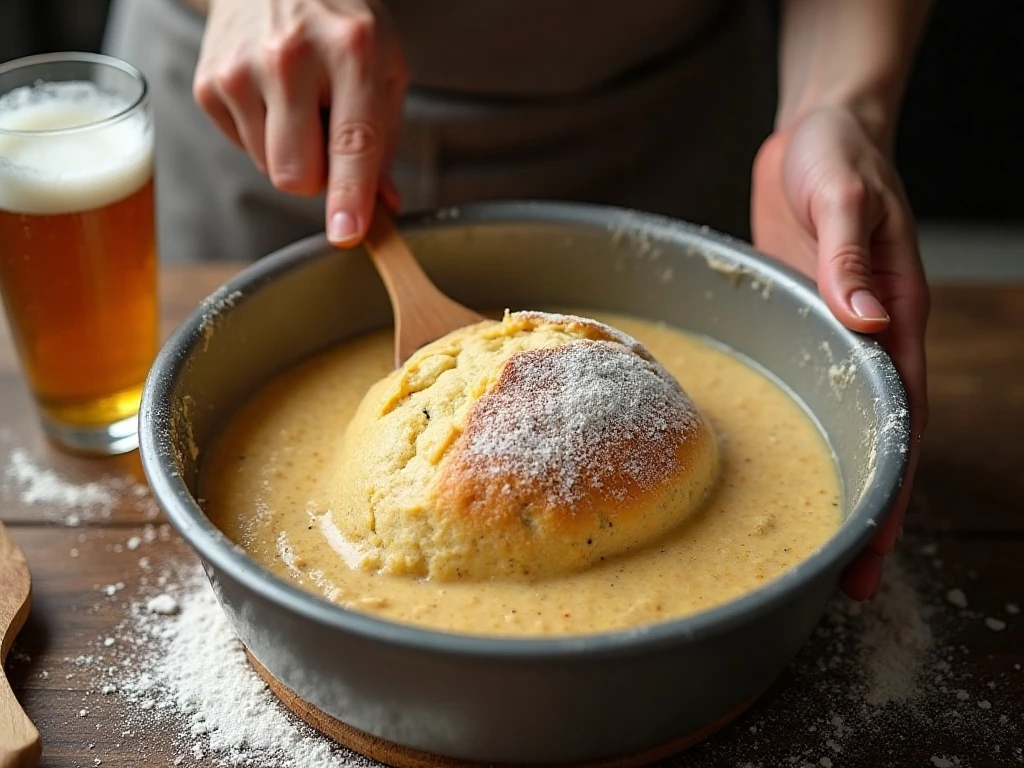
Step 3: Pour the room-temperature beer into the bowl. Stir with a wooden spoon or sturdy spatula just until the dry ingredients are moistened; the mixture will be thick, sticky, and somewhat lumpy, which is exactly what you want.
Step 4: Scrape the batter into the prepared loaf pan and gently smooth the top. Do not press it down firmly, since keeping the mixture light helps the loaf bake with a better texture.
Step 5: If using butter, brush 1 to 2 tablespoons of melted butter over the surface. Place the pan in the oven promptly so the beer’s carbonation and the flour’s leavening can help the bread rise while the mixture is fresh.
Step 6: Bake for about 40 to 50 minutes. The bread is ready when the top is golden brown, a toothpick inserted in the center comes out clean, and the internal temperature is approximately 190 to 200°F (88 to 93°C).
Step 7: Let the loaf cool in the pan for about 10 minutes before turning it onto a wire rack. Slice it warm for a soft, comforting bite, or allow it to cool fully for cleaner slices.
Pro Tips for the Best Beer Bread
The most important rule is to avoid overmixing. Once the flour is moistened, stop stirring; vigorous or prolonged mixing can develop too much gluten and leave the loaf dense or tough.
Room-temperature beer is preferred because it blends more easily with the flour and does not cool the batter before baking. If your beer is chilled, the loaf can still work, but letting it sit out briefly makes the process more predictable.
Keep the pan size in mind when judging doneness. A smaller 8 1/2 x 4 1/2-inch pan makes a taller loaf, so it may need careful testing in the center before you remove it from the oven.
- Grease the pan generously to make releasing the loaf easier.
- Use a light-colored metal pan for an evenly browned crust.
- Do not open the oven repeatedly during the first part of baking.
- Use an instant-read thermometer if you want the most reliable doneness check.
- Brush the hot loaf with butter after baking if you prefer a softer, more flavorful crust.
For another playful bread idea with a sweet finish, try serving this loaf beside easy chocolate chip monkey bread at a casual brunch.
Choosing the Right Beer
A mild lager or pilsner is a dependable choice when you want the bread to taste primarily like fresh-baked bread with just a light malty background. These beers are especially good for serving with savory meals because they will not dominate the plate.
An amber ale adds a deeper toasted flavor and a slightly more noticeable beer aroma. A stout creates a darker, richer loaf with a bold malt profile that pairs especially well with hearty stews, roasted meats, and sharp cheese.
There is no need to use an expensive beer. Select a fresh beer with a flavor you enjoy, and remember that the final result will be influenced by the beer’s bitterness, roast, sweetness, and carbonation.
If you are planning a dessert-style spread, a fruity side such as this pineapple banana dessert can bring a sunny contrast to the loaf.
Serving Suggestions
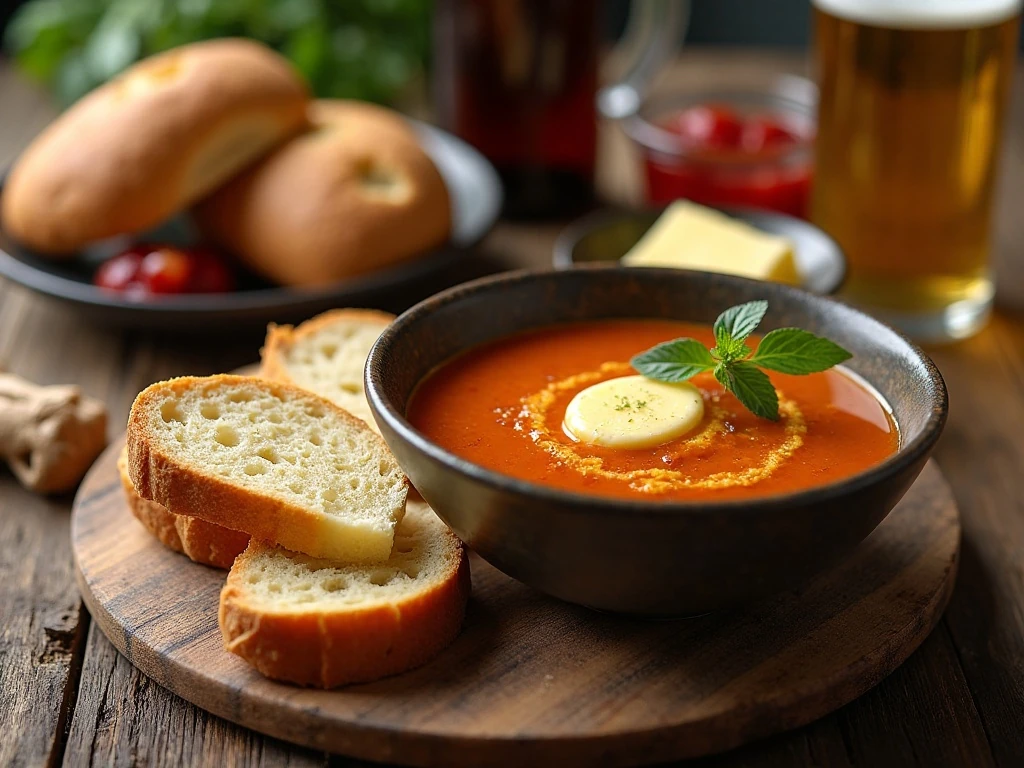
Serve slices warm with salted butter, honey, or your favorite fruit preserve. The bread is also delicious with cream cheese, soft goat cheese, or a sharp cheddar that complements the beer’s malty flavor.
For a savory meal, place a basket of thick slices beside chili, vegetable soup, beef stew, or roasted chicken. The tender crumb is ideal for soaking up broth and sauces without falling apart immediately.
For breakfast, toast the slices until the edges are crisp and add butter or jam. You can also use day-old slices for rustic croutons, grilled cheese, or a savory bread pudding.
Those who enjoy visually unusual loaves may want to look at this creative leopard bread for another conversation-starting baking project.
Storage, Reheating, and Freezing
Let the beer bread cool completely before wrapping it, unless you plan to serve it immediately. Store it tightly wrapped or in an airtight container at room temperature for up to 2 days.
To refresh a slice, warm it briefly in a toaster or oven until the edges are lightly crisp and the center is soft. A small pat of butter will melt into the warm crumb and bring back its fresh-baked character.
For longer storage, slice the cooled loaf and freeze the pieces in a freezer-safe bag with parchment between the slices. Thaw individual slices at room temperature or toast them directly from frozen.
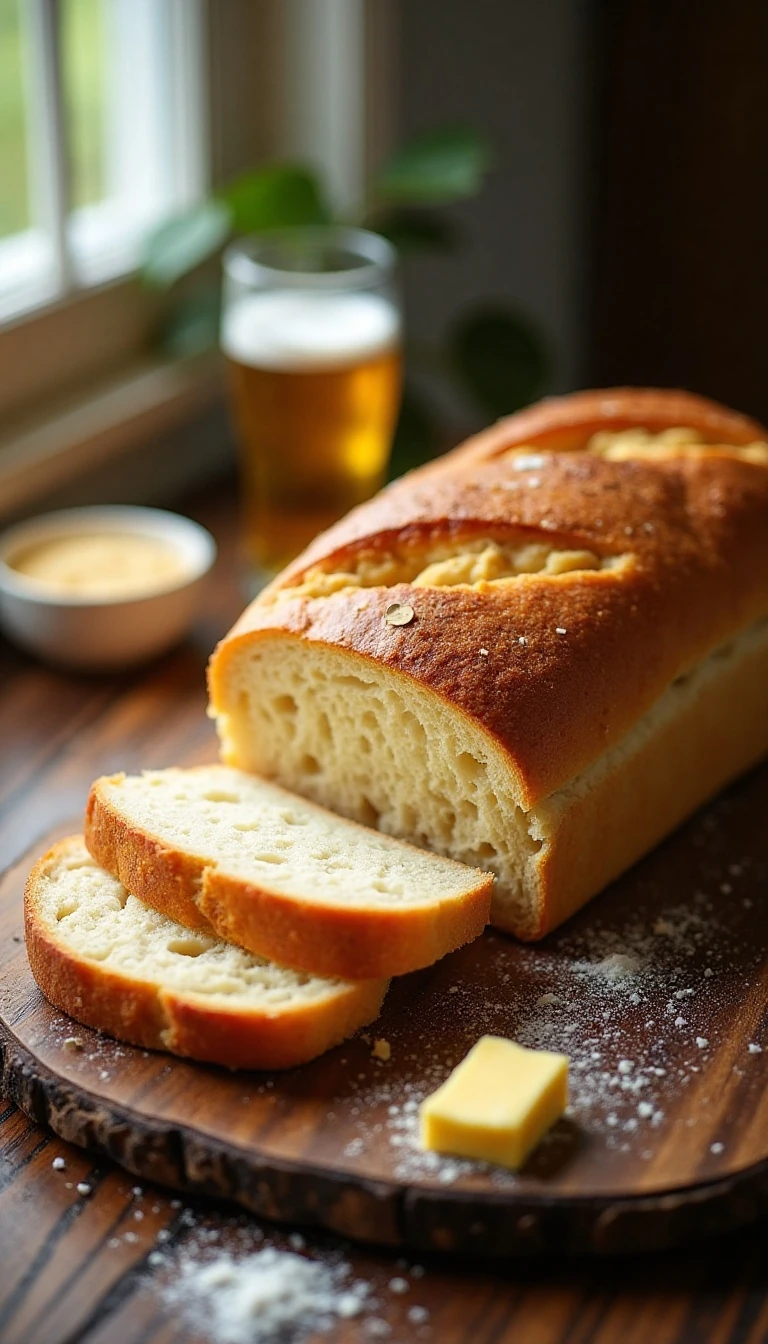
Easy 3-Ingredient Beer Bread Recipe (No Yeast!)
Ingredients
Method
- Heat the oven to 375°F (190°C). Grease a standard 9 x 5-inch loaf pan, or use an 8 1/2 x 4 1/2-inch pan for a taller loaf.
- Whisk the self-rising flour and granulated sugar together in a large mixing bowl.
- Pour in the beer and stir just until the dry ingredients are moistened. The batter should be thick and somewhat lumpy.
- Scrape the batter into the prepared loaf pan and smooth the top. Brush with melted butter if desired.
- Bake for 40 to 50 minutes, until the top is golden brown, a toothpick inserted in the center comes out clean, and the internal temperature is approximately 190 to 200°F (88 to 93°C).
- Cool the loaf in the pan for about 10 minutes, then transfer it to a rack. Slice while warm or wait until fully cooled.
Notes
Final Thoughts
This easy 3-ingredient beer bread proves that homemade bread does not need a long ingredient list or an afternoon of preparation. With 3 cups of self-rising flour, 3 tablespoons of sugar, and one 12-fluid-ounce beer, you can create a golden loaf with a tender crumb in about an hour from start to finish.
Keep the mixing gentle, bake the batter promptly, and choose a beer whose flavor you love. Whether served warm with butter, paired with soup, or toasted with jam, this no-yeast bread is a dependable recipe to keep ready for busy days and relaxed weekend meals.
Once you taste the crisp edges and soft, malty center, you may find yourself baking it whenever you need a quick homemade side. It is simple, comforting, and satisfying enough to earn a regular place in your bread rotation.
13 thoughts on “Easy 3-Ingredient Beer Bread Recipe (No Yeast!)”