This homemade honey buttermilk bread recipe makes one soft, tender 9 x 5-inch loaf with a lightly sweet flavor and golden crust. Made with 1 1/2 cups buttermilk, 1/4 cup honey, butter, yeast, salt, and about 4 cups bread flour, the loaf bakes at 350°F for 35–40 minutes.
The finished bread has a delicate, moist crumb, gentle tang from the buttermilk, and just enough honey to make every slice taste special. Plan on 25–30 minutes of active preparation, two rises, and approximately 2 1/2–3 1/2 hours from mixing to fully cooled bread.
Jump to RecipeWhy You’ll Love This Recipe
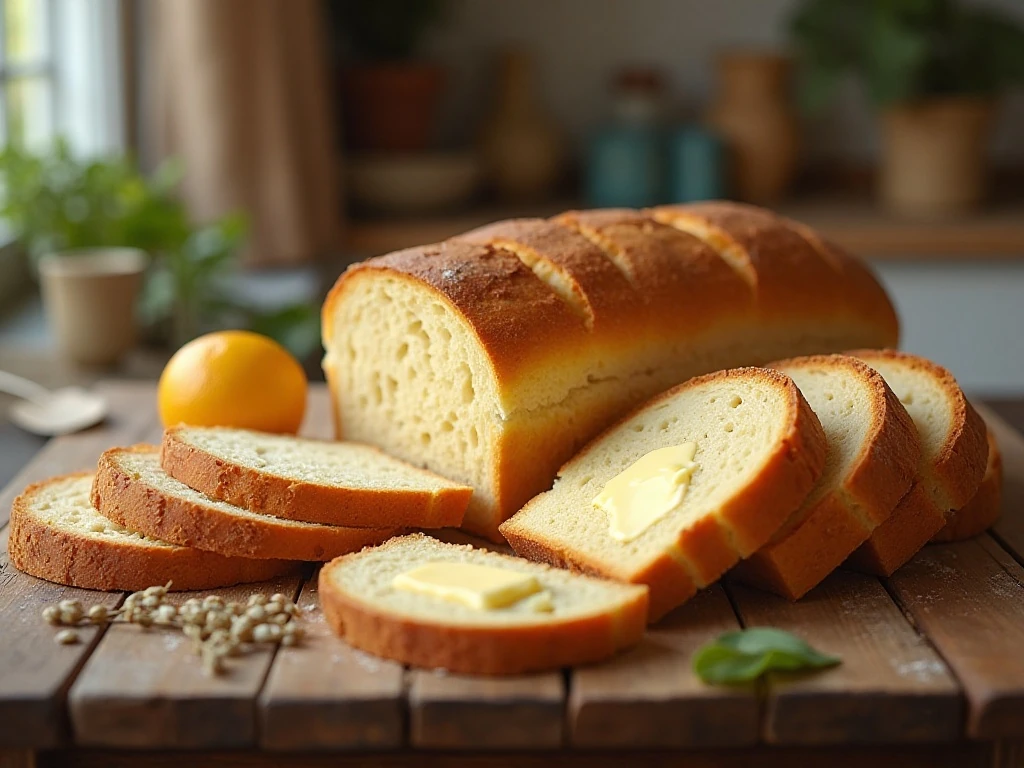
This honey buttermilk bread is the kind of everyday loaf that makes the kitchen smell like a bakery. The honey brings a mellow sweetness, while buttermilk gives the crumb a pleasant tang and helps keep each slice tender.
It is sturdy enough for toast and sandwiches but soft enough to enjoy warm with butter. The recipe also uses familiar ingredients and produces one manageable loaf, making it a practical choice for a weekend baking project or a homemade gift.
If you enjoy experimenting with yeast dough, our versatile yeast dough is another useful recipe to keep nearby. For a different sweet loaf, you may also like this peanut butter bread.
Ingredients You’ll Need

Gather the ingredients before you begin, especially the buttermilk and bread flour. Accurate measuring helps the dough come together smoothly, but this is a forgiving formula as long as flour is added gradually.
- Buttermilk: Use 1 1/2 cups, or 360 ml, for moisture, tenderness, and a gentle tang.
- Honey: The 1/4 cup, or 85 g, adds sweetness and pairs beautifully with the buttermilk.
- Unsalted butter: Two tablespoons enrich the dough and contribute to its soft texture.
- Fine salt: One and a half teaspoons balance the sweetness and strengthen the bread’s flavor.
- Active dry yeast: Use 2 1/4 teaspoons, or one packet, to give the loaf its rise.
- Bread flour: Begin with 3 1/2 cups and add from the remaining amount as needed, up to about 4 cups total.
Buttermilk can range from thin to quite thick, and different brands of flour absorb liquid differently. Holding back roughly 1/2 cup of flour is the best way to avoid a dry, heavy loaf.
How to Make It Step-by-Step

Step 1: Warm the buttermilk, honey, and butter in a small saucepan or microwave-safe container until the mixture is lukewarm, about 105–110°F (40–43°C). It should feel pleasantly warm rather than hot; excessive heat can damage the yeast.
Step 2: If using active dry yeast, stir it into the warm buttermilk mixture and let it rest for 5–10 minutes. A thin layer of foam or small bubbles shows that the yeast is beginning to activate, while instant yeast may be mixed directly with the flour.
Step 3: Add the salt and about 3 1/2 cups of bread flour to the bowl. Stir with a sturdy spoon or mix on low speed until the ingredients form a shaggy dough with no large dry pockets.
Step 4: Knead the dough by hand for 8–10 minutes, or use a stand mixer with a dough hook for 5–7 minutes. Add the remaining flour a little at a time, stopping when the dough is smooth, elastic, and slightly tacky instead of stiff.
Step 5: Lightly grease a clean bowl and place the dough inside, turning it once so the surface is coated. Cover the bowl and let the dough rise in a warm, draft-free place for 60–90 minutes, until it has doubled.
Step 6: Gently press down the risen dough to release excess gas without aggressively squeezing it. Shape it into a neat loaf by flattening it into a rectangle, folding it inward, and rolling it snugly before placing it seam-side down in a greased 9 x 5-inch loaf pan.
Step 7: Cover the pan and allow the dough to rise again for 30–45 minutes. It is ready for the oven when it crowns about 1 inch above the rim and springs back slowly when lightly touched.
Step 8: Bake at 350°F (175°C) for 35–40 minutes, rotating the pan if your oven browns unevenly. The loaf should be deeply golden, and the center should register approximately 190–200°F (88–93°C) on an instant-read thermometer.
Step 9: Let the bread cool in the pan for 10 minutes before transferring it to a wire rack. For a softer crust, brush the hot loaf with melted butter, then wait until it is completely cool before slicing.
Pro Tips for a Soft, Tall Loaf
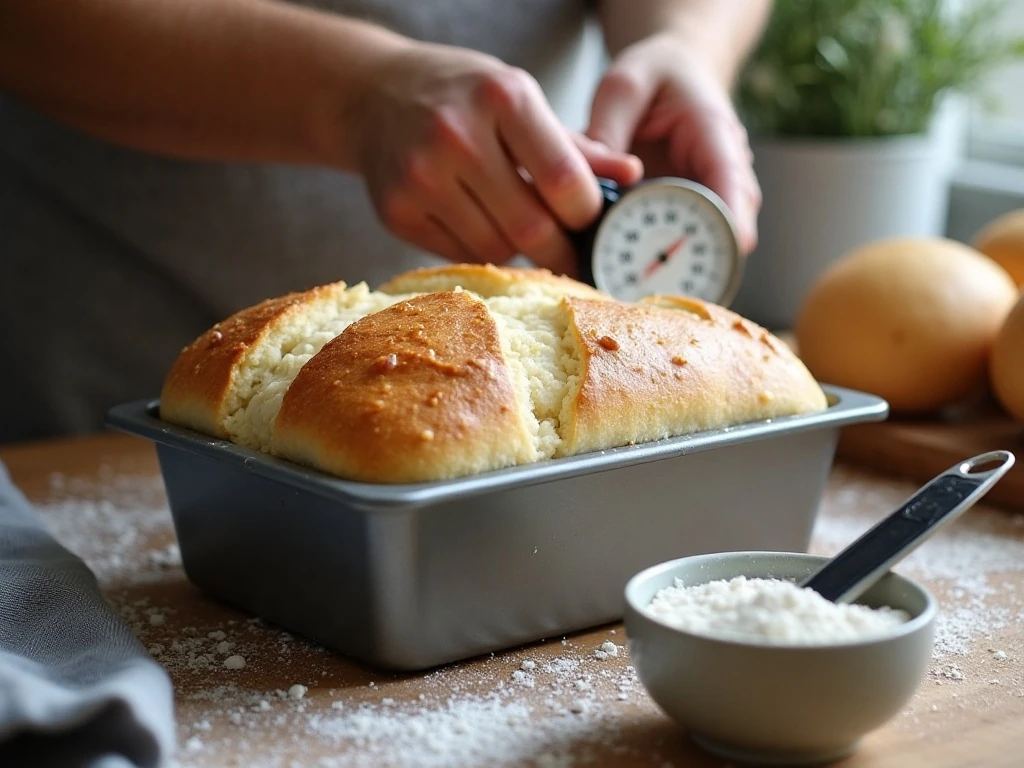
The most important visual cue is the dough itself, not the exact amount of flour. A finished dough should feel supple and slightly tacky, but it should release from the bowl and gather around the dough hook or your hands.
Keep the first rise in a comfortably warm location, but avoid placing the bowl on a very hot surface. A slow rise is preferable to overheating the dough, since excessive warmth can weaken yeast activity and affect the bread’s texture.
Shape the loaf with enough tension to create a smooth top, but do not compress it harshly. A loose shape can spread in the pan, while overly tight shaping may restrict the second rise.
For another bread idea to serve beside soups, roasted vegetables, or grilled foods, try our homemade naan recipe. If you are planning a seasonal dessert afterward, this pumpkin pudding makes a cozy pairing.
How to Tell When the Bread Is Done
Color is a helpful first check: the crust should be a rich golden brown rather than pale. For the most reliable result, insert an instant-read thermometer into the center of the loaf without touching the pan; aim for approximately 190–200°F (88–93°C).
If the crust browns before the center is ready, loosely tent the loaf with foil for the remaining baking time. Avoid slicing immediately after baking, because the interior is still setting and can turn gummy when cut too soon.
Storage & Serving Ideas

Once completely cool, wrap the bread tightly or place it in an airtight bag and keep it at room temperature for several days. Store it away from direct sunlight and moisture, and avoid refrigerating it unless necessary because cold temperatures can make bread stale more quickly.
For longer storage, slice the cooled loaf and freeze the slices in a sealed freezer-safe bag. Individual pieces can go directly into the toaster, making it easy to enjoy homemade bread on busy mornings.
Serve thick slices with salted butter, cream cheese, jam, or a drizzle of honey. The bread is also excellent for French toast, grilled cheese, turkey sandwiches, and simple toast topped with sliced bananas or soft scrambled eggs.
Homemade Honey Buttermilk Bread
Ingredients
Method
- Warm the buttermilk, honey, and butter together until lukewarm, about 105–110°F (40–43°C). Stir active dry yeast into the mixture and let it stand for 5–10 minutes, until lightly foamy.
- Add the salt and about 3 1/2 cups of the bread flour. Mix until a shaggy dough forms, then gradually add the remaining flour only as needed.
- Knead by hand for 8–10 minutes or in a stand mixer fitted with a dough hook for 5–7 minutes. Stop when the dough is smooth, elastic, and slightly tacky rather than stiff.
- Place the dough in a lightly greased bowl, cover, and let it rise in a warm place for 60–90 minutes, or until doubled in size.
- Gently deflate the dough and shape it into a loaf. Place it in a greased 9 x 5-inch loaf pan, cover, and let it rise for 30–45 minutes, until it crowns about 1 inch above the rim.
- Bake at 350°F (175°C) for 35–40 minutes. The bread is ready when deeply golden and its internal temperature reaches approximately 190–200°F (88–93°C).
- Cool the loaf in the pan for 10 minutes, then transfer it to a wire rack. Cool completely before slicing so the crumb can finish setting.
Notes
Final Thoughts
This homemade honey buttermilk bread is a rewarding loaf to bake because the method is straightforward and the result feels wonderfully special. Its tender crumb, lightly sweet flavor, and buttery golden crust make it just as welcome at breakfast as it is alongside dinner.
Remember to warm the liquid gently, add flour with restraint, and give the dough enough time to rise. Those three details make the difference between a heavy loaf and the soft, fragrant bread you want to bake again.
Let the loaf cool completely before cutting, then enjoy the first slice with butter while the crust is still fresh. Once you taste how well honey and buttermilk work together, this dependable bread is likely to become a regular part of your baking routine.
4 thoughts on “Homemade Honey Buttermilk Bread Recipe”