These Strawberry Marshmallow Crumb Bars are an easy 9-by-13-inch dessert made with a buttery oat crumb crust, thick strawberry preserves, fluffy mini marshmallows, and a golden crumb topping. The recipe yields 24 bars, takes about 15–20 minutes to prepare, and bakes in two stages for a total bake time of 35–45 minutes.
Every bite combines crisp, tender shortbread-style crumbs with sweet strawberry jam and lightly browned marshmallows. After at least 1 hour of cooling, the layers set into sliceable dessert bars that are perfect for bake sales, potlucks, lunchbox treats, holiday cookie trays, or a simple family dessert.
Jump to RecipeWhy You’ll Love This Recipe
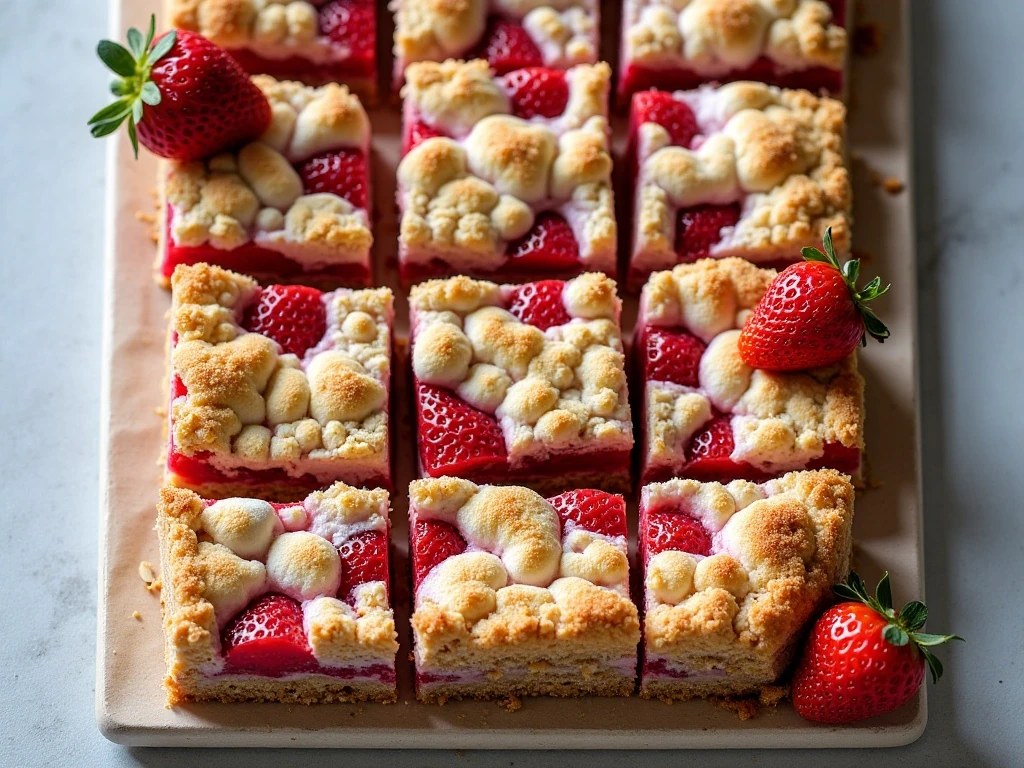
These bars bring together familiar flavors in a format that feels special without requiring complicated pastry work. The oat crumb mixture serves as both the sturdy bottom crust and the golden topping, so there is no separate dough to roll, chill, or shape.
Strawberry preserves provide a concentrated fruit flavor that stays bright after baking, while the marshmallows melt into soft, sweet pockets beneath the crumb topping. The finished texture lands between a jam bar, a fruit crumble, and a toasted marshmallow treat.
The recipe is also wonderfully practical. A single 9-by-13-inch pan makes 24 portions, and the bars can be prepared ahead, chilled for tidy slicing, and packed for gatherings.
If you enjoy fruit-forward crumb desserts, you may also like these strawberry caramel crumble bars for another rich and jammy treat.
Ingredients You’ll Need
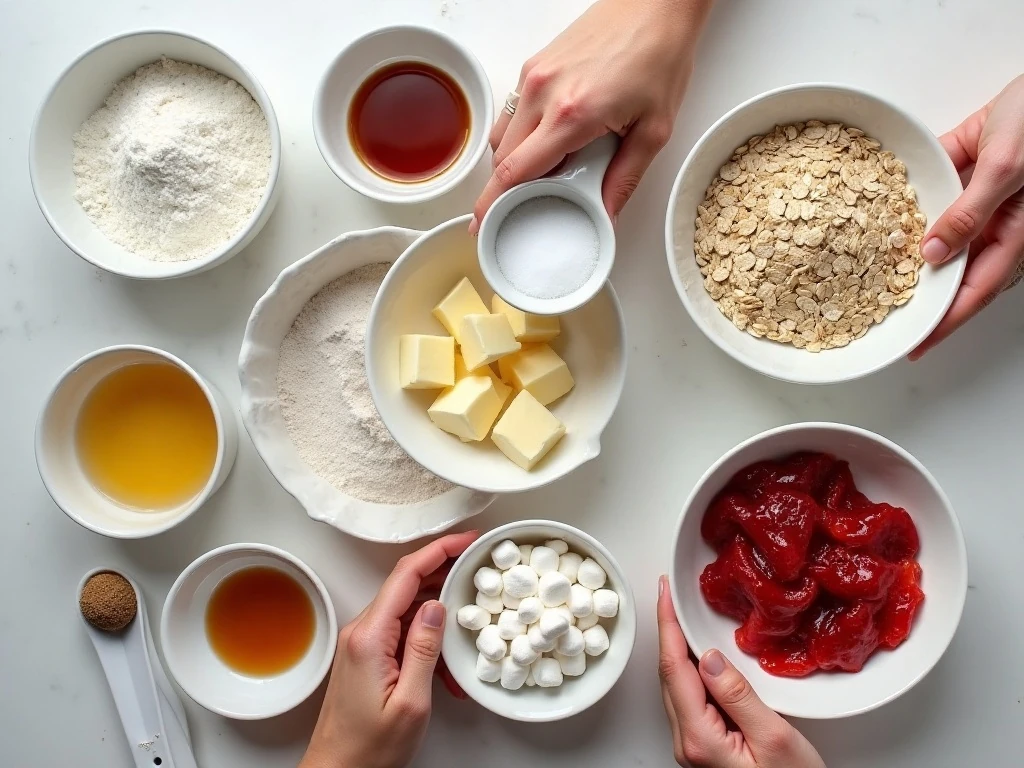
The crumb base begins with 2 cups of all-purpose flour and 1 cup of quick-cooking oats. Flour gives the bars structure, while oats contribute a pleasantly rustic chew and a toasty flavor that pairs naturally with strawberries.
Granulated sugar sweetens the crumbs, and a small amount of baking powder keeps the mixture from becoming heavy. Salt is important here because it balances the sweetness and makes the butter and fruit taste more pronounced.
Melted unsalted butter binds the dry ingredients into coarse, moist crumbs. Let it cool slightly before stirring it in so the mixture remains crumbly rather than greasy, and add 1 teaspoon of vanilla for a warm bakery-style aroma.
Choose 1 1/2 cups of thick strawberry preserves or thick strawberry jam. A dense spread is preferable to a runny jam because excess moisture can soften the bottom crust.
Two cups of miniature marshmallows create the soft middle layer. Their small size distributes sweetness evenly and helps them puff and lightly brown during the second bake.
- Use a 9-by-13-inch pan for 24 standard bars.
- Keep parchment overhang on the long sides for easy removal.
- Measure the preserves carefully so the filling does not become too thick or spill over the edges.
How to Make It Step-by-Step
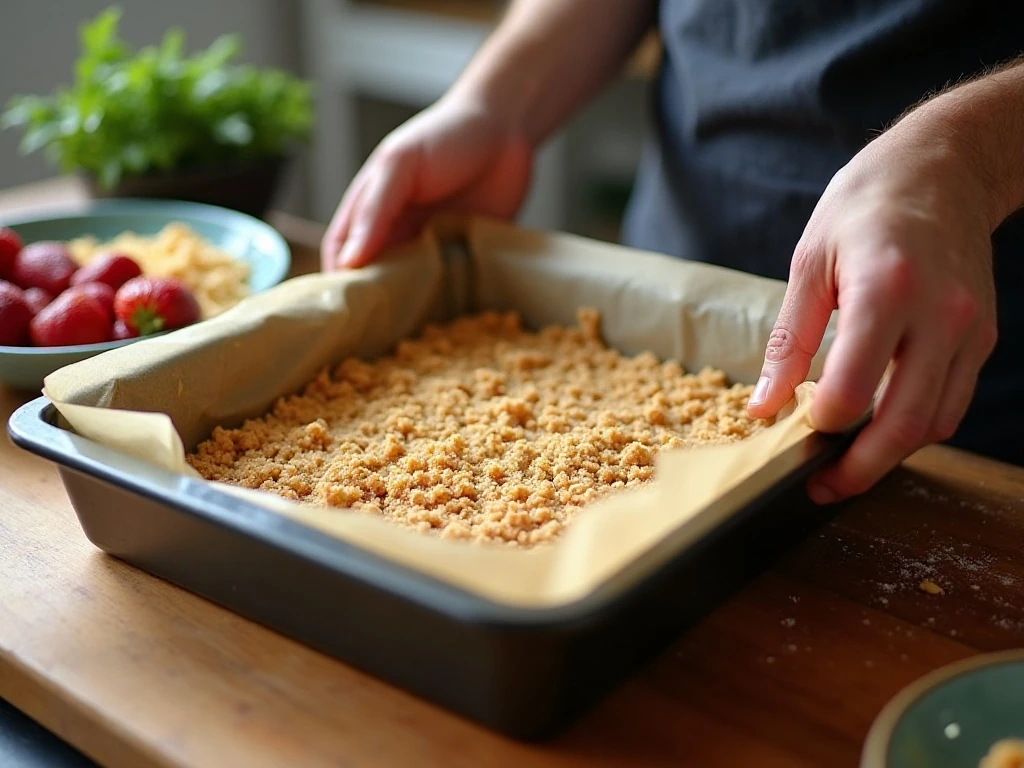
Step 1: Heat the oven to 350°F (175°C) and line a 9-by-13-inch baking pan with parchment paper. Leave an overhang on two sides, since this will let you lift the fully cooled slab out without disturbing the edges.
Step 2: Combine the flour, oats, sugar, baking powder, and salt in a large bowl. Whisk the dry ingredients thoroughly so the baking powder and salt are evenly distributed throughout the crumb mixture.
Step 3: Stir in the melted, slightly cooled butter and vanilla extract. Mix until the ingredients form moist, coarse crumbs, stopping as soon as no large dry patches remain.
Step 4: Set aside about one-third of the crumb mixture for the topping, then press the remaining two-thirds firmly into the lined pan. Use the bottom of a measuring cup or your fingertips to create an even layer, especially in the corners.
Step 5: Bake the crust for 10–12 minutes, until it looks lightly set but is not deeply browned. The warm base gives the preserves a stable surface and helps keep the fruit layer from sinking into the raw crumbs.
Step 6: Spread the strawberry preserves evenly over the warm crust, leaving a small uncovered border around the edges. This border reduces bubbling and helps prevent sticky jam from baking onto the sides of the pan.
Step 7: Scatter the miniature marshmallows evenly over the strawberry layer. Try to cover the surface without piling the marshmallows too deeply in one area, which helps the center bake at the same rate as the edges.
Step 8: Sprinkle the reserved crumbs over the marshmallows, lightly pressing some crumbs into small clumps before scattering them. These clumps create a varied, golden topping while still allowing a little marshmallow to show through.
Step 9: Bake the assembled bars for another 25–30 minutes. Look for a golden topping, bubbling strawberry filling at the edges, and marshmallows that are puffed and lightly browned.
Step 10: Cool the pan completely for at least 1 hour before cutting. For especially clean squares, refrigerate the cooled bars for 30–60 minutes, then use the parchment overhang to lift them out and cut into 24 portions.
Chef’s Tips for Perfect Crumb Bars
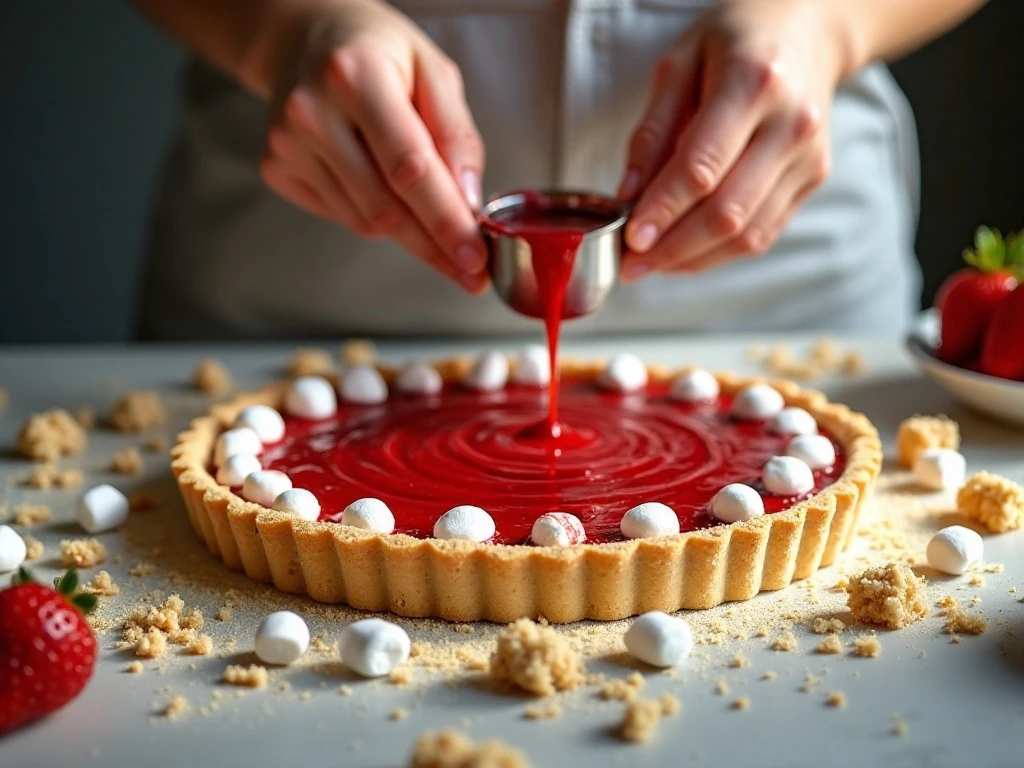
The best texture starts with the right preserves. Thick strawberry preserves stay in place during baking and have less free moisture than a loose sauce, helping the base remain tender instead of soggy.
Press the bottom crust firmly, but do not compress the reserved topping. A firm base supports the fruit and marshmallows, while loose crumbs on top bake into a lighter, more delicate finish.
Leave the strawberry border around the pan edges even if you are tempted to spread the filling all the way to the sides. The jam naturally loosens as it heats, so the border provides room for bubbling.
Keep an eye on the last few minutes of baking. If the crumbs are golden and the marshmallows are lightly browned before the full 30 minutes passes, the bars may be ready; if the center still looks loose, continue baking within the stated 25–30 minute range.
For a slightly sharper fruit flavor, some variations include a small amount of lemon zest or 1 teaspoon of lemon juice. These additions are optional and are not required for the base recipe.
For another dessert suited to a cookie tray, try these frosted sugar cookie bars. Their soft texture makes a nice contrast to the buttery oat crumbs in this strawberry version.
Serving and Storage
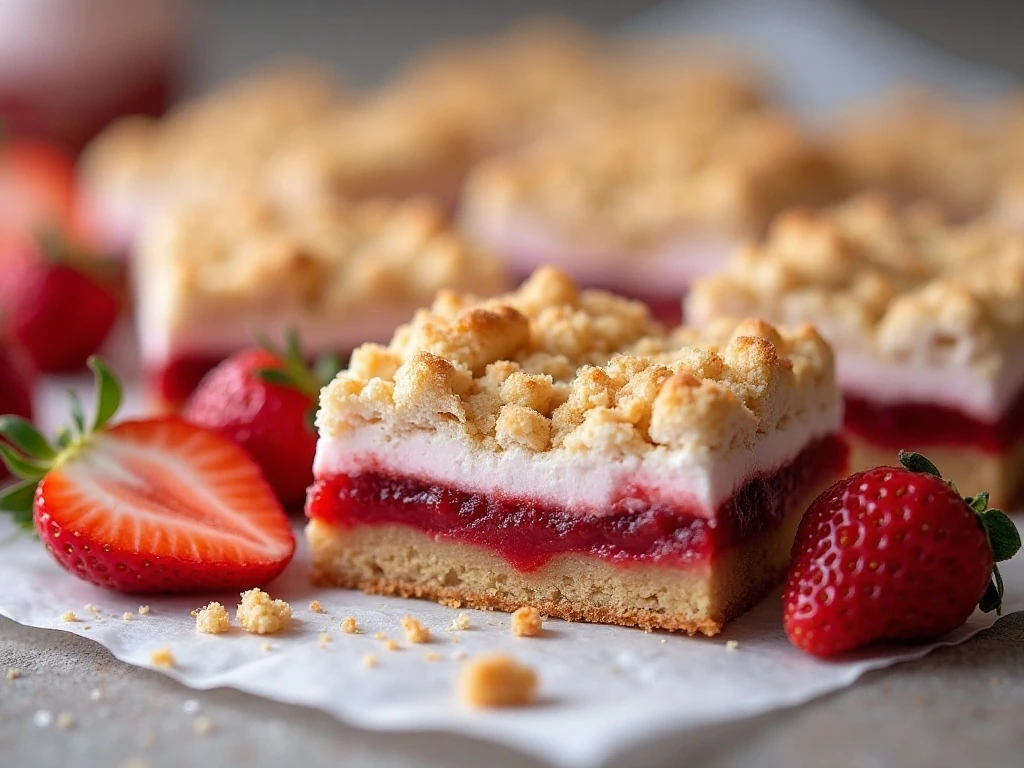
Serve the bars at room temperature for a soft, chewy texture, or serve them chilled when you want the layers to be firmer. They are delicious on their own, but a small spoonful of whipped cream or a scoop of vanilla ice cream makes them feel especially celebratory.
Cut the bars with a sharp knife, wiping the blade between cuts if the strawberry filling clings to it. A chilled slab produces the neatest edges, while room-temperature bars have a softer, more tender bite.
Store the finished bars in an airtight container at room temperature for up to 3 days. Refrigerate them for a firmer texture, particularly in a warm kitchen or when preparing them a day ahead.
For another fruit-filled bake to serve with coffee, consider this strawberry Danish recipe. If you are planning a dessert assortment, these bars also pair well with richer seasonal treats such as gingersnap pumpkin cheesecake bars.
Easy Variations
The oat crumb is part of what makes these bars distinctive, but a traditional shortbread-style version is possible. Omit the oats and use approximately 2 1/2 cups of flour for a more compact, buttery crumb.
Thick strawberry preserves are the most reliable filling, although strawberry pie filling or homemade strawberry sauce can be substituted. If using a looser filling, expect a softer result and make sure the bars cool completely before slicing.
A 9-inch square pan can be used for thicker bars, but the baking time may need to be extended slightly. Watch for a golden topping, edge bubbling, and lightly browned marshmallows rather than relying only on the clock.
You can also make the topping more rustic by squeezing portions of the reserved dough into larger crumb clusters. The clusters brown beautifully and give each square a satisfying combination of crisp edges and tender centers.
For an apple-inspired dessert table, these caramel apple bars offer a cozy companion to the strawberry version.
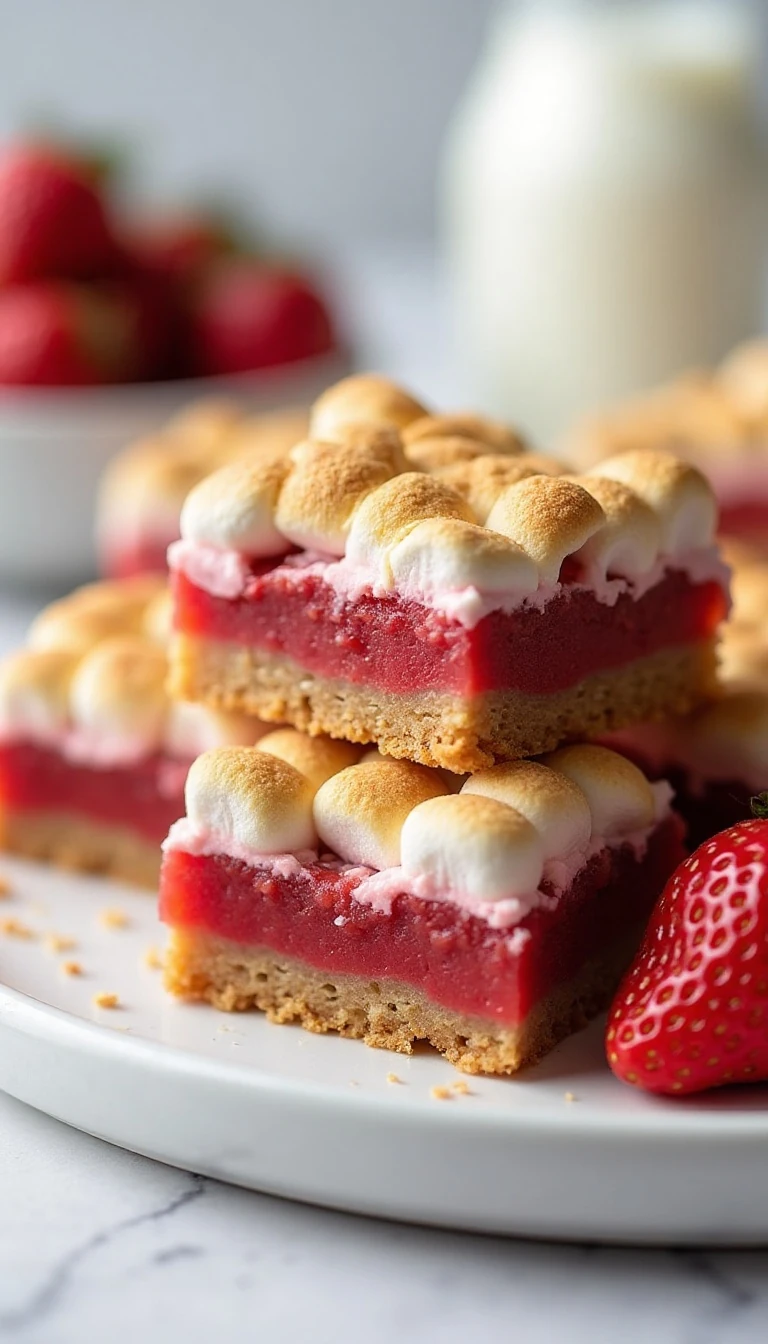
Strawberry Marshmallow Crumb Bars
Ingredients
Method
- Heat the oven to 350°F (175°C). Line a 9-by-13-inch baking pan with parchment paper, leaving enough overhang on two sides to lift out the cooled bars.
- Whisk together the flour, quick-cooking oats, granulated sugar, baking powder, and salt. Stir in the melted, slightly cooled butter and vanilla until moist, coarse crumbs form.
- Press about two-thirds of the crumb mixture firmly into the parchment-lined pan. Bake the base for 10–12 minutes, until lightly set.
- Spread the strawberry preserves evenly over the warm crust, leaving a small uncovered border around the edges. Scatter the mini marshmallows over the preserves.
- Sprinkle the remaining crumb mixture over the marshmallows. Press some of the reserved crumbs lightly into small clumps for a more evenly browned topping.
- Bake for another 25–30 minutes, until the topping is golden brown, the filling bubbles at the edges, and the marshmallows are puffed and lightly browned.
- Cool the bars completely in the pan for at least 1 hour. For cleaner slices, refrigerate the cooled pan for 30–60 minutes before lifting the bars out and cutting them into 24 squares.
Notes
Final Thoughts
Strawberry Marshmallow Crumb Bars earn their crowd-pleasing reputation with a simple method and irresistible contrast. The buttery oat crust gives way to thick strawberry preserves and pillowy marshmallows, while the crumb topping turns golden and crisp in the oven.
Use thick preserves, press the base firmly, and give the baked bars at least 1 hour to cool before slicing. Those small details make the difference between messy spoonfuls and beautiful, bakery-style squares.
Make a pan for your next gathering, keep a few bars chilled for later, and enjoy the sweet strawberry-marshmallow combination whenever a dependable homemade dessert is needed.