This Easy Caramel Apple Lush Bars recipe is a no-bake layered dessert made with a buttery graham-cracker crust, sweet cream cheese filling, creamy vanilla pudding, cinnamon-spiced apple pie filling, whipped topping, and caramel sauce. It makes about 16 chilled bars in a 9 x 13-inch pan, with only 25 to 35 minutes of hands-on preparation and no cooking required.
Every bite tastes like caramel apple pie transformed into a cool, creamy candy-style treat. The crisp-soft graham crust gives each square structure, while the tangy cream cheese, silky pudding, tender apples, and rich caramel create a dessert that is wonderfully sweet without being difficult to prepare.
Jump to RecipeWhy You’ll Love This Recipe
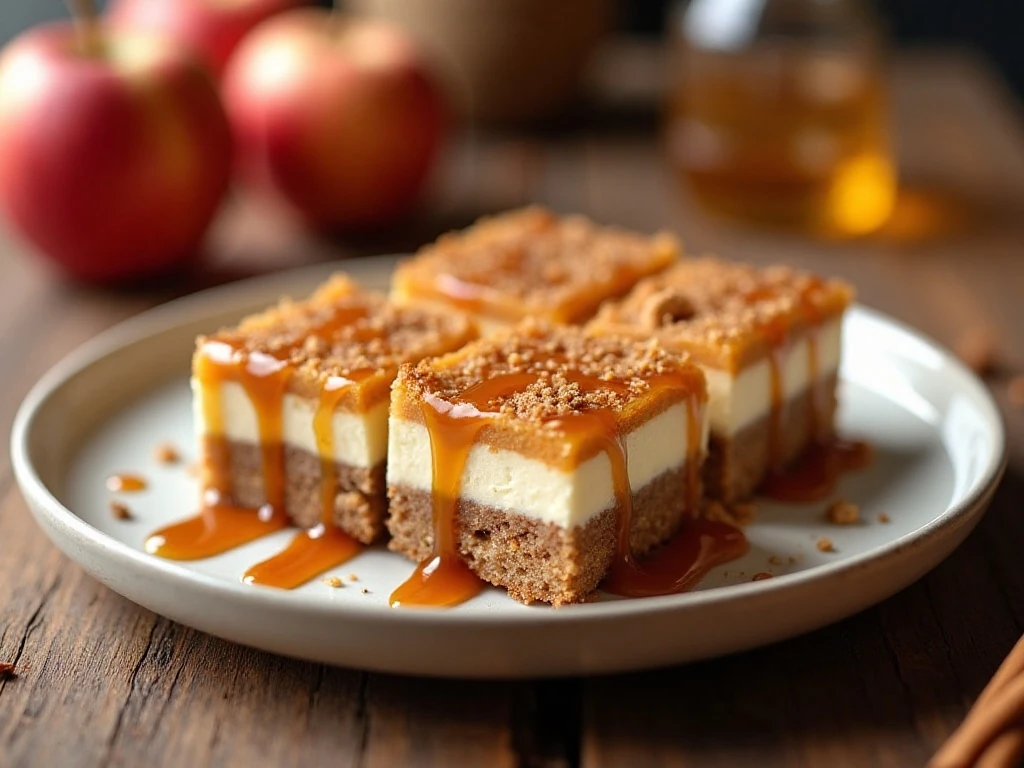
Caramel apple desserts are always welcome in the fall, but this recipe is especially appealing because the oven stays off. You get all the familiar flavors of apple pie, buttery crumbs, caramel, and warm nuts in a chilled dessert that can be assembled ahead of time.
The layers are simple, yet the finished bars look like you spent much longer in the kitchen. A smooth cream-cheese mixture balances the sweetness of the pudding and caramel, while the apple pie filling adds tender fruit and a gentle spice note.
This dessert is also ideal for gatherings. One 9 x 13-inch pan yields about 16 squares, making it easy to serve at a potluck, holiday table, bake sale, or casual family dinner.
If you enjoy bright, chilled bar desserts, you may also like our easy lime bars for a citrusy contrast to this rich apple version.
Ingredients You’ll Need
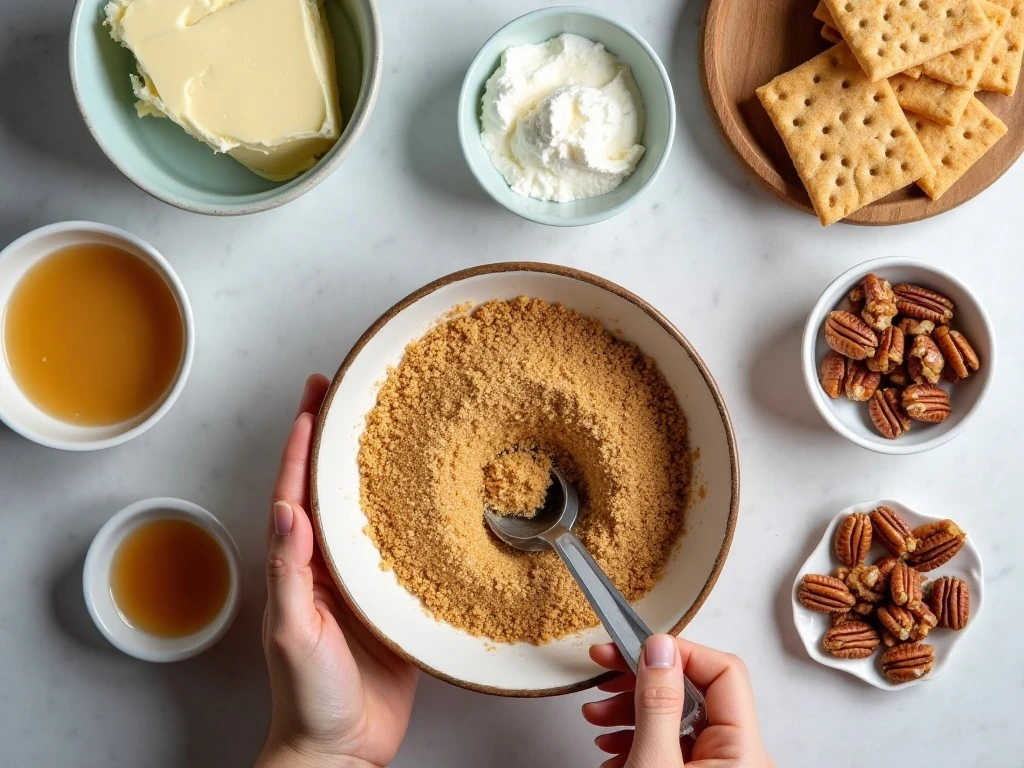
The crust starts with 2 cups of graham-cracker crumbs, approximately 14 full graham-cracker sheets, and 6 tablespoons of melted unsalted butter. Pressed firmly together, these ingredients create a tender base that slices neatly after chilling.
For the creamy middle, use 8 ounces of softened cream cheese, 1/4 cup granulated sugar, and 8 ounces of frozen whipped topping that has been thawed. Soft cream cheese is important because it blends smoothly instead of leaving small lumps in the mixture.
The pudding layer needs two 3.4-ounce packages of instant vanilla pudding mix and 3 cups of cold milk. Cold milk helps the pudding thicken properly, giving the bars enough body to support the apple layer.
Finish with one 20- to 21-ounce can of apple pie filling and 1/3 to 1/2 cup prepared caramel ice-cream topping. Chopped pecans or walnuts, extra whipped topping, and another drizzle of caramel are optional, but they add pleasant crunch and a pretty finish.
- Use a 9 x 13-inch baking dish.
- Keep the milk cold and soften the cream cheese fully.
- Have parchment paper ready if you want easy removal.
- Drain excess syrup from the apples before layering.
For another apple-centered idea with a more traditional pie profile, take a look at this old-fashioned apple pie with a flaky crust.
How to Make It Step-by-Step
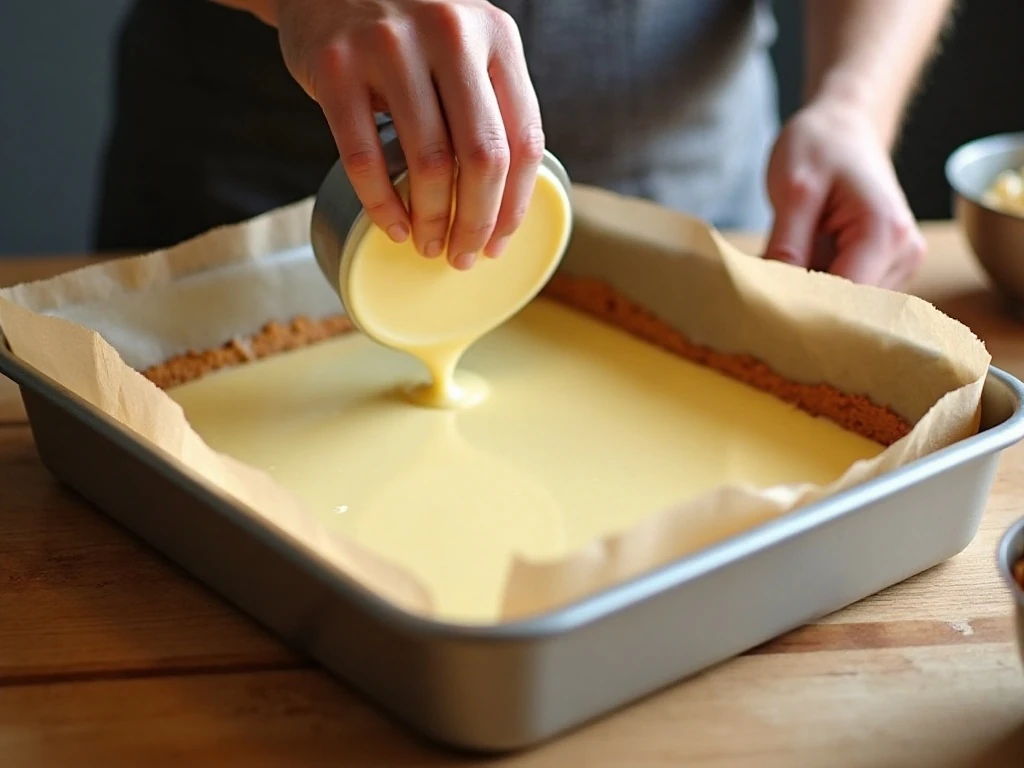
Step 1: Prepare the pan and crust. Line a 9 x 13-inch baking dish with parchment paper, allowing some paper to extend over the sides if easy lifting is desired. Stir the graham-cracker crumbs and melted butter together until every crumb looks lightly moistened, then press the mixture firmly and evenly into the bottom of the dish.
Step 2: Chill the crust. Refrigerate the pressed crust while making the cream-cheese layer so the butter can firm up and the base can hold its shape. A firm, level crust makes the later layers easier to spread without disturbing the crumbs.
Step 3: Make the cream-cheese layer. Beat the softened cream cheese and sugar until completely smooth, scraping the bowl as needed. Fold in about half of the thawed whipped topping with a spatula, using gentle strokes to keep the mixture light, then spread it over the chilled crust.
Step 4: Whisk the pudding. Place both instant vanilla pudding mixes and the cold milk in a bowl, then whisk for about 2 minutes. The mixture should noticeably thicken before it goes into the pan; if it is still loose, give it another brief whisk.
Step 5: Add the pudding layer. Spoon the thickened vanilla pudding over the cream cheese and spread it carefully from edge to edge. Work gently, especially near the sides, so the smooth layer stays distinct and does not pull up the cream-cheese filling.
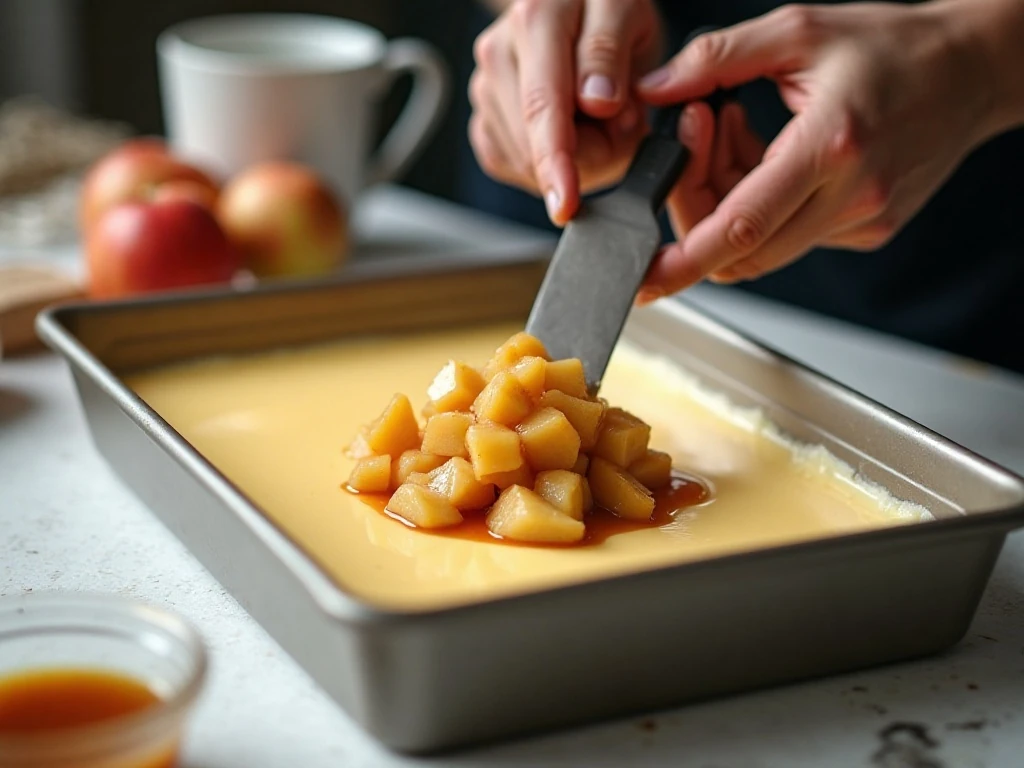
Step 6: Prepare the apples. Drain any excess syrup from the canned apple pie filling, then chop the apple pieces smaller if they are large. Smaller pieces distribute more evenly and make the bars easier to cut and eat.
Step 7: Layer the apples. Spoon the prepared apple pie filling over the pudding and spread it into an even layer. Avoid pressing hard, since too much pressure can push the fruit into the pudding and cause the layers to slide.
Step 8: Add the topping. Spread the remaining whipped topping over the apples, taking it all the way to the edges. Drizzle 1/3 to 1/2 cup caramel sauce over the top, then add chopped pecans or walnuts if you want a nutty finish.
Step 9: Chill before slicing. Cover the pan and refrigerate for at least 4 hours; overnight is preferred for the cleanest cuts and best texture. When ready to serve, use a sharp knife to cut the lush into approximately 16 squares.
Pro Tips for Firm, Beautiful Bars
Temperature and moisture control make the biggest difference in this no-bake dessert. Let the cream cheese soften fully at room temperature, but keep the milk cold when mixing the pudding.
Do not skip draining the apple pie filling. Excess syrup can make the pudding layer watery, cause the topping to slide, and soften the crust more quickly than expected.
Press the graham crumbs firmly into the pan, especially around the corners. A flat-bottomed measuring cup or the back of a spoon works well for compacting the crust evenly.
When spreading each layer, use a light touch. An offset spatula makes the job easier, but a flexible silicone spatula also works. If the whipped topping seems difficult to spread, place small dollops across the surface first and connect them gently.
For a more decorative top, drizzle caramel in thin lines rather than pouring it in one spot. Add the nuts just before chilling so they retain as much texture as possible.
These bars are rich, so small squares are satisfying. Serve them cold, and wipe the knife between cuts if you want especially clean layers.
If you are planning a larger autumn menu, pair this dessert with savory seasonal dishes such as easy bread stuffing or our flavorful apple sage stuffing muffins.
Serving and Presentation Ideas
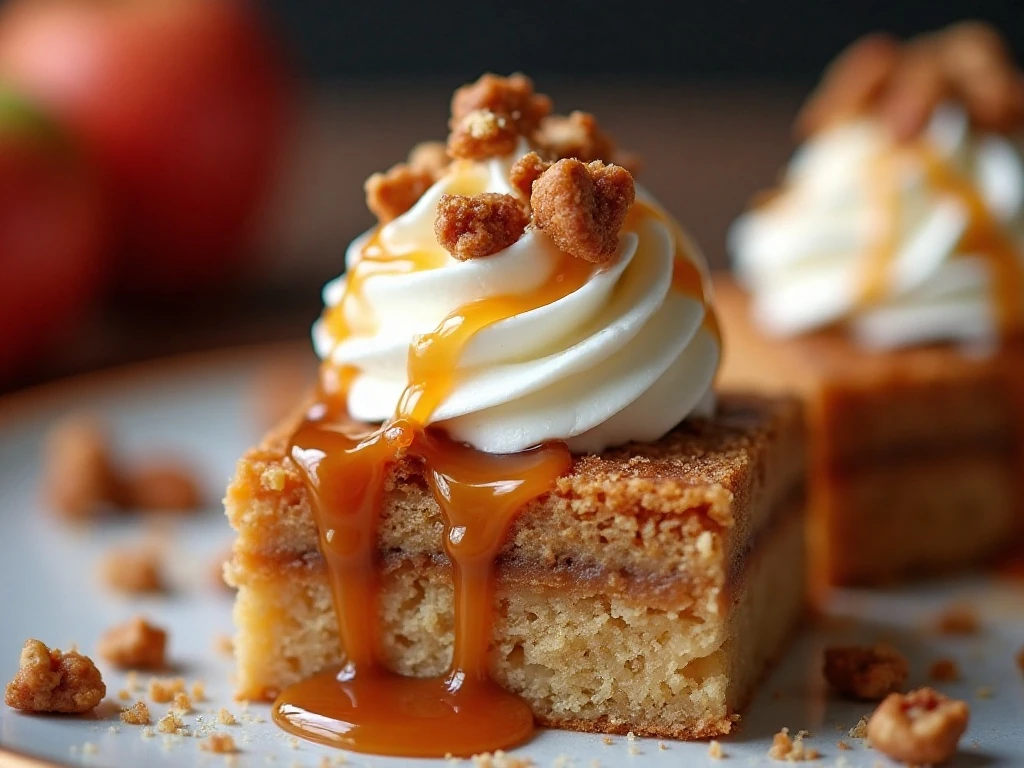
For the prettiest presentation, lift the chilled dessert from the pan using the parchment overhang and place it on a cutting board. Slice into even squares, then transfer each piece to a dessert plate with the caramel side facing up.
A small extra drizzle of caramel just before serving makes the apple topping glossy and inviting. You can add a spoonful of whipped topping to each square, though the bars are already finished with a full top layer.
Chopped pecans offer a classic caramel-apple flavor, while walnuts bring a slightly earthier taste. If serving guests with nut allergies, simply leave them off; the dessert remains creamy, fruity, and satisfying without them.
For a relaxed family presentation, serve the pan directly from the refrigerator and let everyone choose a square. For a party, arrange the bars on a platter with a few thin caramel lines across the plate for a polished dessert-table look.
Storage and Make-Ahead Advice
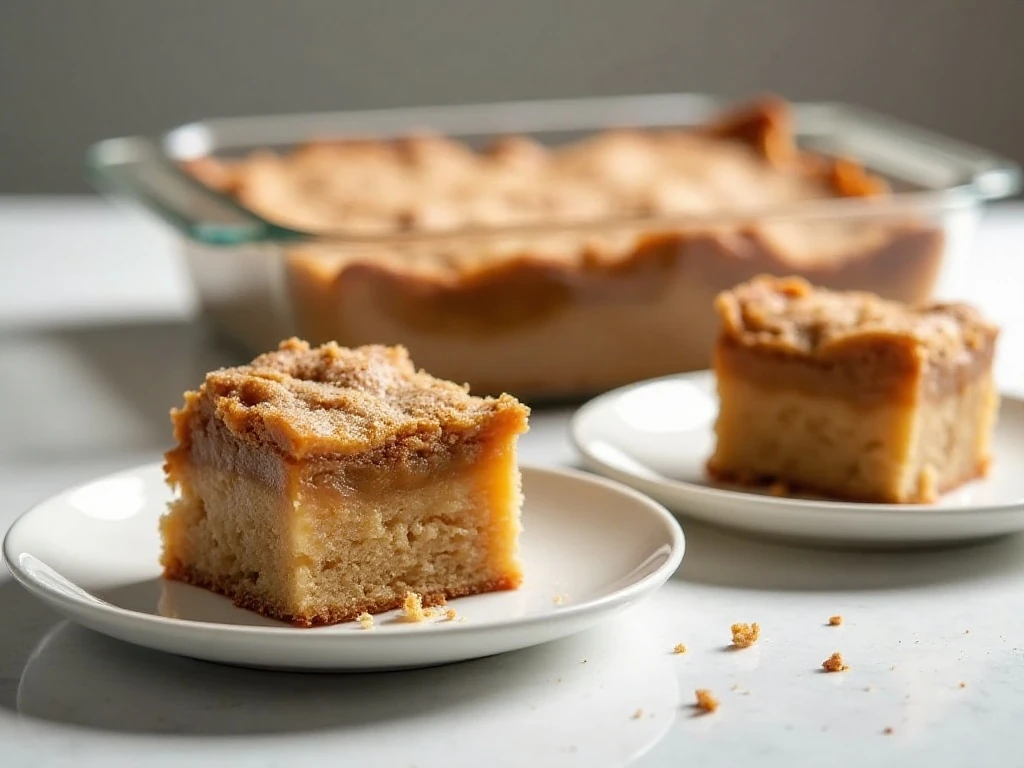
Keep the finished bars covered and refrigerated at all times. They are generally best within 2 to 3 days, because the graham-cracker crust gradually softens as it sits beneath the creamy layers and fruit.
Overnight chilling is preferred when your schedule allows it. The extra time helps the pudding set, firms the cream-cheese layer, and makes the bars easier to slice without losing their defined layers.
There is no cooking or reheating step for this recipe. Serve the bars straight from the refrigerator, and return any leftovers to the refrigerator promptly after serving.
If preparing ahead for a gathering, assemble the dessert the day before, cover it tightly, and add a final caramel drizzle or extra nuts shortly before serving. This keeps the garnish looking fresh while preserving the cool, creamy texture.
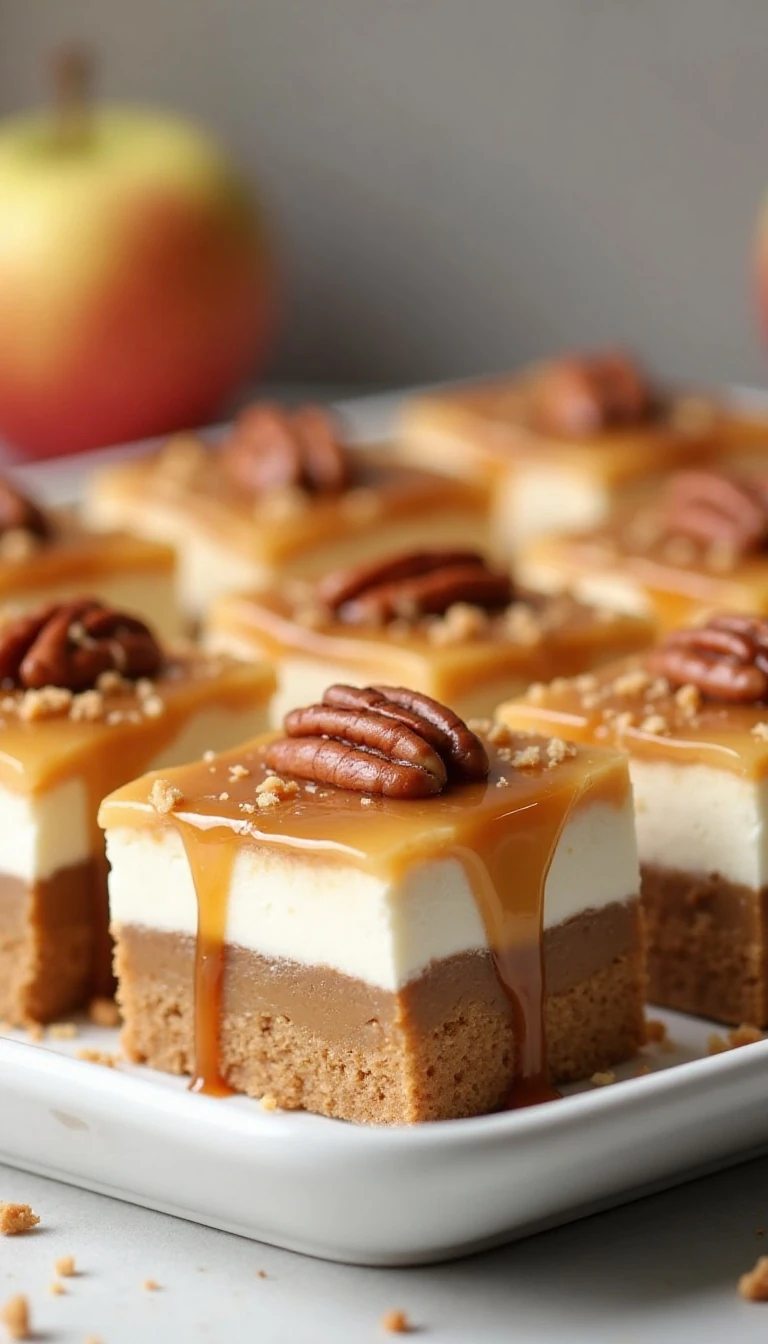
Easy Caramel Apple Lush Bars
Ingredients
Method
- Line a 9 x 13-inch baking dish with parchment paper if you want to lift the chilled dessert out easily. Combine the graham-cracker crumbs and melted butter, then press the mixture firmly into the bottom of the dish and refrigerate it while preparing the filling.
- Beat the softened cream cheese and granulated sugar until smooth and creamy. Fold in about half of the thawed whipped topping, then spread the mixture evenly over the chilled crust.
- Whisk both instant vanilla pudding mixes with the cold milk for about 2 minutes, or until thickened. Spread the pudding carefully over the cream-cheese layer.
- Drain excess syrup from the apple pie filling and chop the apples into smaller pieces if needed. Spoon the apples evenly over the pudding layer.
- Spread the remaining whipped topping over the apples. Drizzle the caramel sauce across the top and sprinkle with chopped pecans or walnuts if using.
- Cover the pan and refrigerate for at least 4 hours, with overnight chilling preferred. Cut the dessert into squares with a sharp knife and serve cold.
Notes
Final Thoughts
These Easy Caramel Apple Lush Bars deliver the cozy flavor of caramel apple pie in a simple no-bake format. With a buttery graham crust, smooth cream cheese, vanilla pudding, tender apples, fluffy topping, and caramel, each chilled square brings several delicious textures together.
The recipe is forgiving, practical, and generous enough for a crowd. Just remember the three essentials: soften the cream cheese completely, use cold milk for the pudding, and drain the apple filling well.
Give the pan at least 4 hours in the refrigerator, or let it rest overnight for the firmest slices. Once cut, these candy-style dessert bars are ready to make any autumn celebration, holiday meal, or weeknight treat feel special.
1 thought on “Easy Caramel Apple Lush Bars Recipe: No-Bake Candy-Style Dessert”