Yes, you can make crispy skinny potato chips in the microwave in about 10 to 15 minutes. Thinly slice one medium russet or Yukon Gold potato, coat the slices with just 1 teaspoon of oil and salt, then microwave them on parchment in a single layer for about 3 to 6 minutes per batch.
These homemade chips are light, crunchy, and wonderfully savory, with browned edges and a delicate potato flavor. They are ideal when you want a quick snack without deep-frying, and the simple method makes about 2 small servings depending on the potato size and slice thickness.
Jump to RecipeWhy You’ll Love This Recipe

There is something deeply satisfying about turning a humble potato into a bowl of crisp, golden chips with almost no cleanup. This microwave method uses only about 1 teaspoon of oil for a whole potato, so the result is much lighter than traditional deep-fried chips.
The texture is delicate and crunchy when the slices are cut thin enough. A sprinkle of fine salt brings out the earthy potato flavor, while optional seasonings can take the snack in several different directions.
These chips are also easy to make in small quantities. They are perfect for an afternoon snack, a lunchbox treat, or a crunchy side for sandwiches and soup.
If you are planning a larger snack table, pair these savory chips with something sweet such as soft oatmeal bars with white chocolate chips for a pleasing sweet-and-salty spread.
Ingredients You’ll Need
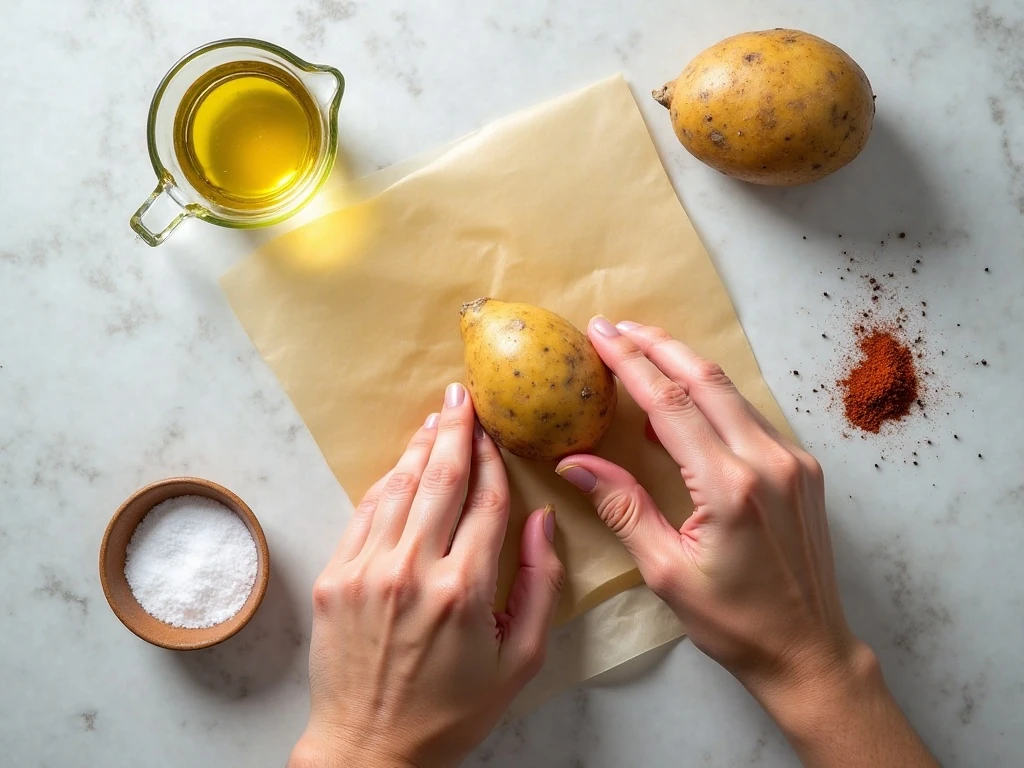
The ingredient list is short, but each item has an important job. Choose a medium russet or Yukon Gold potato weighing about 5 to 7 ounces, or 140 to 200 grams.
- Potato: One russet gives a classic, starchy chip, while Yukon Gold produces a slightly buttery flavor and naturally golden color.
- Oil: One teaspoon of olive oil or neutral cooking oil helps the slices brown and crisp without making them heavy.
- Fine salt: Use 1/4 to 1/2 teaspoon, or adjust it to taste.
- Optional seasonings: Black pepper, paprika, garlic powder, and dried herbs are all delicious, but add them after cooking so they do not scorch.
You will also need a microwave-safe plate, parchment paper, a clean towel or paper towels, and ideally a mandoline slicer. Do not substitute wax paper for parchment paper.
How to Make It Step-by-Step
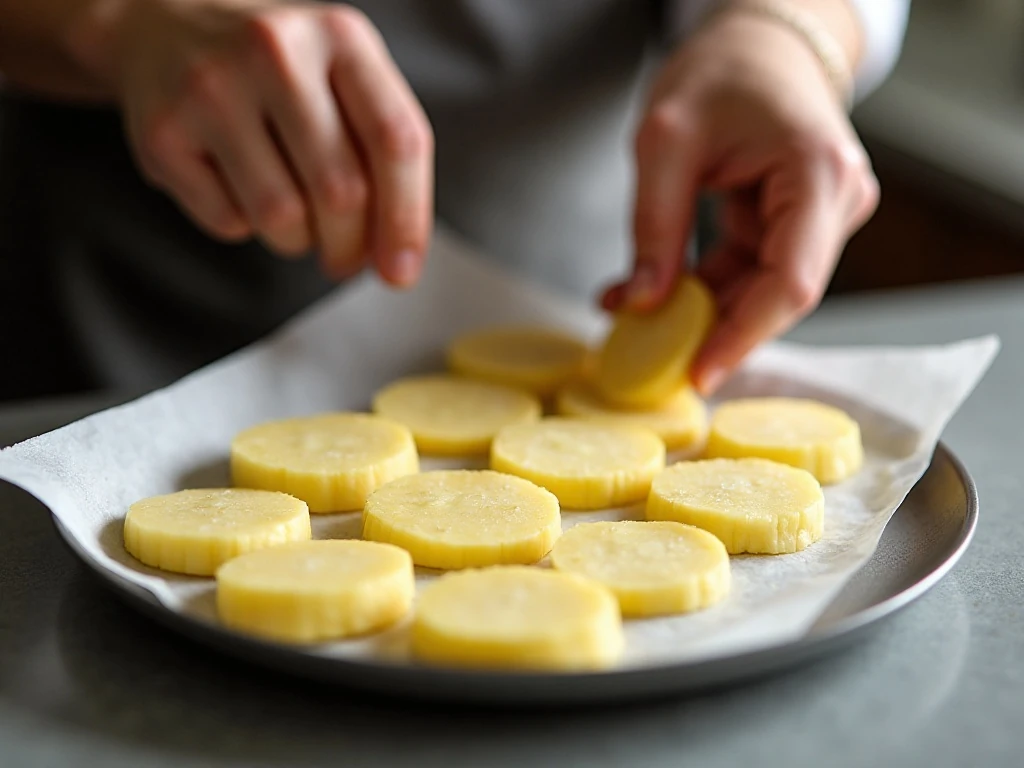
Step 1: Scrub the potato well under cool running water, then dry it completely. Peeling is optional; the skin can add color and a pleasantly rustic finish, while peeled slices look more like classic packaged chips.
Step 2: Slice the potato extremely thin, aiming for about 1/16 inch, or 1 to 1.5 millimeters. A mandoline creates the most even slices, but a sharp knife works if you take your time and keep the thickness consistent.
Step 3: Pat the slices thoroughly on both sides. Most versions do not require soaking, and removing surface moisture is usually enough to help the potato crisp efficiently in the microwave.
Step 4: Place the dry slices in a bowl and add 1 teaspoon of olive oil or neutral cooking oil. Toss gently, then sprinkle with 1/4 to 1/2 teaspoon of fine salt, making sure the coating stays light rather than wet.
Step 5: Cover a microwave-safe plate with parchment paper and arrange the slices in one flat layer. Leave a little space between them whenever possible, because overlapping areas trap moisture and remain soft.
Step 6: Microwave the plate on high for approximately 3 minutes. The slices may still look slightly pale at this point, so do not judge the final texture until they have been turned and cooked further.
Step 7: Turn the slices and continue microwaving in 30 to 60-second increments. Remove any chips as soon as they become browned and crisp, while allowing thicker or paler pieces to cook longer.
Step 8: Let the finished chips stand for 1 to 2 minutes before eating. They become noticeably crisper as they cool, so this brief rest is part of the cooking process rather than an optional extra.
Step 9: Repeat with the remaining potato slices if your plate cannot hold them in one layer. Remember that later batches often cook faster because the plate and the microwave are already hot.
How to Get the Crispiest Results

Uniform slicing is the most important detail in this recipe. If some pieces are thick and others are paper-thin, the thin ones may burn before the thick ones become crunchy.
Drying matters just as much. After slicing, press the potato pieces gently between towels, and give extra attention to any slices that feel damp or look glossy with moisture.
Never crowd the plate. A single flat layer allows the microwave heat to reach each slice more evenly and prevents the centers from steaming.
- Use a mandoline for consistent 1/16-inch slices.
- Keep the oil measured to 1 teaspoon for one medium potato.
- Turn the slices after the first approximately 3 minutes.
- Cook in short 30 to 60-second bursts near the end.
- Take browned chips off the plate immediately.
- Let every batch cool for 1 to 2 minutes before deciding whether it is crisp enough.
Microwave wattage varies, as does the moisture in each potato. Stay nearby during the final minute because chips can change from pale to burnt in only a few seconds.
Seasoning Ideas for Every Craving
Plain salted chips are delicious, but these are easy to customize once they leave the microwave. Add seasonings after cooking so delicate spices and dried herbs do not scorch.
For a smoky snack, dust the warm chips with paprika and a little black pepper. Garlic powder adds savory depth, while dried parsley, oregano, or an Italian-style herb blend brings a fragrant finish.
Keep the seasoning light at first, toss the chips gently, and taste before adding more salt. Because the chips are thin, a small amount of seasoning spreads over a large surface.
For a party platter, serve the chips alongside a bright dessert such as this classic fruit galette. The crisp, salty bites make a lovely contrast to tender pastry and sweet fruit.
Serving, Storage, and Batch Tips
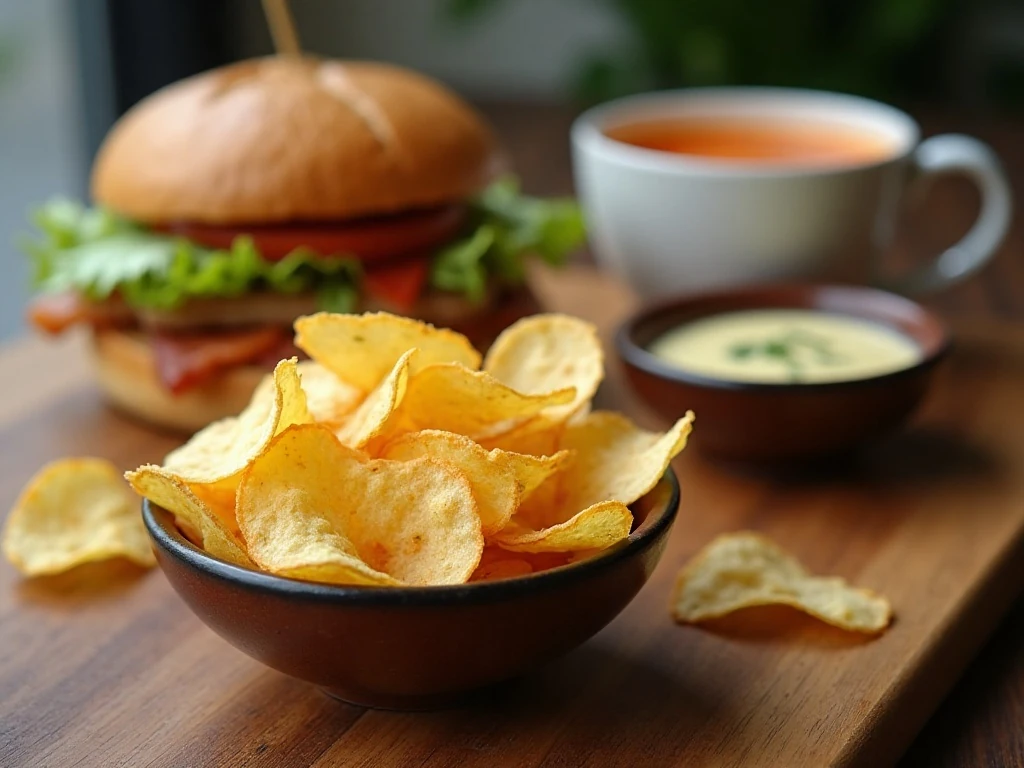
Serve the chips as soon as they cool and crisp. They are excellent on their own, but they can also accompany sandwiches, burgers, wraps, salads, or a bowl of tomato soup.
This recipe makes about 2 small servings, depending on the potato size and slice thickness. If you are serving more people, work in batches rather than placing extra slices on the plate.
Store completely cooled chips in an airtight container at room temperature for a short period. Homemade microwave chips are at their best soon after cooking, so make only what you expect to enjoy rather than preparing a large supply far in advance.
If a few chips soften, return them to a parchment-lined plate and microwave briefly in short increments. Watch closely, since reheating can happen quickly and the chips may burn if left unattended.
For a dessert-focused menu after your snack course, consider adding chewy coconut dream bars or a colorful celebration cake to the table.
Common Mistakes to Avoid
The most common problem is overlapping the slices. Even a small amount of overlap can keep the covered areas soft, so cook a second batch if needed.
Another mistake is adding too much oil. The recipe needs only 1 teaspoon for one medium potato; excess oil can leave the slices greasy instead of light and crisp.
Do not rely on a fixed cooking time without looking at the food. Start with approximately 3 minutes, turn the slices, then use 30 to 60-second increments while checking closely.
Finally, do not add paprika, garlic powder, or dried herbs before microwaving. These seasonings can scorch, so sprinkle them over the hot chips after cooking instead.

Crispy Skinny Microwave Potato Chips
Ingredients
Method
- Scrub and dry the potato thoroughly. Peel it if you prefer, although leaving the skin on adds rustic color and texture.
- Slice the potato extremely thin, about 1/16 inch (1-1.5 mm), using a mandoline or a sharp knife. Pat every slice dry to remove surface moisture.
- Lightly coat the slices with 1 teaspoon of oil and sprinkle with 1/4 to 1/2 teaspoon fine salt. Toss gently so the slices are coated without becoming greasy.
- Line a microwave-safe plate with parchment paper. Arrange the potato slices in one flat layer without overlapping.
- Microwave on high for approximately 3 minutes. Turn the slices and continue cooking in 30-60-second increments until browned and crisp.
- Let the chips stand for 1-2 minutes before serving. Add optional black pepper, paprika, garlic powder, or dried herbs after cooking.
Notes
Final Thoughts
These crispy skinny microwave potato chips prove that a quick homemade snack does not need a deep fryer or a long ingredient list. One thinly sliced potato, 1 teaspoon of oil, salt, parchment paper, and a few carefully watched minutes are enough to create a crunchy treat.
Focus on even slices, dry them well, keep them in a single layer, and allow them to cool for 1 to 2 minutes before judging the texture. Once you know your microwave, this method becomes an easy repeat recipe for snack time.
For another bright dessert idea to serve after your chips, try this coconut lemon cake. If you are planning a festive menu, our colorful Christmas cake also makes a cheerful companion for a casual snack board.