This Easy Coconut Dream Bars Recipe makes about 24 irresistible bars in a 13 x 9-inch pan, with a buttery brown-sugar shortbread crust and a chewy coconut-and-egg topping. The crust bakes for about 10 minutes, the coconut layer bakes for another 20–25 minutes, and the bars need at least 30 minutes to cool before slicing.
Every bite combines caramel-like brown sugar, tender coconut, vanilla, and crunchy walnuts or pecans. These bars are simple enough for a weekday baking project but special enough for a cookie tray, holiday gathering, bake sale, or afternoon coffee break.
Jump to RecipeWhy You’ll Love This Recipe
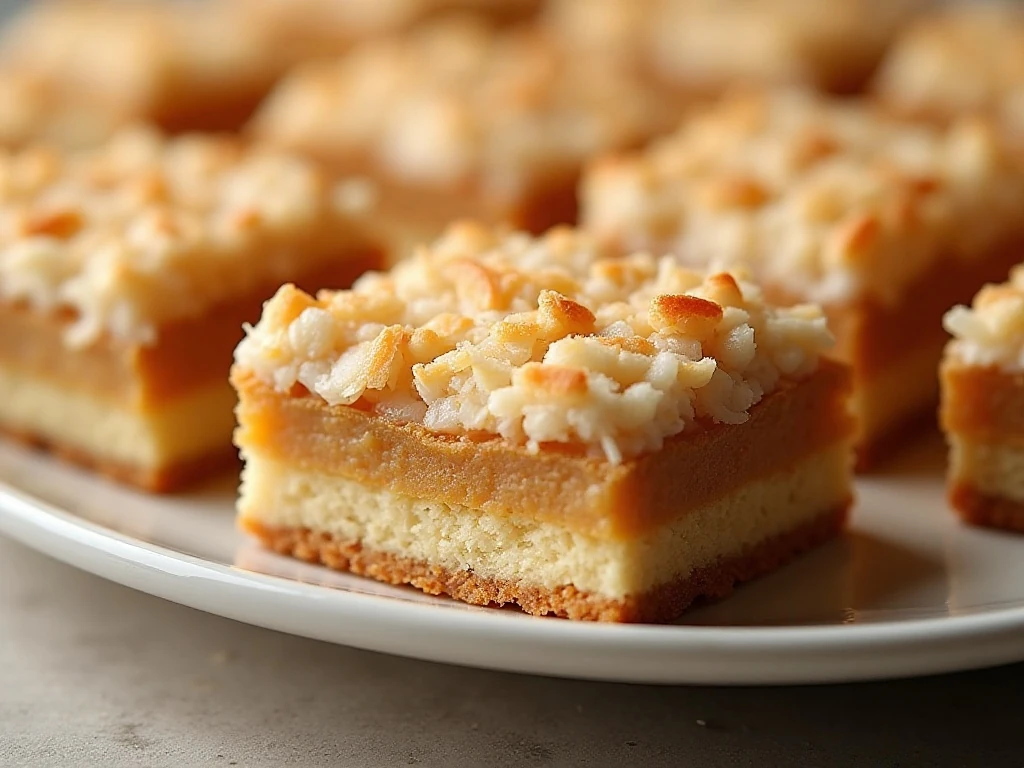
Coconut Dream Bars have the kind of old-fashioned appeal that makes people reach for a second piece before they have finished the first. The base is not a plain cookie crust; brown sugar gives it a warm, buttery flavor that pairs beautifully with the sweet, slightly chewy coconut topping.
The topping is tender in the middle, golden around the edges, and dotted with toasted-tasting nuts. It has just enough structure to cut cleanly while still offering the pleasant chew that makes coconut desserts so memorable.
This recipe is also refreshingly straightforward. There is no mixer required for the topping, no complicated decoration, and no special equipment beyond a 13 x 9-inch baking pan.
If you enjoy bright, fruit-forward bar cookies as well as rich coconut treats, keep our lime bar recipe nearby for your next dessert assortment. The two styles look lovely together on a platter.
Ingredients You’ll Need
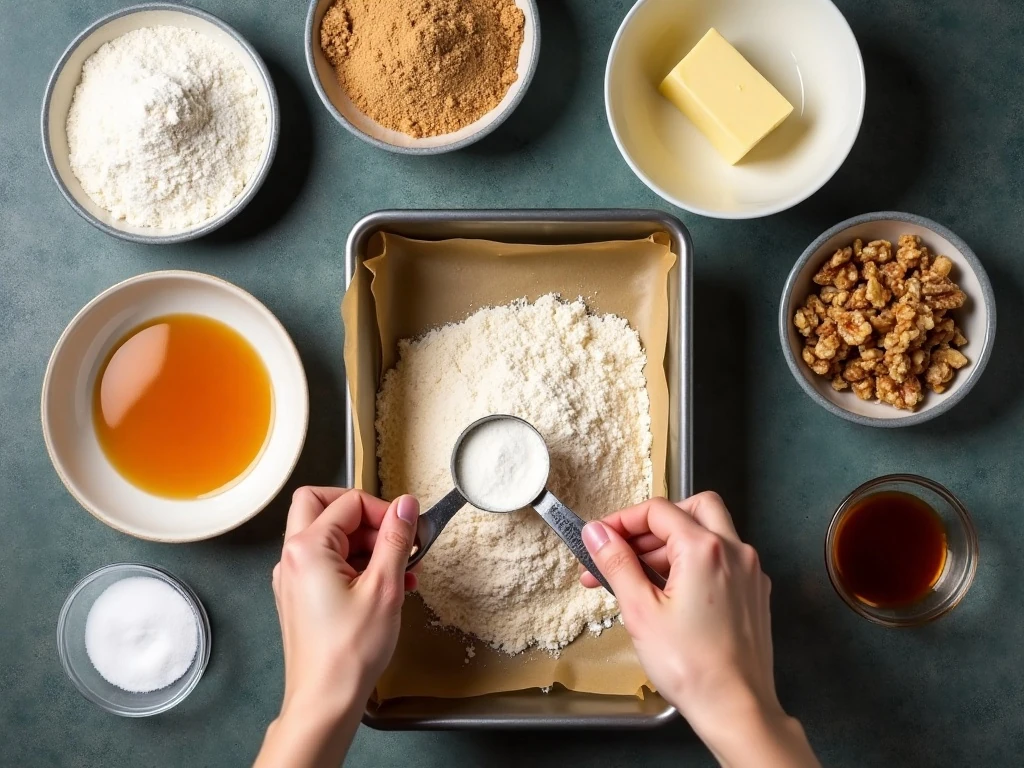
Gather the ingredients before you begin so the crust and topping come together without interruption. Softened butter is especially important because it blends properly with the brown sugar and creates a cohesive crust mixture.
- Unsalted butter: Use softened butter for a smooth, workable crust. Unsalted butter lets you control the salt in the recipe.
- Light brown sugar: Brown sugar adds moisture and a gentle molasses note to both layers.
- All-purpose flour: Flour gives the shortbread base structure and helps the coconut topping set.
- Eggs: Two large eggs bind the topping and help it bake into a soft, chewy layer.
- Baking powder: A teaspoon gives the topping a little lift rather than making it dense.
- Sweetened flaked coconut: This provides the signature flavor and texture. Use the quantity listed for a balanced topping.
- Walnuts or pecans: Either nut works well. Walnuts have a slightly earthy flavor, while pecans taste naturally buttery.
- Vanilla and salt: Vanilla rounds out the brown sugar, and salt keeps the sweetness balanced.
For the cleanest release, line the pan with parchment and leave an overhang along the long sides. If you are preparing a dessert table with other nostalgic treats, a batch of stovetop caramel apples makes a fun seasonal companion.
How to Make It Step-by-Step
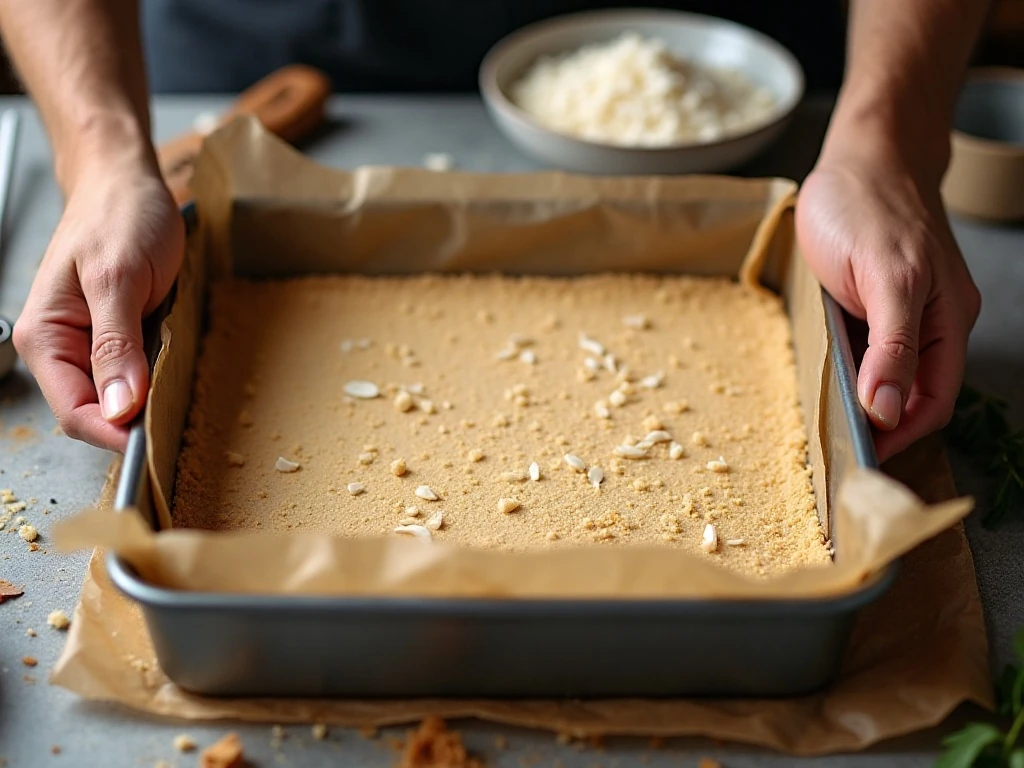
Step 1: Heat the oven to 350°F (175°C), then prepare a 13 x 9-inch baking pan. Grease the pan thoroughly, or line it with parchment paper and leave a little paper extending over the edges so the finished slab can be lifted out.
Step 2: Make the crust by beating the softened butter with the packed light brown sugar until blended. Add the all-purpose flour and mix until the ingredients form a soft, crumbly dough; stop mixing as soon as no dry flour remains.
Step 3: Transfer the crust mixture to the prepared pan. Press it evenly across the bottom using your fingertips, the flat bottom of a measuring cup, or a small offset spatula so the layer has a consistent thickness.
Step 4: Bake the crust for about 10 minutes. It should look lightly set and still pale rather than deeply browned, because it will return to the oven with the coconut topping.
Step 5: While the crust bakes, prepare the topping. Whisk the two large eggs and the packed light brown sugar together, then mix in the flour, baking powder, salt, and vanilla extract until the mixture is evenly combined.
Step 6: Stir in the sweetened flaked coconut and chopped walnuts or pecans. Fold carefully so the coconut and nuts are spread throughout the mixture instead of collecting in one area.
Step 7: Spoon the topping over the partially baked crust and spread it gently from edge to edge. Bake for another 20–25 minutes, watching for a lightly golden top and a center that looks set rather than wet.
Step 8: Place the pan on a cooling rack and let the bars cool completely for at least 30 minutes. Once cool, use the parchment overhang to lift them out, then cut into about 24 bars with a sharp knife.
Pro Tips for Perfect Bars
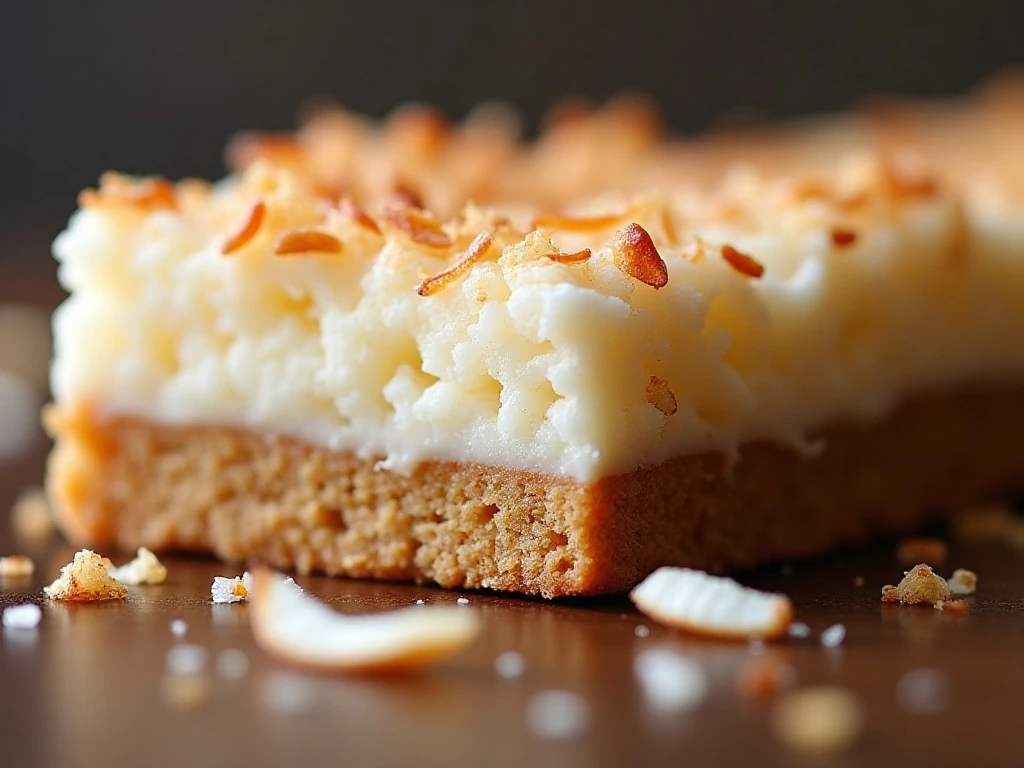
The most important detail is timing. Coconut Dream Bars can look slightly soft when they first come from the oven, but the topping firms as it cools, so resist the temptation to keep baking until it looks completely dry.
- Measure flour carefully: Spoon flour into a measuring cup and level it, or use a kitchen scale when possible. Too much flour can make both layers firm and heavy.
- Press the crust evenly: An even base bakes at the same rate from corner to corner and makes the finished bars easier to portion.
- Watch the final bake: Remove the pan when the top is lightly golden and the center is set. Overbaking creates a dry, hard coconut layer.
- Cool before cutting: Warm bars are fragile and may smear when sliced. Cooling gives the brown-sugar filling time to settle.
- Use a clean knife: For tidy edges, wipe the knife between cuts. A gentle sawing motion works better than pressing straight down.
Published versions sometimes use pecans instead of walnuts, omit the nuts, or use granulated sugar in the crust. This version stays with the classic brown-sugar crust and includes nuts for contrast, but you can leave them out if needed.
For a savory option to serve before dessert, our easy bread stuffing is a comforting addition to a holiday meal. It is a useful reminder that a well-planned menu can include both traditional savory dishes and a simple homemade sweet.
Storage, Serving, and Variations
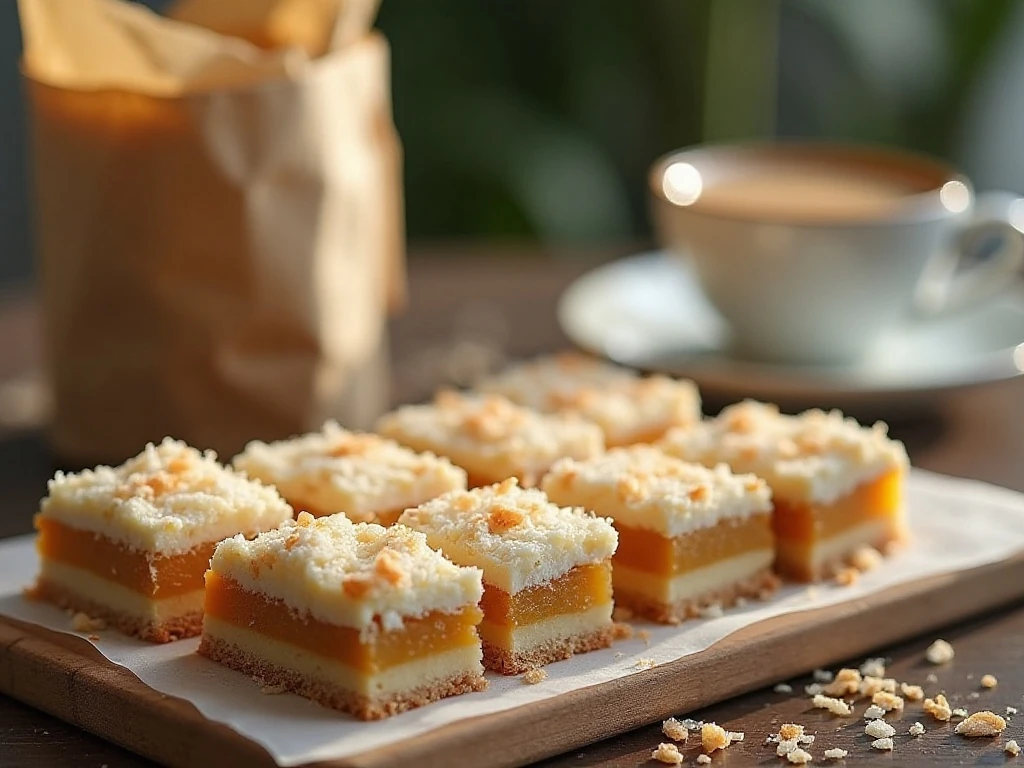
Let the bars cool fully before storing them. Place them in a tightly covered container at room temperature for a few days, separating layers with parchment if you stack them. For longer storage, wrap them well and freeze them until firm, then transfer them to a freezer-safe container.
Thaw frozen bars at room temperature while still wrapped so condensation does not collect directly on the surface. They are delicious plain, but you can also serve them with coffee, tea, a scoop of vanilla ice cream, or a small spoonful of softly whipped cream.
For a nut-free batch, simply omit the walnuts or pecans; the listed coconut mixture will still bake into a satisfying topping. If you prefer pecans, use the same quantity, about 1/2 cup or 55–60 grams.
These bars are sturdy enough for a cookie tin and attractive enough for a dessert buffet. If you are planning a casual party with several finger foods, you may also enjoy these cheeseburger dip ideas or crisp baked ravioli bites before bringing out the sweets.
Common Questions
Can I cut the recipe before it is completely cool? It is best to wait at least 30 minutes, and longer if the center still feels warm. Cooling helps the topping firm and keeps the cuts neat.
Why did my coconut layer turn hard? The most likely cause is overbaking. Remove the bars when the top is lightly golden and the center is set; the residual heat and cooling time finish the texture.
Can I use unsweetened coconut? The researched formula is designed for sweetened flaked coconut, which contributes both moisture and sweetness. Substituting unsweetened coconut may change the flavor and texture, so use the listed ingredient for the classic result.
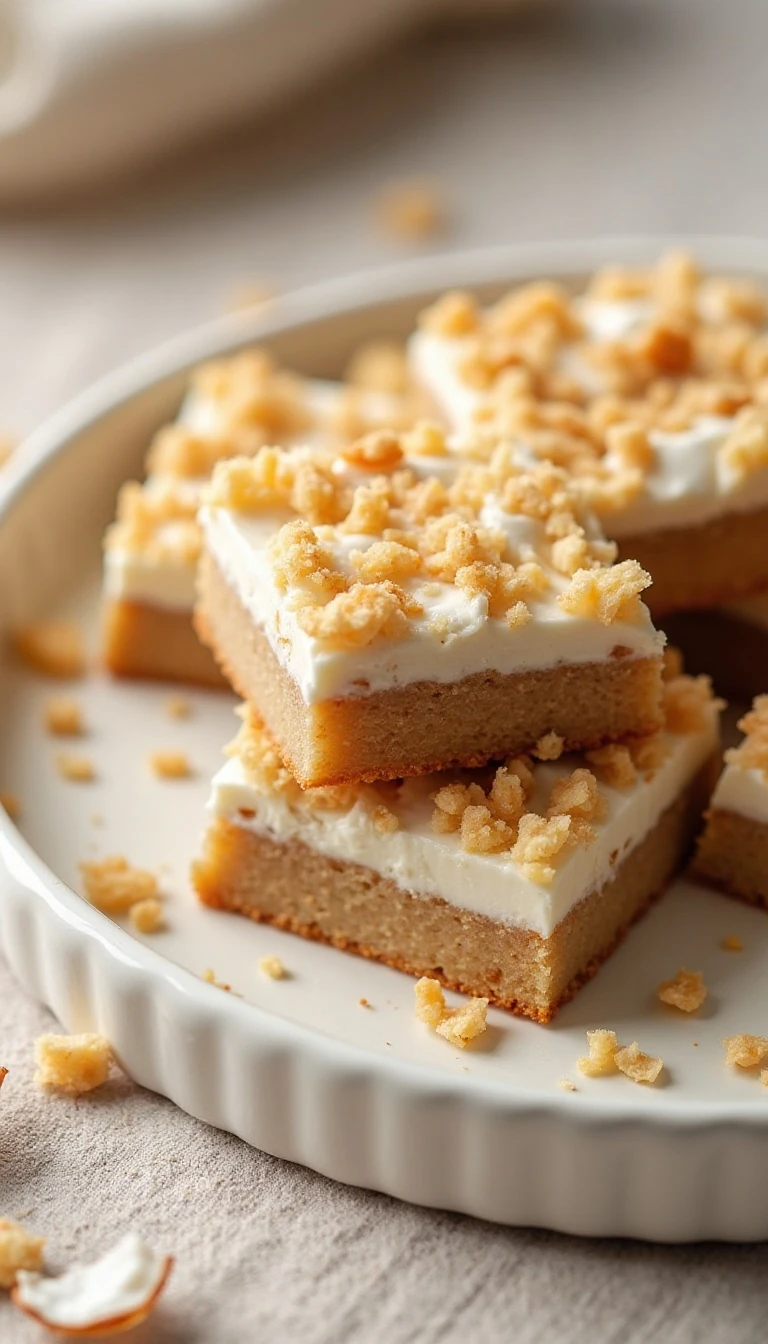
Easy Coconut Dream Bars
Ingredients
Method
- Heat the oven to 350°F (175°C). Grease a 13 x 9-inch baking pan or line it with parchment paper, leaving enough overhang to lift out the cooled bars.
- Beat the softened butter and packed light brown sugar until blended. Add the flour and mix just until a soft, crumbly dough forms.
- Press the crust mixture evenly into the bottom of the prepared pan. Bake for about 10 minutes, until lightly set but not browned.
- Whisk the eggs and packed light brown sugar together for the topping. Mix in the flour, baking powder, salt, and vanilla extract.
- Stir in the sweetened flaked coconut and chopped walnuts or pecans until evenly distributed.
- Spread the coconut mixture over the partially baked crust. Bake for another 20–25 minutes, until the top is golden brown and the center is set.
- Cool the bars completely for at least 30 minutes before lifting them from the pan and slicing into approximately 24 bars.
Notes
Final Thoughts
This Easy Coconut Dream Bars Recipe is a dependable choice when you want a homemade dessert with rich flavor and very little fuss. The buttery brown-sugar crust, chewy coconut topping, vanilla warmth, and crunchy nuts create a satisfying contrast in every square.
Remember the two keys to success: bake the crust until lightly set, and do not overbake the finished bars. Once the pan has cooled for at least 30 minutes, slice it into about 24 pieces and enjoy a classic treat that tastes right at home with coffee, tea, or a full dessert spread.