This freezer-friendly cinnamon rolls recipe makes 12 soft, fluffy rolls with a buttery brown-sugar cinnamon filling and silky cream-cheese icing. Assemble the rolls through shaping, freeze them before the second rise, then thaw overnight and bake at 375°F for 20–25 minutes when you are ready for a warm homemade breakfast.
The finished cinnamon rolls are tender in the center, lightly golden around the edges, and fragrant with cinnamon. Because most of the work can be done ahead, this recipe is ideal for holidays, weekend brunch, overnight guests, or any morning when you want fresh-baked rolls without mixing and shaping dough at sunrise.
Jump to RecipeWhy You’ll Love This Recipe
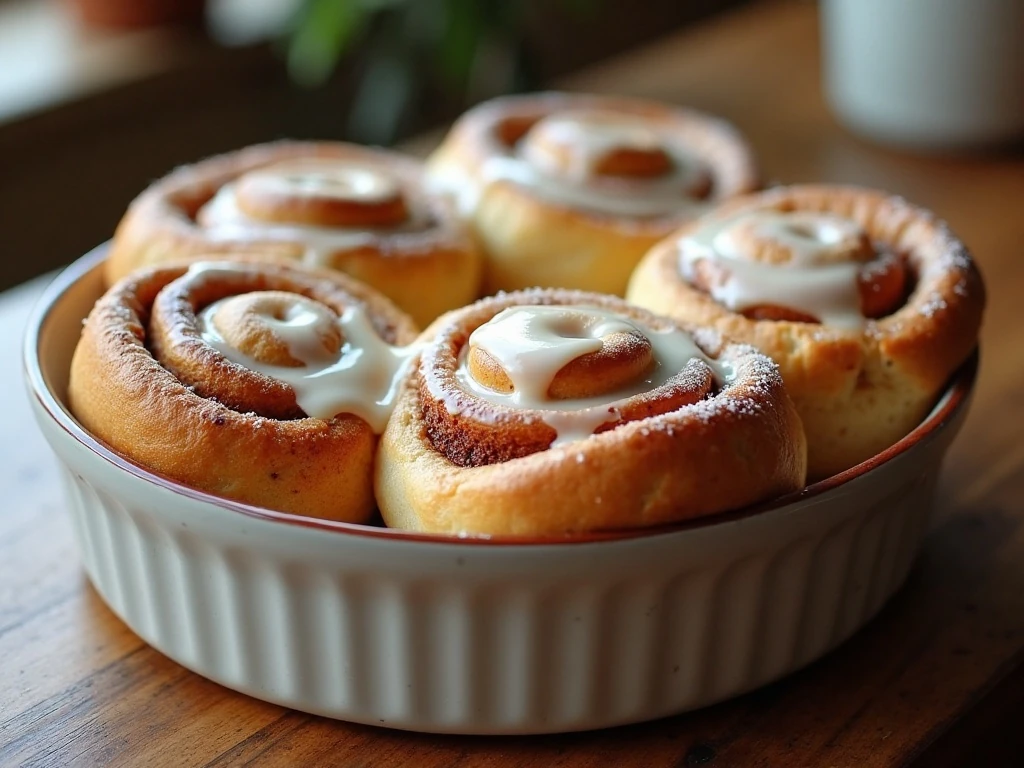
These cinnamon rolls have everything a special breakfast should offer: a pillowy yeast dough, a generous spiral of butter, brown sugar, and cinnamon, and a creamy icing that melts into every warm fold. The recipe makes a full dozen, so there is enough for a family breakfast or a relaxed brunch with friends.
The freezer method is especially useful during busy seasons. Shape the rolls when you have time, freeze them before the second rise, and transfer them to the refrigerator the night before baking.
For a larger weekend spread, serve these sweet rolls alongside a savory breakfast casserole. Our breakfast sausage casserole provides a hearty contrast to the cinnamon filling.
Ingredients You’ll Need
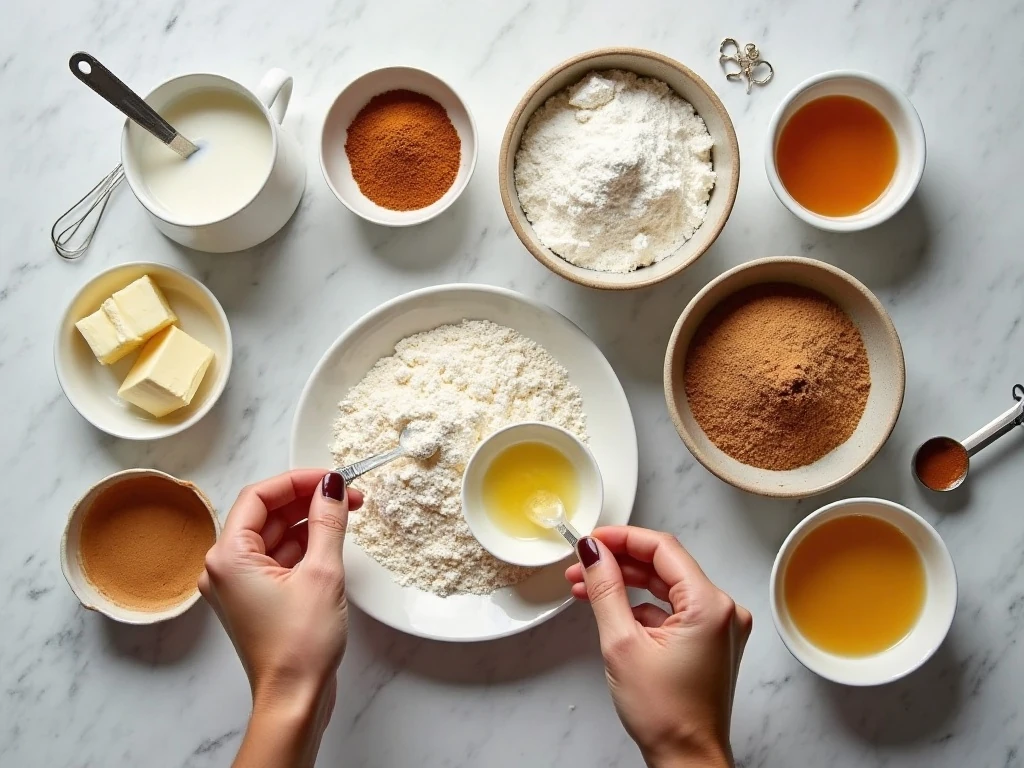
The dough begins with warm milk, yeast, sugar, melted butter, salt, eggs, and all-purpose flour. Warm milk helps the yeast activate, but it should feel lukewarm rather than hot; temperatures around 105–110°F are ideal.
- Milk and yeast: These create the foundation for a light, risen dough.
- Sugar and butter: They add tenderness, flavor, and a soft crumb.
- Eggs: Two large eggs enrich the dough and improve its texture.
- Flour: Use approximately 4 cups, adding it gradually so the dough does not become heavy.
- Filling: Softened butter, packed light brown sugar, and 2 tablespoons of ground cinnamon make a rich, fragrant swirl.
- Icing: Cream cheese, butter, powdered sugar, vanilla, and a little milk or cream create a smooth topping.
Set the butter and cream cheese out ahead of time so both are soft enough to spread and beat smoothly. If you are planning a full brunch menu, the make-ahead timing also pairs well with practical dinner recipes such as this easy turkey casserole.
How to Make It Step-by-Step
Step 1: Warm the milk until it reaches approximately 105–110°F, then pour it into a large mixing bowl. If you are using active dry yeast, stir in the yeast and a small amount of the measured sugar; wait about 5 minutes for a foamy layer to appear.
Step 2: Add the remaining sugar, melted butter, salt, and eggs to the milk mixture. Whisk until the ingredients are evenly combined, keeping the mixture comfortably warm rather than hot.
Step 3: Add the flour gradually, stirring after each addition. Stop when a soft dough forms; it should pull together while remaining slightly tacky, not wet or stiff.
Step 4: Knead the dough for 5–8 minutes by hand or 4–5 minutes with a dough hook. Kneading develops the structure needed for fluffy rolls, but avoid adding excessive flour because a firm dough can bake up dense.
Step 5: Place the dough in a lightly greased bowl and turn it once so the surface is lightly coated. Cover the bowl and let it rise in a warm place for about 60 minutes, or until the dough has doubled in size; depending on room temperature, the first rise may take 60–90 minutes.
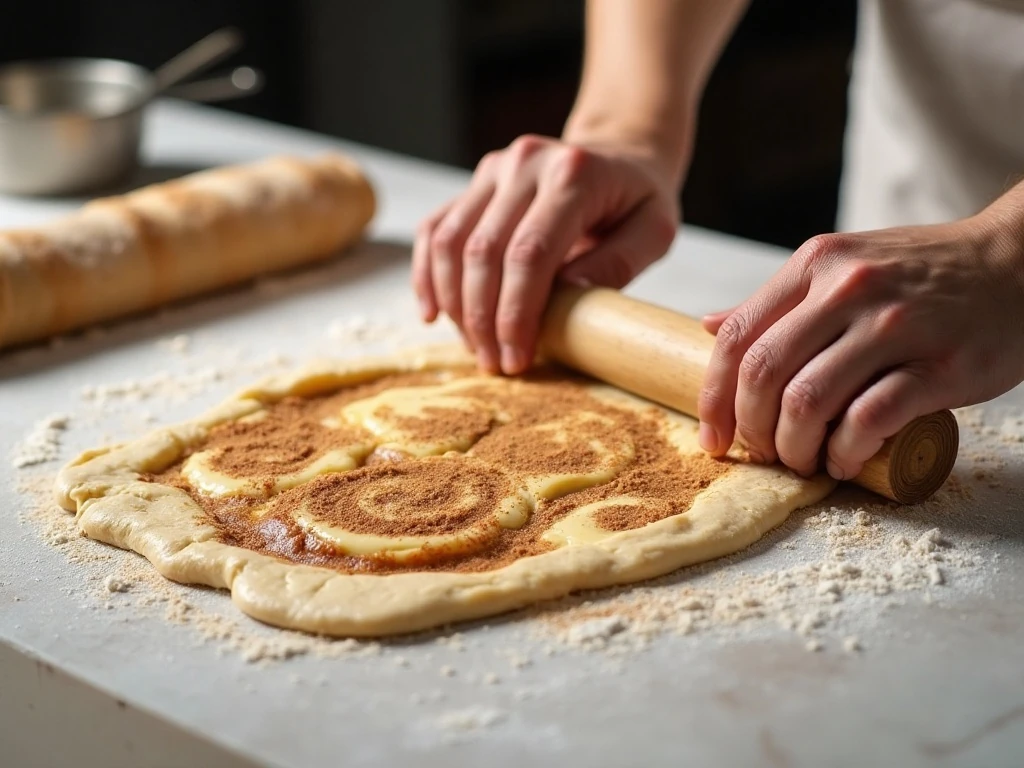
Step 6: Turn the risen dough onto a lightly floured surface and roll it into an approximately 15-by-20-inch rectangle. Spread the softened butter over the surface, leaving the layer as even as possible from edge to edge.
Step 7: Sprinkle the brown sugar and cinnamon evenly over the butter. Roll the dough tightly from the long side to form a neat log, using gentle, even pressure so the filling stays inside the spiral.
Step 8: Cut the log into 12 pieces and arrange them in a greased 9-by-13-inch baking dish. Unflavored dental floss works particularly well for cutting because it slices through the log without pressing the dough flat.
Step 9: Choose your schedule. For same-day baking, cover the dish and let the rolls rise for 30–60 minutes; for freezing, cover the shaped rolls tightly with plastic wrap followed by foil and freeze them before the final rise.
Step 10: When baking frozen rolls, thaw them overnight in the refrigerator, then leave them at room temperature for 45–90 minutes until puffy. Bake at 375°F for 20–25 minutes, or bake from a partially frozen state with an additional 10–15 minutes as needed.
Step 11: Make the icing while the rolls bake or while they cool briefly. Beat the softened cream cheese and butter, add the powdered sugar and vanilla, then loosen the mixture with 1–2 tablespoons of milk or cream until spreadable.
Step 12: Spread the icing over warm rolls rather than piping-hot rolls. This lets it soften and settle into the swirls while keeping enough body to remain visible on top.
Freezing and Thawing Instructions
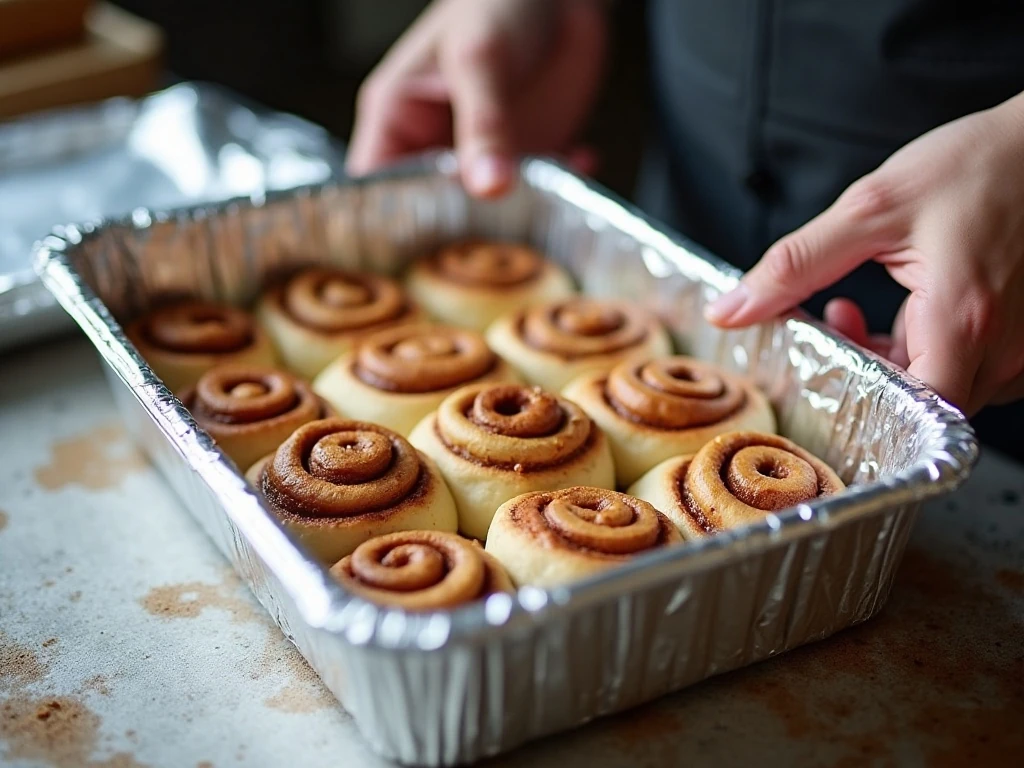
The best point for freezing is after the rolls are filled, rolled, cut, and arranged in the pan, but before the second rise. Freezing after the rolls have fully risen can weaken the yeast and lead to flatter results.
Use a disposable foil pan or another freezer-safe baking dish. Wrap the pan tightly first with plastic wrap and then with foil, pressing the covering around the edges to protect the dough from freezer air.
For the most dependable texture, thaw the pan overnight in the refrigerator. The next day, remove the coverings and allow the rolls to sit at room temperature for 45–90 minutes, until they look puffy and ready for the oven.
You can bake them while they are still partially frozen, but plan on an additional 10–15 minutes. Check the center for doneness, and cover the pan loosely with foil if the tops become brown before the middle is fully baked.
Freeze the icing in a separate airtight container, or mix a fresh batch after baking. Keeping the icing separate prevents it from becoming watery or absorbing freezer odors.
For another make-ahead meal-planning idea, pair your baking day with a comforting chicken pot pie for dinner, then reserve the cinnamon rolls for the next morning.
Pro Tips for Soft, Fluffy Rolls
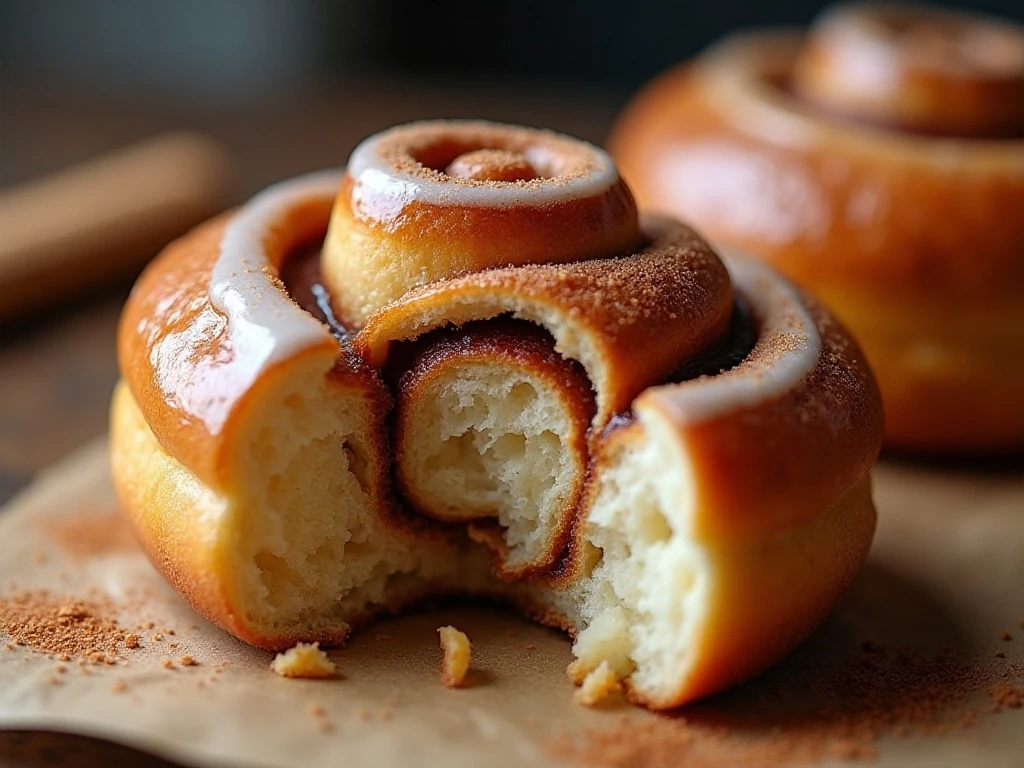
- Measure flour carefully: Start with the stated 4 cups, but add it gradually. Depending on humidity and measuring technique, the dough may need slightly less or close to the full amount.
- Watch the dough, not only the clock: A properly kneaded dough should be smooth and slightly tacky. If it is wet and impossible to handle, add flour a tablespoon at a time.
- Keep the filling even: Spread the butter fully before adding the brown sugar and cinnamon so each roll receives a balanced amount of filling.
- Roll with steady pressure: A tight log creates defined spirals, while overly loose rolling can cause the filling to spill and the rolls to separate.
- Use dental floss: Slide unflavored dental floss under the log, cross the ends over the top, and pull to make clean cuts without crushing the dough.
- Do not rush the second rise: Thawed rolls should look noticeably puffy before baking. A cool kitchen may require the longer end of the 45–90-minute range.
- Ice at the right temperature: Warm rolls help the icing soften, but piping-hot rolls can melt it completely. Let them cool briefly before spreading.
If you are preparing a freezer full of meals, sweet rolls can share the schedule with dinner favorites such as slow-cooker meatballs. Label each container with the baking instructions and date so everything is easy to find later.
Serving, Storage, and Reheating
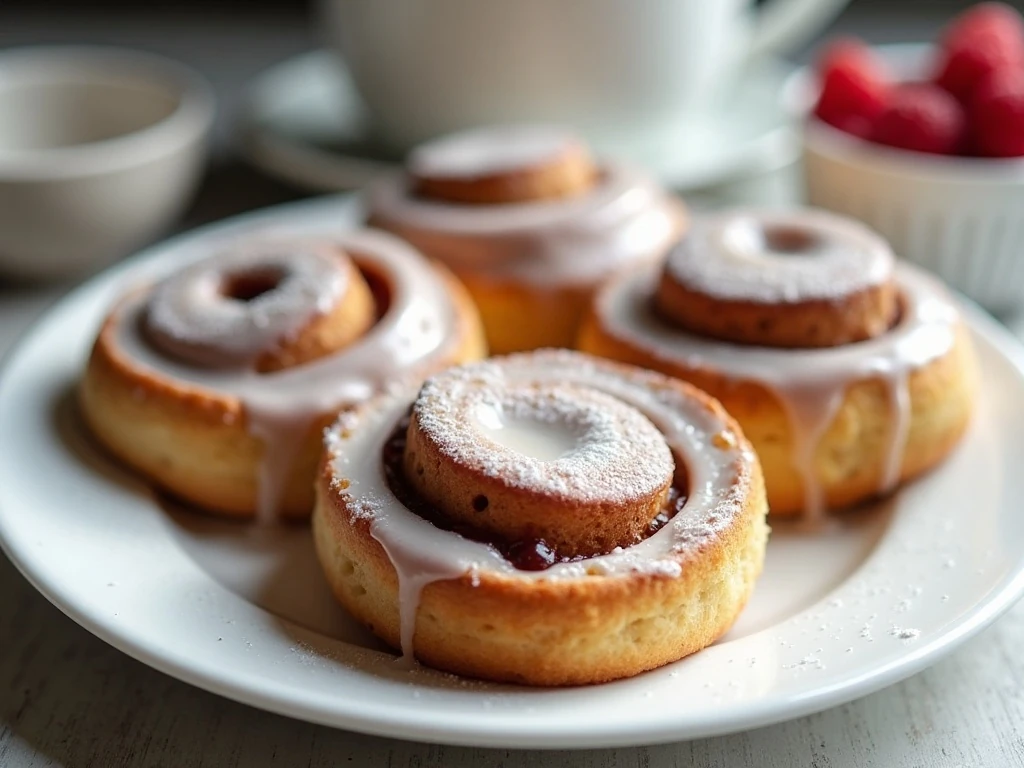
Serve the cinnamon rolls warm, with the icing still soft and glossy. They are wonderful with coffee, tea, fresh fruit, or a simple bowl of yogurt, and the cream-cheese topping makes them feel special without requiring a separate dessert.
Store baked rolls covered at room temperature for a short period or refrigerate them if keeping them longer. Rewarm individual portions gently so the icing softens without drying the dough.
For a family brunch with several dishes, place the rolls in the center of the table and let everyone serve themselves. A savory soup or lunch spread can follow later; Mexican chicken tortilla soup is a flavorful option for another meal when the weekend baking is finished.
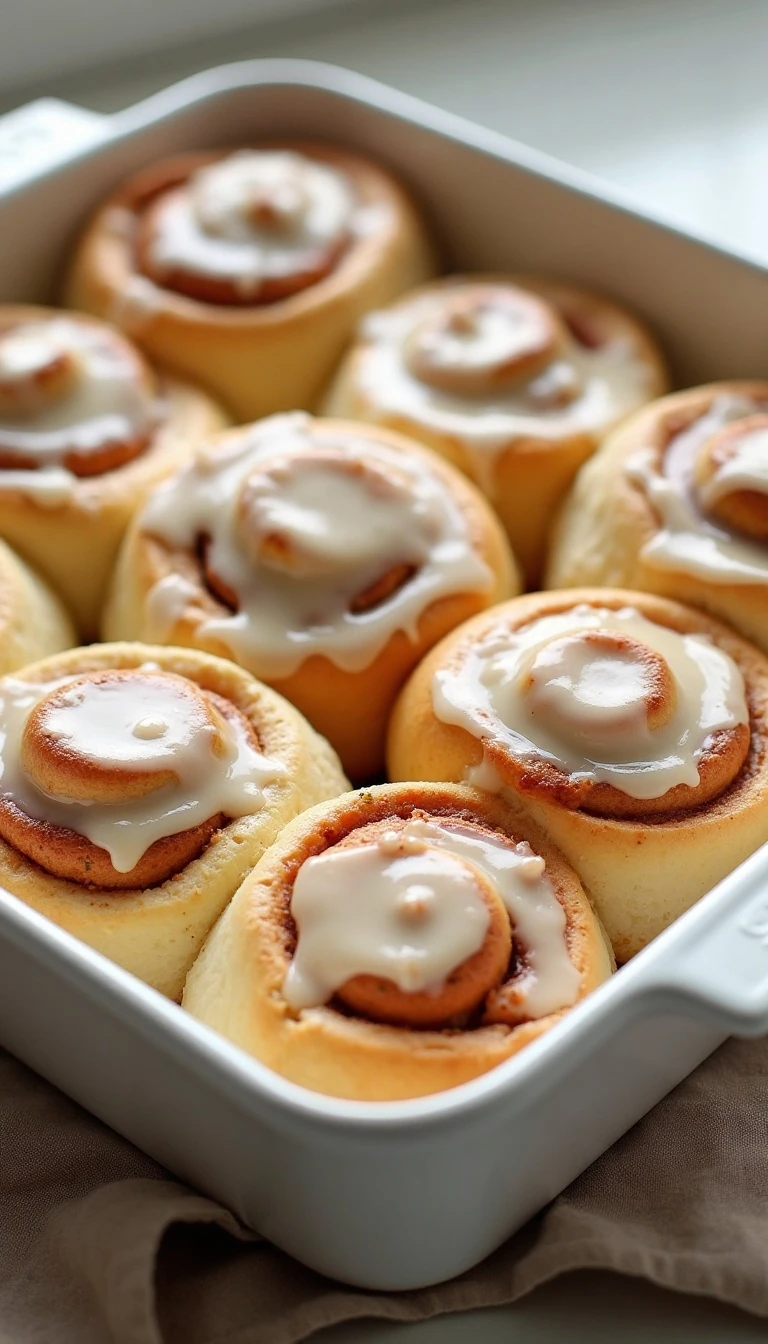
Freezer-Friendly Cinnamon Rolls Recipe
Ingredients
Method
- Warm the milk to 105–110°F. Stir in the yeast and a small amount of the sugar if using active dry yeast, then let it stand for about 5 minutes until foamy.
- Mix in the remaining sugar, melted butter, salt, and eggs. Add the flour gradually until a soft dough forms.
- Knead by hand for 5–8 minutes or with a dough hook for 4–5 minutes. The dough should be smooth and slightly tacky, not wet.
- Place the dough in a lightly greased bowl, cover, and let it rise in a warm place until doubled, about 60 minutes.
- Roll the dough into a 15-by-20-inch rectangle. Spread it with softened butter, then sprinkle evenly with brown sugar and cinnamon.
- Roll tightly from the long side and cut into 12 pieces. Arrange the rolls in a greased 9-by-13-inch baking dish.
- For immediate baking, cover and let the rolls rise for 30–60 minutes. For freezing, cover the shaped rolls tightly with plastic wrap followed by foil and freeze before this final rise.
- Thaw frozen rolls overnight in the refrigerator, then let them sit at room temperature for 45–90 minutes until puffy. Bake at 375°F for 20–25 minutes, until lightly golden and cooked through.
- Beat the cream cheese, softened butter, powdered sugar, vanilla, and milk or cream until smooth. Spread the icing over warm, not piping-hot, cinnamon rolls.
Notes
Final Thoughts
These freezer-friendly cinnamon rolls prove that homemade baking can fit into a busy schedule. The dough is soft and forgiving, the brown-sugar cinnamon filling bakes into fragrant spirals, and the cream-cheese icing adds the rich finish everyone expects from a classic cinnamon roll.
Prepare the pan before the second rise, wrap it well, and thaw it overnight for the easiest morning routine. Once the rolls are puffy and baked, spread on the icing, serve them warm, and enjoy a bakery-style breakfast made right in your kitchen.
For the best results, remember the three key details: do not over-flour the dough, freeze before the final rise, and give thawed rolls enough time to become puffy before baking. With those steps in place, this recipe is ready for holidays, brunch guests, or a thoughtful make-ahead treat.