This Easy Christmas Tree Fudge Recipe makes festive green Christmas candy with only white chocolate chips, sweetened condensed milk, vanilla, food coloring, and sprinkles. The fudge takes about 10–15 minutes to prepare, 5–8 minutes to melt, and approximately 2 hours to chill before cutting into adorable tree shapes.
Each piece is creamy, sweet, and wonderfully smooth, with a tender fudge texture that holds its shape beautifully. Add pretzel-stick trunks, colorful sprinkles, and tiny candy stars to turn a simple batch of fudge into a cheerful holiday treat for cookie trays, school parties, gift boxes, or Christmas dessert tables.
Jump to RecipeWhy You’ll Love This Recipe

Christmas candy does not need to be complicated, and this fudge proves it. The simple condensed-milk method creates a rich, creamy bite without a candy thermometer, special equipment, or a long list of ingredients.
The finished fudge has a soft but sliceable texture and a mellow white chocolate flavor. Green gel coloring gives it a classic Christmas-tree appearance, while sprinkles provide a little crunch and lots of holiday color.
This recipe is also easy to prepare ahead of time. Make the slab one or two days before a celebration, chill it until firm, and cut the trees when you are ready to assemble your dessert tray.
For another festive bake to serve beside the candy, take a look at these Christmas tree pastries. A mixture of flaky pastries and creamy fudge makes a particularly inviting holiday spread.
Ingredients You’ll Need
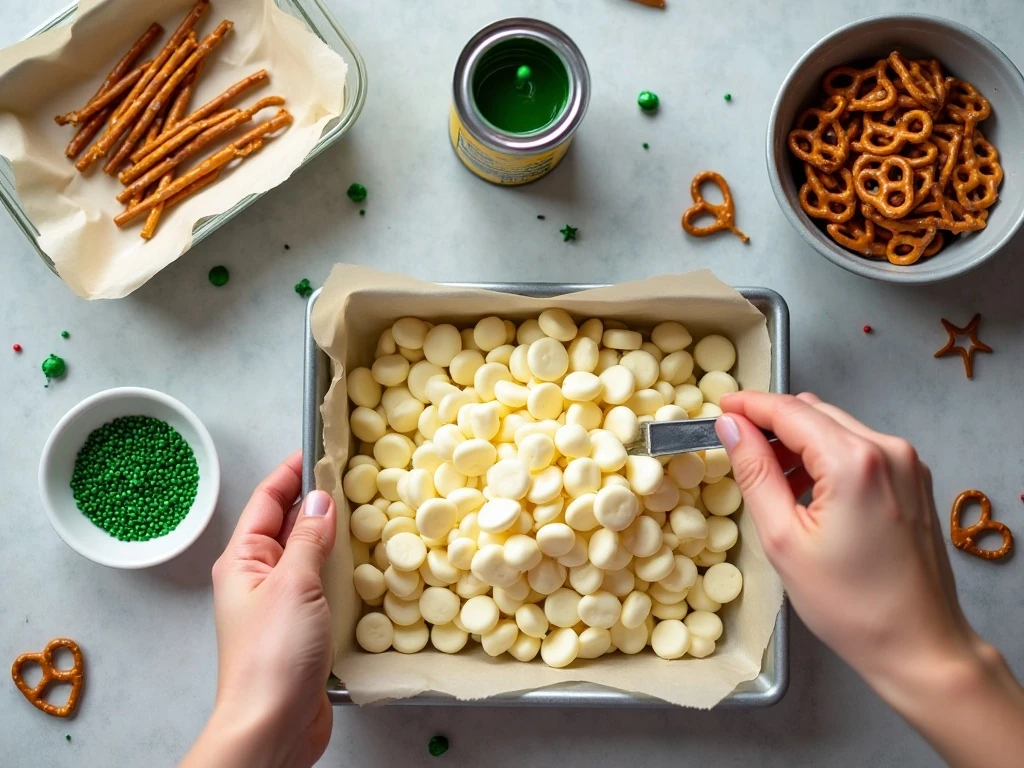
Gather the ingredients before turning on the stove, since the melted mixture comes together quickly. Use good-quality white chocolate chips or white vanilla baking chips for the smoothest texture.
- White chocolate chips: Three cups, or about 510 grams, form the creamy base.
- Sweetened condensed milk: One 14-ounce can adds sweetness and gives the fudge its soft, rich body.
- Vanilla extract: One teaspoon rounds out the flavor.
- Green gel food coloring: Start with 1/2 teaspoon and add more as needed for the shade you want.
- Holiday decorations: Use 1/4 to 1/2 cup of sprinkles, nonpareils, or colored sugar, plus optional candies and pretzel pieces.
Gel coloring is preferable to liquid coloring because it gives a stronger green color without adding excess moisture. White candy melts may replace the chips, although they will produce a sweeter and slightly firmer candy.
How to Make It Step-by-Step
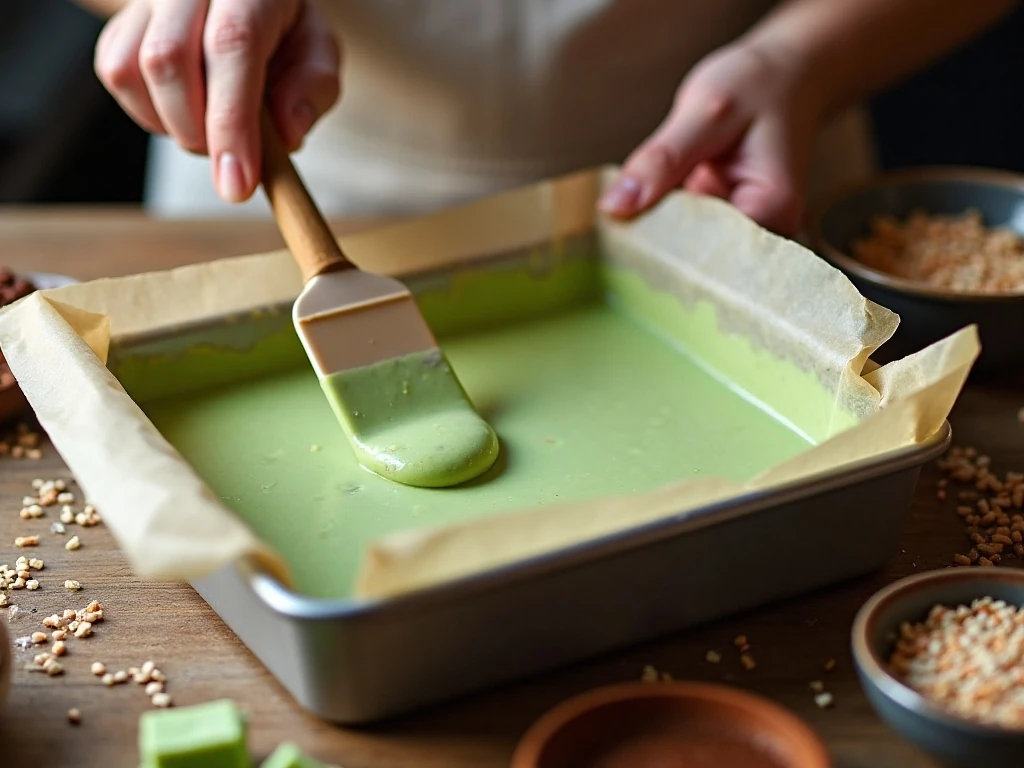
Step 1: Prepare an 8-inch square pan by lining it with parchment paper, leaving extra paper hanging over two sides. These overhanging edges become handles for lifting the firm fudge out later, and a 9-inch square pan can be used for thinner pieces or more trees.
Step 2: Add the white chocolate chips and sweetened condensed milk to a heavy saucepan. Set the pan over low heat and stir constantly as the chips melt, keeping the mixture below a simmer because white chocolate can scorch or become grainy when overheated.
Step 3: Once the mixture is almost completely melted and smooth, remove it from the heat. Stir in the vanilla extract, then add green gel food coloring a little at a time; the color may deepen slightly as the fudge cools, so stop just before it reaches your desired shade.
Step 4: Pour the green fudge into the parchment-lined pan and spread it into an even layer with a spatula. Work while the surface is still soft, sprinkling the decorations across the top so they adhere instead of rolling off after the candy sets.
Step 5: Place the pan in the refrigerator for about 2 hours, or until the slab feels firm throughout. The total recipe time is approximately 2 hours 20 minutes, including preparation, melting, and chilling.
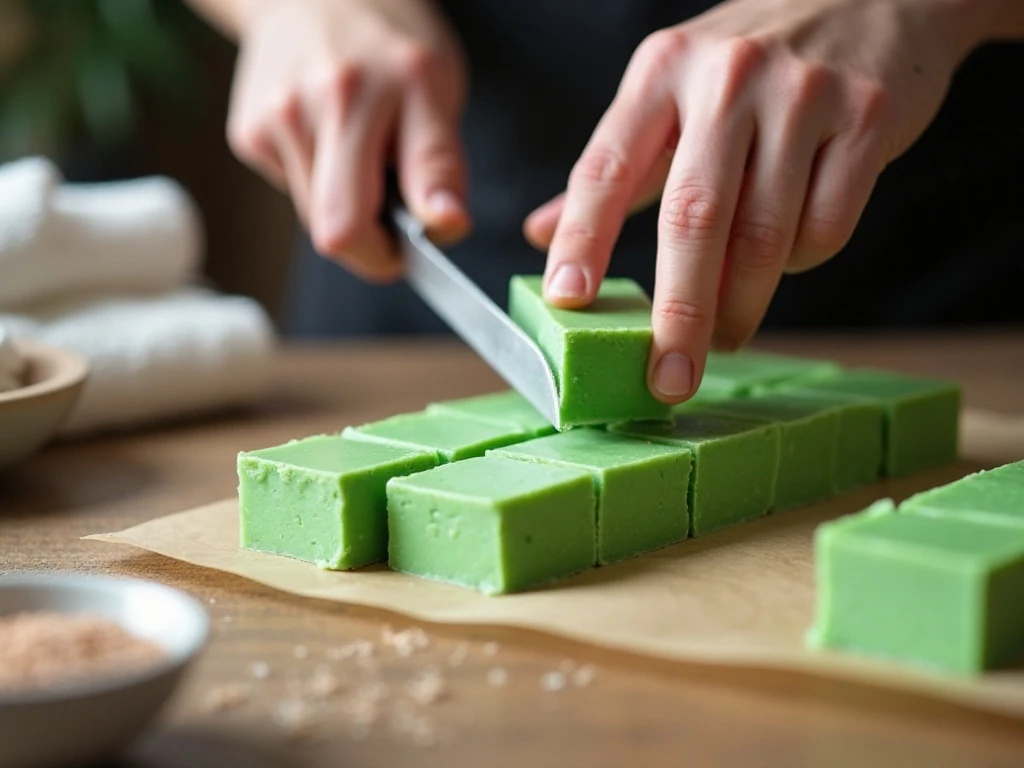
Step 6: Use the parchment handles to lift the fudge onto a cutting board. Cut triangles with a sharp knife or press a small tree-shaped cutter into the slab, then add pretzel-stick pieces as trunks and finish with tiny candy or star-sprinkle decorations.
Pro Tips for Smooth Fudge
Low heat is the most important detail in this recipe. White chocolate chips can seize, scorch, or turn grainy if heated too aggressively, so keep stirring from the moment the saucepan goes on the stove until it comes off the heat.
Do not boil the condensed-milk mixture. Remove it from the burner when only a few small chips remain, then let the residual heat finish melting them as you stir.
For especially tidy triangles, chill the fudge fully before cutting. Warm a thin knife under hot water, dry it carefully, and make one cut; repeat the warming and drying process for each cut to reduce sticking.
If you are using a tree-shaped cutter, press straight down rather than twisting. A light coating of cooking spray on the blade or cutter can make release easier without changing the flavor.
For a mint version, replace the vanilla with 1/2 teaspoon peppermint extract. Peppermint is potent, so use less than the usual 1 teaspoon vanilla and taste the mixture carefully before adding more.
For a second fudge option on your candy platter, compare this creamy treat with our cookie dough fudge. The two flavors look appealing together in small gift boxes.
Decorating Ideas for Christmas Tree Fudge

There is no single right way to decorate these trees. A snowy scattering of white nonpareils creates a classic look, while red and gold sprinkles make the green color stand out beautifully.
- Press a yellow star sprinkle at the top of each tree.
- Use red, white, and silver nonpareils as tiny ornaments.
- Add a pretzel-stick trunk for a playful woodland appearance.
- Drizzle the chilled trees lightly with melted white candy coating for a snowy finish.
- Mix several shades of green gel coloring for a varied forest of trees.
Keep heavier candies small so they do not weigh down the soft surface before it sets. Add all decorations immediately after spreading the fudge, while the top is still tacky.
For a full Christmas dessert table, pair the trees with slices of this festive poke cake. Its soft cake texture gives guests a nice contrast to the dense, creamy candy.
Storage, Serving, and Gift-Giving
Store the finished fudge in an airtight container in the refrigerator. Place parchment or wax paper between layers if you stack the trees, and keep the container chilled until serving so the shapes remain firm.
For the best texture, allow the fudge to sit at room temperature for a few minutes before eating. It will still be cool and sturdy, but the white chocolate flavor will taste creamier as it warms slightly.
These trees make attractive homemade gifts when placed in small cellophane bags, mini boxes, or paper candy cups. Arrange them with the trunks facing down and use festive tissue paper to protect the decorations.
If you are planning a menu with both sweet and savory dishes, a colorful appetizer such as this spicy salmon poke can balance the richness of the holiday dessert table. For another bar-style sweet, these pina colada bars bring a sunny coconut flavor to the selection.

Easy Christmas Tree Fudge Recipe
Ingredients
Method
- Line an 8-inch square pan with parchment paper, leaving enough excess over the sides to lift the chilled fudge out. Use a 9-inch square pan instead if you prefer thinner fudge or want more, slightly smaller trees.
- Place the white chocolate chips and sweetened condensed milk in a heavy saucepan. Warm over low heat, stirring constantly, until the chips are almost completely melted and the mixture looks smooth; do not let it boil.
- Remove the saucepan from the heat and stir in the vanilla extract. Add green gel food coloring gradually, stirring after each addition, until the fudge reaches the shade you want.
- Spread the warm fudge evenly into the prepared pan. Immediately scatter the sprinkles, nonpareils, colored sugar, and optional small candies over the surface while it is still soft.
- Refrigerate the pan for about 2 hours, or until the fudge is fully firm. Do not rush this step, since completely chilled fudge is much easier to cut cleanly.
- Lift the fudge from the pan using the parchment paper and place it on a cutting board. Cut triangles with a sharp knife or use a small tree-shaped cutter, then press a pretzel-stick piece into the bottom of each tree for a trunk if desired.
Notes
Final Thoughts
This Easy Christmas Tree Fudge Recipe is a cheerful way to turn a handful of pantry-friendly ingredients into memorable Christmas candy. The low-heat melting method is forgiving, the decorations can be customized for any holiday theme, and the finished trees are easy to portion for guests.
Prepare the fudge slab ahead, chill it thoroughly, and take your time with the cuts for the neatest shapes. Whether you use pretzel trunks and candy stars or keep the design simple with colorful sprinkles, every piece will bring creamy white chocolate sweetness and a little Christmas magic to the table.