This easy stovetop caramel apples recipe makes 8–10 crisp, tart apples coated in thick, buttery homemade caramel. Made with brown sugar, corn syrup, butter, sweetened condensed milk, vanilla, and salt, the caramel cooks in about 10–15 minutes after boiling begins and sets into a soft, chewy coating.
The secret to caramel that clings beautifully is simple: use completely clean and dry apples, cook the mixture to 235–240°F, and dip the apples while the caramel is still warm and fluid. Each bite combines crisp, slightly tart apple with rich candy-shop caramel, making these apples a wonderful fall dessert, party treat, or homemade gift.
Jump to RecipeWhy You’ll Love This Recipe
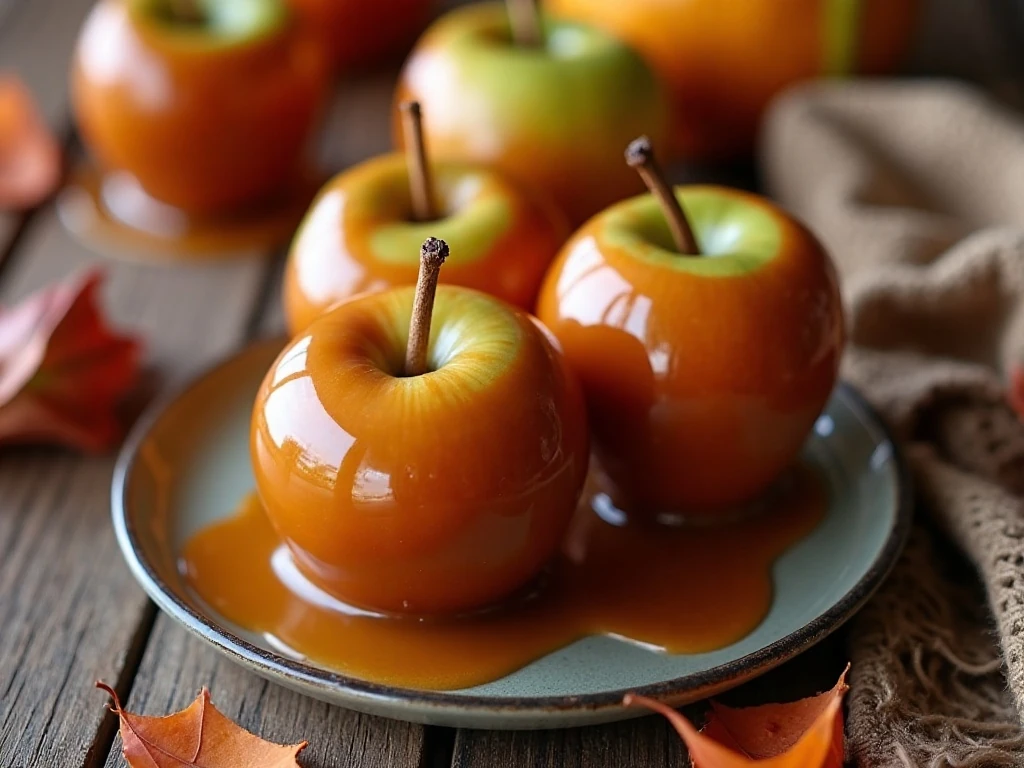
There is something especially satisfying about making caramel apples from scratch. The stovetop caramel has a deep buttery flavor and a soft, chewy texture that tastes much richer than a plain sugar coating.
This recipe is also practical for parties because one batch coats 8–10 medium apples. You can keep the finish classic with no toppings, or let everyone decorate their own apple with nuts, sprinkles, crushed cookies, or flaky sea salt.
The tartness of Granny Smith apples works particularly well against the sweetness of the caramel. If you are planning a larger dessert table, you might also enjoy serving these with our light mandarin orange dessert for a bright contrast.
Ingredients You’ll Need
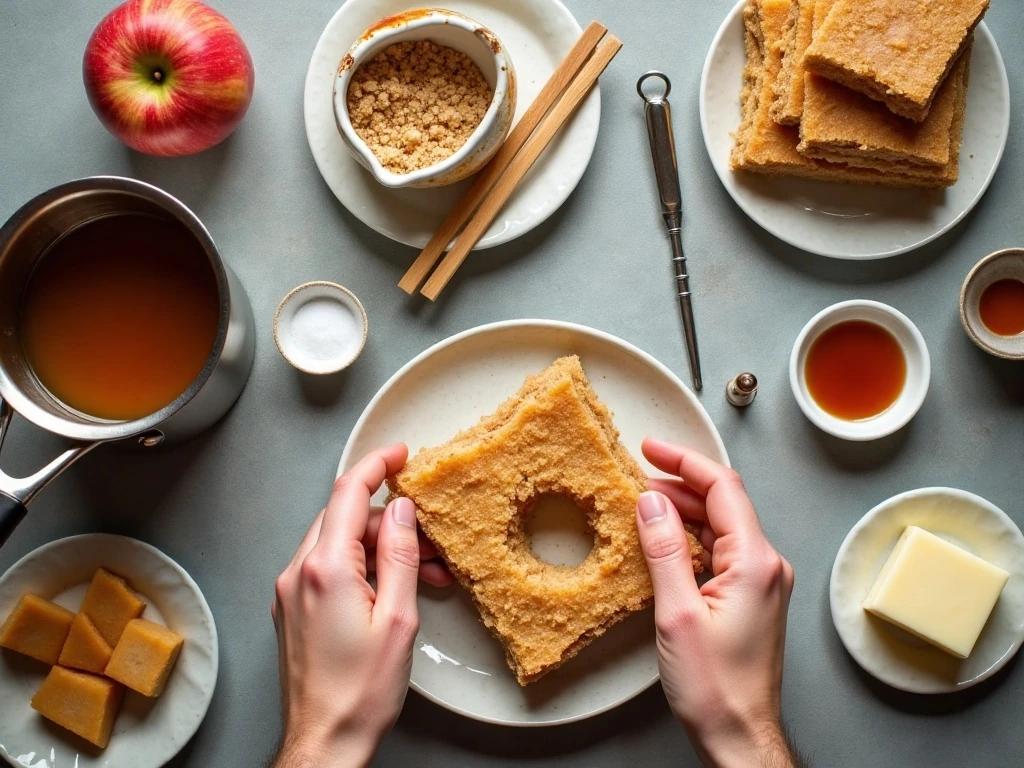
The ingredient list is short, but each item has an important job. Brown sugar gives the caramel a warm molasses note, while corn syrup helps keep the mixture smooth and reduces the chance of unwanted sugar crystals.
- Apples: Choose 8–10 medium, firm apples. Granny Smith is a favorite because its tart flavor balances the sweet coating.
- Brown sugar: Use 2 cups packed light brown sugar for a mellow caramel flavor and attractive golden color.
- Light corn syrup: Measure 1 cup to help create a smooth, glossy candy coating.
- Unsalted butter: One cup adds richness and lets you control the salt yourself.
- Sweetened condensed milk: A 14-ounce can gives the caramel its creamy texture and soft bite.
- Flavorings: Add 1 teaspoon pure vanilla extract and 1/4 teaspoon salt after cooking.
- Sticks and toppings: Wooden craft sticks make the apples easy to hold, while toppings provide crunch, color, and personality.
A heavy-bottomed saucepan is worth using because it distributes heat more evenly than a thin pan. You will also need a candy thermometer, a prepared baking sheet, and a heat-safe spatula or wooden spoon.
For another homemade treat to serve alongside candy apples, try these easy New Orleans-style beignets. Their soft, airy texture makes a pleasant contrast to crisp apples and chewy caramel.
How to Make It Step-by-Step
Step 1: Wash the apples very thoroughly under hot water, scrubbing the skins to remove wax and residue. Dry every apple until there is no visible moisture, then remove the stems and press a sturdy wooden stick into the stem end.
Step 2: Prepare the landing spot before cooking the candy. Line a baking sheet with parchment paper or a silicone baking mat, lightly grease it, and place the apples in the refrigerator if you want them chilled while the caramel is made.
Step 3: Add the packed brown sugar, corn syrup, unsalted butter, sweetened condensed milk, and salt to a heavy-bottomed saucepan. Set the pan over medium heat and stir frequently as the butter melts and the mixture comes to a gentle boil.
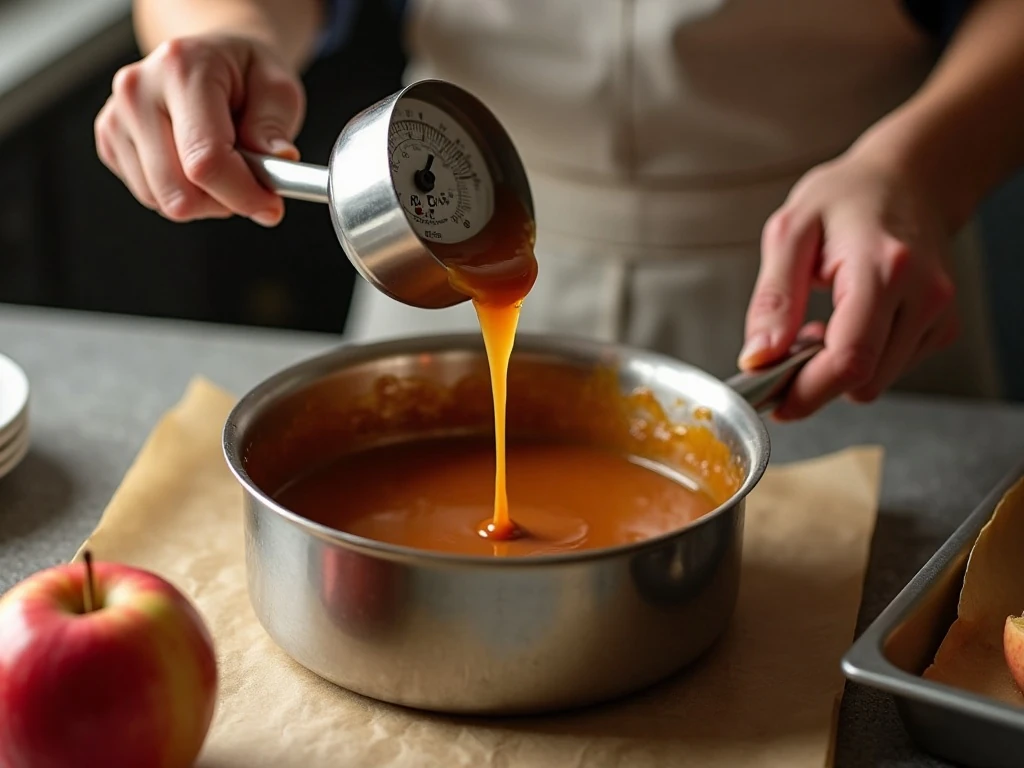
Step 4: Once the caramel begins boiling, keep cooking and stirring until the candy thermometer reaches 235–240°F, or 113–116°C. This normally takes 10–15 minutes after boiling starts, and the temperature marks the soft-ball stage needed for a coating that sets without becoming hard.
Step 5: Take the pan off the heat and carefully stir in the vanilla extract. Let the caramel stand for approximately 5 minutes, watching for a texture that is thick enough to cling but still fluid enough to pour around the apples.
Step 6: Hold an apple by its stick and lower it into the warm caramel. Turn it slowly until the fruit is covered, then lift it above the saucepan and allow the excess to drip back into the pan.
Step 7: Set the coated apple stick-side up on the prepared baking sheet. Add any toppings immediately, pressing larger pieces of chopped nuts or cookies gently into the caramel so they stay in place.
Step 8: Continue dipping the remaining apples shortly after the caramel is ready, since the coating adheres best while warm. If it becomes too thick, return the saucepan to low heat and stir in 1–2 teaspoons of heavy cream or milk.
Step 9: Allow the finished apples to set at room temperature for 30–60 minutes. For a quicker finish, refrigerate them briefly, but avoid placing wet or freshly washed apples into the caramel because condensation can cause slipping.
How to Get Caramel to Stick
Clean, dry fruit is the first requirement for successful caramel apples. Apples often have a natural wax coating or store-bought shine that can prevent the candy from gripping the skin.
Scrub the apples in hot water, rinse them well, and dry them with a clean kitchen towel. Let them air-dry for a few extra minutes if necessary, then check that the surface feels dry rather than cool and damp.
Chilling the apples while the caramel cooks is optional, but it can help the coating firm more quickly. Do not dip apples that have visible condensation, since water on the skin can make the caramel slide.
Dip soon after the caramel reaches the correct temperature. If the candy sits too long, it will thicken in the pan and may pull away from the apple instead of forming a smooth, even layer.
For a savory party spread before dessert, our creamy cheeseburger dip is an easy companion. Set it out with crackers or vegetables, then bring out the caramel apples when guests are ready for something sweet.
Temperature and Texture Tips
A candy thermometer removes much of the guesswork from this recipe. The ideal range is 235–240°F, which produces a soft-ball caramel that remains pleasantly chewy after it cools.
If the caramel stays below about 235°F, it may remain too soft and slide from the apple. Cooking much beyond 245°F can make the coating overly firm or excessively chewy, so watch the thermometer closely near the end.
Stir frequently while the mixture heats, especially around the bottom and sides of the saucepan. Consistent stirring helps the butter, sugar, syrup, and condensed milk cook together evenly without scorching.
After adding vanilla, give the caramel a short cooling period rather than dipping immediately. About 5 minutes usually provides the right balance between warmth and thickness, though the exact timing may vary slightly with your pan and kitchen temperature.
Creative Topping Ideas
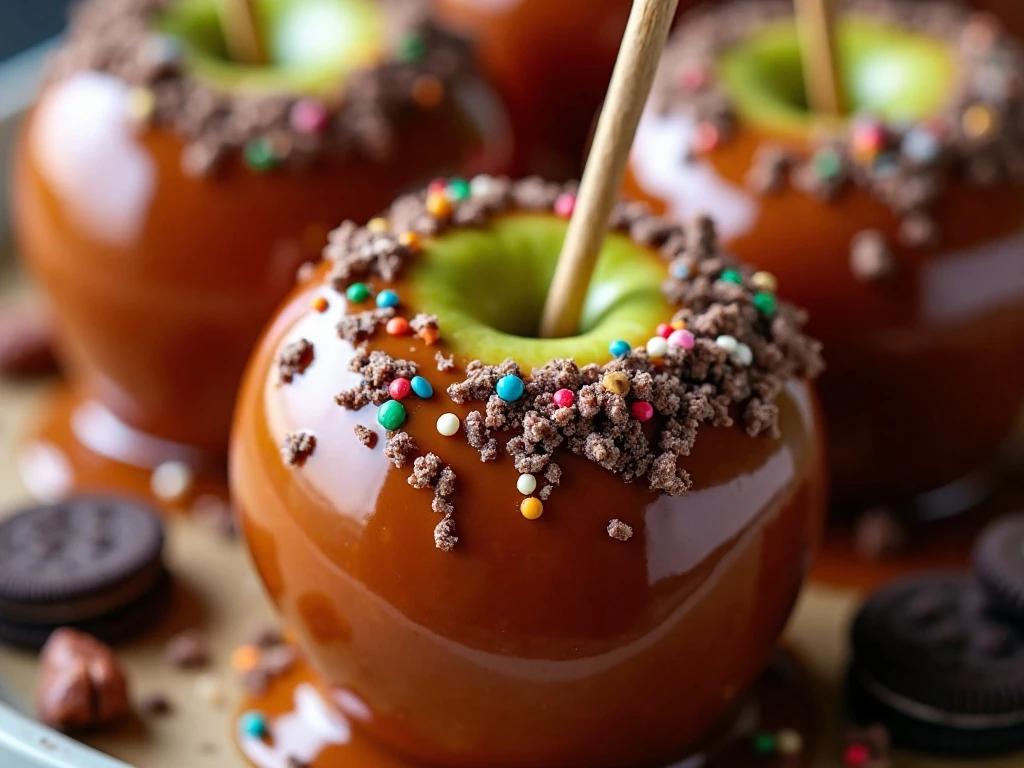
Classic chopped nuts add a wonderful roasted crunch. Pecans, peanuts, walnuts, and almonds all work well, provided they are chopped small enough to cling to the freshly dipped caramel.
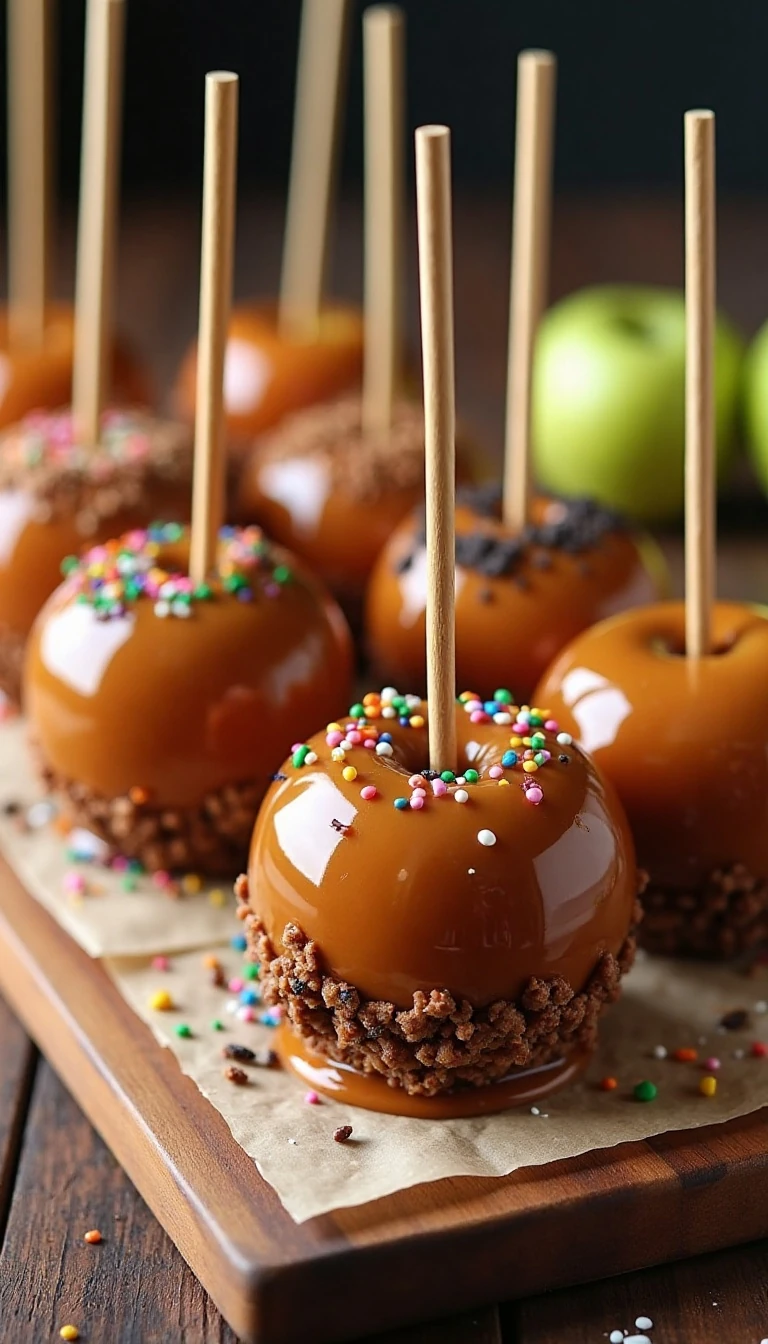
For a colorful party display, use sprinkles in a seasonal palette. Crushed chocolate cookies, graham crackers, toasted coconut, or crisp cereal can also add texture and make each apple look distinct.
A light sprinkle of flaky sea salt gives the sweet caramel a more balanced finish. Add it while the coating is still soft so the flakes adhere instead of falling onto the baking sheet.
For a cozy autumn presentation, arrange the finished apples on a wooden board with cinnamon sticks, extra apples, and small bowls of toppings nearby. If you enjoy baking with seasonal fruit, our homestyle peach bread is another inviting choice for the same dessert table.
Storage and Serving Suggestions
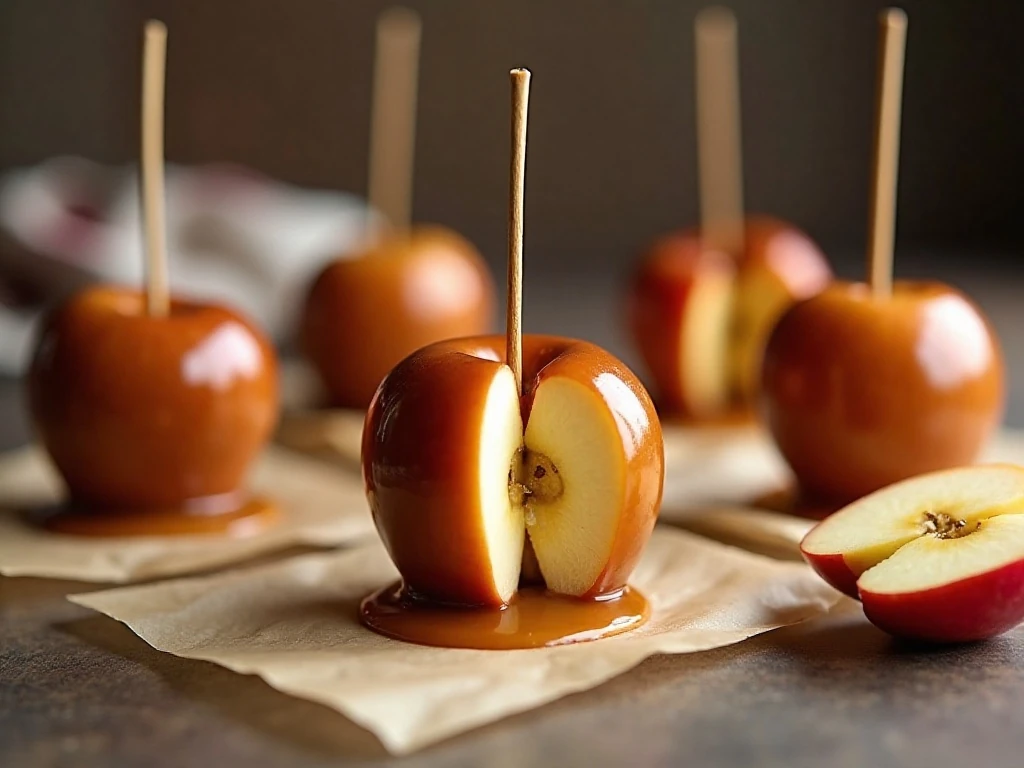
Let the caramel set fully before wrapping the apples. Place each apple in a small sheet of wax paper or parchment and twist the paper around the stick to keep the coating protected.
Caramel apples are best enjoyed fresh, when the fruit is crisp and the candy is pleasantly chewy. Store them in the refrigerator if needed, but allow them to sit briefly at room temperature before serving for the best texture.
Keep the apples separate so their coatings do not stick together. A lightly greased parchment-lined container works well for short-term storage, and the apples should be kept away from moisture and strong refrigerator odors.
To serve, place the apples stick-side up and provide napkins or small plates. For young children, consider slicing the apples into wedges after the caramel has set, since the coating can be firm and sticky to bite through whole.
Common Questions
Can I use a different apple variety? Yes, any medium, firm apple can work, although tart varieties such as Granny Smith provide the clearest flavor contrast. Avoid soft or bruised apples because they may not support the thick coating well.
Why is my caramel sliding off? The most common causes are wax, moisture, condensation, or caramel that is too thin. Thoroughly scrub and dry the apples, check the temperature with a thermometer, and dip while the caramel is warm but thick.
What if the caramel hardens in the pan? Return it to low heat and stir gently until it becomes fluid again. If needed, stir in 1–2 teaspoons of heavy cream or milk, but add only a little at a time.
Can I make these without toppings? Absolutely. Plain caramel apples have a glossy, classic appearance and let the buttery brown sugar flavor take center stage.
Easy Stovetop Caramel Apples
Ingredients
Method
- Wash and scrub the apples thoroughly to remove wax and residue. Dry them completely, remove the stems, and insert a wooden stick into the stem end of each apple.
- Line a baking sheet with parchment paper or a silicone baking mat, then lightly grease it. Chill the prepared apples while the caramel cooks if desired.
- Combine the brown sugar, corn syrup, butter, sweetened condensed milk, and salt in a heavy-bottomed saucepan. Cook over medium heat, stirring frequently, until the butter melts and the mixture reaches a gentle boil.
- Continue cooking and stirring until a candy thermometer reads 235–240°F, or 113–116°C. This usually takes 10–15 minutes after boiling begins and indicates the soft-ball stage.
- Remove the saucepan from the heat and stir in the vanilla extract. Let the caramel cool for about 5 minutes so it thickens slightly while remaining fluid enough for dipping.
- Dip each apple into the warm caramel and turn it slowly to coat the fruit. Hold it above the pan for a moment so excess caramel can drip back into the saucepan.
- Place the dipped apples stick-side up on the prepared baking sheet. Add chopped nuts, sprinkles, crushed cookies, or flaky sea salt immediately while the coating is still sticky.
- Let the caramel apples set at room temperature for 30–60 minutes, or refrigerate them briefly for faster setting. Serve once the coating is firm enough to handle.
Notes
Final Thoughts
These easy stovetop caramel apples turn simple fruit into an impressive homemade candy with very little fuss. Once the apples are clean and dry, the main task is watching the thermometer and dipping while the caramel is warm.
Make a batch for a fall gathering, Halloween celebration, school party, or cozy weekend dessert. With crisp apples, creamy soft-ball caramel, and a few fun toppings, this recipe delivers a delicious treat that looks as special as it tastes.
For a hearty side dish to serve at an autumn meal before dessert, consider these crispy roasted potatoes. Then finish the menu with caramel apples for a sweet, colorful ending everyone can enjoy.
11 thoughts on “Easy Stovetop Caramel Apples Recipe”