This 5-Minute Chocolate Mug Cake is a quick and easy single-serving dessert made with flour, cocoa powder, sugar, milk, oil, and vanilla. Mix the batter directly in a microwave-safe mug, cook it on HIGH for 60–90 seconds, let it stand for 1 minute, and enjoy a warm homemade chocolate cake in about 5 minutes.
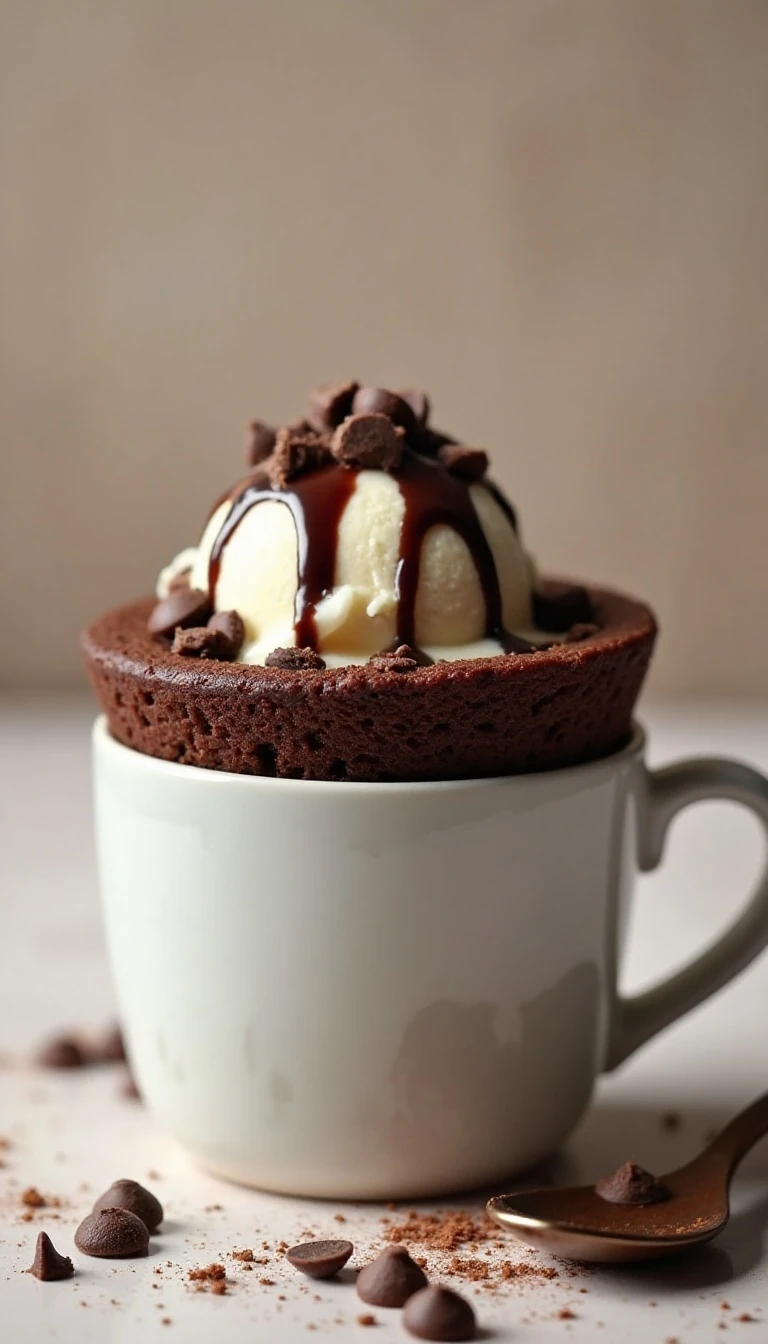
The texture is soft, tender, and deeply chocolatey, with a center that stays wonderfully moist when the cake is not overcooked. Add chocolate chips for gooey pockets of melted chocolate, then finish it with whipped cream, vanilla ice cream, powdered sugar, or chocolate syrup for a cozy dessert that tastes freshly baked without turning on the oven.
Jump to RecipeWhy You’ll Love This Recipe
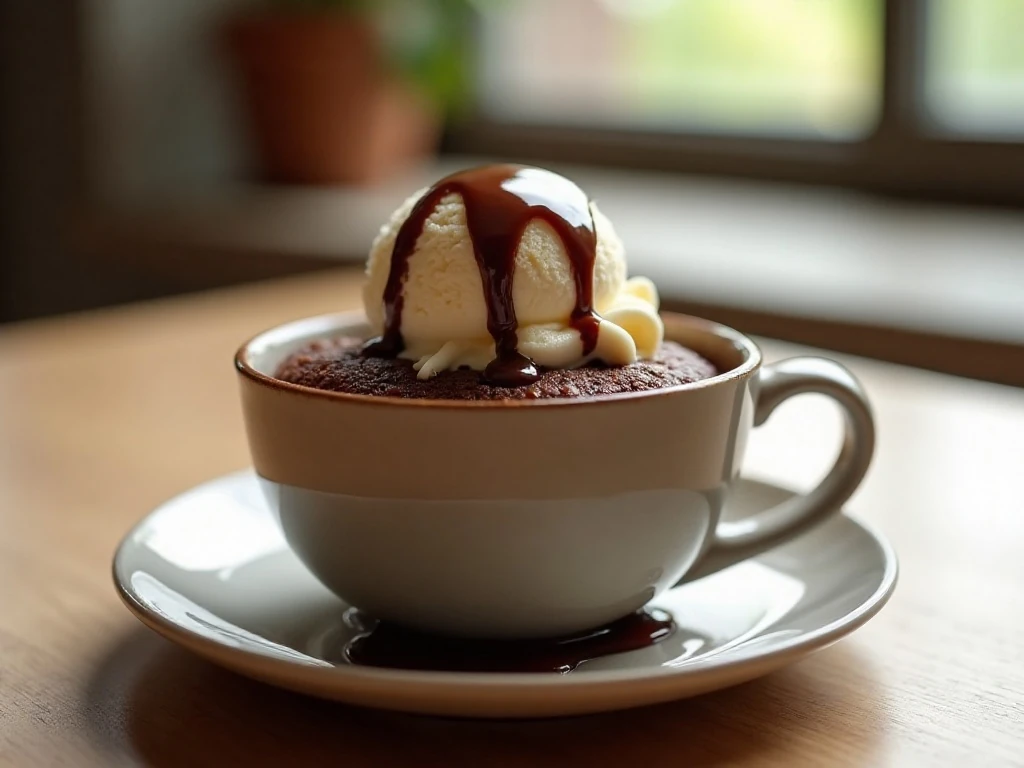
There are nights when a full cake feels like too much work, but a small chocolate dessert sounds exactly right. This mug cake solves that problem with one portion, a short ingredient list, and no mixing bowls to wash.
Everything comes together inside the mug, so preparation takes about 3 minutes. After 60–90 seconds in the microwave and a 1-minute rest, you have a warm cake ready to eat while the chocolate aroma is still filling the kitchen.
This recipe is also easy to adjust at serving time. Keep it simple with a dusting of powdered sugar, or add a scoop of vanilla ice cream so the cold, creamy topping melts into the warm cake.
If you enjoy larger chocolate desserts for sharing, you may also like this rich chocolate poke cake. The mug cake is the speedy single-serving option, while a poke cake is ideal when you want something for a group.
Ingredients You’ll Need
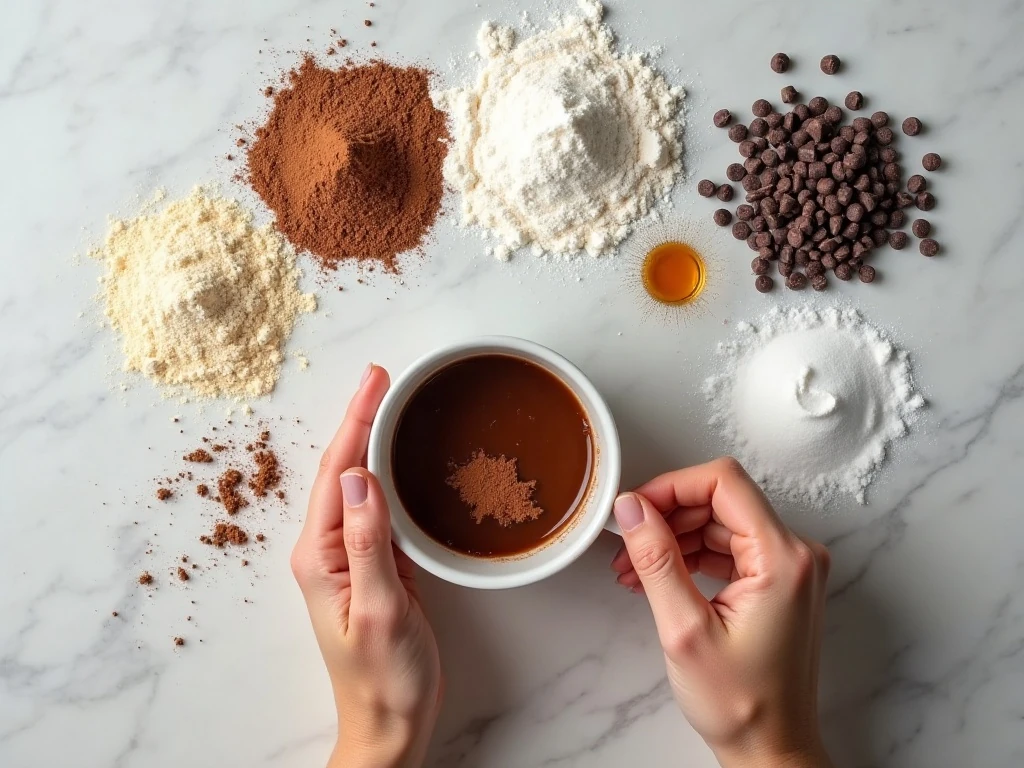
The recipe uses everyday pantry ingredients, but each one has an important job. Flour provides structure, sugar adds sweetness, and unsweetened cocoa powder gives the cake its bold chocolate flavor without making it overly sweet.
- 4 tablespoons all-purpose flour: Spoon it into the measuring spoon and level it for a consistent result.
- 2 tablespoons granulated sugar: This balances the natural bitterness of cocoa powder.
- 2 tablespoons unsweetened cocoa powder: Use a good-quality cocoa for a fuller chocolate taste.
- 1/4 teaspoon baking powder: This gives the cake enough lift to rise in the microwave.
- A pinch of salt, about 1/16 teaspoon: Salt helps sharpen the chocolate flavor.
- 3 tablespoons milk: Milk brings the batter together and keeps the crumb tender.
- 2 tablespoons neutral-flavored vegetable oil: Oil adds moisture without competing with the cocoa.
- 1/4 teaspoon vanilla extract: Vanilla rounds out the flavor and adds a gentle bakery note.
- 1 tablespoon chocolate chips, optional: These create little melted pockets throughout the cake.
Choose a microwave-safe mug with at least a 12-ounce capacity. A wide mug is preferable to a narrow cup because the batter cooks more evenly and is easier to stir thoroughly.
For another easy dessert idea with a creamy chocolate profile, take a look at this no-bake chocolate pudding cake. It offers a chilled, make-ahead contrast to this warm microwave treat.
How to Make It Step-by-Step

Step 1: Add the flour, sugar, cocoa powder, baking powder, and salt to a microwave-safe mug. Before adding any liquid, stir the dry ingredients thoroughly so the cocoa and flour are evenly distributed and no visible lumps remain.
Step 2: Pour in the milk, vegetable oil, and vanilla extract. Stir slowly at first, then mix more firmly until a smooth batter forms, scraping the bottom and sides of the mug to collect every bit of dry ingredient.
Step 3: Check the batter for dry pockets, especially around the base of the mug. If you are using chocolate chips, stir in the 1 tablespoon now, saving a few for the top if you want a more decorative finish.
Step 4: Place the mug in the microwave and cook on HIGH for 60 seconds. The cake should begin to rise and look mostly set, but the middle may still appear slightly moist.
Step 5: If the cake needs more time, continue cooking in 10–15-second intervals. Microwave power varies from appliance to appliance, so short additions are safer than immediately cooking for the full 90 seconds.
Step 6: Carefully remove the hot mug and let the cake stand for 1 minute. This rest matters because the residual heat continues to set the center while the temperature becomes easier to enjoy.
Step 7: Add your chosen toppings and eat the cake while it is warm. For the most enjoyable texture, serve it straight from the mug with a spoon rather than transferring it to another dish.
Pro Tips for a Soft, Moist Mug Cake

The most important rule is to avoid overcooking. A mug cake can go from soft to rubbery in a few extra seconds, so start at 60 seconds and add only 10–15 seconds at a time.
Look for visual cues rather than relying only on the timer. The cake should be risen and mostly set around the edges, while a small area in the center may still look slightly moist; that center will continue cooking during the 1-minute rest.
Mixing the dry ingredients first prevents concentrated pockets of cocoa, baking powder, or flour. Once the liquids are added, scrape along the bottom and sides of the mug because unmixed flour hidden there can leave unpleasant dry spots in the finished cake.
A wide mug works best because it gives the batter more surface area and helps the microwave cook the cake more evenly. Do not fill a small cup to the top, since the cake needs room to rise.
Use neutral-flavored oil such as a mild vegetable oil. Strongly flavored oils can distract from the chocolate, while oil helps keep the crumb tender even after the cake cools for a minute.
Best Toppings and Flavor Ideas
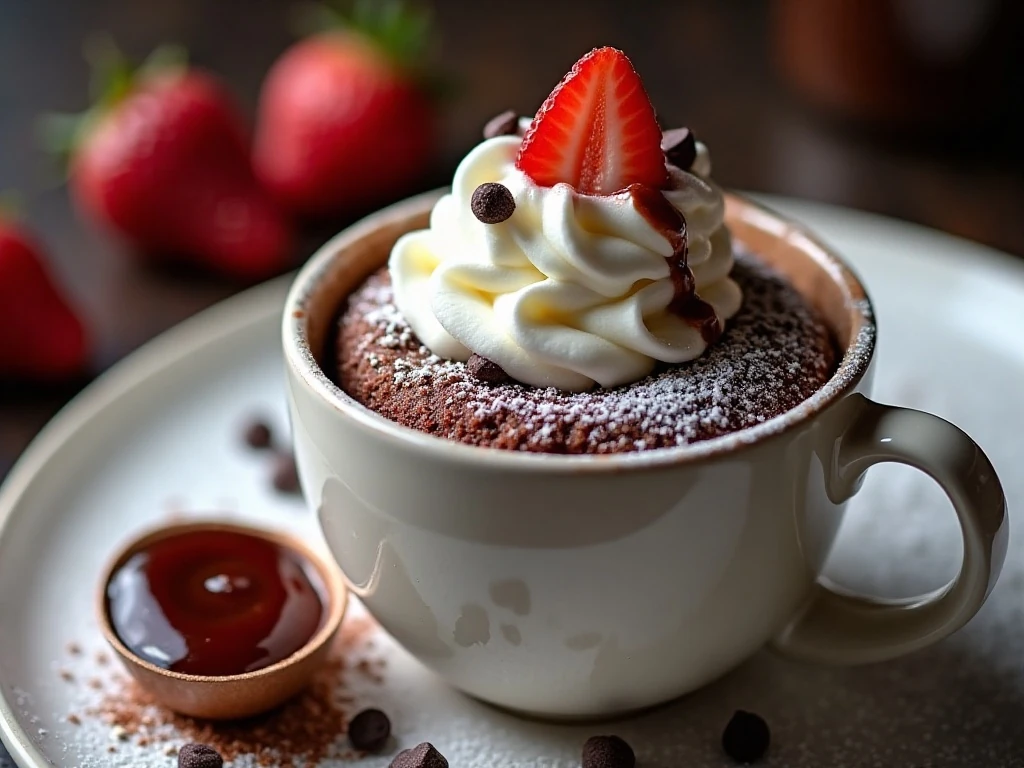
A warm chocolate mug cake is delicious on its own, but toppings can turn it into a personalized dessert. Add them immediately after the resting time so the cake stays warm and the toppings soften naturally.
- Classic: Sprinkle powdered sugar over the top for a simple finish.
- Extra chocolate: Add chocolate syrup and a few extra chocolate chips.
- Cold and creamy: Serve with vanilla ice cream or a spoonful of whipped cream.
- Chocolate sundae style: Use ice cream, chocolate syrup, and a pinch of chocolate chips.
- Berry contrast: Add a spoonful of strawberry sauce for a bright, fruity pairing.
For a quick fruit topping, try this 5 Minute Strawberry Sauce beside or over the cake. The sweet-tart berries provide a lovely contrast to the deep cocoa flavor.
You can also add a very small pinch of cinnamon to the dry ingredients for gentle warmth, although the stated recipe is intentionally balanced without extra spices. Keep additions modest so the batter remains in the correct proportion.
Serving, Storage, and Reheating
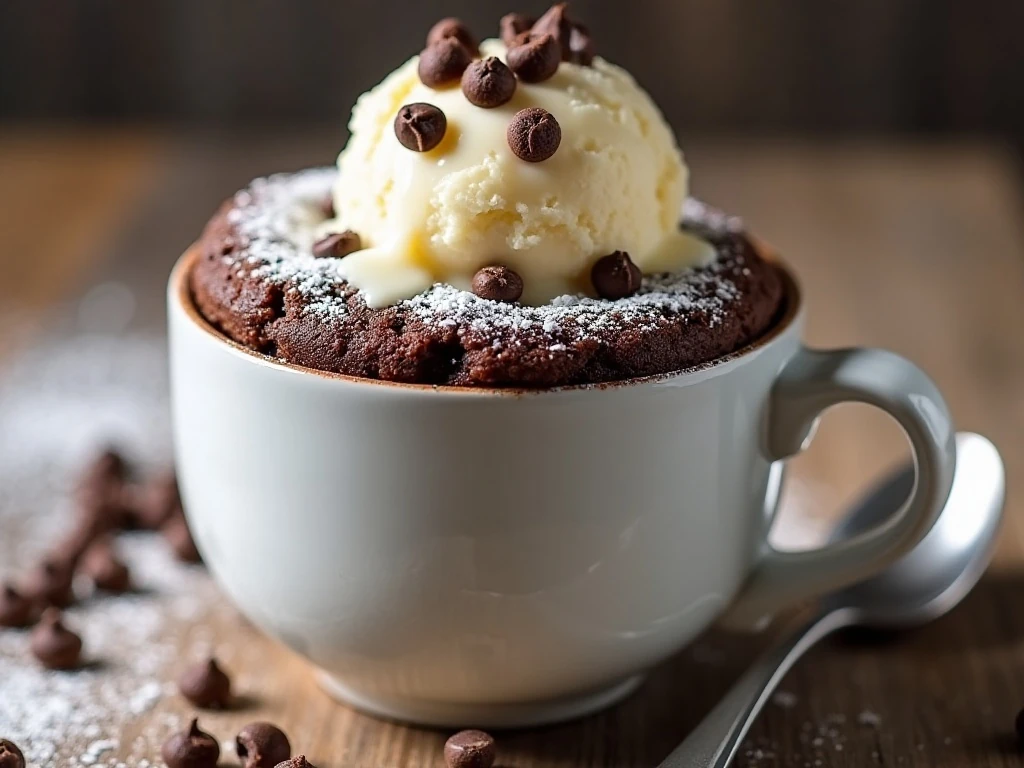
This recipe yields 1 serving and is best eaten soon after its 1-minute resting period. Microwave cakes lose moisture as they sit, so they are not intended to be stored for several days like a larger baked cake.
If you have leftovers, cover the mug or transfer the cake to an airtight container and refrigerate it. Reheat gently in the microwave in short bursts, checking often, because too much heat can make the texture firm and dry.
For the best presentation, keep the cake in the mug and place it on a small dessert plate. A dusting of powdered sugar, a spoonful of whipped cream, or a scoop of vanilla ice cream makes the simple serving look special without adding much preparation.
When you are planning a dessert for more people, a full-size cake may be a better choice. This chocolate coconut almond poke cake brings a larger, shareable format with rich chocolate and satisfying texture.
Troubleshooting Common Problems
Why is my mug cake rubbery? It was probably cooked too long. Microwave wattage differs, so begin at 60 seconds and use short 10–15-second additions rather than automatically cooking for the longest time.
Why is the center still wet? A slightly moist center is normal immediately after cooking, especially before the 1-minute rest. If it looks like liquid batter rather than moist cake, microwave it for another 10–15 seconds.
Why are there dry cocoa pockets? The dry ingredients were not mixed thoroughly before the milk and oil were added, or the bottom of the mug was not scraped. Stir the dry mixture carefully and make sure the finished batter is smooth from top to bottom.
Why did the cake overflow? The mug may have been too small. Use a microwave-safe mug with at least 12-ounce capacity, preferably one that is wide enough to leave room for the batter to rise.
Can I skip the chocolate chips? Yes. They are optional, and the cake remains chocolatey and satisfying without them. If you include them, stir in exactly 1 tablespoon as listed for the intended texture.
Make It Tonight
This chocolate mug cake is designed for the moment when you want a homemade dessert without a long recipe or a pile of dishes. The batter takes only a few minutes to mix, and the microwave handles the baking while you prepare a topping.
Measure the dry ingredients carefully, mix the batter all the way to the bottom of the mug, and watch the cooking time closely. Those small details are what keep the cake soft rather than dry.
If you are collecting easy desserts for gatherings, this easy pineapple lush cake is another refreshing option for sharing. For a personal chocolate treat, however, this mug cake remains hard to beat for speed and comfort.
5-Minute Chocolate Mug Cake Recipe
Ingredients
Method
- Use a microwave-safe mug with at least 12-ounce capacity. Add the flour, sugar, cocoa powder, baking powder, and salt, then stir thoroughly to break up any lumps.
- Add the milk, neutral-flavored vegetable oil, and vanilla extract. Mix until a smooth batter forms, scraping the bottom and sides of the mug so no dry flour or cocoa remains.
- Stir in the chocolate chips if using. Microwave on HIGH for 60–90 seconds, beginning with 60 seconds and adding 10–15-second intervals only if needed.
- Remove the mug carefully and let the cake stand for 1 minute before eating. The cake should be risen and mostly set, with a center that may still look slightly moist.
Notes
Final Thoughts
This 5-Minute Chocolate Mug Cake is a dependable answer to a sudden chocolate craving. With 4 tablespoons of flour, 2 tablespoons each of sugar and cocoa, 3 tablespoons of milk, 2 tablespoons of oil, and a little vanilla, you can create one warm dessert in almost no time.
Start cooking at 60 seconds, check the texture, and add 10–15-second intervals only when necessary. Letting the cake stand for 1 minute is just as important as the microwave time because the center continues to set and the crumb becomes easier to enjoy.
Finish it with whipped cream, vanilla ice cream, chocolate syrup, powdered sugar, or extra chocolate chips. Once you try this quick recipe, a soft, rich chocolate cake is never more than a mug and a few minutes away.