These Cheesy Garlic Herb Pull-Apart Rolls are soft, fluffy frozen dinner rolls brushed with garlic butter, Italian seasoning, and fresh parsley, then filled and topped with melted low-moisture mozzarella and Parmesan. The recipe makes 12 rolls and takes about 15–20 minutes of active preparation, 3–5 hours for thawing and rising, 20–30 minutes for the final rest, and 20–25 minutes to bake.
Every roll has a tender center, crisp golden edges, savory garlic flavor, and bubbling cheese that stretches as you pull it apart. Serve these warm rolls with soup, pasta, roasted meats, or a holiday dinner, and keep plenty of napkins nearby because the buttery cheese topping is wonderfully messy.
Jump to RecipeWhy You’ll Love This Recipe
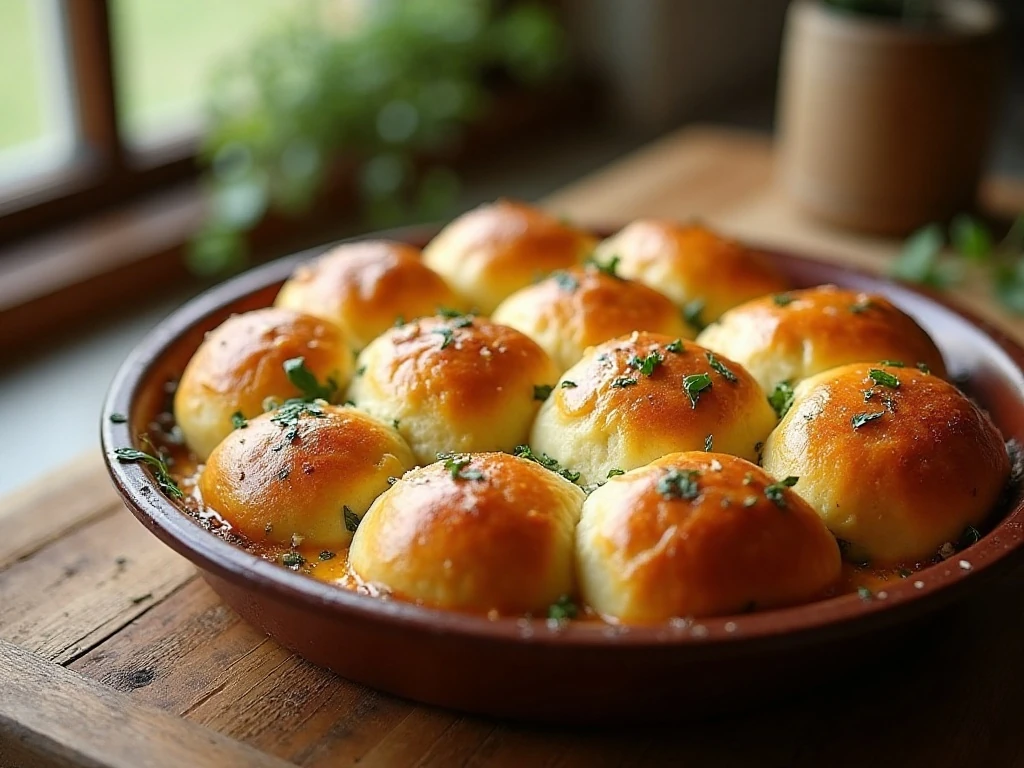
These rolls bring together three irresistible textures: a pillowy interior, a buttery golden crust, and a slightly crisp layer of bubbling cheese. Because the dough starts with frozen dinner rolls, you get bakery-style comfort without mixing, kneading, or shaping a homemade dough.
The rolls are also wonderfully practical for entertaining. Place the baking dish in the center of the table and let everyone pull off a warm piece, or use them as a hearty side for a family supper.
- Soft and fluffy: The frozen yeast rolls rise into tender, airy pieces.
- Richly seasoned: Garlic, Italian seasoning, parsley, butter, and Parmesan create a savory topping.
- Easy to share: The connected rolls make serving casual and fun.
- Flexible pairing: They work with soups, pasta, chicken, seafood, and roasted vegetables.
For a full comfort-food spread, serve them beside a cheesy layered meatball dip as an appetizer or party snack. The rolls are sturdy enough for dipping, yet soft enough to soak up every bit of sauce.
Ingredients You’ll Need

The ingredient list is short, but each item has a specific job. Frozen unbaked dinner rolls provide the fluffy foundation, while garlic butter coats the dough and carries the herb flavor into every crevice.
- 12 frozen unbaked dinner rolls: Choose a Rhodes-style product or another package that gives thawing and rising instructions.
- 4 tablespoons unsalted butter: Melted butter creates a savory coating without adding more salt than needed.
- 2 garlic cloves: Mince them finely so the garlic flavor spreads throughout the butter. You can use 1 teaspoon garlic powder instead.
- 1 teaspoon Italian seasoning: This brings a balanced blend of dried herbs to the topping.
- 1 tablespoon fresh parsley: Add it to the butter and reserve extra for a bright garnish.
- 1/2 teaspoon kosher salt: This is optional, especially if your cheese or rolls are already salty.
- 1 cup low-moisture mozzarella: Shred it yourself if possible for even melting and a long cheese pull.
- 1/4 cup finely grated Parmesan: Parmesan adds a nutty, savory finish and helps the top become golden.
Low-moisture mozzarella is especially important here because it melts smoothly without releasing too much water into the center of the rolls. Finely grated Parmesan distributes more evenly than thick shreds and creates a delicate crust.
If you are planning a menu with several vegetable sides, these rolls would be delicious alongside lemon herb roasted potatoes. The lemon and herbs provide a fresh contrast to the rich cheese and butter.
How to Make It Step-by-Step
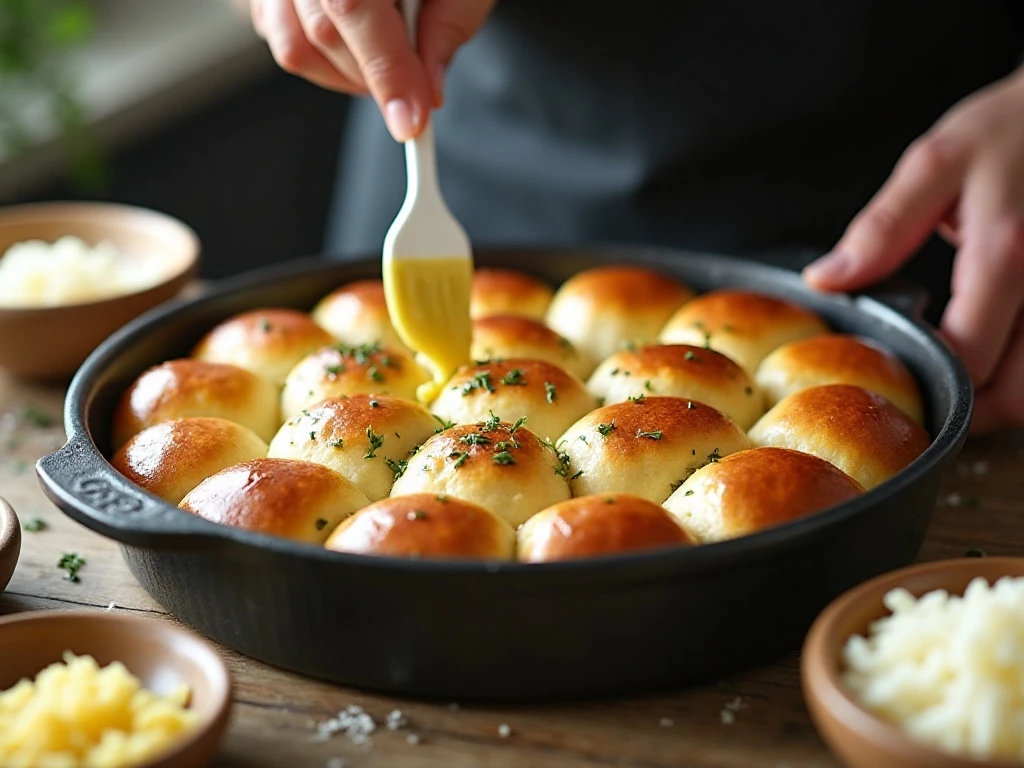
Step 1: Lightly grease a 9-inch round cake pan, a 10-inch oven-safe skillet, or a comparable baking dish. Arrange the frozen rolls inside with a little space between them, since they need room to expand as they thaw and rise.
Step 2: Cover the dish loosely with plastic wrap or a clean kitchen towel. Let the rolls thaw and rise according to the package directions, generally 3–5 hours depending on the dough and the temperature of your kitchen; they should be puffy and nearly doubled.
Step 3: Melt the unsalted butter in a small bowl. Stir in the finely minced garlic, Italian seasoning, chopped parsley, and optional kosher salt until the mixture smells fragrant and the herbs are evenly dispersed.
Step 4: Wait until the rolls have completed their main rise before adding any cheese. Carefully separate or partially cut between the risen rolls, taking care not to slice all the way through, then brush the garlic herb butter across the tops and down into the spaces.
Step 5: Tuck small portions of mozzarella between the rolls, pressing gently so the cheese settles into the gaps without deflating the dough. Scatter the remaining mozzarella over the top and sprinkle the Parmesan evenly across the surface.
Step 6: Let the assembled rolls rest for 20–30 minutes while the oven heats to 350°F (175°C). This final rest gives the dough a little extra time to relax and helps the finished rolls stay tender.
Step 7: Bake for 20–25 minutes, watching the pan closely during the final minutes. The rolls are ready when they are golden brown, the centers look baked, and the cheese is melted; if the cheese darkens too quickly, tent the dish loosely with foil.
Step 8: Brush the hot rolls with any remaining garlic butter and scatter extra chopped parsley over the top. Serve immediately while the mozzarella is soft, glossy, and ready to stretch between each pull-apart piece.
Pro Tips for Fluffy, Cheesy Rolls
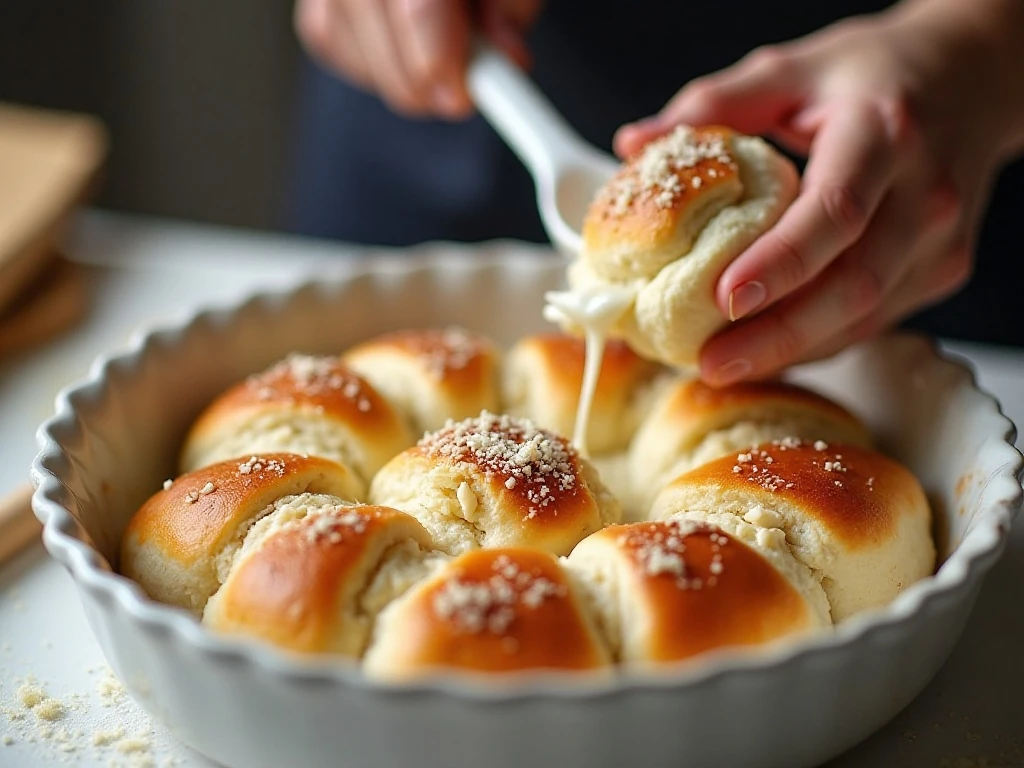
The most important timing rule is to let the dough finish its main rise before adding the cheese. Cheese is delicious, but its weight can slow expansion and leave you with tighter rolls if it is added too early.
Keep the cuts between the rolls shallow and partial. You want to create pathways for butter and cheese without separating the dough into individual pieces before baking.
- Use room-temperature conditions wisely: A cool kitchen may require more rising time, while a warm kitchen may shorten it. Follow the package’s visual cues as well as its timing.
- Protect the garlic: Finely minced garlic can burn on exposed surfaces. Brush it into the gaps and cover the pan with foil near the end if the tops are browning rapidly.
- Shred cheese finely: Smaller pieces melt faster and spread into the spaces more evenly.
- Do not crowd extra cheese into the center: A generous layer is delicious, but too much moisture or cheese concentrated in one area can make the middle wet.
- Use an oven thermometer if needed: An accurate 350°F oven helps the rolls bake through while keeping the cheese golden rather than scorched.
For another dinner that celebrates garlic and butter, pair these rolls with garlic butter portobello mushrooms. The earthy mushrooms and fragrant rolls make a satisfying meatless plate.
Serving Ideas
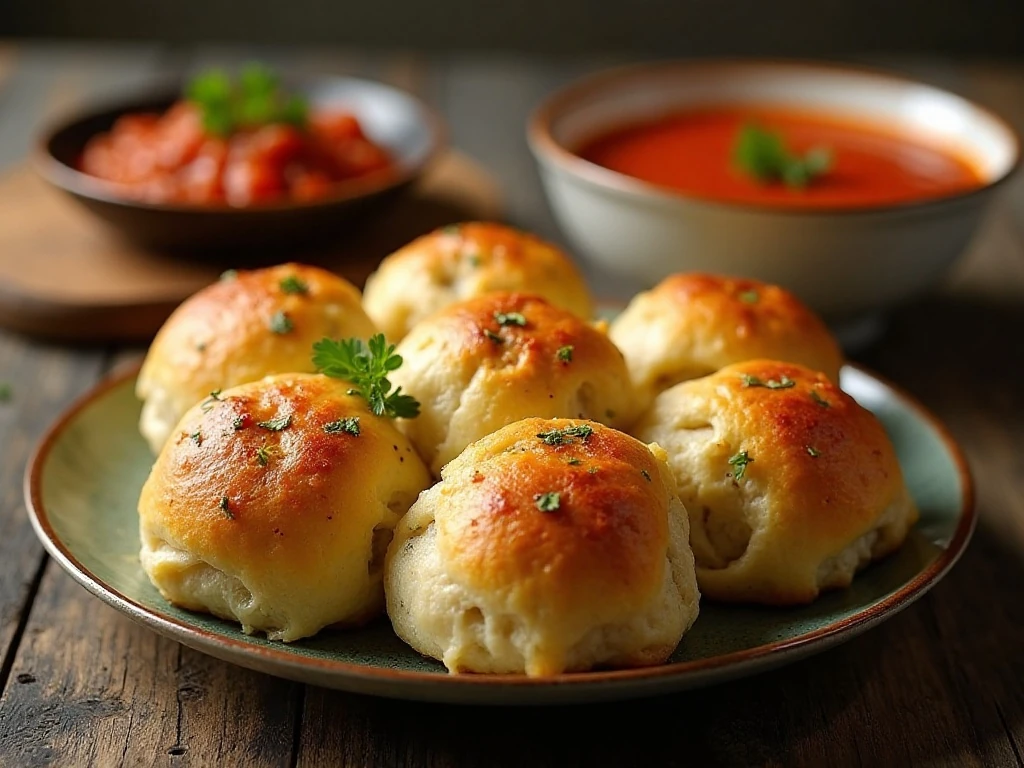
Serve the rolls as soon as they are cool enough to handle. They are excellent with tomato soup, creamy chowder, baked chicken, steak, or a simple green salad.
They also make a natural partner for pasta dishes. Try them with crispy Parmesan chicken and creamy lemon garlic pasta, using the rolls to catch the extra sauce from the plate.
For a seafood-inspired meal, serve them alongside garlicky shrimp such as Gambas al Ajillo. The soft bread is perfect for soaking up the aromatic butter and juices.
At a party, place the rolls on a wooden board with marinara sauce, whipped herb butter, or a warm cheese dip. Since they pull apart easily, guests can take one without needing a knife or serving utensils.
Storage and Reheating
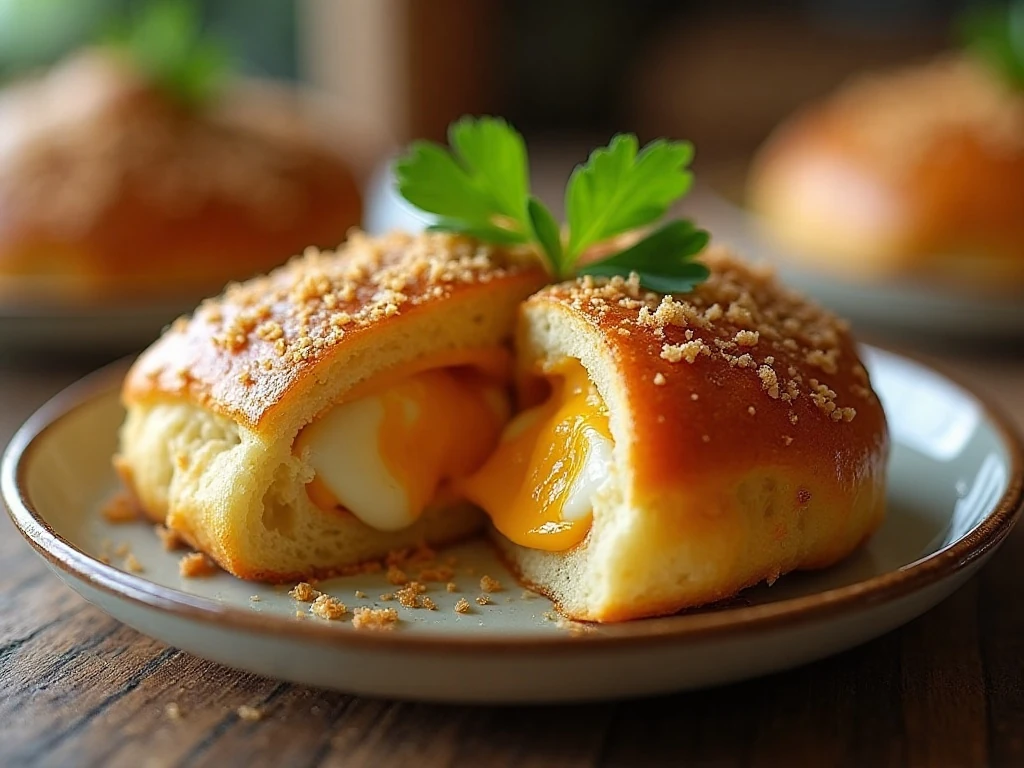
These rolls are best on the day they are baked, but leftovers can be stored in an airtight container at room temperature for up to 1 day. For longer storage, refrigerate them in a covered container and use them within 3 days.
Reheat individual rolls in the microwave for about 10–15 seconds, checking before adding more time. To refresh several rolls at once, place them in a baking dish, cover loosely with foil, and warm them in a 300°F oven until heated through.
If you plan to freeze leftovers, wrap the completely cooled rolls tightly and freeze them for up to 1 month. Thaw them in the refrigerator, then reheat covered so the bread stays soft and the cheese does not become overly dry.
Make-Ahead Timing
Because frozen rolls need 3–5 hours to thaw and rise, start this recipe earlier than you would a quick biscuit recipe. You can arrange the frozen dough in the pan in the morning, let it rise according to the package directions, then add the butter and cheese shortly before baking.
Do not assemble the cheese topping before the main rise. Prepare the garlic herb butter ahead of time and refrigerate it if desired, but bring it back to a brushable consistency before using.
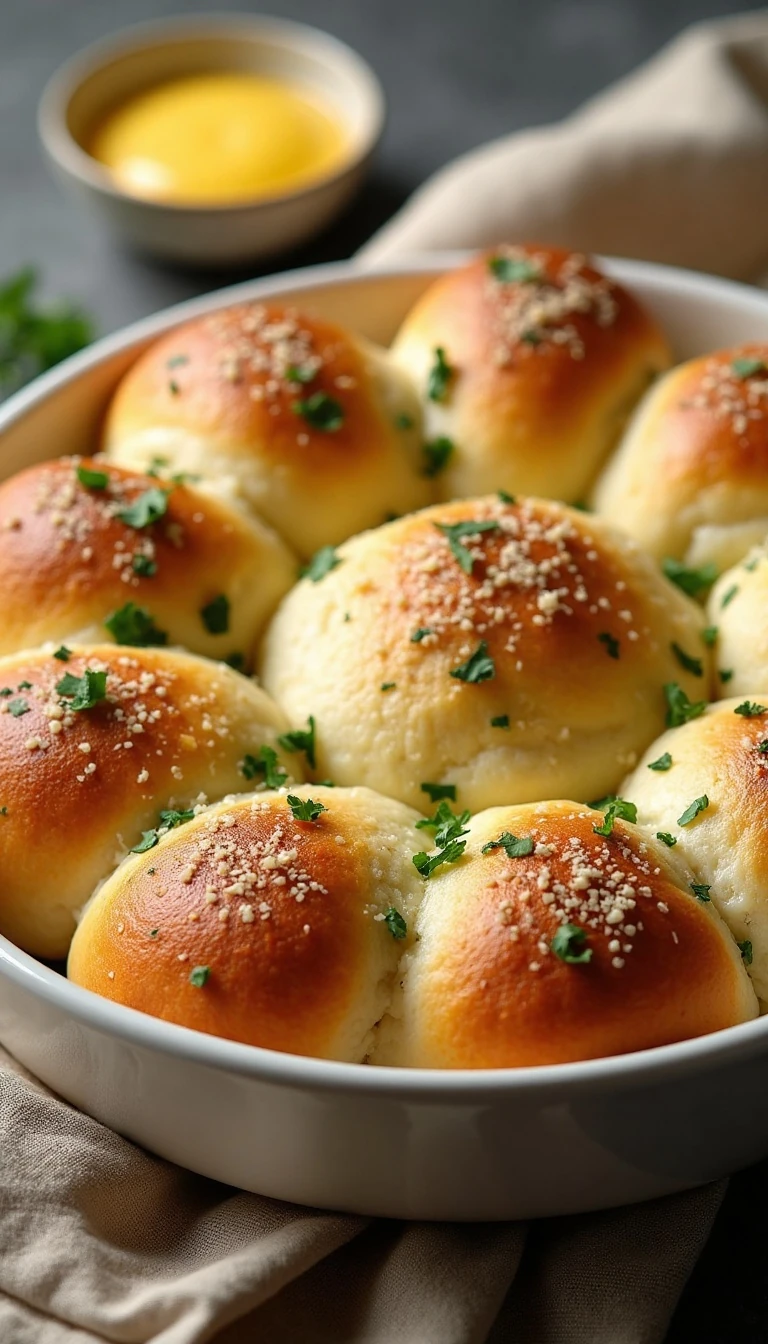
Cheesy Garlic Herb Pull-Apart Rolls
Ingredients
Method
- Lightly grease a 9-inch round cake pan, 10-inch oven-safe skillet, or similar baking dish. Arrange the 12 frozen rolls inside with a little space between each one.
- Cover the pan loosely and let the rolls thaw and rise according to the package directions, usually for 3–5 hours depending on the product and room temperature. They should look noticeably puffy and nearly doubled before you add the cheese.
- Melt the butter and stir in the finely minced garlic, Italian seasoning, chopped parsley, and optional kosher salt. Mix until the herbs are distributed evenly throughout the butter.
- When the rolls have completed their main rise, carefully separate or partially cut between them without slicing all the way through. Brush the garlic herb butter over the tops and into the spaces between the rolls.
- Tuck small portions of shredded mozzarella into the spaces between the rolls. Scatter the remaining mozzarella over the top, then finish with the finely grated Parmesan.
- Let the assembled rolls rest for 20–30 minutes while the oven heats to 350°F (175°C). This short rest gives the dough time to relax and puff slightly before baking.
- Bake at 350°F (175°C) for 20–25 minutes, until the rolls are golden brown and the cheese is fully melted. If the cheese browns before the centers are baked, loosely tent the pan with foil.
- Brush the baked rolls with any remaining garlic butter and sprinkle with extra chopped parsley. Serve warm, pulling the rolls apart at the table while the cheese is still soft and stretchy.
Notes
Final Thoughts
Cheesy Garlic Herb Pull-Apart Rolls turn a package of frozen dinner rolls into a warm centerpiece everyone will want to reach for. The combination of soft bread, fragrant garlic butter, Italian herbs, stretchy mozzarella, and Parmesan creates a side dish that feels special while remaining wonderfully simple.
Give the dough enough time to thaw and become puffy, wait until after the main rise to add the cheese, and keep an eye on the garlic as the rolls bake. Those small details make the difference between merely good rolls and a golden, bubbling pan that disappears before dinner is over.
Bring them to the table hot, garnish with fresh parsley, and let your guests pull the rolls apart while the cheese is still melting. Whether served with soup, pasta, roasted vegetables, or a party dip, this 12-roll recipe is an easy bread favorite worth repeating.