These easy homemade apple hand pies are buttery, flaky, and filled with tender cinnamon apples, making them a perfect dessert when you want the comfort of apple pie without slicing a whole pie. The recipe makes 8 individual pies using two refrigerated 9-inch pie crusts, a quick stovetop apple filling, and 18–22 minutes of baking at 375°F.
Each hand pie has a crisp golden crust wrapped around lightly caramelized apples with brown sugar, lemon, cinnamon, and a hint of nutmeg. Serve them warm after at least 10 minutes of cooling, or finish the cooled pies with a simple vanilla glaze for an especially pretty dessert.
Jump to RecipeWhy You’ll Love This Recipe
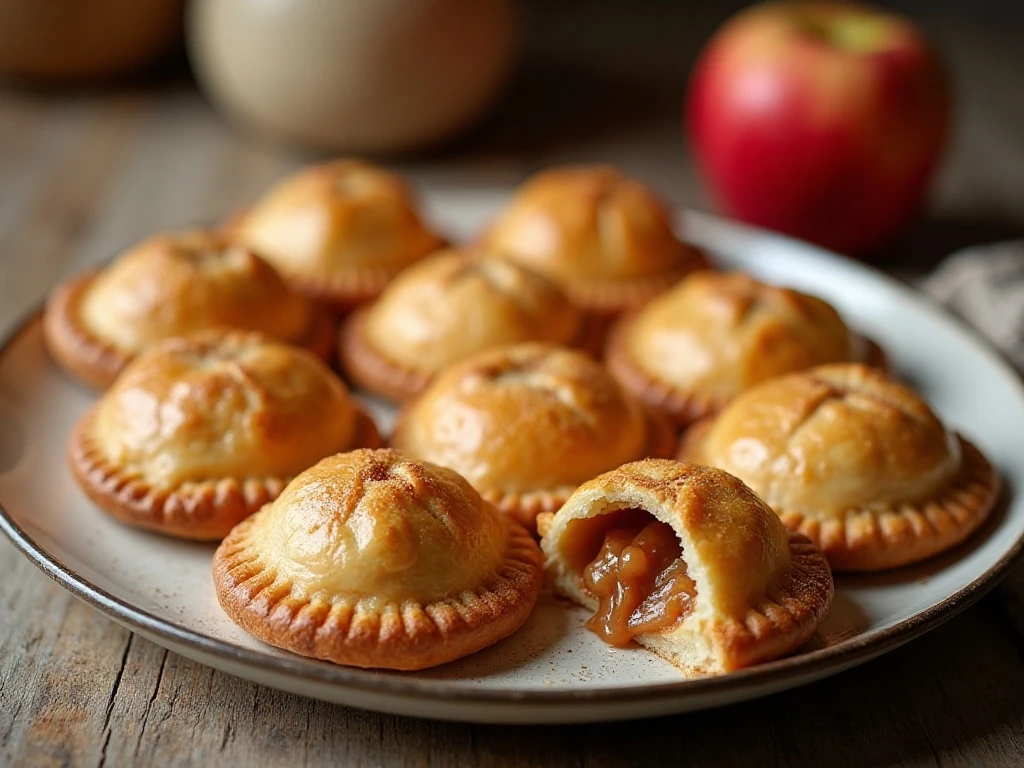
Apple hand pies deliver everything people adore about classic apple pie in a portable, easy-to-serve format. There is no pie plate to line, no complicated lattice to arrange, and no need to wait for an entire pie to cool before cutting it.
The filling is made in one skillet, so the apples become tender and glossy while the brown sugar and butter create a gently caramelized sauce. Lemon juice keeps the flavor bright, while cinnamon and optional nutmeg give every bite a familiar autumn warmth.
These pies are also wonderfully flexible. They fit a dessert table, lunchbox, picnic basket, or casual after-dinner coffee break, and the optional glaze lets you choose between a rustic pastry finish and a sweeter bakery-style look.
If you enjoy making festive pastry treats, our Christmas tree pastries are another fun project for the same kind of flaky dough.
Ingredients You’ll Need
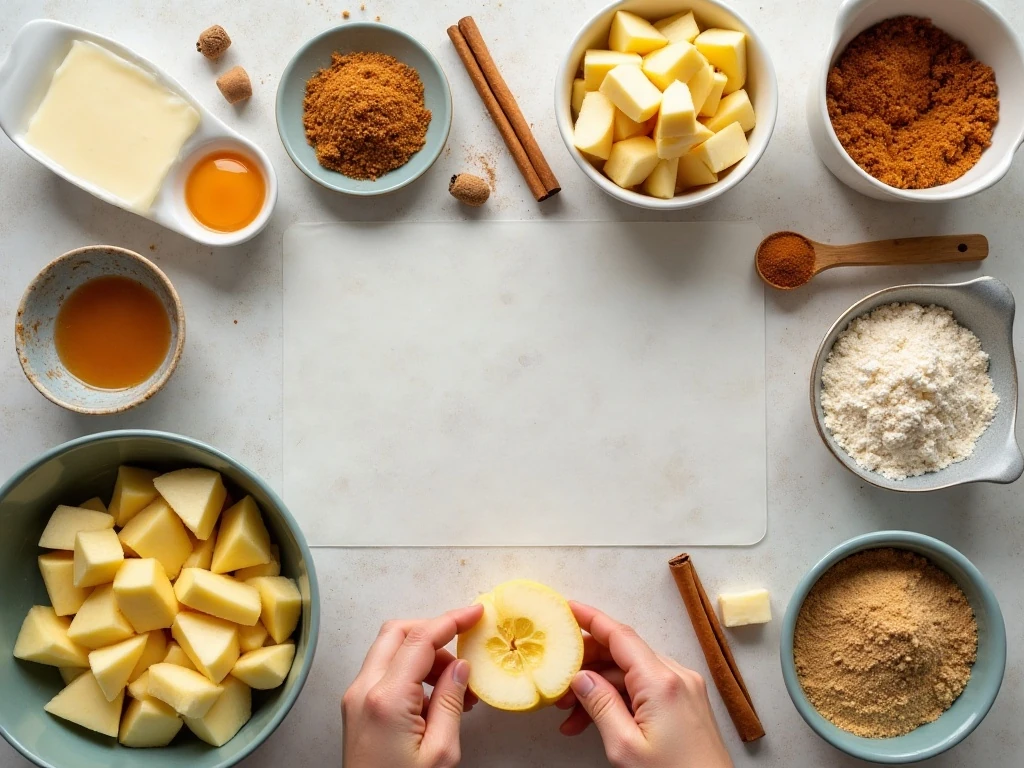
The shortcut here is refrigerated pie crust, which keeps the preparation comfortably within about 25–30 minutes. Choose two 9-inch crusts weighing approximately 14–16 ounces total, or use one homemade double-crust pastry recipe if you prefer to make the dough yourself.
- Apples: Use about 3 cups of peeled, cored, small-diced apples. Granny Smith, Honeycrisp, Braeburn, and Pink Lady all work well, as does a mixture of tart and sweet varieties.
- Sweeteners and thickener: Light brown sugar adds depth, while 1 tablespoon of flour or cornstarch helps the juices become thick enough for a hand pie.
- Flavor builders: Cinnamon, lemon juice, kosher salt, and optional nutmeg create a balanced filling rather than a one-note sugary center.
- Finishing ingredients: An egg mixed with water or milk gives the crust a glossy golden top. Coarse sugar adds crunch, and confectioners’ sugar can become a quick drizzle.
Avoid very soft applesauce-type varieties because they can release too much liquid and leave the filling watery. The best apples hold their shape while softening, giving the finished pies small, recognizable pieces of fruit.
For another sweet, make-ahead treat, you can also browse our easy homemade fudge when planning a dessert assortment.
How to Make It Step-by-Step
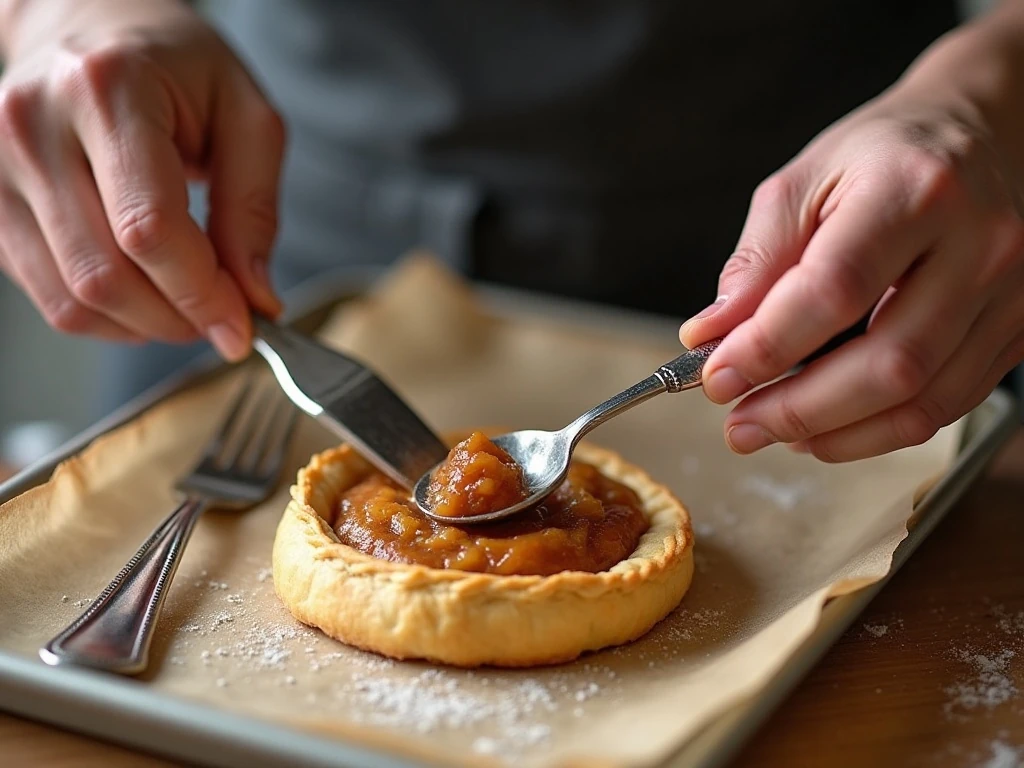
Step 1: Melt the butter in a skillet over medium heat, then add the diced apples, brown sugar, flour or cornstarch, cinnamon, lemon juice, nutmeg, and kosher salt. Stir occasionally and cook for 5–8 minutes, until the apples are slightly softened and the juices look thick rather than runny.
Step 2: Remove the skillet from the heat and spread the filling in a shallow bowl or dish so it cools more quickly. Let it cool completely before assembling; warm filling can soften the pastry and make the seams rupture.
Step 3: Heat the oven to 375°F and line a baking sheet with parchment. Unroll the pie crusts and roll them slightly thinner if needed, then cut eight circles measuring 4–5 inches across, rerolling the scraps once to make the final rounds.
Step 4: Place approximately 1 1/2 to 2 tablespoons of cooled apple filling in the center of each pastry circle. Keep the filling in a compact mound and leave a clear border around the edge, since overfilled pies are more likely to leak or split.
Step 5: Lightly moisten the pastry edge with water, fold each circle over the filling, and press the edges together firmly. Crimp around the sealed edge with a fork, then cut two or three small vents in the top so steam can escape.
Step 6: Whisk the egg with 1 tablespoon of water or milk and brush the mixture over each hand pie. Sprinkle with 1–2 tablespoons of coarse sugar if desired, and chill the assembled pies for 10–15 minutes if the pastry has become soft.
Step 7: Bake the pies for 18–22 minutes, or until the pastry is puffed and golden brown. Transfer them to a rack and cool for at least 10 minutes before serving so the filling can settle and the crust can become pleasantly crisp.
Step 8: For the optional glaze, whisk 1 cup of confectioners’ sugar with 1–2 tablespoons of milk or cream and 1/2 teaspoon of vanilla extract. Drizzle it over completely cooled hand pies and allow it to set briefly before serving.
Chef Tips for Flaky, Leak-Free Pies
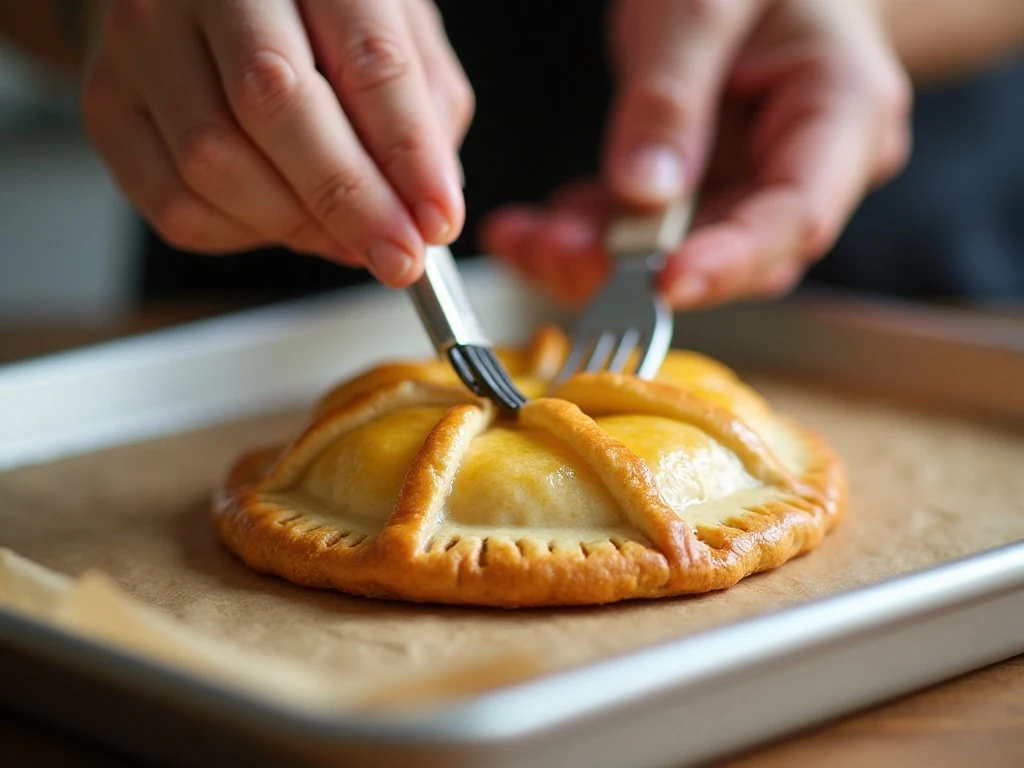
The most important preparation tip is to cool the filling completely. This single step protects the butter in the pastry from melting too early and gives you a much cleaner seal.
- Dice evenly: Small, similar-sized apple pieces cook at the same rate and sit neatly inside the pastry.
- Measure the filling: About 1 1/2 tablespoons per pie is usually enough, with up to 2 tablespoons for a slightly fuller hand pie.
- Seal with care: Press the edges together before crimping, and wipe away any filling that touches the border.
- Always vent: Two or three small cuts release steam and help prevent the tops from ballooning or splitting.
- Chill when needed: If the dough feels floppy or sticky, a 10–15 minute chill will make it easier to handle and generally produces a flakier crust.
For a savory contrast at your next gathering, our hot pepper jelly recipe makes a colorful appetizer topping. It is not part of these dessert pies, but it is a useful addition to a party menu with both sweet and savory bites.
Serving Ideas and Variations
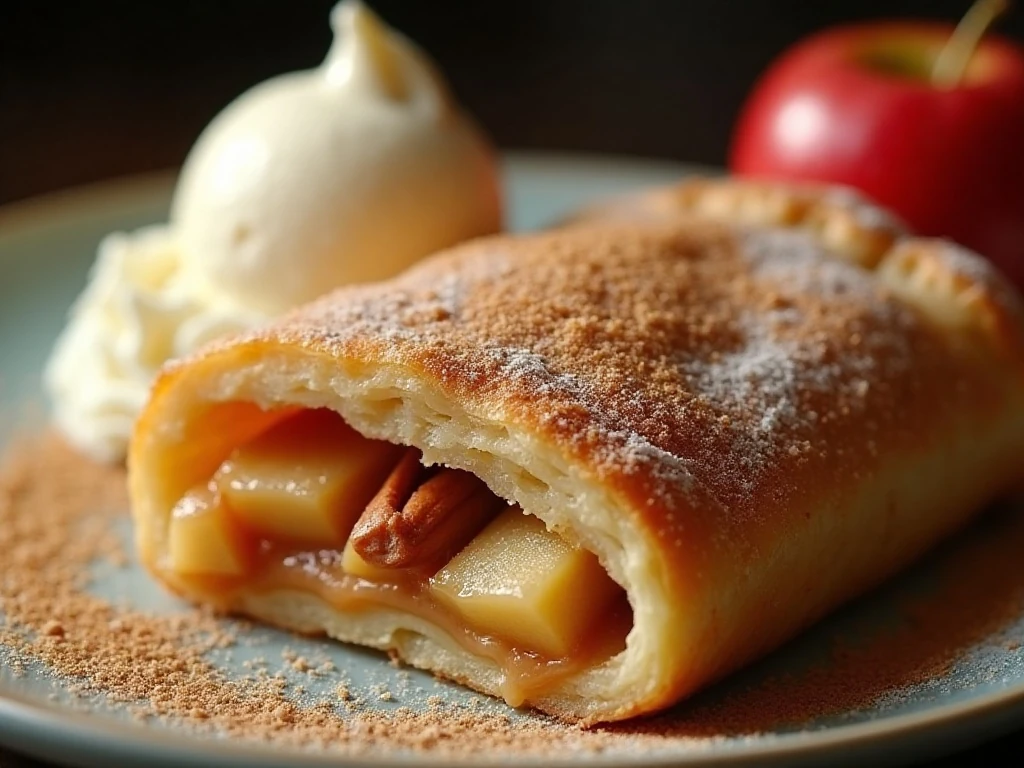
Serve the hand pies slightly warm, when the pastry is crisp and the apple center is fragrant. A scoop of vanilla ice cream, a spoonful of softly whipped cream, or a dusting of confectioners’ sugar turns one pie into a plated dessert.
Coarse sugar gives the crust a simple, sparkling finish, while the vanilla glaze adds sweetness and a smooth contrast to the flaky pastry. If you prefer less sweetness, skip the glaze and let the brown-sugar apple filling provide the main dessert flavor.
You can also change the character of the filling by using a tart-sweet apple mixture or by leaving out the nutmeg. Keep the core quantities the same, especially the thickener and lemon juice, so the filling remains balanced and manageable.
For a broader party spread, pair these hand pies with a tray of easy air fryer meatballs so guests can enjoy a warm savory option before dessert.
Storage and Reheating
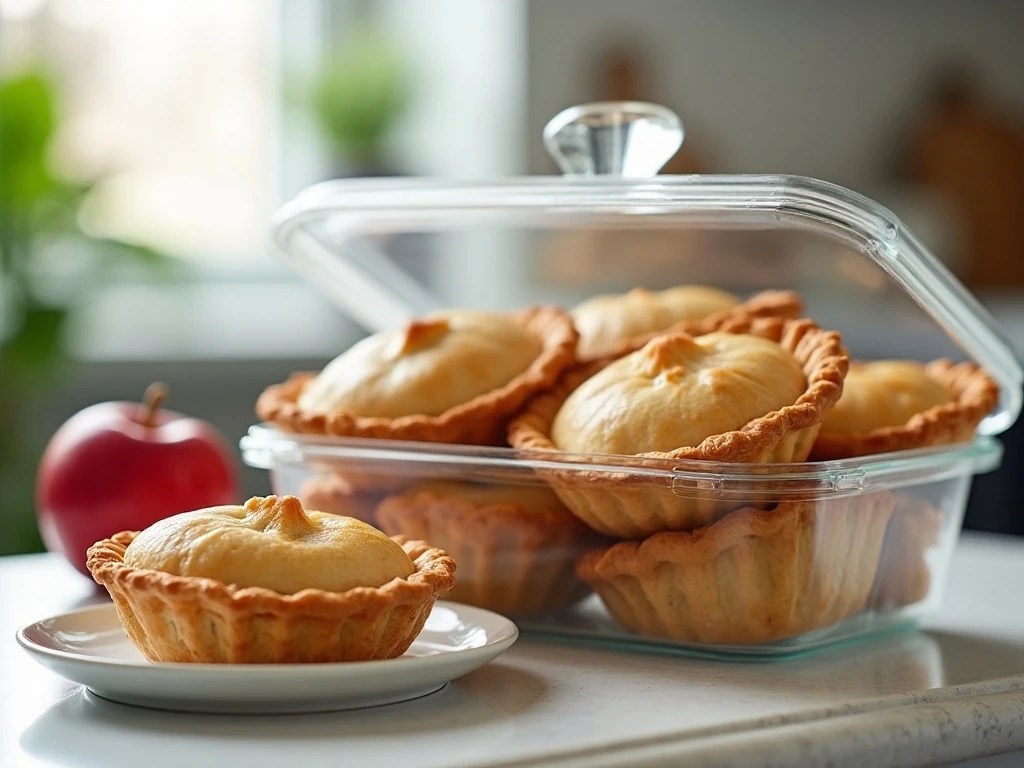
Once completely cool, store the hand pies in an airtight container at room temperature for a short serving period. Keeping them covered protects the crust from drying out, although the pastry is at its crispest on the day it is baked.
To refresh the texture, warm the pies gently in an oven or toaster oven until heated through and crisp outside. Avoid adding glaze before reheating if possible, since the glaze can melt; drizzle it on after the pies have warmed and cooled slightly.
For make-ahead planning, assemble the pies, chill them until firm, and bake according to the recipe when ready. Keep the vents in place and watch for the same visual cue: puffed, deeply golden pastry.
If you are assembling a dessert gift box, our cake batter fudge makes a cheerful companion to these fruit-filled pastries.
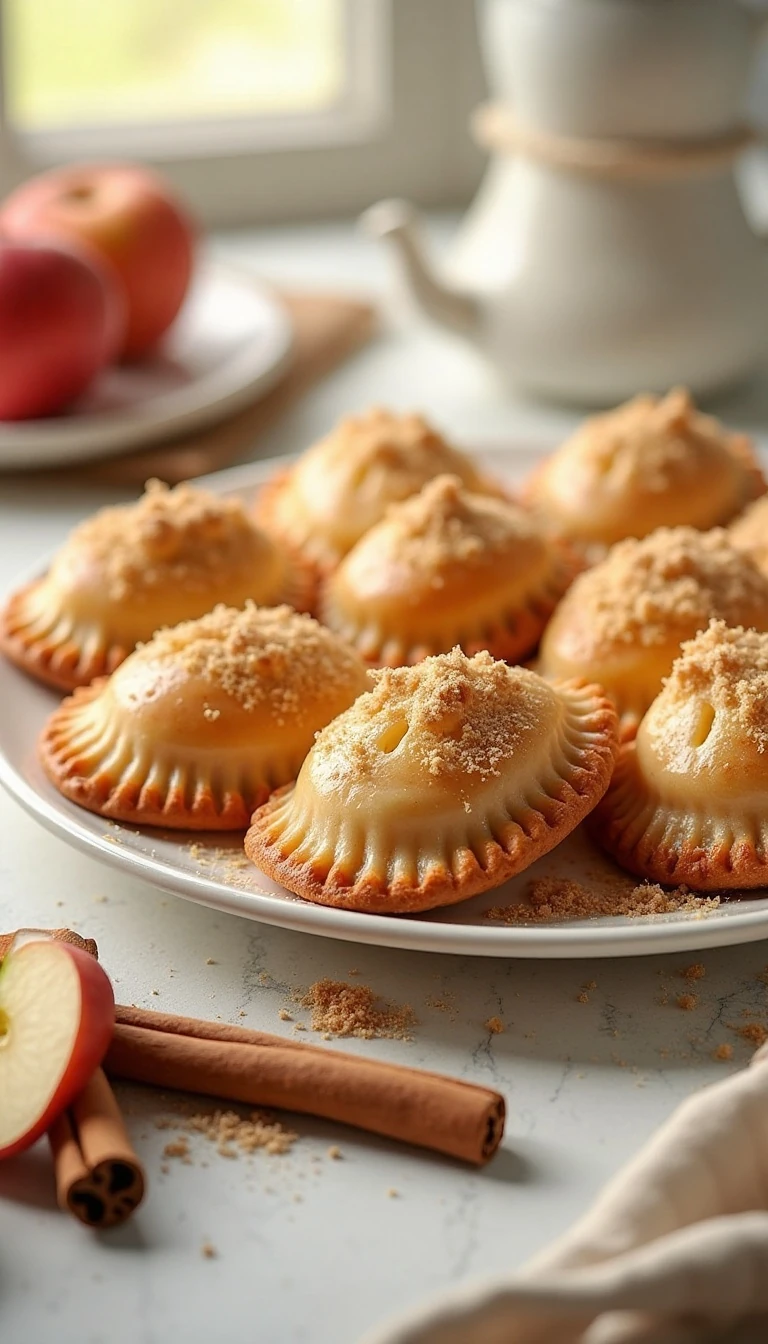
Easy Homemade Apple Hand Pies
Ingredients
Method
- Melt butter in a skillet over medium heat. Add diced apples, brown sugar, flour or cornstarch, cinnamon, lemon juice, nutmeg, and salt, then cook for 5–8 minutes until slightly softened and thickened.
- Cool the apple filling completely. Heat the oven to 375°F and line a baking sheet with parchment.
- Roll the crusts slightly thinner if needed and cut eight 4- to 5-inch circles, rerolling scraps once if necessary.
- Place 1 1/2 to 2 tablespoons of cooled filling in each circle. Moisten the edge, fold the pastry over, press to seal, crimp with a fork, and cut two or three vents in each top.
- Whisk the egg with water or milk and brush it over the pies. Sprinkle with coarse sugar and chill assembled pies for 10–15 minutes if the pastry feels soft.
- Bake at 375°F for 18–22 minutes until puffed and golden. Cool for at least 10 minutes, then drizzle with glaze if desired.
Notes
Final Thoughts
These easy homemade apple hand pies prove that a memorable apple dessert does not require an afternoon of pastry work. With refrigerated crusts, a short stovetop filling, and a careful seal, you can have eight golden individual pies ready in approximately 50–65 minutes, including cooling and optional chilling.
For the best result, choose apples that keep their shape, cook the filling until thick, and let it cool completely before it touches the dough. Do not overfill, vent every pie, and give the baked pastries at least 10 minutes to cool before taking the first bite.
Whether you finish them with coarse sugar, vanilla glaze, or a scoop of ice cream, these hand pies bring buttery pastry and warmly spiced apples together in a dessert that feels homemade, welcoming, and wonderfully easy to share.
1 thought on “Easy Homemade Apple Hand Pies Recipe”