This easy pineapple squares recipe makes 16 to 24 tender dessert bars in a 9-inch square pan. A buttery shortbread crust is lightly baked, covered with a sweet crushed-pineapple filling, and baked again until the center is softly set and the edges are lightly golden.
Every bite combines rich, crumbly pastry with bright tropical pineapple and a gentle vanilla sweetness. The squares are excellent for afternoon coffee, bake sales, potlucks, holiday trays, or any time you want a simple fruit dessert that looks special without complicated pastry work.
Jump to RecipeWhy You’ll Love This Recipe
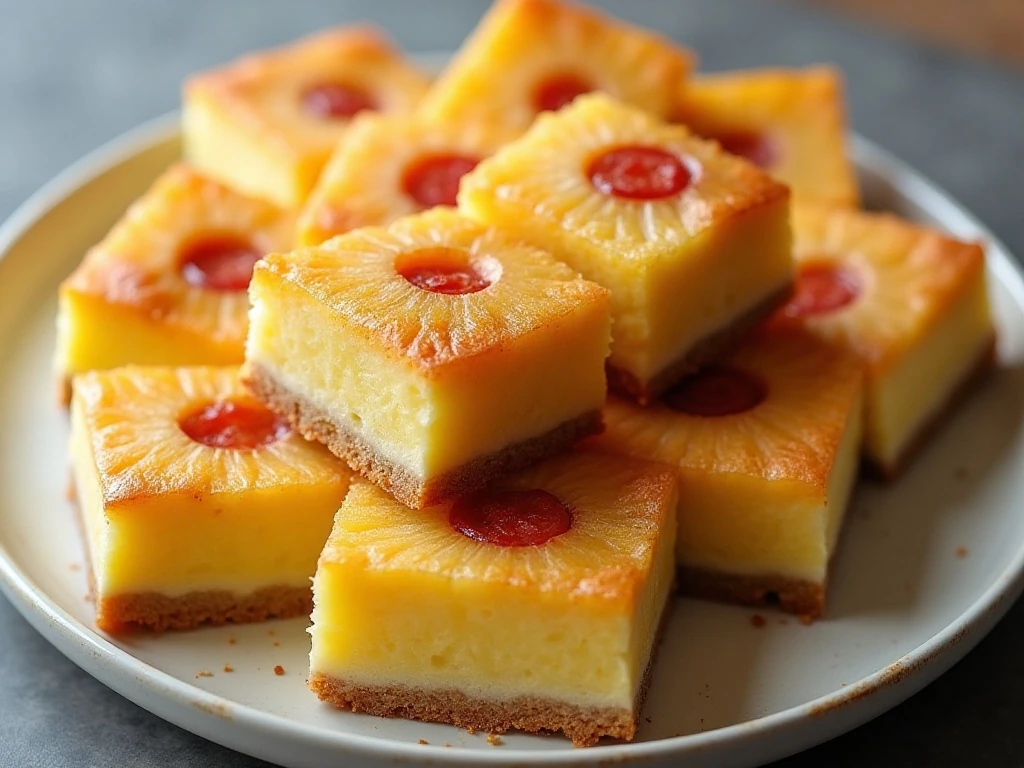
These pineapple squares are the kind of old-fashioned dessert that earns a permanent place in a family recipe box. The ingredient list is short, the preparation is straightforward, and the finished bars offer a lovely contrast between crisp-tender shortbread and juicy fruit filling.
The recipe is also forgiving in presentation. You can cut the bake into 16 generous squares for a dessert plate or 24 smaller pieces for a party tray. A thin glaze adds a polished finish, but the squares are delicious plain, especially when served slightly chilled.
The pineapple flavor is sunny without being sharp. Butter gives the base a rich flavor, vanilla rounds out the filling, and the modest amount of salt keeps the sweetness balanced rather than flat.
For another comforting recipe to serve with dessert coffee, you can also try this whipped coffee idea for a fun drink pairing.
Ingredients You’ll Need
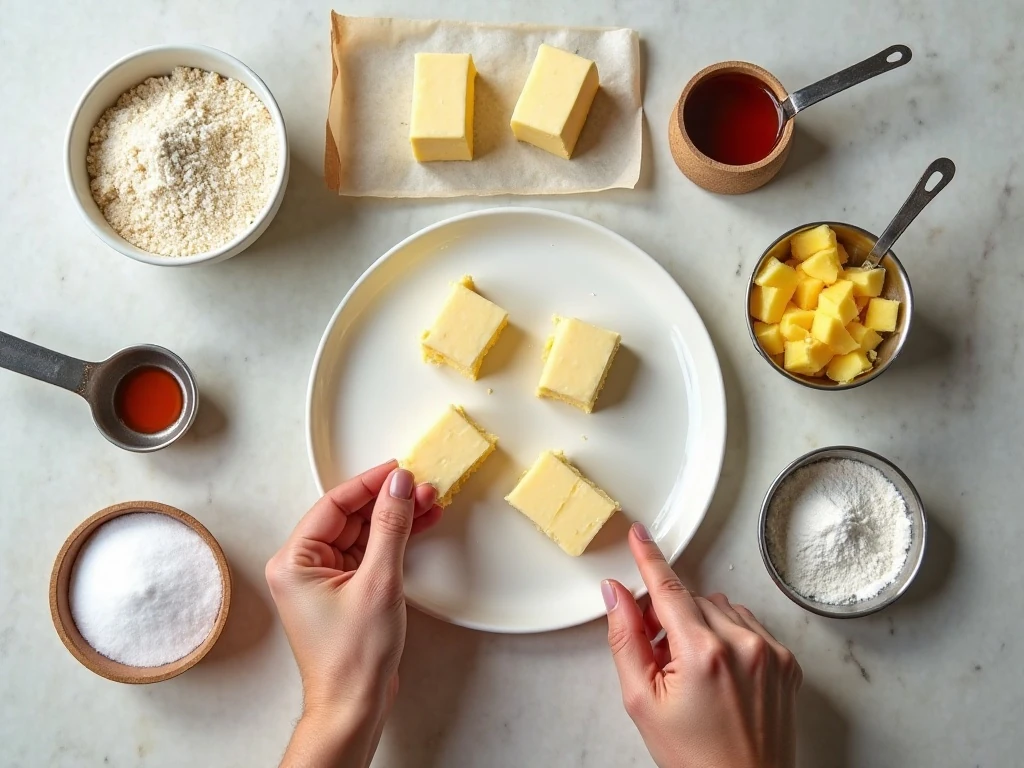
The base uses softened unsalted butter, granulated sugar, all-purpose flour, and salt. Soft butter blends smoothly with the sugar and helps create a tender crust that can be pressed directly into the pan without rolling.
The filling begins with one 20-ounce can of crushed pineapple in juice. Drain it thoroughly in a fine-mesh strainer, pressing gently with a spoon if needed, because extra liquid can make the center loose and watery.
Two large eggs help bind the filling, while flour gives it enough structure to slice cleanly after cooling. Sugar sweetens the fruit, vanilla adds warmth, and a small amount of salt keeps every flavor distinct.
- Use crushed pineapple rather than pineapple chunks for an even layer and neater cuts.
- Have the butter softened, but not melted or oily.
- Measure the flour carefully for both the crust and filling.
- Keep confectioners’ sugar and pineapple juice or milk nearby if you want to make the optional glaze.
If you enjoy homemade pastry projects, our easy pattycake pie crust is another useful recipe to keep on hand.
How to Make It Step-by-Step
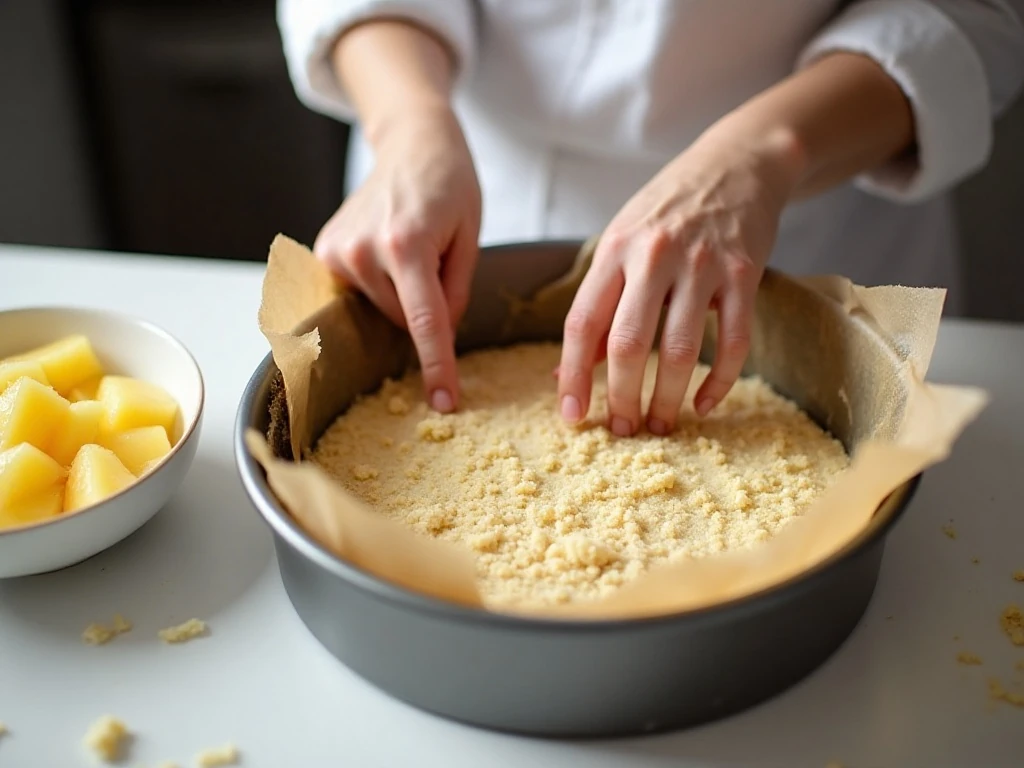
Step 1: Heat the oven to 350°F (175°C) and prepare the pan. Line a 9-inch square baking pan with parchment paper, leaving overhang on two sides so the cooled dessert can be lifted out easily. Press the parchment into the corners as neatly as possible for straighter edges.
Step 2: Start the shortbread base. Beat the softened unsalted butter with the granulated sugar until the mixture looks smooth and creamy. Add the all-purpose flour and salt, then mix only until the dough becomes soft and crumbly; overmixing can make the crust less tender.
Step 3: Press the dough into the pan. Use your fingertips or the flat bottom of a measuring cup to create an even layer from corner to corner. Bake for 15-18 minutes, watching for edges that are just beginning to turn pale golden; the crust should not be deeply browned.
Step 4: Prepare the pineapple filling while the base bakes. Whisk the eggs, sugar, flour, vanilla, and salt until smooth, then stir in the well-drained crushed pineapple. Mixing the dry ingredients into the egg mixture first helps distribute the flour evenly.
Step 5: Add the filling to the hot crust. Pour it slowly over the surface and gently spread the pineapple into an even layer without pressing down hard on the crust. Adding the filling while the base is hot helps the two layers bake together properly.
Step 6: Bake the assembled squares for another 25-32 minutes. The filling should look set in the center and lightly golden at the edges, with only a slight softness remaining. It should not move like liquid custard when the pan is carefully nudged.
Step 7: Cool before slicing. Leave the pan at room temperature until completely cool, allowing at least 1 hour for the filling to firm. For especially tidy cuts, refrigerate the cooled pan for 30-60 minutes before lifting the dessert out by the parchment.
Step 8: Finish with glaze if desired. Whisk the confectioners’ sugar with 1-2 tablespoons of pineapple juice or milk until pourable, adding the liquid gradually. Drizzle over the cooled squares, let it set briefly, and then cut with a sharp knife.
Pro Tips for Perfect Pineapple Squares
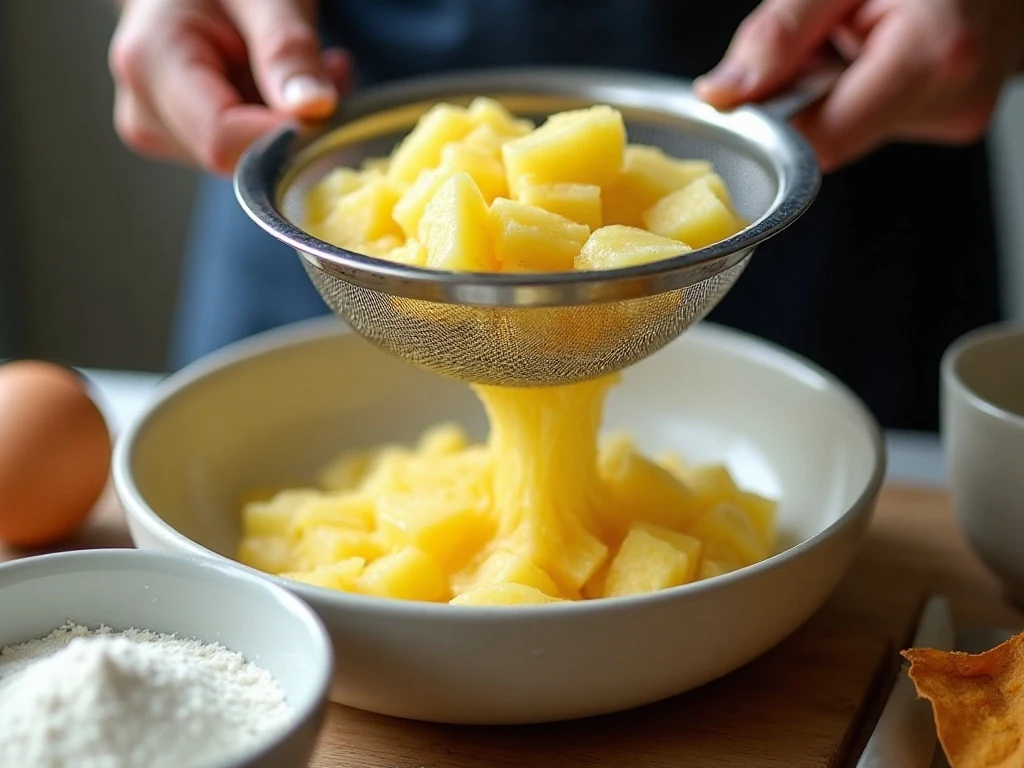
Drainage is the most important detail in this recipe. Crushed pineapple holds plenty of juice, and even though that juice is flavorful, too much of it can prevent the filling from setting. Give the pineapple time to drain while you gather the other ingredients.
Do not wait for the shortbread crust to become fully browned before adding the filling. The first bake is only meant to give the base enough structure to support the fruit. A crust that is already dark before the second bake may become hard around the edges.
Press the base evenly, especially in the corners. An uneven crust can produce thin spots that brown too quickly and thick spots that remain crumbly. A flat measuring cup is helpful for smoothing the surface without compacting it excessively.
Let the squares cool completely before judging the texture. The filling continues to firm as it cools, so removing the dessert from the oven when it has a slight softness is preferable to baking it until dry.
For a coconut variation, add 1/2 cup sweetened shredded coconut to the pineapple filling or sprinkle it over the top before baking. Coconut adds chewiness and a classic tropical note while keeping the basic method unchanged.
When planning a dessert table, these squares pair nicely with a fruit cake such as our blueberry cake with lemon frosting.
Serving and Presentation Ideas
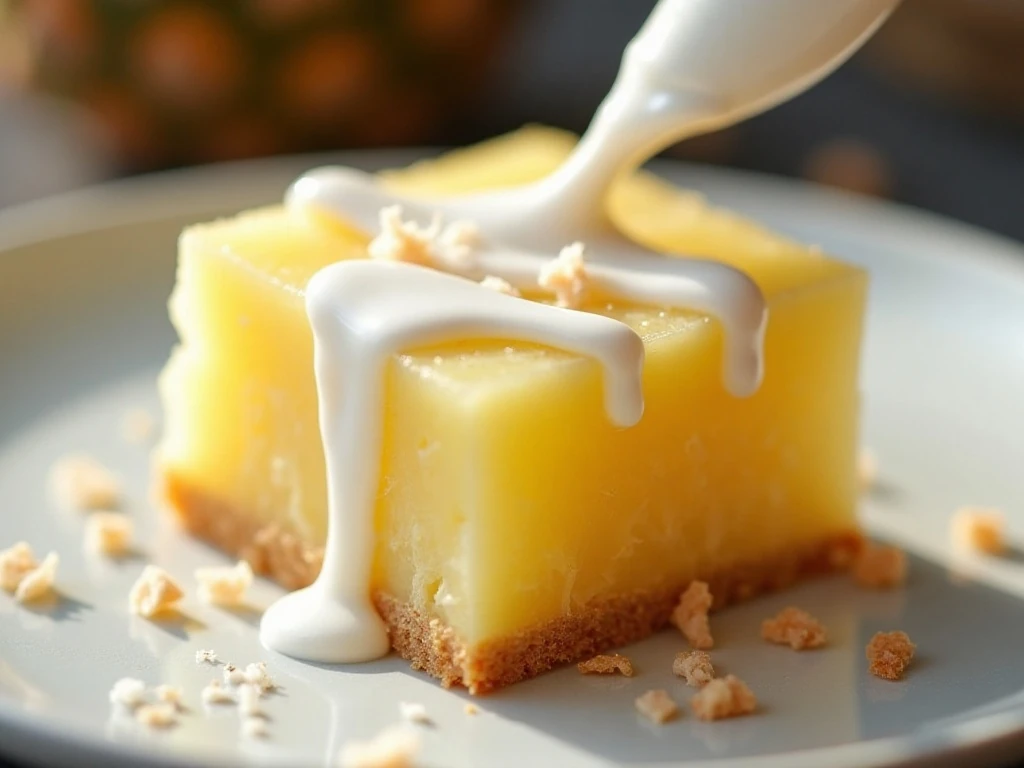
For the cleanest look, chill the cooled squares before cutting. Use a sharp knife and wipe the blade between cuts, especially if you add glaze. This simple step keeps the pale filling from smearing across the golden crust.
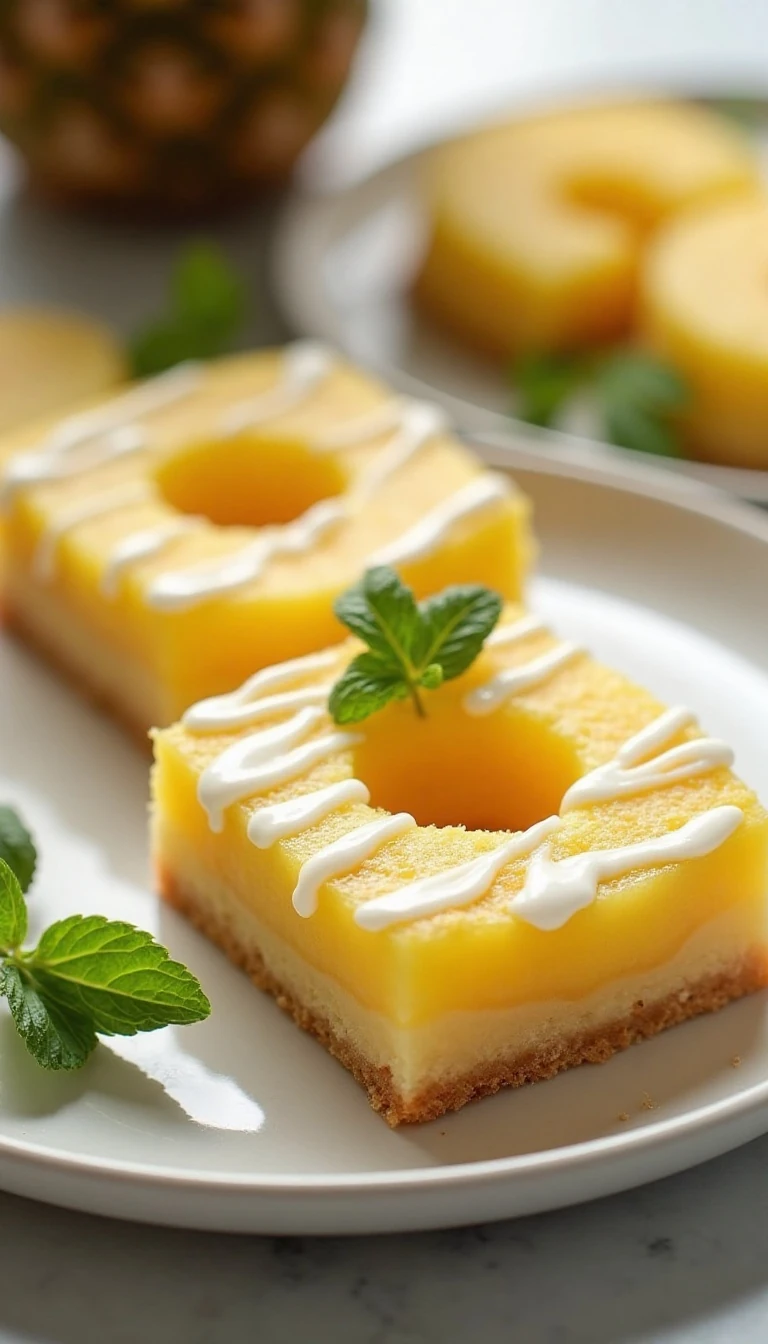
Serve the squares on a white platter to highlight their sunny color. A few fine lines of glaze are enough; too much can cover the pineapple texture and make the dessert overly sweet.
For afternoon service, cut smaller pieces and arrange them beside tea or coffee. For a more substantial dessert, serve a larger square with a spoonful of softly whipped cream.
These bars are also a charming addition to a holiday dessert spread. Their bright fruit center adds color among chocolate cookies and spice cakes, while their compact shape makes them easy for guests to pick up.
For a playful party table, you might pair them with our festive snowman cupcakes. The two desserts offer different textures and make a cheerful selection for family celebrations.
Storage, Chilling, and Make-Ahead Advice
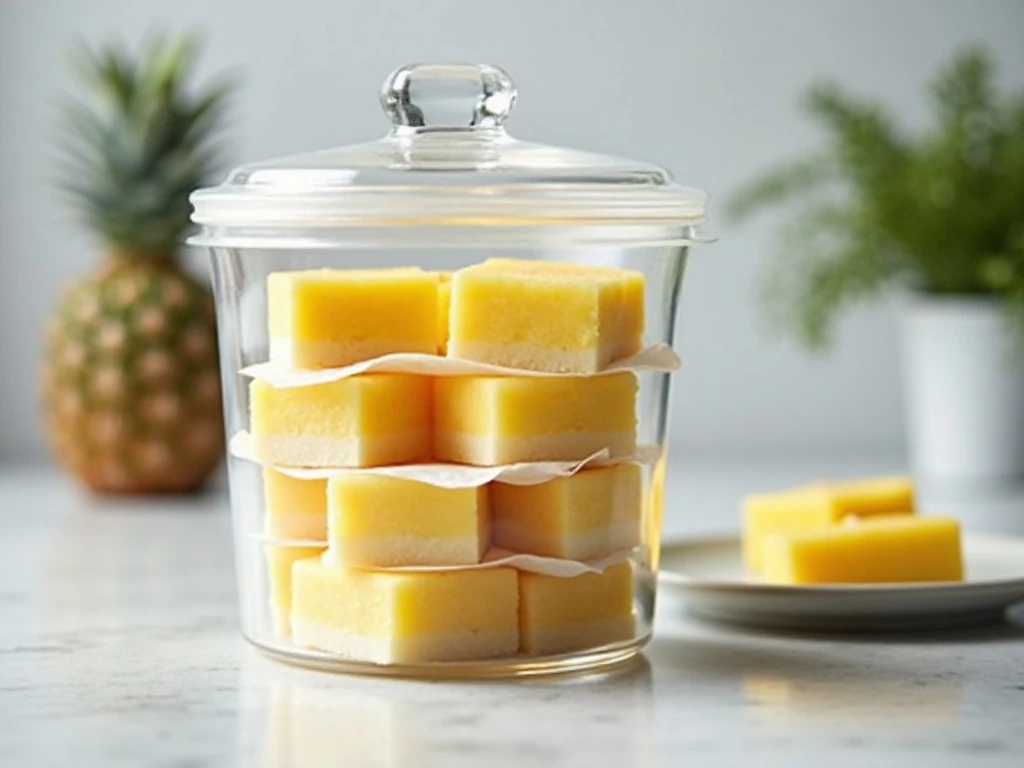
Store cooled pineapple squares in a covered container in the refrigerator if you prefer a firm, chilled texture. Place parchment between layers when stacking them so the glaze does not stick and the crust remains neat.
Refrigeration for 30-60 minutes before slicing is especially helpful when you need clean portions for gifting or a buffet. The squares become firmer as they chill, while the pineapple flavor remains fresh and fragrant.
Make the dessert several hours before serving so it has plenty of time to cool. The required cooling time is at least 1 hour, and the optional chilling period can follow after the bake has reached room temperature.
When transporting the squares, keep them level and cold. Add the glaze before leaving or drizzle it shortly before serving, depending on whether you want a fully set finish or a glossy, freshly made look.
For a savory contrast on a larger potluck menu, consider adding our easy taco pie alongside the dessert. Its hearty filling makes a satisfying partner to these sweet fruit bars.
Easy Pineapple Squares
Ingredients
Method
- Heat the oven to 350°F (175°C). Line a 9-inch square pan with parchment paper, leaving enough overhang on two sides to lift out the cooled squares.
- Beat the softened butter and granulated sugar until smooth. Add the flour and salt, mixing just until a soft, crumbly dough forms.
- Press the dough evenly into the parchment-lined pan. Bake for 15-18 minutes, until the edges are just beginning to turn pale golden.
- Whisk the eggs, sugar, flour, vanilla, and salt in a bowl. Stir in the well-drained crushed pineapple until evenly combined.
- Pour the pineapple mixture over the hot crust and spread it gently into an even layer.
- Bake for another 25-32 minutes, until the filling is set in the center and lightly golden around the edges. It should remain slightly soft but must not jiggle like liquid custard.
- Cool the pan completely for at least 1 hour before cutting. For especially clean slices, refrigerate the cooled squares for 30-60 minutes.
- For the optional glaze, whisk the confectioners’ sugar with 1-2 tablespoons pineapple juice or milk, then drizzle it over the cooled squares.
Notes
Final Thoughts
This easy pineapple squares recipe delivers a classic homemade dessert with very little fuss. The shortbread base needs only a brief first bake, the pineapple filling comes together in one bowl, and the oven does the rest of the work.
Remember the three details that matter most: drain the crushed pineapple thoroughly, avoid overbaking the crust before adding the filling, and allow the finished squares to cool completely. Those steps produce tender layers and slices that hold their shape.
Serve them plain for a simple family treat or add the pineapple glaze for a pretty finishing touch. However you present them, these golden squares bring buttery comfort and bright tropical flavor to the dessert table.