This easy 3-Ingredient KitKat Fudge Recipe combines 400 g of milk chocolate, one 397–400 g can of sweetened condensed milk, and four standard 4-finger KitKat bars. Melt the chocolate and condensed milk gently, stir in chopped KitKat pieces, then chill the mixture in an 8-inch square pan for 2–3 hours until firm.
The finished fudge is wonderfully creamy, sweet, and chocolatey, with crisp wafer pieces tucked into every bite and an extra KitKat crunch across the top. Prep takes about 10 minutes, melting takes about 5 minutes, and the total time is approximately 2 hours 15 minutes, excluding overnight chilling.
Jump to RecipeWhy You’ll Love This Recipe
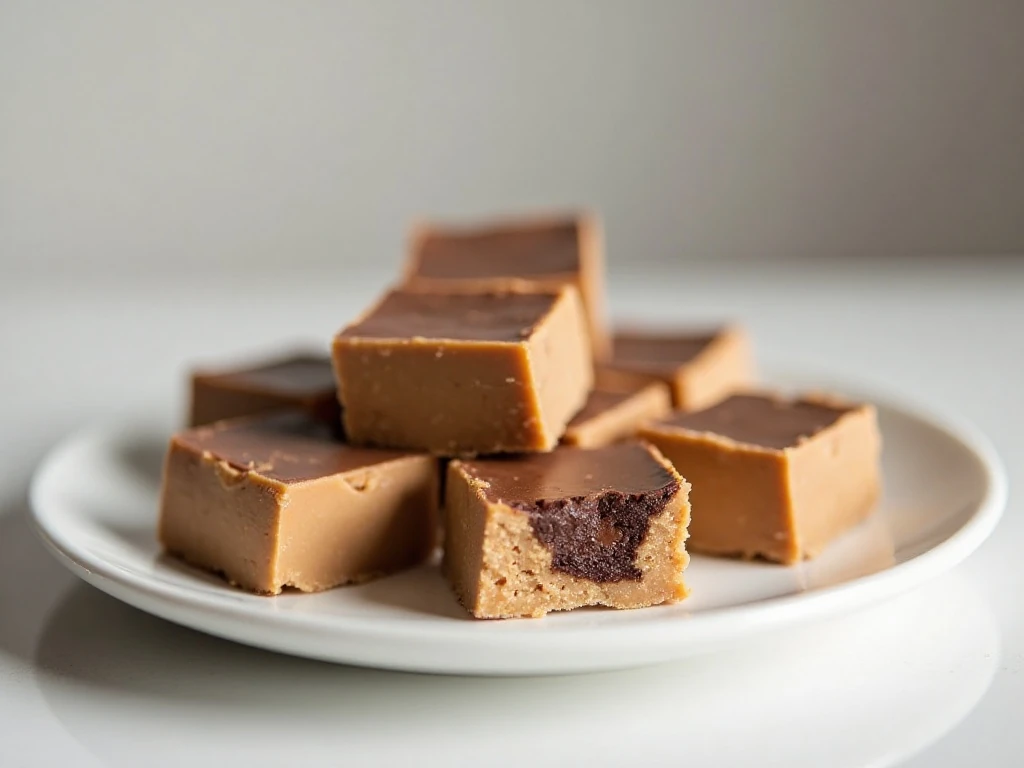
This KitKat fudge is one of those candy recipes that looks impressive while requiring very little effort. There is no candy thermometer, complicated syrup, or long list of ingredients; the chocolate and condensed milk create a smooth fudge base, while the KitKat bars provide a satisfying wafer crunch.
It is also an excellent make-ahead dessert. Once chilled, the fudge can be cut into neat little squares and arranged on a party platter, packed into gift boxes, or kept ready in the refrigerator whenever a sweet craving arrives.
The contrast is what makes each square so enjoyable. The center is soft, dense, and creamy, while the chopped wafer pieces add texture and the chocolate coating on top melts gently in your mouth.
If you enjoy simple small treats, you may also like these three-ingredient cheesecake bites for another easy dessert idea.
Ingredients You’ll Need
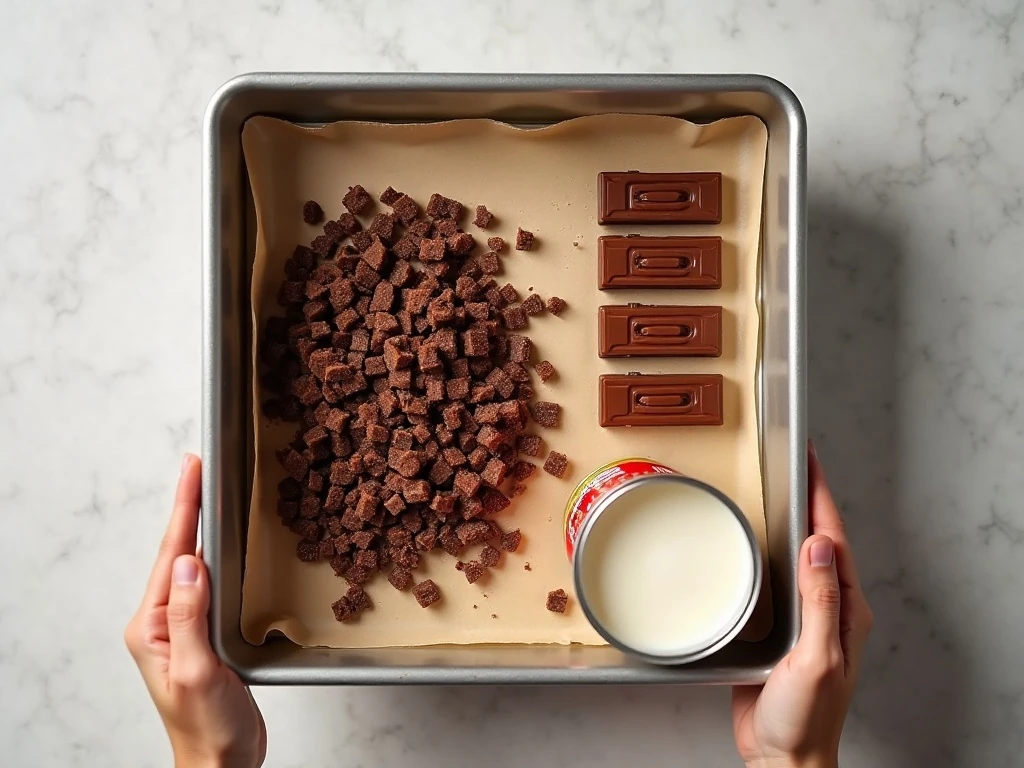
Only three ingredients are needed, but choosing them carefully will make the final texture and flavor even better. Measure the chocolate by weight when possible, especially if you are using chocolate chips instead of a bar.
- 400 g milk chocolate: Use chopped chocolate or milk chocolate chips. The chocolate forms the main body of the fudge, so choose a brand whose flavor you enjoy.
- One 397–400 g can sweetened condensed milk: This adds sweetness and moisture while helping the fudge set into a sliceable candy.
- Four standard 4-finger KitKat bars: Use approximately 200–210 g total, roughly chopped. Reserve a portion for the top so the finished squares clearly show their KitKat topping.
KitKat sizes differ from one country to another, so the bar count is less important than the approximate total weight. Mini bars are a suitable substitute when measured by weight.
For a firmer and richer result, some versions use 500 g of chocolate with the same can of condensed milk. The researched three-ingredient version uses 400 g, which gives a soft, creamy fudge with plenty of chocolate flavor.
Equipment and Pan Preparation
You will need an approximately 20-cm/8-inch square pan, baking paper, a saucepan or microwave-safe bowl, a heatproof spatula, and a sharp knife. The square pan gives the fudge a practical depth and makes it easy to portion into small candy squares.
Line the pan with baking paper, leaving an overhang on two opposite sides. This paper sling is important because it lets you lift the chilled fudge out without digging into the corners or damaging the surface.
If your baking paper curls, lightly grease the pan first or crumple the paper into a ball, smooth it out, and then place it inside. The goal is not to grease the candy itself, but to keep the paper firmly in place while you spread the mixture.
For a dessert-table theme, pair these chocolate squares with our festive snowman cupcakes. The colorful cupcakes and dark chocolate fudge look inviting together on a holiday platter.
How to Make It Step-by-Step
Step 1: Line an approximately 20-cm/8-inch square pan with baking paper, leaving a generous overhang on two sides. This preparation should be done before melting the chocolate because the fudge mixture begins to thicken as it cools.
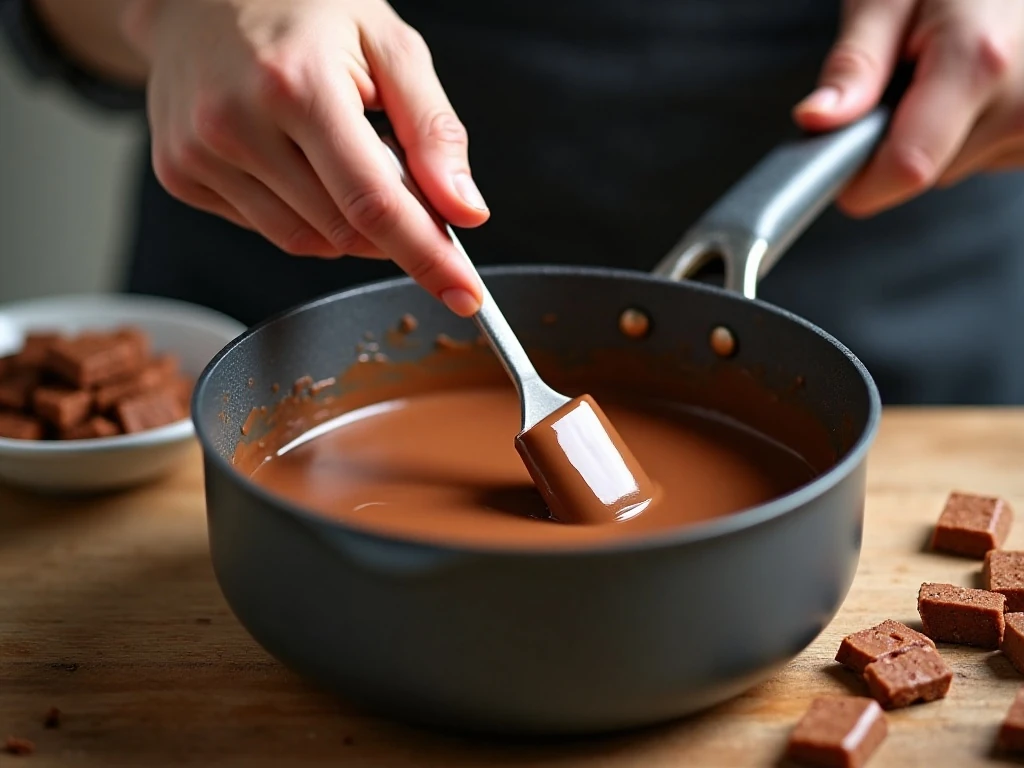
Step 2: Chop the milk chocolate into small, similarly sized pieces if you are using a block. Place it in a saucepan with the sweetened condensed milk, or put both ingredients into a microwave-safe bowl for microwave preparation.
Step 3: Warm the mixture gently over low heat, stirring frequently with a spatula. If using a microwave, heat in short bursts and stir between each burst; continue only until the chocolate is completely melted and the mixture looks smooth, glossy, and unified.
Step 4: Do not allow the mixture to boil. Remove the saucepan from the heat as soon as the last chocolate pieces disappear, since excessive heat can make the chocolate seize, separate, or turn oily.
Step 5: Roughly chop all four KitKat bars, keeping the pieces varied in size for a pleasant mixture of wafer crunch. Set aside some of the pieces for the topping, then fold the rest into the warm chocolate mixture with gentle strokes.
Step 6: Transfer the fudge to the lined square pan and use the spatula to push it into the corners. Smooth the surface without pressing so hard that you crush all of the wafer pieces inside.
Step 7: Scatter the reserved KitKat pieces over the top and press them lightly into the soft fudge. A gentle press helps the topping stay in place after chilling while keeping the wafer texture visible.
Step 8: Place the pan in the refrigerator and chill for 2–3 hours, or leave it overnight for the firmest cut. When set, lift the fudge out using the paper overhang and cut it into small squares with a sharp knife.
Pro Tips for Smooth, Creamy Fudge
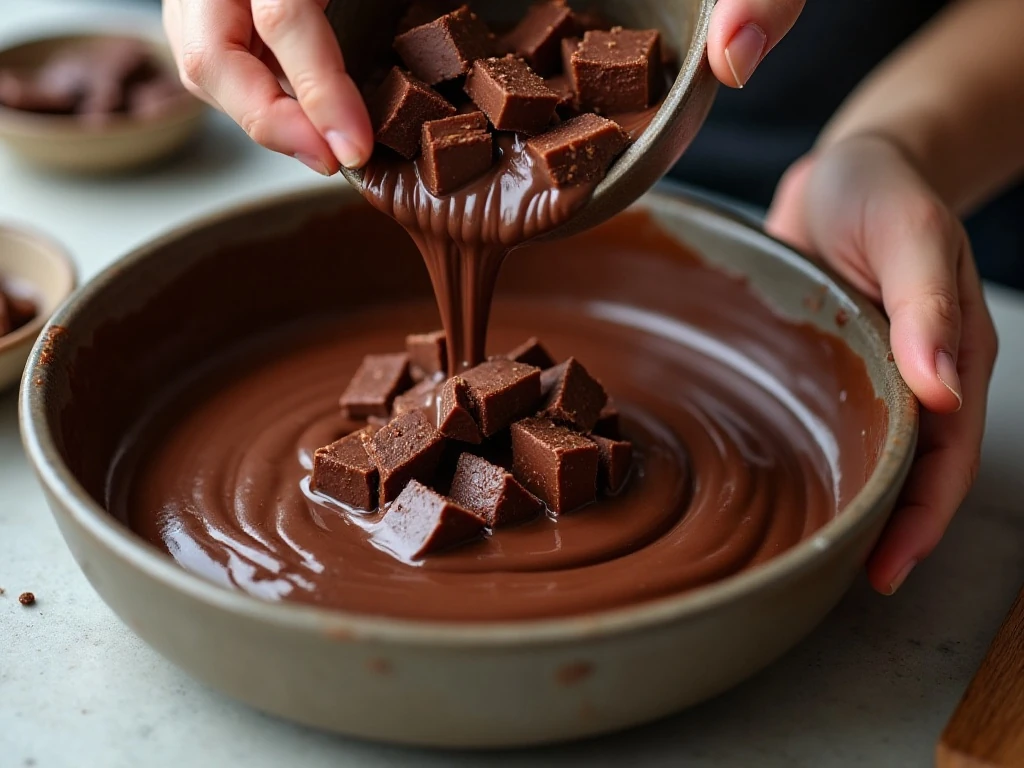
The most important tip is to control the heat. Chocolate can look nearly melted while still holding a few small pieces, so remove it from the heat and keep stirring rather than turning up the temperature.
Stirring frequently distributes the heat from the condensed milk and helps the chocolate melt evenly. If using a microwave, short bursts are safer than one long heating cycle because the bowl can become hot before the chocolate appears fully melted.
Use a spatula to scrape around the bottom and sides of the pan or bowl. This prevents unmelted chocolate from hiding in corners and helps create the smooth consistency that makes fudge easy to spread.
Reserve enough KitKat pieces for a clearly visible topping. The pieces inside add surprise crunch, while the pieces on top tell everyone exactly what flavor of fudge they are about to enjoy.
For particularly tidy squares, chill the fudge overnight and let it stand at room temperature for a few minutes before cutting. Warm the knife under hot water, dry it carefully, and make firm cuts, wiping the blade between slices.
If you are preparing a full dessert spread, serve this candy beside a slice made with our easy pattycake pie crust. Its tender pastry offers a nice contrast to the dense chocolate squares.
Chilling, Cutting, and Serving
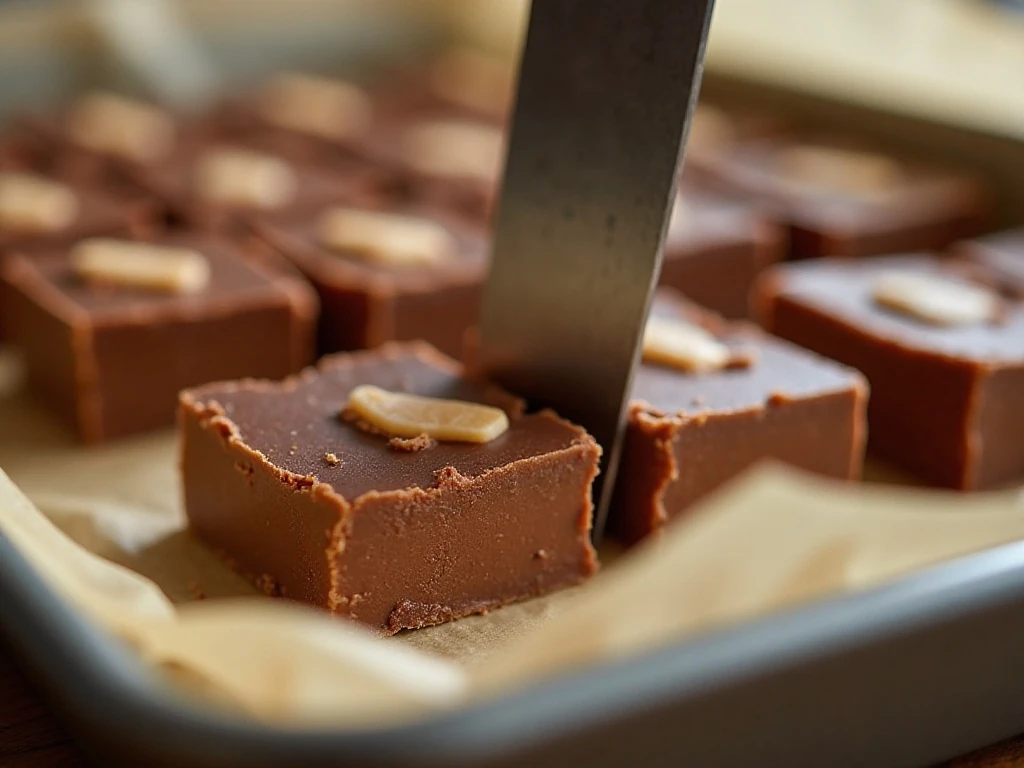
The fudge needs 2–3 hours in the refrigerator to become firm enough to lift and slice. You can also chill it overnight, which is especially helpful when preparing it ahead for a celebration or gift box.
Cut the slab into small squares because this is a rich candy. A sharp knife gives cleaner edges, and small pieces make it easier for guests to enjoy the chocolate without feeling overwhelmed by the sweetness.
Serve the fudge cold, slightly cool, or at room temperature. Straight from the refrigerator, it has a firmer bite; after a short rest on the counter, the center becomes softer and creamier.
Arrange the pieces in paper candy cups or on a lined serving board. A few extra chopped KitKat pieces scattered around the platter make the topping stand out without adding another ingredient to the recipe.
Storage and Make-Ahead Advice
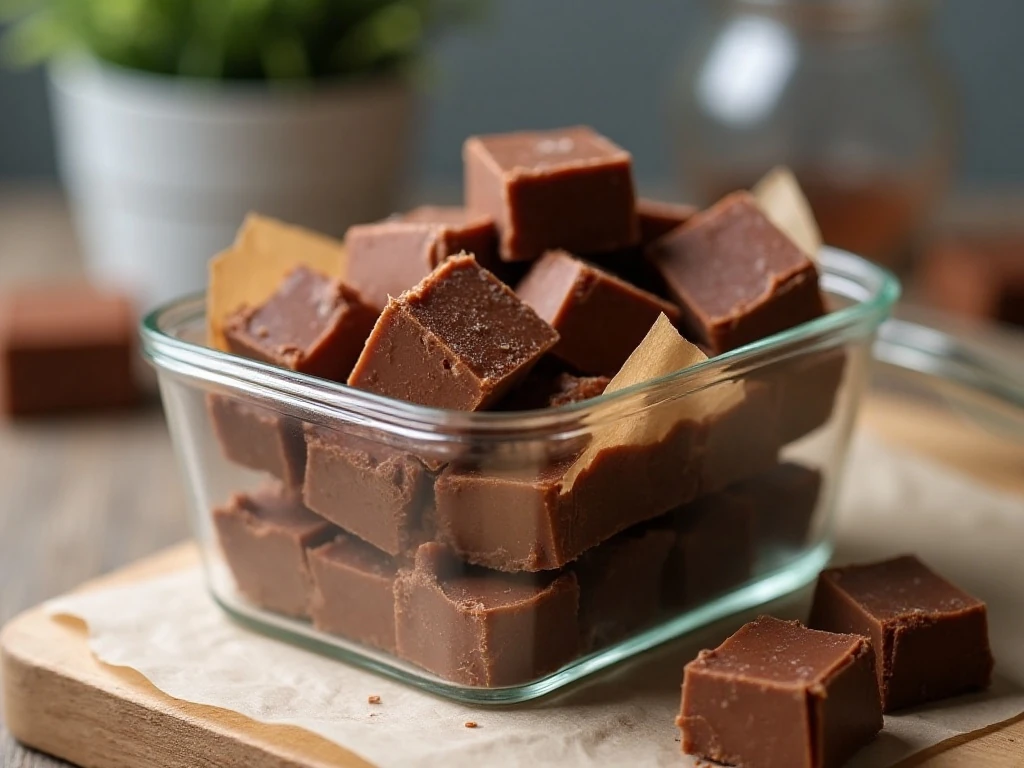
Store the set fudge in an airtight container in the refrigerator. Place baking paper between layers if you stack the squares, and keep the container away from strong-smelling foods because chocolate can absorb nearby aromas.
The recipe is well suited to advance preparation. Make it the night before serving, chill it until firm, and cut it shortly before arranging it on a platter or packaging it as a homemade gift.
For a party menu, follow the fudge with a savory comfort dish such as this easy chicken pot pie. The warm, hearty meal and cool chocolate candy create a satisfying finish.
Simple Variations and Pairing Ideas
The classic version keeps the KitKat pieces roughly chopped so every bite has a mix of creamy chocolate and crisp wafer. You can make the pieces smaller for a more even texture or leave a few larger chunks for a stronger crunch.
Milk chocolate gives this fudge its familiar sweet flavor, but the quality of the chocolate still matters. Choose a smooth chocolate that melts well, and avoid adding water or other liquids, which can interfere with the fudge texture.
If your local KitKat bars are a different size, use approximately 200–210 g total. This keeps the balance between the creamy base and the wafer pieces close to the intended recipe.
For a seasonal dessert board, add this fudge alongside a turkey dinner followed by an easy turkey casserole. The fudge can be cut into tiny squares so guests have room for a sweet bite after a filling meal.
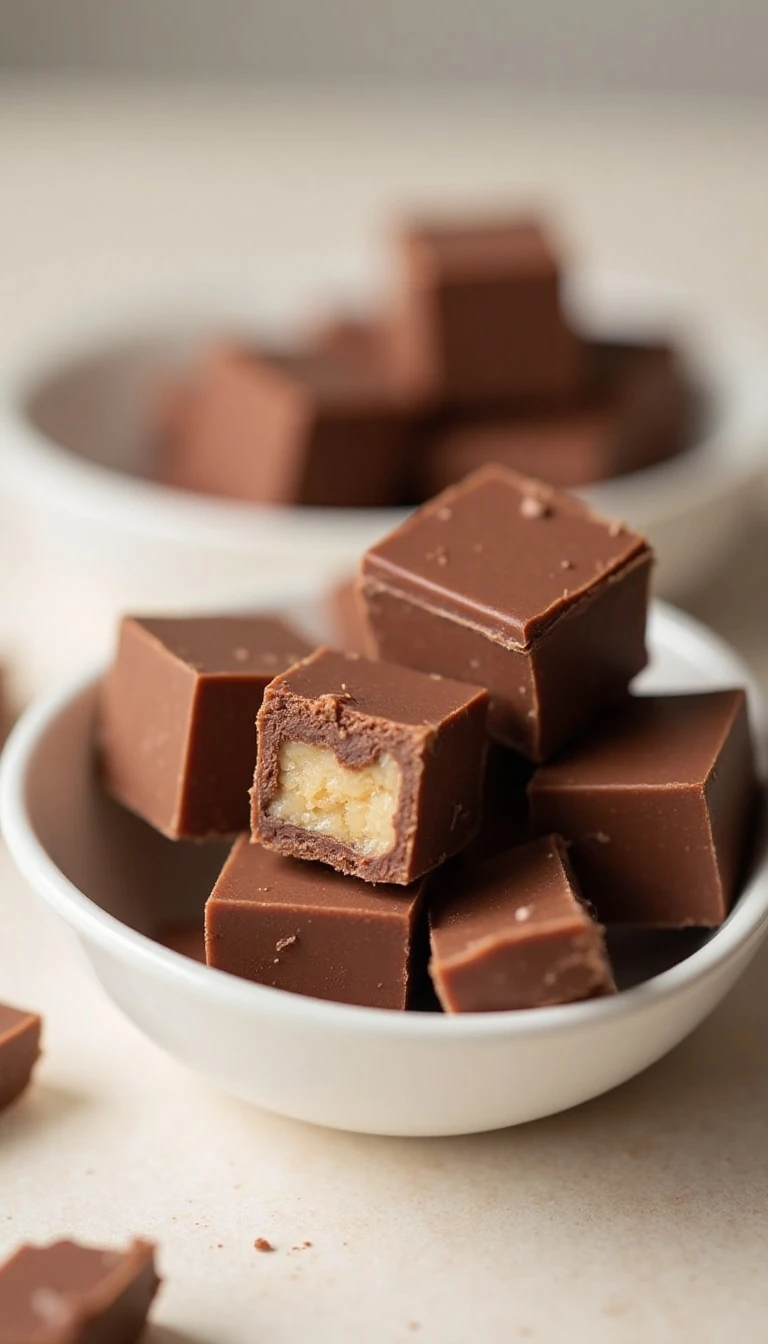
Easy 3-Ingredient KitKat Fudge
Ingredients
Method
- Line an approximately 20-cm/8-inch square pan with baking paper, leaving enough paper over the sides to lift out the set fudge.
- Place the chopped milk chocolate and sweetened condensed milk in a saucepan or microwave-safe bowl. Warm gently over low heat or in short microwave bursts, stirring frequently, until completely melted and smooth; do not boil.
- Remove the chocolate mixture from the heat and fold in most of the roughly chopped KitKat pieces, reserving some for the topping.
- Transfer the fudge mixture to the lined pan and smooth the surface. Press the reserved KitKat pieces over the top while the mixture is still soft.
- Refrigerate for 2–3 hours, or overnight, until firm. Lift the fudge from the pan using the baking paper, cut into small squares, and serve.
Notes
Final Thoughts
This Easy 3-Ingredient KitKat Fudge Recipe proves that homemade candy can be both simple and special. With milk chocolate, sweetened condensed milk, and roughly chopped KitKat bars, you get a smooth, creamy center with the unmistakable crunch of chocolate-covered wafer.
Remember to line the pan well, melt gently, stir often, and reserve some KitKat pieces for the top. Chill the fudge for 2–3 hours or overnight, then cut it into small squares for a treat that is ready for parties, lunch boxes, dessert boards, and edible gifts.
Make a batch whenever you need a dependable chocolate dessert with very little preparation. Once you taste the contrast between the silky fudge and crisp KitKat layers, this quick candy recipe is likely to become a favorite.