This Weight Watchers Sweet and Sour Chicken recipe is a classic baked dinner made with bite-size chicken, cornstarch, beaten egg, and a sweet-and-tangy ketchup-vinegar sauce. It yields 4 servings and takes about 20 minutes to prepare, 55–60 minutes to cook, and roughly 1 hour 15–20 minutes from start to finish.
Each piece is briefly browned before baking, then coated in a glossy sauce made with sugar, apple-cider vinegar, ketchup, soy sauce, and garlic salt. The result is tender chicken with lightly crisp edges, a sticky glaze, and the familiar sweet-and-sour flavor that pairs beautifully with rice or steamed vegetables.
Jump to RecipeWhy You’ll Love This Recipe
This baked sweet and sour chicken brings takeout-style flavor to the family dinner table with familiar pantry ingredients. The brief skillet browning gives the coated chicken a savory start, while the oven allows the sauce to soak into every piece.
The sauce has a pleasing balance of sugary sweetness and bright vinegar tang. Ketchup adds body and color, soy sauce contributes savory depth, and garlic salt rounds out the flavor without requiring a long list of seasonings.
Because the chicken finishes cooking in the oven, there is no need to monitor a deep fryer or prepare a separate sauce on the stovetop. Serve it with rice to catch the extra glaze, or add steamed vegetables for a colorful dinner plate.
If you enjoy simple chicken dinners with bold flavor, you may also like our Italian-style chicken for another easy family meal.
Ingredients You’ll Need
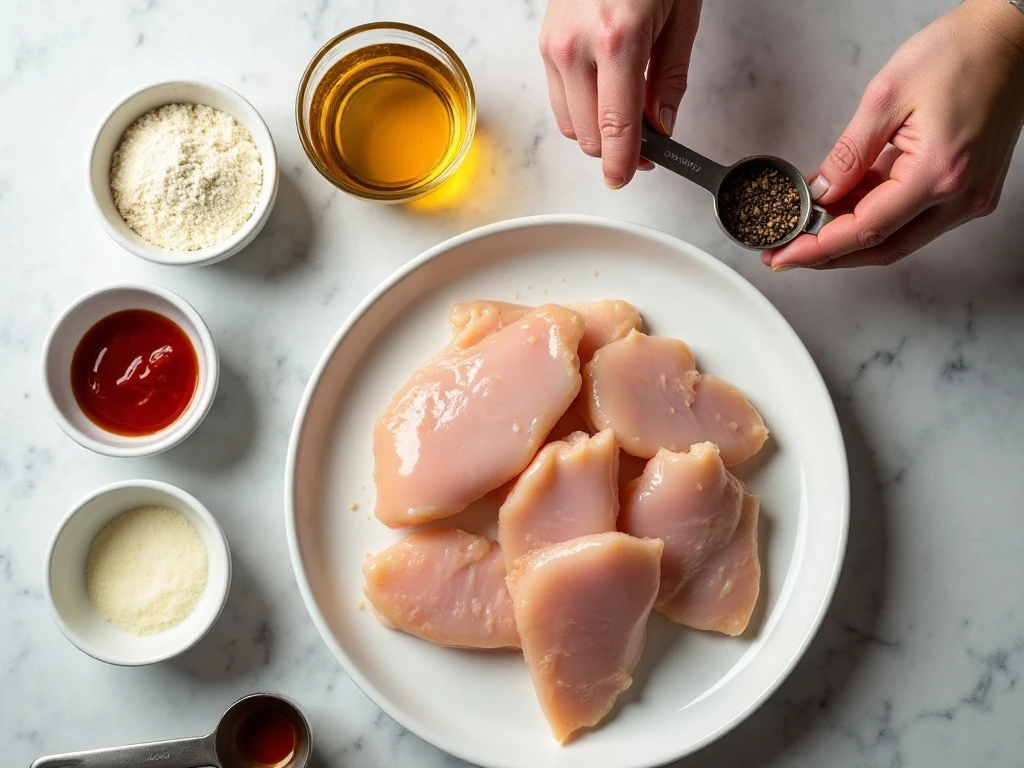
The recipe starts with 4 boneless, skinless chicken-breast halves weighing about 1½–2 pounds total. Cutting the chicken into bite-size pieces creates more coated surface area and helps the sauce cling to every portion.
Cornstarch forms the first layer of the coating. It helps the chicken brown lightly in the skillet and gives the finished pieces a delicate texture beneath the sauce.
Two beaten eggs provide the second coating layer, helping the cornstarch adhere before browning. Use canola oil or another neutral cooking oil so the sauce remains the focus.
For the sauce, measure ¾ cup granulated sugar, ½ cup apple-cider vinegar, ¼ cup ketchup, 1 tablespoon soy sauce, and 1 teaspoon garlic salt. The classic commonly copied version uses the full ¾ cup of sugar; newer adaptations sometimes reduce it or use a sugar substitute, but those changes will alter the taste.
- Season the chicken lightly because the soy sauce and garlic salt already add savory flavor.
- Low-sodium soy sauce is an option, but the garlic salt may need to be reduced.
- Have a lightly greased 9-by-13-inch baking dish ready before browning.
For another comforting chicken dinner with a rich, savory profile, take a look at this cozy Swiss chicken casserole.
How to Make It Step-by-Step
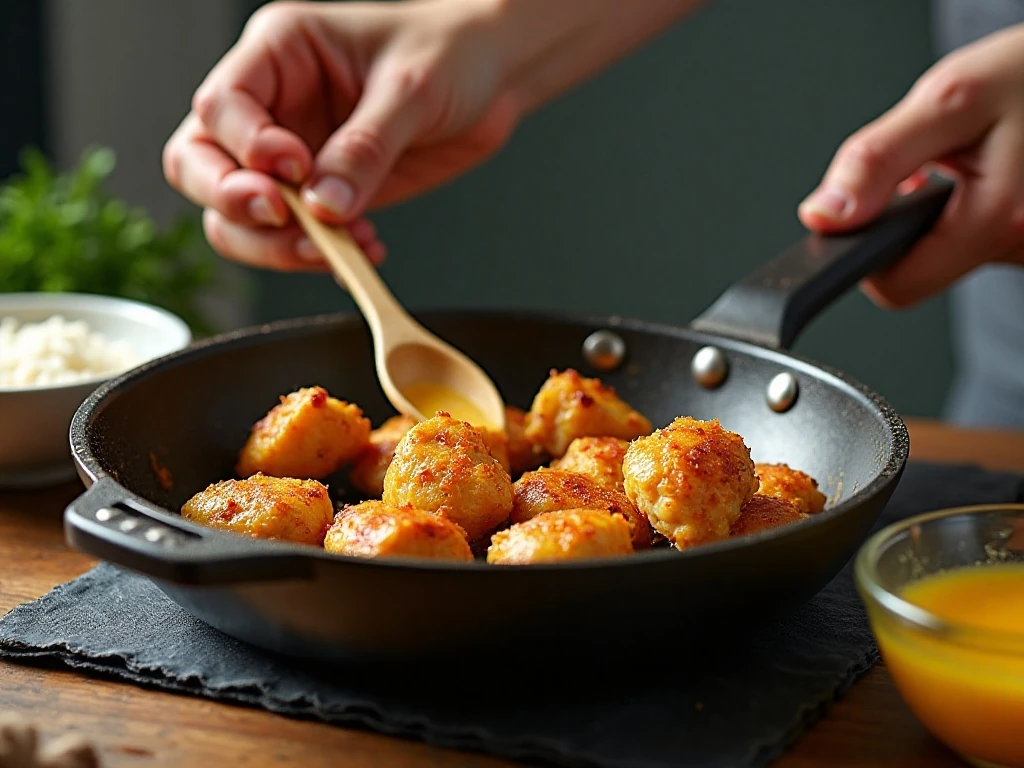
Step 1: Heat the oven to 325°F and lightly grease a 9-by-13-inch baking dish. Starting with the oven ready means the chicken can go straight into the dish after browning.
Step 2: Cut the chicken into bite-size pieces and season lightly with salt and black pepper. Keep the pieces reasonably similar in size so they cook at the same rate during baking.
Step 3: Put the cornstarch in one shallow dish and the beaten eggs in another. Coat each chicken piece in cornstarch first, then dip it into the egg, turning gently to cover all sides.
Step 4: Heat the oil in a large skillet over medium-high heat. Brown the coated chicken briefly on all sides, remembering that it does not need to be fully cooked because it will finish in the oven.
Step 5: Work in batches if necessary and avoid packing the skillet too tightly. Crowding traps moisture and can make the coating steam instead of developing a light golden-brown surface.
Step 6: Transfer the browned chicken to the prepared baking dish. Spread it into an even layer so each piece has a chance to meet the sauce.
Step 7: Whisk the sugar, apple-cider vinegar, ketchup, soy sauce, and garlic salt in a bowl. Continue whisking until the sugar is distributed and the sauce looks smooth and consistent.
Step 8: Pour the sauce evenly over the chicken. Do not cover the dish, since the uncovered baking time helps the sauce thicken and coat the chicken.
Step 9: Bake uncovered for about 1 hour, turning or gently stirring the chicken every 15 minutes. These turns are important because they keep exposed edges from drying and help build an even glaze.
Step 10: Check the thickest chicken pieces with an instant-read thermometer and confirm that they reach 165°F. Serve the chicken hot with rice or steamed vegetables and spoon some extra sauce over the top.
Pro Tips for the Best Chicken

Patting the chicken dry before seasoning can help the cornstarch adhere more evenly. A light, consistent coating is preferable to a heavy layer, which may become dense under the sauce.
Brown the chicken in batches rather than rushing the process. Give the pieces enough room to contact the skillet, and let them cook briefly on each side until lightly colored.
Use a large bowl or measuring cup with a spout to whisk and pour the sauce. This makes it easier to distribute the mixture over the chicken without leaving a large pool in one corner of the baking dish.
Set a timer for every 15 minutes during baking. Gently stir or turn the pieces each time, scraping up any sauce that begins to settle around the edges and returning it to the chicken.
For a different saucy chicken idea, compare this dinner with our Mississippi chicken recipe, which has a completely different buttery, peppery flavor.
Serving Suggestions

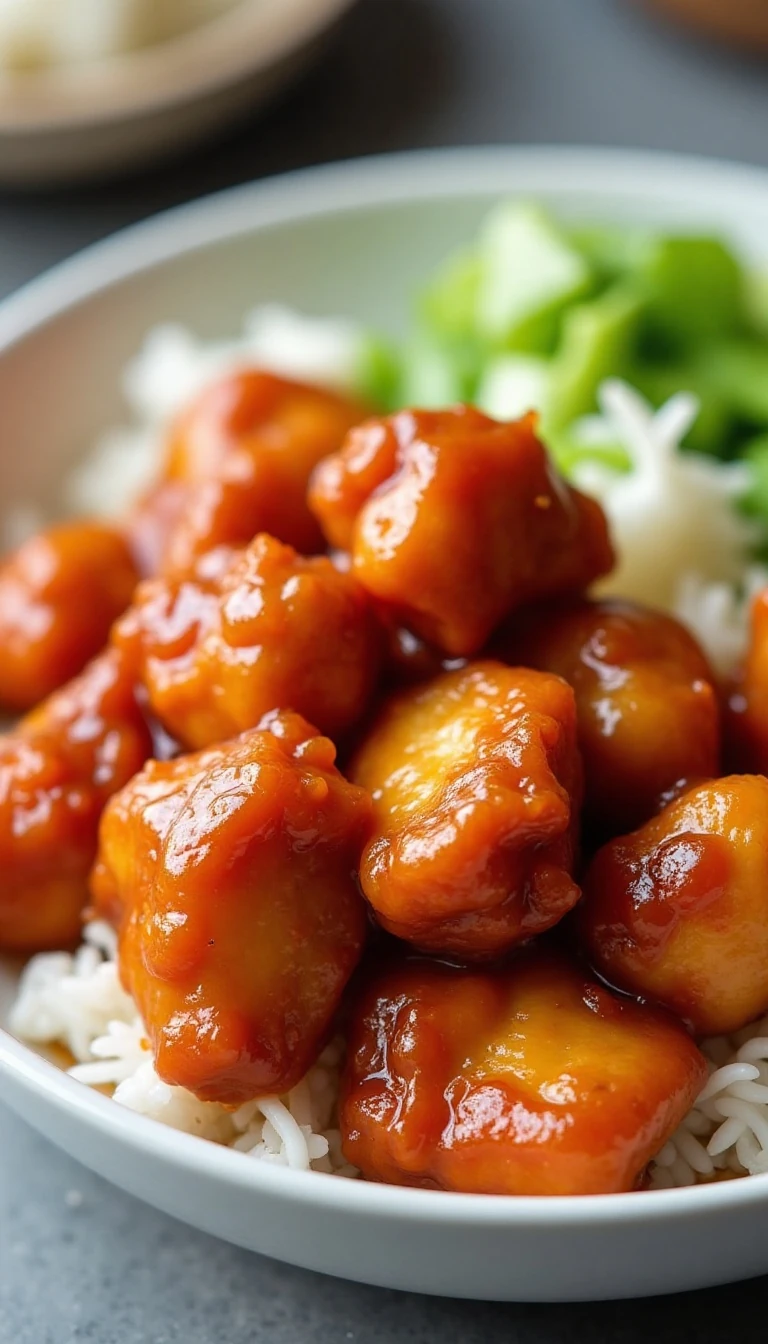
Steamed white rice is the most natural partner for this dish because it absorbs the sweet-and-sour sauce. Brown rice, cauliflower rice, or another favorite grain can also be served alongside it.
For freshness and color, add steamed broccoli, green beans, snow peas, or sliced bell peppers. A simple cucumber salad can also provide a cool contrast to the warm, glossy chicken.
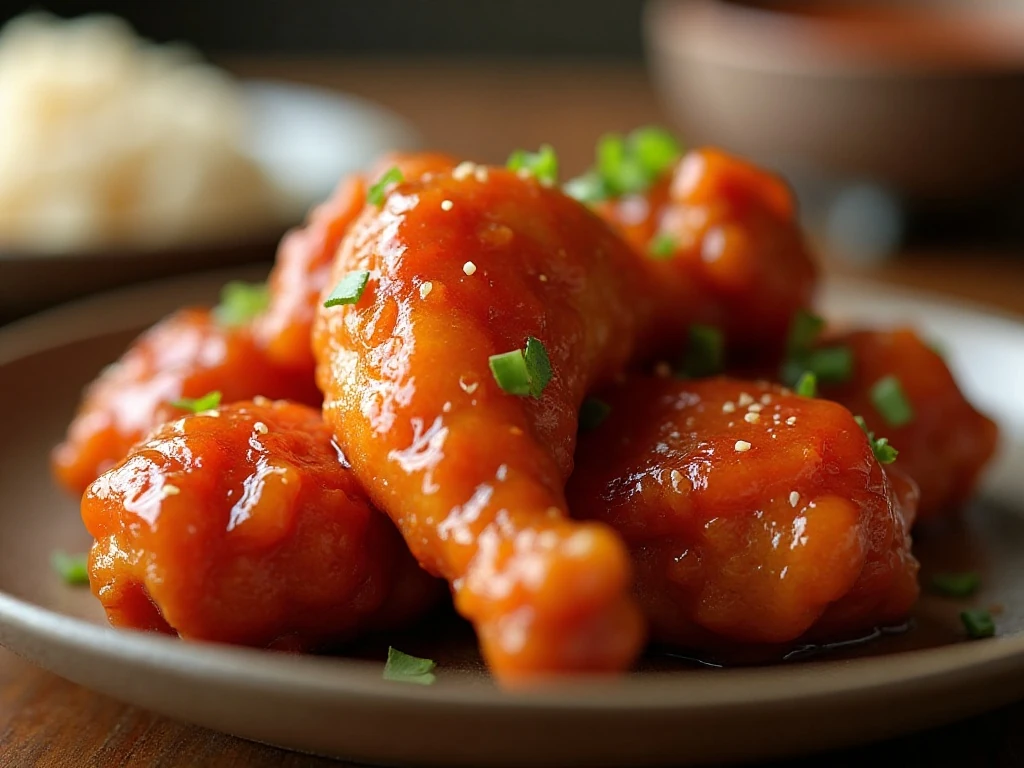
Serve the chicken immediately after baking while the coating is tender and the sauce is warm. A sprinkle of sliced green onion or sesame seeds can be used as an optional finishing touch, although neither is part of the core recipe.
If your dinner plans call for another onion-forward chicken dish, this French onion chicken idea is a satisfying option to save for later.
Storage and Reheating
Allow leftovers to cool, then transfer the chicken and sauce to an airtight container. Refrigerate promptly and use a food-safe approach when reheating.
Reheat individual portions gently in the microwave, stirring once if possible so the sauce warms evenly. You can also reheat the chicken in a covered oven-safe dish until hot throughout, taking care not to dry out the pieces.
The coating is at its best fresh from the oven, but the sweet-and-sour flavor remains enjoyable the next day. Store rice and chicken separately when possible so the rice does not absorb all of the sauce during storage.
Common Questions
Can I use low-sodium soy sauce? Yes. Since low-sodium soy sauce contributes less salt, taste the sauce carefully and consider reducing the garlic salt to keep the finished dish balanced.
Can I reduce the sugar? The classic commonly repeated recipe uses ¾ cup granulated sugar. Reducing the sugar or using a substitute is possible, but it changes the intended sweet-and-tangy balance and may affect the sauce texture.
Why does the chicken need to be turned? Turning every 15 minutes helps the sauce coat all sides and prevents exposed edges from becoming dry. It also encourages more even cooking throughout the baking dish.
Can I skip browning? Browning is an important part of the recipe because it gives the cornstarch-and-egg coating a better texture and adds savory flavor. The chicken is only browned briefly and finishes cooking in the oven.
For an appetizer-style chicken option, you can also explore these crispy baked chicken wings when planning a casual meal.
Weight Watchers Sweet and Sour Chicken
Ingredients
Method
- Heat the oven to 325°F. Lightly grease a 9-by-13-inch baking dish and set it aside while you prepare the chicken.
- Cut the chicken breasts into bite-size pieces and season lightly with salt and black pepper. Place the cornstarch in one shallow dish and the beaten eggs in a second shallow dish.
- Coat each chicken piece in cornstarch, then dip it into the beaten egg. Turn the pieces gently so the coating covers the chicken without becoming excessively thick.
- Heat the oil in a large skillet over medium-high heat. Brown the chicken briefly on all sides, working in batches if needed; the chicken does not need to be cooked through at this stage.
- Transfer the browned chicken to the prepared 9-by-13-inch baking dish. Arrange the pieces in an even layer so the sauce can reach as much of the chicken as possible.
- Whisk together the sugar, apple-cider vinegar, ketchup, soy sauce, and garlic salt until the mixture is well combined. Pour the sauce evenly over the chicken.
- Bake the dish uncovered for about 1 hour. Turn or gently stir the chicken every 15 minutes so the sauce coats all sides and the chicken cooks evenly.
- Check that the chicken reaches an internal temperature of 165°F. Serve hot with rice or steamed vegetables.
Notes
Final Thoughts
This Weight Watchers Sweet and Sour Chicken recipe is a dependable baked dinner with a colorful finish and a sauce everyone can recognize. Cornstarch-coated chicken, quick skillet browning, and a simple ketchup-vinegar glaze create satisfying texture and flavor without complicated preparation.
Keep the oven at 325°F, turn the chicken every 15 minutes, and use a thermometer to confirm a safe internal temperature of 165°F. With rice or steamed vegetables on the side, this four-serving meal is ready for a relaxed weeknight dinner or a comforting weekend table.