Polar Bear Nutter Butter Cookies are an easy no-bake treat made by dipping Nutter Butter sandwich cookies in white candy melts and decorating them with candy eyes, black noses, and optional icing details. They take about 15–20 minutes to prepare, need 10–20 minutes to set, and make approximately 12–16 adorable cookies.
Every bite combines the familiar peanut butter flavor of a Nutter Butter with a sweet, creamy white coating that firms into a smooth shell. These cute polar bear cookies are perfect for winter parties, classroom treats, holiday cookie trays, animal-themed celebrations, or a simple afternoon project with children.
Jump to RecipeWhy You’ll Love This Recipe
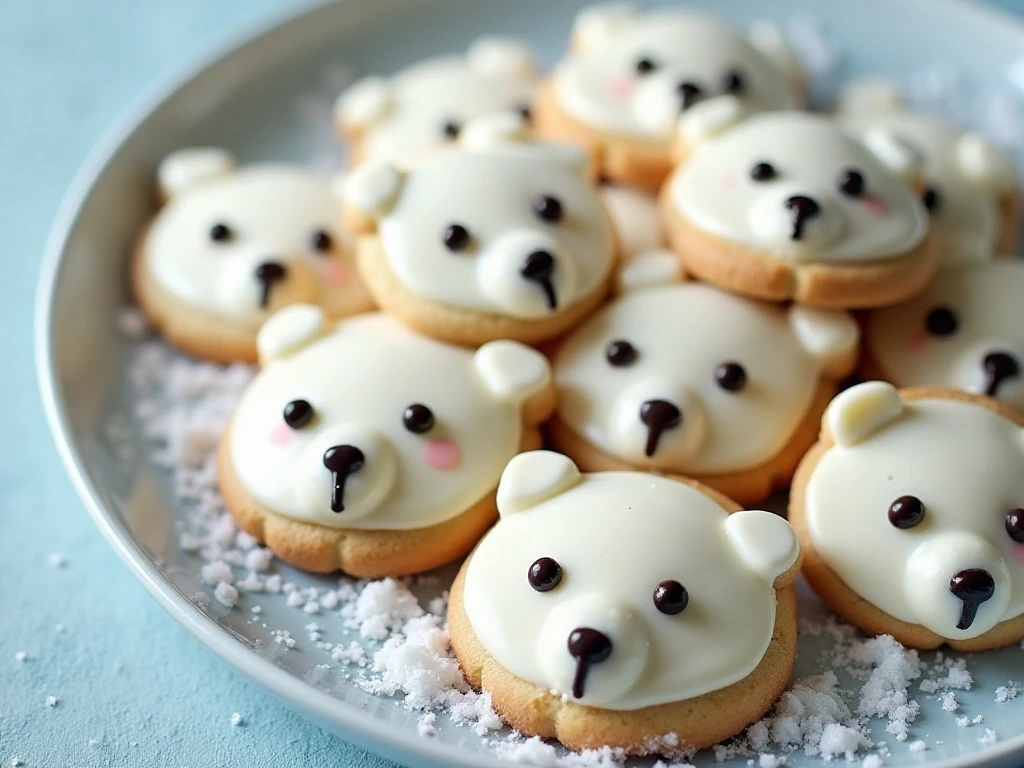
These polar bear cookies look special without requiring a complicated dough, oven, mixer, or decorating experience. The recipe begins with ready-made Nutter Butter cookies, so the main task is simply dipping, decorating, and waiting for the coating to set.
The finished treats have a cheerful winter look and a satisfying contrast between crisp peanut butter cookie layers and creamy white candy coating. Because every face can be slightly different, this is also a fun project for kids who enjoy placing eyes, noses, and colorful details.
- No oven required: The cookies are assembled and set rather than baked.
- Quick preparation: The active prep takes about 15–20 minutes.
- Flexible yield: You can make about 12–16 cookies depending on your package size and coating.
- Party-friendly: They are easy to arrange on a platter or package individually.
If you enjoy simple peanut butter treats, you may also like these quick peanut butter sandwich cookies for another easy cookie idea.
Ingredients You’ll Need
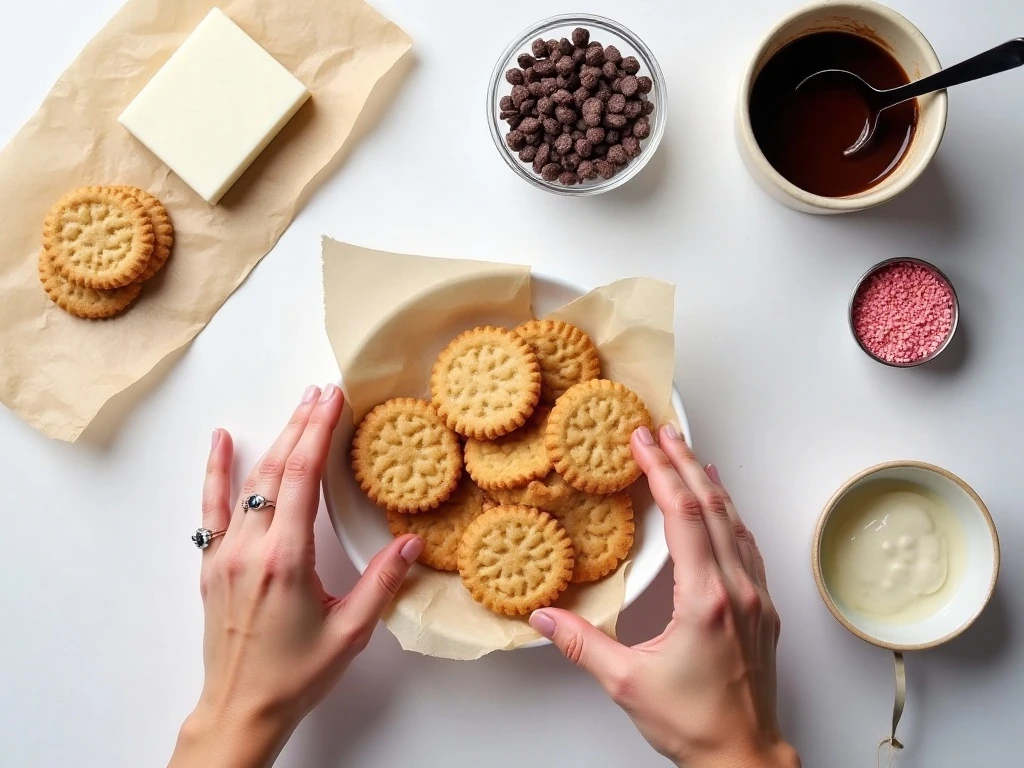
The ingredient list is short, but each item plays an important part in creating the polar bear design. Use Nutter Butter sandwich cookies as the base, then choose a white candy coating that melts smoothly and firms at room temperature.
- Nutter Butter sandwich cookies: Use 12–16 cookies, depending on how many you want to make.
- White candy melts or white almond bark: You need 12 ounces for dipping the cookies.
- Candy eyes: Plan on two eyes per cookie, for a total of 24–32.
- Small black candies or mini chocolate chips: These make simple, recognizable noses.
- Black decorating icing: Optional, but useful for drawing friendly mouths.
- Pink decorating icing or pink sprinkles: Optional for inner ears or rosy cheeks.
- Vegetable shortening or coconut oil: One teaspoon can thin a coating that feels too thick.
White candy melts are usually the easiest choice because they are designed for dipping and tend to produce a smooth finish. White chocolate chips can work in some versions, but they may be less dependable for coating unless melted carefully.
How to Make It Step-by-Step
Step 1: Line a baking sheet with parchment paper or wax paper. This prevents the coated cookies from sticking and makes cleanup much easier once the candy shell has set.
Step 2: Melt the white candy melts according to the package directions, usually using the microwave in 20–30-second intervals. Stir after each interval, even if the pieces appear only partly melted, because the residual heat will continue softening them.
Step 3: Check the consistency before dipping. The coating should be fluid enough to flow from a fork; if it is too thick, stir in a small amount of the optional shortening or coconut oil until smooth.
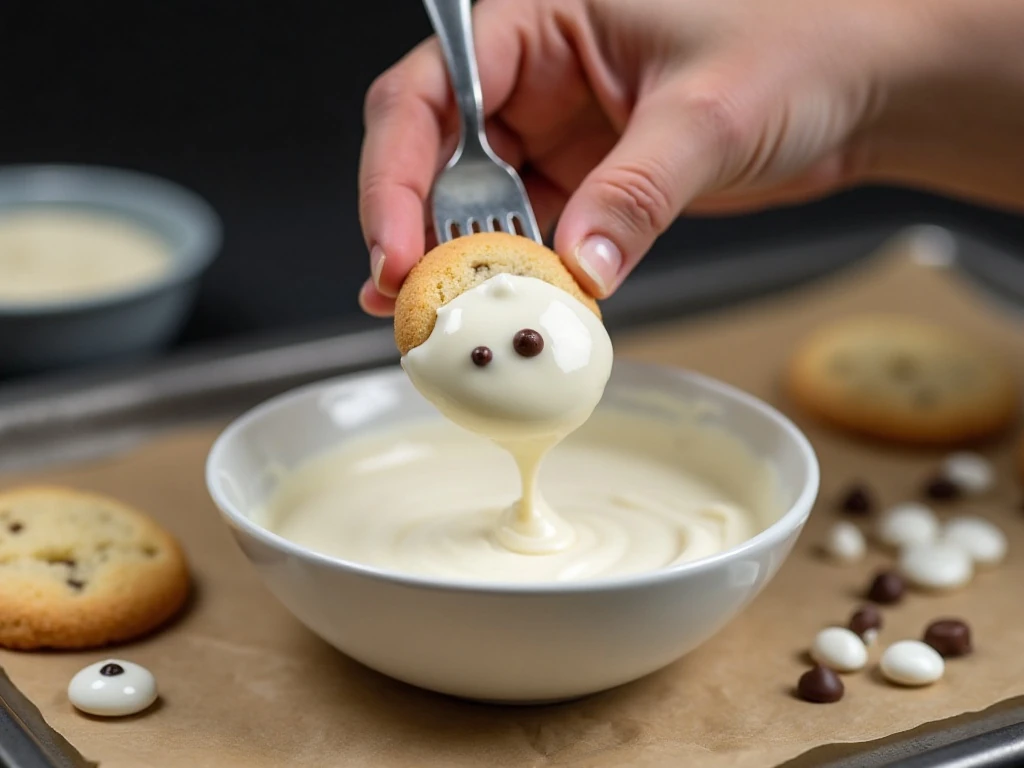
Step 4: Dip one Nutter Butter cookie into the melted coating and turn it gently to cover all sides. Lift it with a fork or dipping tool, then tap the fork lightly against the bowl so extra coating falls back into the bowl instead of forming a heavy puddle on the baking sheet.
Step 5: Set the coated cookie on the lined baking sheet. Work in small batches, keeping the remaining cookies and decorations nearby so each bear can be finished while the coating is still soft.
Step 6: Add two candy eyes and one small black candy or mini chocolate chip for the nose. Press each decoration gently into the coating without pushing it all the way through to the cookie.
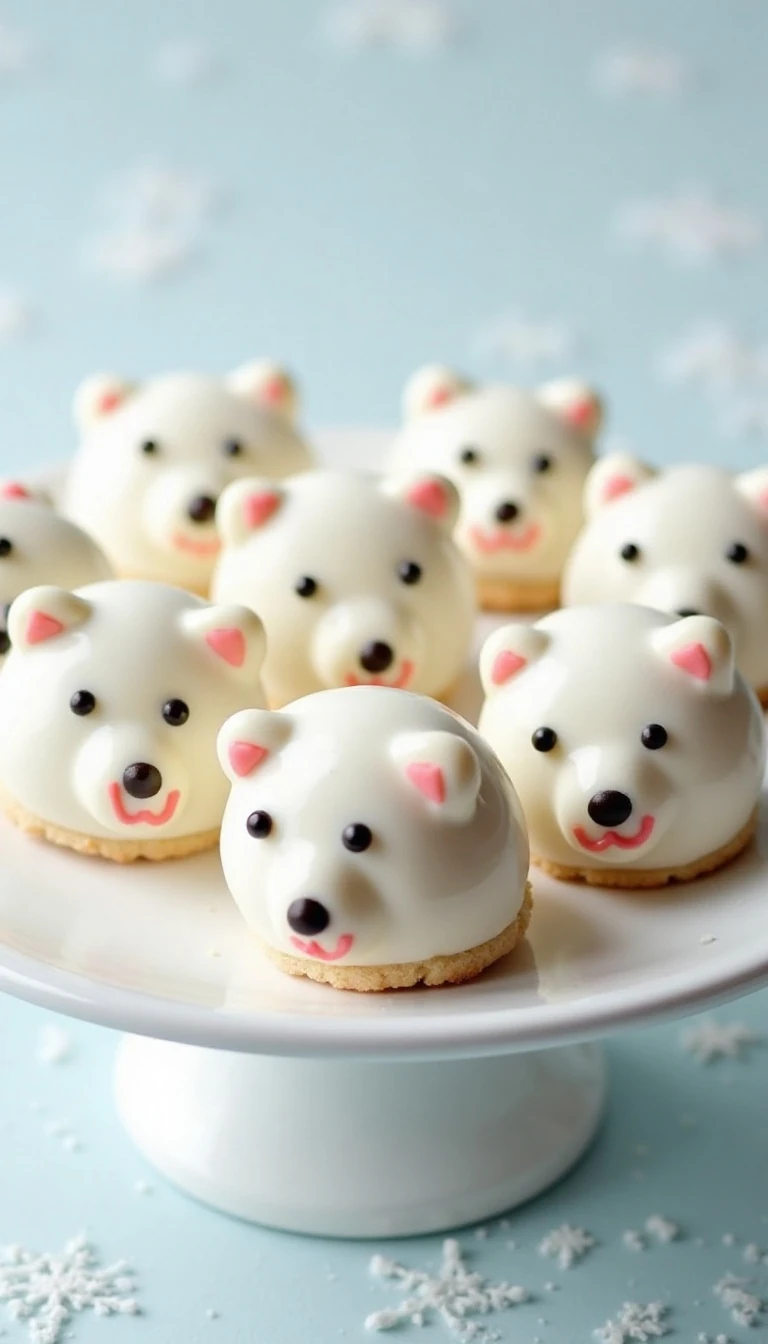
Step 7: Add a tiny black icing mouth if you want a more expressive face. Pink icing or pink sprinkles can create small inner-ear or cheek details, though the cookies are cute with only the eyes and nose.
Step 8: Let the cookies stand at room temperature until firm, or refrigerate them for about 10 minutes. Once the coating is solid, carefully check that the decorations are secure before storing or serving.
Decorating Tips for Cute Polar Bears
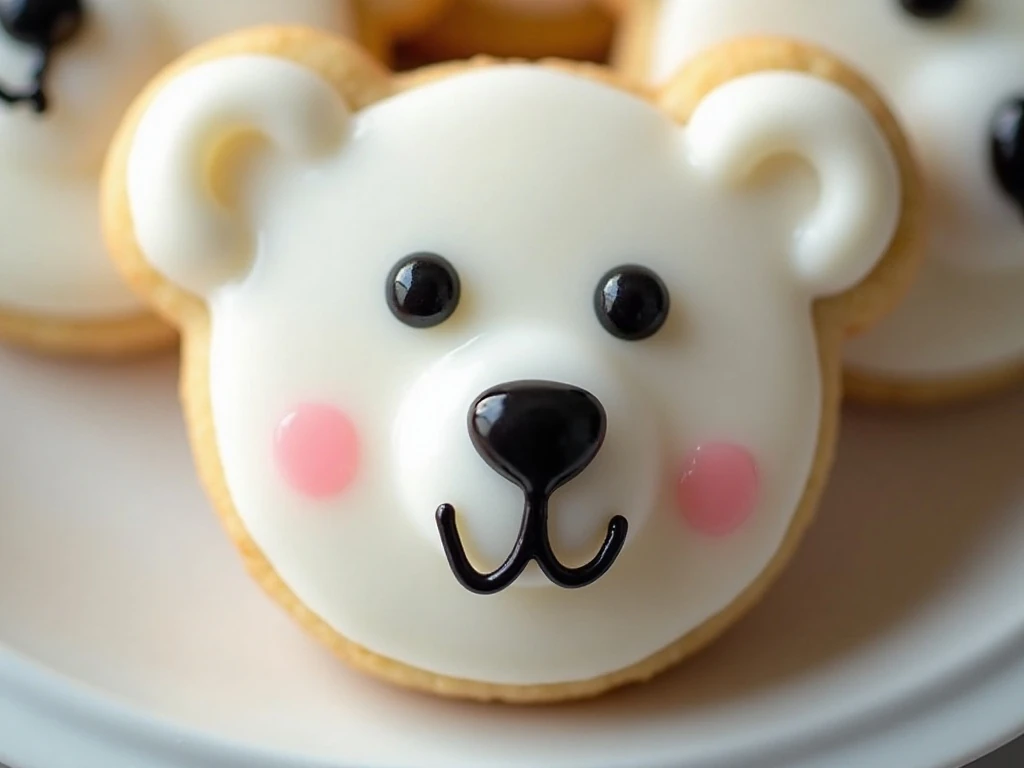
Timing is the most important decorating detail. Candy melts set quickly, so prepare the decorations before you dip the first cookie and finish each face immediately after the cookie reaches the baking sheet.
For an especially smooth base, avoid swirling the cookie around too much after it is coated. A gentle turn is enough, and a light tap of the fork against the bowl helps remove excess candy coating while keeping the surface neat.
You can keep the design very simple with only two eyes and a black nose. For extra personality, vary the mouth shapes, add pink cheeks, or use small white candy pieces, mini marshmallows, or white candy-coated chocolates as ear accents in versions that include ears.
For more classic homemade cookie inspiration, pair this no-bake project with our collection of old-fashioned soft cookies. The softer baked texture makes a pleasant contrast to these crisp, candy-coated treats.
Setting, Serving, and Storage
After decorating, leave the cookies at room temperature until the coating is firm, which generally takes 10–20 minutes. If you are short on time, refrigerate them for about 10 minutes, then move them to an airtight container.
Store the finished cookies at cool room temperature, using parchment paper between layers if you need to stack them. Avoid warm areas or direct sunlight, since heat can soften the coating and cause the facial decorations to shift.
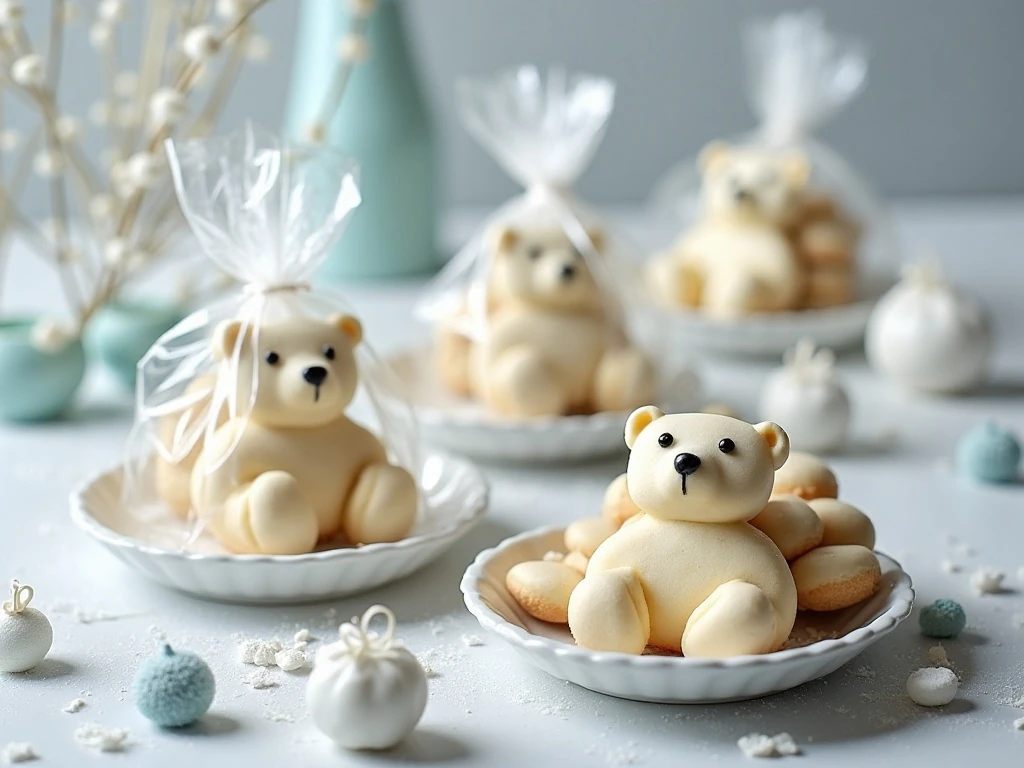
These treats are ready to serve as soon as the candy coating sets. Arrange them on a white or pale blue platter for a snowy presentation, or place each cookie in a small clear treat bag for party favors and classroom gifts.
For another sweet, make-ahead snack that travels well, try this butter brickle bark recipe alongside the polar bear cookies.
Fun Variations and Serving Ideas
Although the basic design is enough to make an adorable bear, you can customize the cookies for different occasions. Add blue sprinkles around the edges for an icy winter theme, or place the bears on a platter surrounded by white candies to mimic snow.
- Winter party platter: Arrange the cookies with blue and white candies for a frosty dessert table.
- Animal-themed celebration: Add a small sign identifying the treats as polar bear cookies.
- Holiday treat bags: Package one or two cookies in clear bags tied with white or silver ribbon.
- Family decorating activity: Set out the melted coating and prepared decorations so everyone can create different expressions.
For a larger dessert spread, include familiar favorites such as these soft batch oatmeal chocolate chip cookies. Their chewy texture and chocolate flavor give guests another option beside the peanut butter and white candy combination.
If you want to continue the easy candy-and-snack theme, these easy peanut butter haystacks are another simple recipe that requires little hands-on preparation.
Polar Bear Nutter Butter Cookies
Ingredients
Method
- Line a baking sheet with parchment paper or wax paper and set it beside your work area. Have the candy eyes, black candies or mini chocolate chips, and optional decorating icing ready before melting the coating.
- Melt the white candy melts according to the package directions, usually in the microwave in 20–30-second intervals. Stir thoroughly after every interval until the coating is smooth, and stir in a small amount of vegetable shortening or coconut oil if it seems too thick.
- Dip each Nutter Butter cookie into the melted coating, turning it carefully so all sides are covered. Lift the cookie out with a fork or dipping tool, then tap the fork gently on the bowl so excess coating drips back and the base does not develop a thick puddle.
- Place the coated cookie on the lined baking sheet. While the coating is still soft, add two candy eyes and one black candy or mini chocolate chip for the nose.
- Use black decorating icing to add a small mouth, if desired. Add pink icing or pink sprinkles for tiny inner-ear or cheek details, working quickly before the coating firms.
- Allow the cookies to stand at room temperature until firm, or refrigerate them for about 10 minutes. Once set, transfer them to an airtight container and keep them at cool room temperature.
Notes
Final Thoughts
Polar Bear Nutter Butter Cookies prove that a memorable dessert does not need a long ingredient list or a complicated technique. With 12–16 Nutter Butter cookies, 12 ounces of white candy coating, and a few simple decorations, you can create a whole family of cheerful polar bears in about 30–40 minutes.
Keep the decorations close, work in small batches, and add the eyes and facial features before the coating sets. Once firm, these cookies are ready for a winter gathering, holiday tray, classroom surprise, or a cozy afternoon treat that brings plenty of smiles.