Instant Pot crème brûlée is an easy way to make a classic French dessert with a silky custard and crisp caramel topping. The recipe yields six servings, needs about 15–20 minutes of preparation, cooks for 9 minutes at high pressure, and chills for at least 4 hours before serving.
Each spoonful combines cool, creamy vanilla custard with the satisfying crack of a thin brûléed sugar crust. The Instant Pot provides gentle, moist heat that helps the custards set beautifully, making this an impressive dessert for dinner parties, holidays, or a quiet treat at home.
Jump to RecipeWhy You’ll Love This Recipe

Traditional crème brûlée can sound intimidating because the custard must be baked gently and usually requires a water bath. This Instant Pot method removes much of that guesswork while keeping the luxurious texture that makes the dessert so popular.
The ingredient list is short: cream, egg yolks, sugar, vanilla, and a little salt. Six yolks give the custard a rich flavor and a pleasantly firm set, while the pressure cooker creates a warm, humid environment that is well suited to delicate egg-based desserts.
This is also a wonderful make-ahead recipe. Prepare the custards the day before, chill them overnight, and caramelize the tops shortly before serving. If you enjoy simple desserts that feel special, you may also like this easy pineapple dessert for another low-fuss sweet option.
Ingredients You’ll Need

Choose good-quality ingredients because every flavor has a chance to stand out in this uncomplicated recipe. Heavy cream supplies the velvety body, while egg yolks provide richness, color, and structure.
- Heavy cream: Use 2 cups of heavy cream and warm it gently until hot but not boiling.
- Egg yolks: Six large yolks create a rich, smooth custard for six ramekins.
- Granulated sugar: Use 1/2 cup in the custard and reserve 2–3 tablespoons for the caramel topping.
- Vanilla: Add 1 teaspoon pure vanilla extract, or use the seeds from 1 vanilla bean for a more pronounced vanilla aroma.
- Fine salt: Just 1/8 teaspoon balances the cream and sugar.
- Water: Add 1 cup to the Instant Pot to create the steam needed for pressure cooking.
You will also need six 5- or 6-ounce heatproof ramekins, a trivet or steamer rack, foil, and either a kitchen torch or broiler. A fine-mesh sieve is especially helpful for removing tiny cooked egg bits and making the finished custard exceptionally smooth.
How to Make It Step-by-Step
Step 1: Add the water and prepare the pot. Pour 1 cup water into the Instant Pot, then set the trivet or steamer rack inside. The ramekins should sit above the water rather than directly in it.
Step 2: Warm the cream. Place the heavy cream in a saucepan and heat it until hot but not boiling. Stir in the vanilla and fine salt, then remove the cream from the heat so it is ready to combine with the yolks.
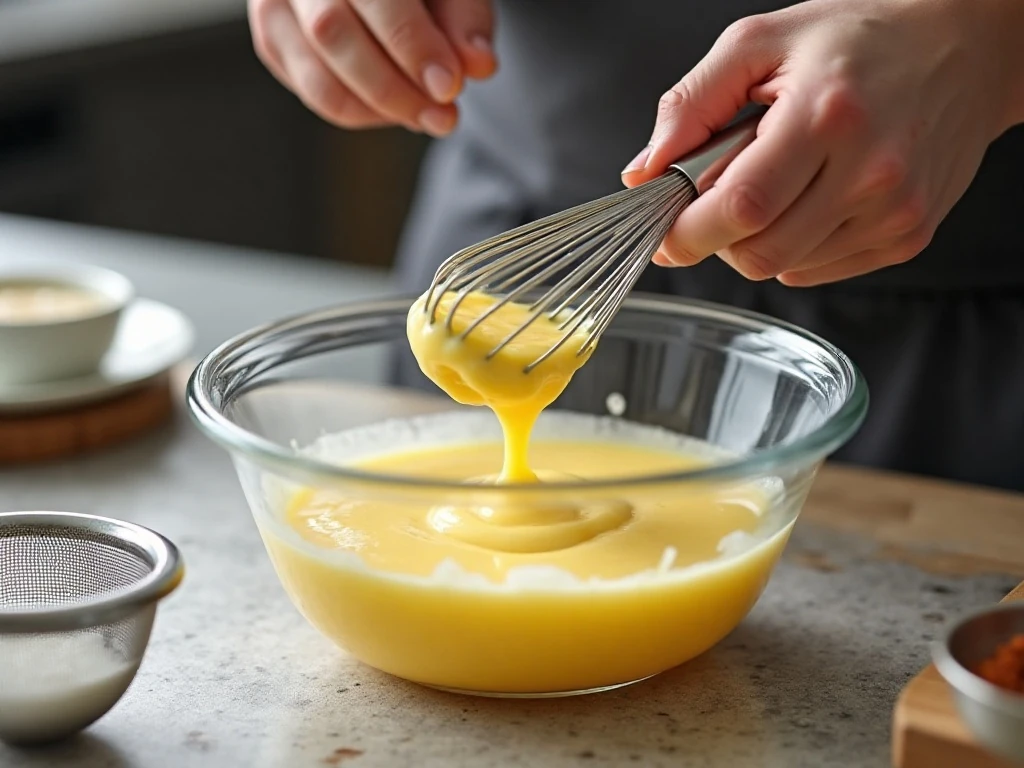
Step 3: Whisk the yolks and sugar. In a mixing bowl, whisk the six egg yolks with 1/2 cup granulated sugar until the mixture looks smooth and slightly lighter in color. Do not whip aggressively, since excess foam can create bubbles on the custard surface.
Step 4: Temper the eggs. Slowly drizzle the hot cream into the yolk mixture while whisking constantly. Adding the cream gradually raises the temperature of the yolks without scrambling them, giving you a fluid, even custard.
Step 5: Strain and portion the custard. Pour the mixture through a fine-mesh sieve into a clean bowl or large measuring cup. Divide it evenly among six 5- or 6-ounce heatproof ramekins, and skim off visible bubbles before covering each ramekin loosely with foil.
Step 6: Pressure-cook the ramekins. Arrange the covered ramekins on the trivet, stacking them carefully if necessary so they remain stable. Seal the Instant Pot and cook on high pressure for 9 minutes.
Step 7: Release the pressure gradually. Once cooking ends, let the pressure release naturally for 10 minutes. Carefully vent the remaining pressure, keeping your hands and face away from the steam.
Step 8: Cool and chill. Remove the ramekins from the pot and let them cool briefly. Refrigerate them for at least 4 hours, preferably overnight, until the centers are completely chilled and set.
Step 9: Add the sugar topping. Just before serving, sprinkle the custards with a thin, even layer of the reserved 2–3 tablespoons granulated sugar. Rotate each ramekin to distribute the sugar across the entire surface.
Step 10: Caramelize and serve. Use a kitchen torch to melt the sugar until amber and glassy, or broil briefly while watching closely. Let the caramel harden for 1–2 minutes, then serve immediately for the best contrast between crisp topping and cool custard.
Pro Tips for Silky Custard
The smoothest crème brûlée begins before the ramekins ever enter the Instant Pot. Warm the cream gently, and keep whisking as you combine it with the yolks so the mixture stays fluid and evenly blended.
- Strain every time: Even if the custard looks perfect, passing it through a fine-mesh sieve removes small lumps and creates a more restaurant-style finish.
- Skim bubbles: Surface foam can leave marks after cooking. Use a spoon to skim it away, or let the mixture rest briefly before portioning.
- Cover loosely: Foil shields the custards from condensation while still allowing steam to circulate around the ramekins.
- Use the right ramekins: Six 5- or 6-ounce heatproof ramekins provide individual portions and fit the stated cooking method.
- Chill fully: Do not brûlée warm or barely set custards. At least 4 hours in the refrigerator gives the custard time to become properly firm.
For another make-ahead dessert idea with a creamy texture, take a look at this whipped cream strawberry dessert. It offers a completely different flavor profile while fitting the same easy entertaining spirit.
Creating the Perfect Sugar Crust

The topping should be thin enough to melt evenly and thick enough to make a distinct crack when tapped with a spoon. The recipe calls for 2–3 tablespoons total, so distribute the sugar carefully rather than piling it in the center.
With a kitchen torch, move the flame continuously across the surface instead of holding it in one place. The sugar will first look wet, then begin to bubble, and finally turn amber; stop when it is evenly caramelized, since darker patches can quickly become bitter.
If you use a broiler, place the chilled ramekins beneath it and watch them closely. Broilers vary considerably, so the sugar may brown quickly. Once finished, allow the caramel to harden for 1–2 minutes before serving.
For a menu that balances rich custard with fruit, pair this dessert with a crisp such as this classic cherry crisp. The tart fruit provides a pleasant contrast to the creamy vanilla base.
Make-Ahead, Storage, and Serving

The custards can be prepared and refrigerated for at least 4 hours, with overnight chilling preferred. Keep the ramekins covered or protected in the refrigerator, but wait to add the sugar until you are close to serving time.
Once the sugar is caramelized, crème brûlée is best enjoyed promptly. The crust is at its finest when crisp and freshly hardened, while refrigeration after brûléeing can gradually soften the topping.
- Serve each ramekin cold with its sugar crust freshly caramelized.
- Use the back of a spoon to tap the topping and reveal the set custard underneath.
- Keep portions small and elegant; the dessert is rich and satisfying.
- For a contrasting savory course before dessert, consider these garlic Parmesan crash potatoes.
Variations and Pairing Ideas
Vanilla is classic, but the method gives you room to make the dessert your own. Use the seeds from one vanilla bean instead of vanilla extract for visible flecks and a deeper vanilla fragrance.
You can also serve the ramekins with fresh berries, a few thin citrus twists, or a small spoonful of fruit on the side. Keep additions modest so they do not cover the delicate caramel crust or overpower the custard.
If you are planning a dessert tasting, include a simple no-bake option such as this three-ingredient pistachio dessert. Its nutty flavor and soft texture make a pleasing companion to the crisp-topped crème brûlée.

Instant Pot Crème Brûlée
Ingredients
Method
- Pour 1 cup water into the Instant Pot and place the trivet or steamer rack inside.
- Warm the heavy cream until hot but not boiling. Stir in the vanilla and salt.
- Whisk the egg yolks with 1/2 cup granulated sugar until smooth and slightly lighter in color.
- Gradually whisk the hot cream into the yolks to temper the eggs. Strain the custard through a fine-mesh sieve, then skim away surface bubbles if needed.
- Divide the custard among six 5- or 6-ounce heatproof ramekins and cover each one loosely with foil.
- Arrange the ramekins on the trivet. Seal the Instant Pot and cook on high pressure for 9 minutes.
- Allow a natural pressure release for 10 minutes, then carefully vent any remaining pressure.
- Remove the ramekins and cool them briefly. Refrigerate for at least 4 hours, preferably overnight, until completely chilled and set.
- Sprinkle each custard with a thin, even layer of the remaining 2–3 tablespoons sugar. Caramelize with a kitchen torch or broil briefly while watching closely.
- Let the caramel harden for 1–2 minutes before serving.
Notes
Final Thoughts
Instant Pot crème brûlée proves that an elegant dessert does not need a complicated technique. With six yolks, warm cream, careful straining, 9 minutes at high pressure, and plenty of chilling time, you can create individual custards that are rich, smooth, and beautifully set.
The final torching is the fun part: sprinkle on a thin layer of sugar, caramelize it until amber, wait 1–2 minutes for the crust to harden, and listen for that unmistakable crack. Prepare the custards ahead, finish them just before serving, and enjoy a dessert that looks refined while remaining wonderfully approachable.