To make a sourdough starter, mix 50 g whole-wheat or whole-rye flour with 50 g room-temperature water in a clean jar, cover it loosely, and leave it at 22–27°C (72–80°F). Feed the culture every 24 hours by keeping 50 g starter and adding 50 g flour plus 50 g water until it reliably doubles within 4–8 hours, which usually takes 5–7 days and sometimes up to 10–14 days.
A healthy starter smells pleasantly tangy or mildly fruity and contains bubbles throughout. Once active, it becomes the flavorful foundation for chewy bread, tender breakfast bakes, pancakes, and other naturally leavened treats, with a gentle sourness that tastes far more interesting than commercial yeast alone.
Jump to RecipeWhy You’ll Love This Recipe
A homemade sourdough starter requires only flour, water, a jar, and patience. Wild yeast and beneficial bacteria naturally develop as the mixture ferments, creating a culture that can help bread rise while adding a deliciously tangy, mildly fruity flavor.
The process is forgiving once you understand what to watch for. You do not need special equipment beyond a digital scale, and each feeding takes about five minutes.
Although this guide is listed in the Desserts category, a mature starter is useful for far more than loaves. It can add character to sweet bakes and pairs beautifully with brunch spreads, just as this versatile yeast dough recipe can serve as a starting point for homemade baking.
Ingredients You’ll Need
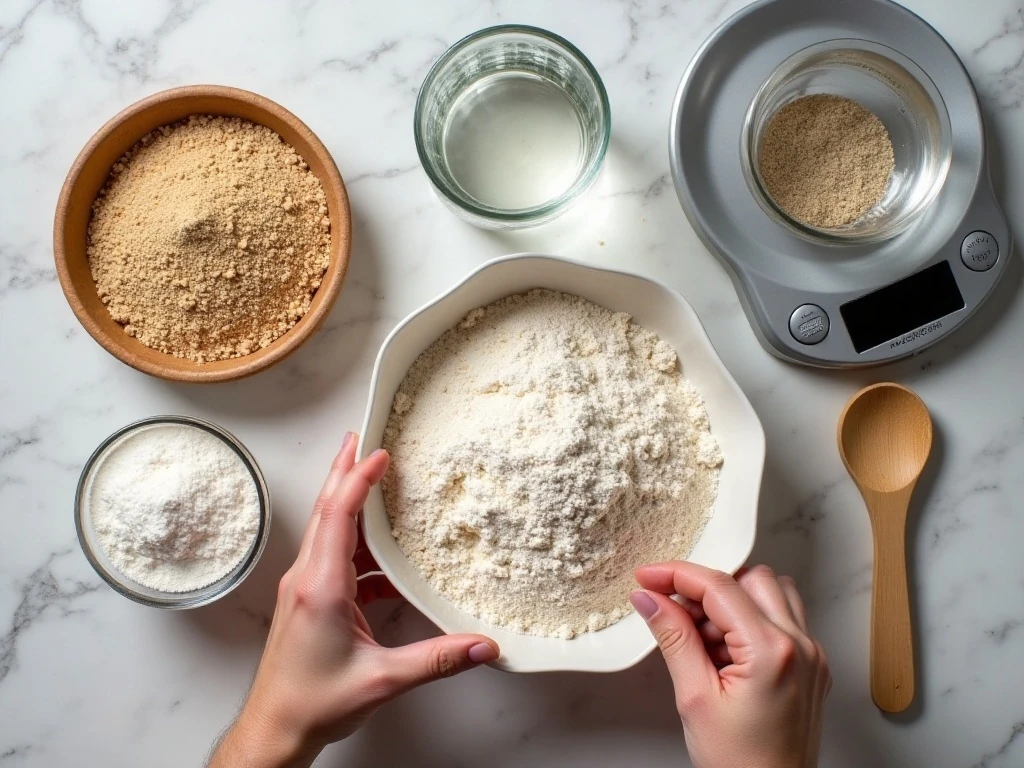
The first mixture uses 50 g whole-wheat or whole-rye flour and 50 g water. Whole-grain flour is especially helpful during the first few days because it generally contains more nutrients and microorganisms than refined flour.
- 50 g whole-wheat or whole-rye flour: Choose rye for a particularly energetic beginning, or whole wheat for a pleasantly nutty aroma.
- 50 g filtered or dechlorinated water: Use room-temperature water so fermentation can begin in a comfortable environment.
- A clean glass jar: Pick one with enough headspace for the starter to double, and avoid sealing it airtight.
- A digital scale: Weighing ingredients gives you a dependable 1:1 flour-to-water ratio by weight.
After the culture becomes active, you may switch to unbleached all-purpose or bread flour if you prefer. Keep in mind that 50 g starter plus 50 g flour and 50 g water produces about 150 g starter after each feeding.
For a festive serving idea once your baking project is underway, a homemade culture would be right at home beside a colorful snack board filled with fruit, cheese, nuts, and crisp treats.
How to Make It Step-by-Step
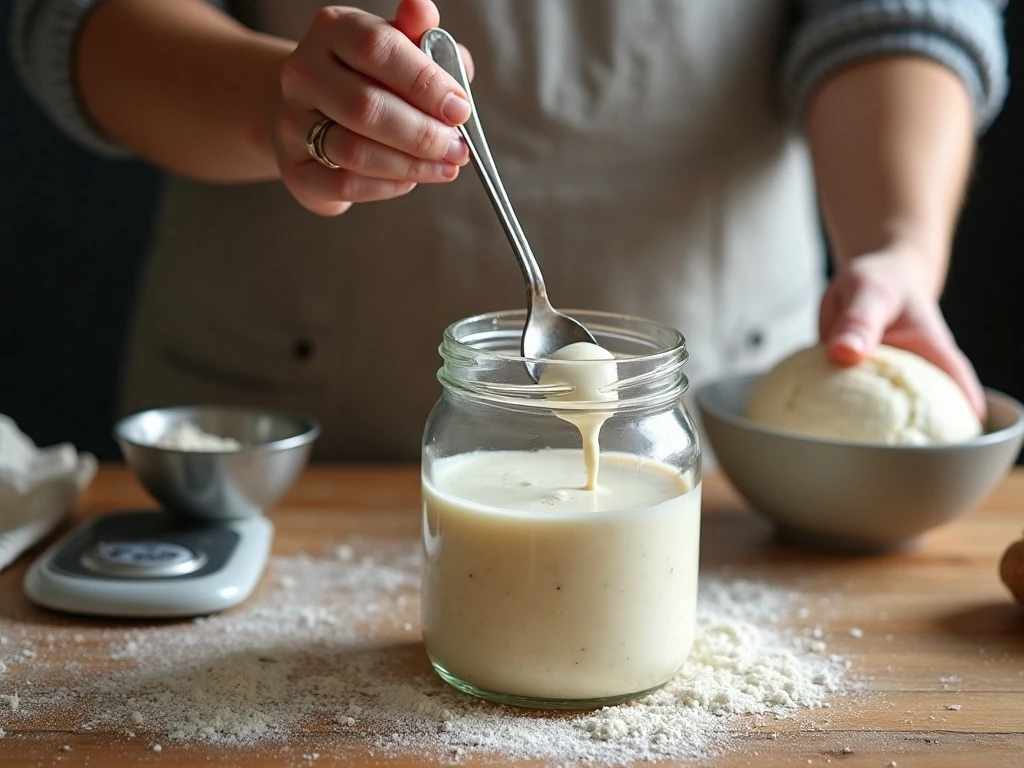
Step 1: On Day 1, place 50 g whole-wheat or whole-rye flour and 50 g room-temperature water in a clean glass jar. Stir thoroughly until the mixture looks like thick pancake batter and no dry flour remains.
Step 2: Cover the jar loosely with a lid, cloth, or filter secured with a band. The cover should keep out dust while allowing gas to escape, so never seal the jar airtight during fermentation.
Step 3: Leave the jar at room temperature, ideally around 22–27°C (72–80°F), for 24 hours. A stable, moderately warm spot away from direct sunlight helps the culture develop at a steady pace.
Step 4: On Day 2, stir the mixture and look for visible bubbles or a slightly sour aroma. If you see activity, discard approximately half, then add 50 g flour and 50 g water and stir until smooth; if there is little activity, continue waiting and feed once every 24 hours.
Step 5: During Days 3–7, begin a measured discard-and-feed routine once fermentation is clearly active. Retain 50 g starter, discard the remainder, then add 50 g flour and 50 g water to the retained portion.
Step 6: Mix the feeding thoroughly and scrape the inside walls of the jar clean. Mark the starter’s starting level with a rubber band or washable marker so you can easily see how far it rises.
Step 7: Repeat the feeding every 24 hours, watching the rise and fall between feedings. If the starter doubles and collapses within 12 hours, feed twice daily to keep it supplied with fresh flour and water.
Step 8: Before baking, feed the starter and use it near its peak. The ideal culture has doubled in volume, contains bubbles throughout, and has a domed surface or one that is just beginning to flatten.
How to Tell When Your Starter Is Ready
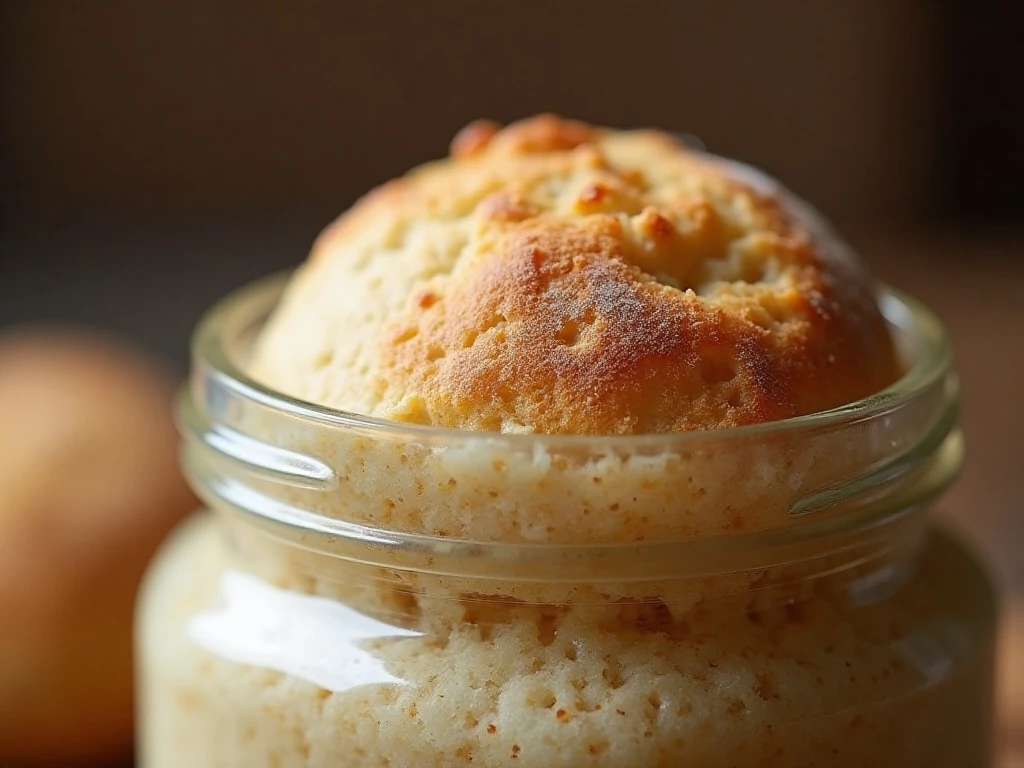
Readiness is best judged by a pattern rather than one dramatic burst of bubbles. A starter that reliably doubles within about 4–8 hours after feeding is showing the consistent fermentation activity needed for baking.
Its aroma should be pleasantly tangy, mildly fruity, or lightly yogurt-like. The texture should look aerated, with bubbles distributed through the mixture rather than only sitting on the surface.
You can try the float test by dropping a small spoonful into water. It may float when well-aerated, but this test is less reliable than watching consistent rise, timing, aroma, and bubble activity.
Do not be discouraged if the starter becomes very lively early and then slows down. That first burst does not always mean the culture is mature; continue regular feedings until it rises predictably.
When your starter is ready, use it in naturally leavened dough or explore a sweet pairing such as a rich s’mores pudding dessert for a full dessert-table theme.
Pro Tips for Reliable Fermentation
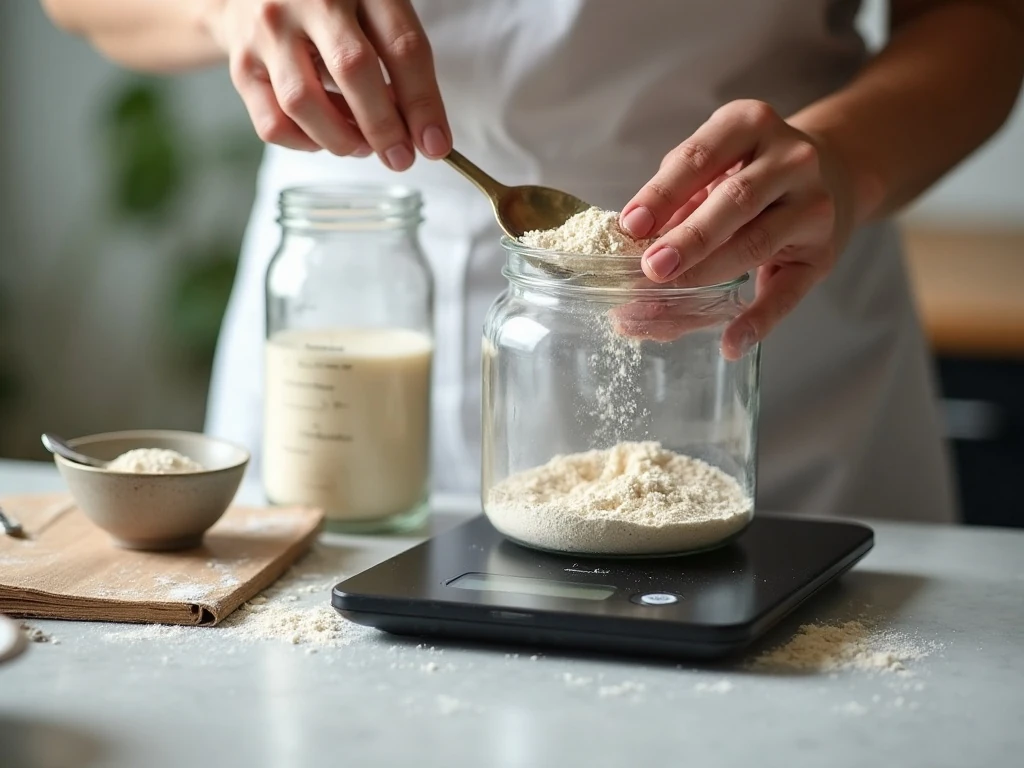
- Weigh everything: Equal weights of flour and water maintain 100% hydration, while cup measurements can vary significantly.
- Choose flour wisely: Whole rye or whole wheat often gets fermentation moving more quickly during the first few days.
- Keep the jar clean: Scrape down the sides after each feeding to reduce dried residue and make the rise easier to read.
- Track the timing: Mark the level after feeding and note when the starter doubles, peaks, and falls.
- Adjust to temperature: Fermentation may take 5–7 days in many kitchens, but cooler rooms or different flours can extend the process to 10–14 days.
A digital scale is the most useful tool in this process because it makes every refresh predictable. Once the culture is strong, unbleached all-purpose or bread flour can replace whole-grain flour if that better suits your baking routine.
Keep discarded starter in a separate container if you plan to use it in cooked recipes, but do not use discard as a substitute for an active starter when a recipe depends on strong fermentation.
For a savory baking night, serve sourdough creations with quick classic bruschetta, where crisp bread, tomatoes, herbs, and olive oil make the fresh flavor of homemade baking shine.
Storage and Ongoing Maintenance

For frequent baking, keep the starter at room temperature and feed it daily. Each refresh should retain a manageable amount, such as 25–50 g, followed by equal weights of flour and water.
For occasional baking, feed the starter and place it in the refrigerator. Before using it in a recipe, refresh it once or twice at room temperature and wait for reliable bubbling and rise.
- Room-temperature routine: Feed daily and keep the jar loosely covered.
- Refrigerated routine: Feed before chilling, then refresh once or twice before baking.
- Waste-conscious routine: Retain only 25–50 g at feeding time rather than maintaining a large jar.
- Safety check: A pleasantly sour or fruity smell is normal; unusual colors or unpleasant odors mean the culture should not be used.
There is no cooking time for a starter because it is fermented, not cooked. The only real investment is a few minutes of attention each day while the flour and water culture develops.
Keep kitchen projects separate from non-food preparations, and use dedicated, clearly clean equipment rather than repurposing containers from household products such as homemade laundry soap.
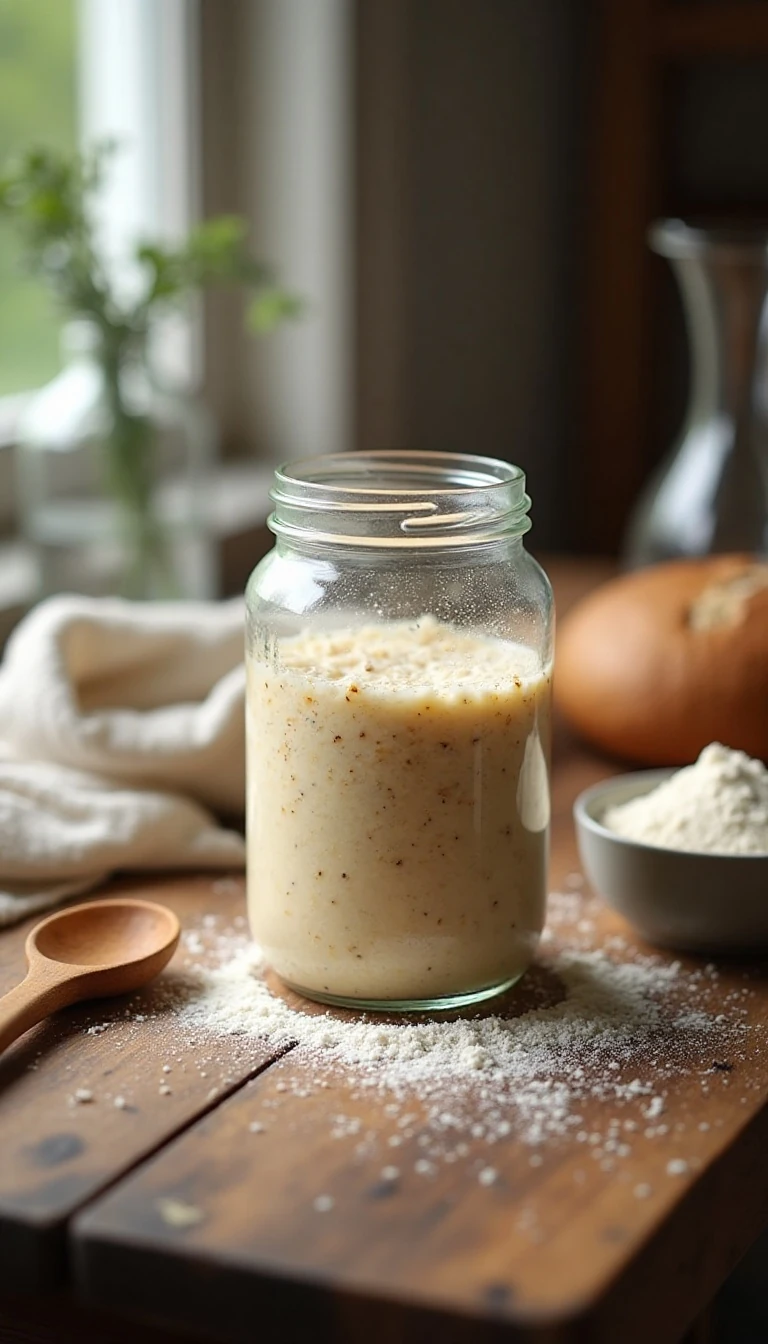
Sourdough Starter
Ingredients
Method
- On Day 1, combine 50 g whole-grain flour and 50 g water in a clean glass jar. Stir until no dry flour remains, cover loosely, and leave at room temperature for 24 hours.
- On Day 2, stir the mixture and check for bubbles or a slightly sour smell. If there is visible activity, discard approximately half, then add 50 g flour and 50 g water; if activity is minimal, wait and continue feeding once every 24 hours.
- From Days 3–7, once fermentation is clearly active, retain 50 g starter and discard the remainder. Add 50 g flour and 50 g water, mix thoroughly, scrape down the jar, and mark the starting level.
- Repeat the feeding every 24 hours. If the starter rises and falls within 12 hours, feed it twice daily instead.
- Use the starter near its peak after feeding, when it has doubled in volume and the surface is domed or just beginning to flatten. A float test may support your observations, but consistent rise and bubbling are more dependable signs.
Notes
Final Thoughts
Making a sourdough starter is a small daily ritual that rewards careful observation. Begin with 50 g whole-grain flour and 50 g water, feed the active culture with equal weights, and wait for dependable doubling within 4–8 hours before baking.
Once mature, your starter can live on the counter for daily baking or rest in the refrigerator between projects. With a digital scale, a loosely covered jar, and a little patience, you will have a lively homemade culture ready to bring deep flavor and beautiful texture to sweet and savory recipes alike.