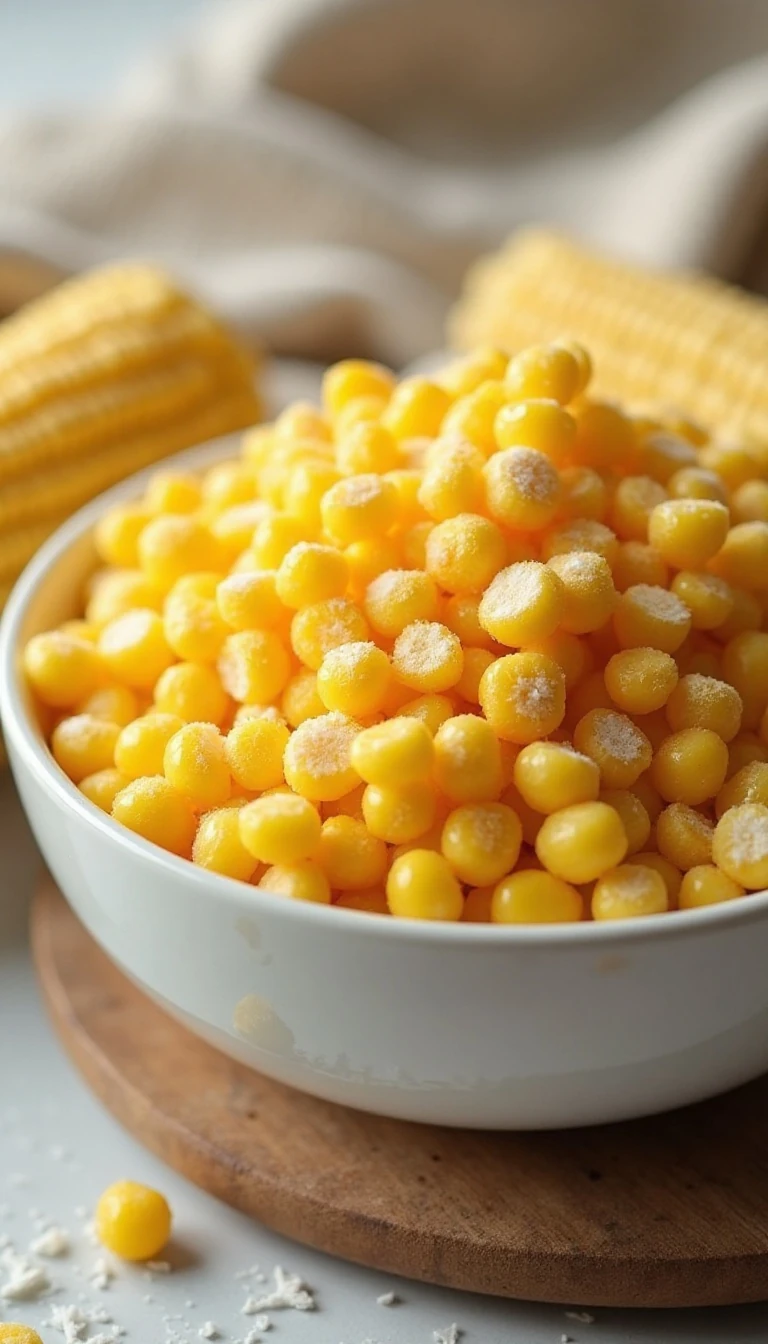
The best way to freeze summer’s sweet corn for winter is to blanch 8 husked ears in boiling water for 4 minutes, cool them in an ice bath for 4–5 minutes, cut off the kernels, and pack them in airtight freezer bags or containers. This simple method makes about 4 cups of frozen corn and takes approximately 35–45 minutes from start to finish.
Blanching helps protect the corn’s naturally sweet flavor, sunny color, and tender-crisp texture during its 8–12 months of best-quality frozen storage. Once frozen, the kernels can go straight into soups, casseroles, skillet meals, salsa, or a quick side dish without thawing.
Jump to RecipeWhy You’ll Love This Recipe
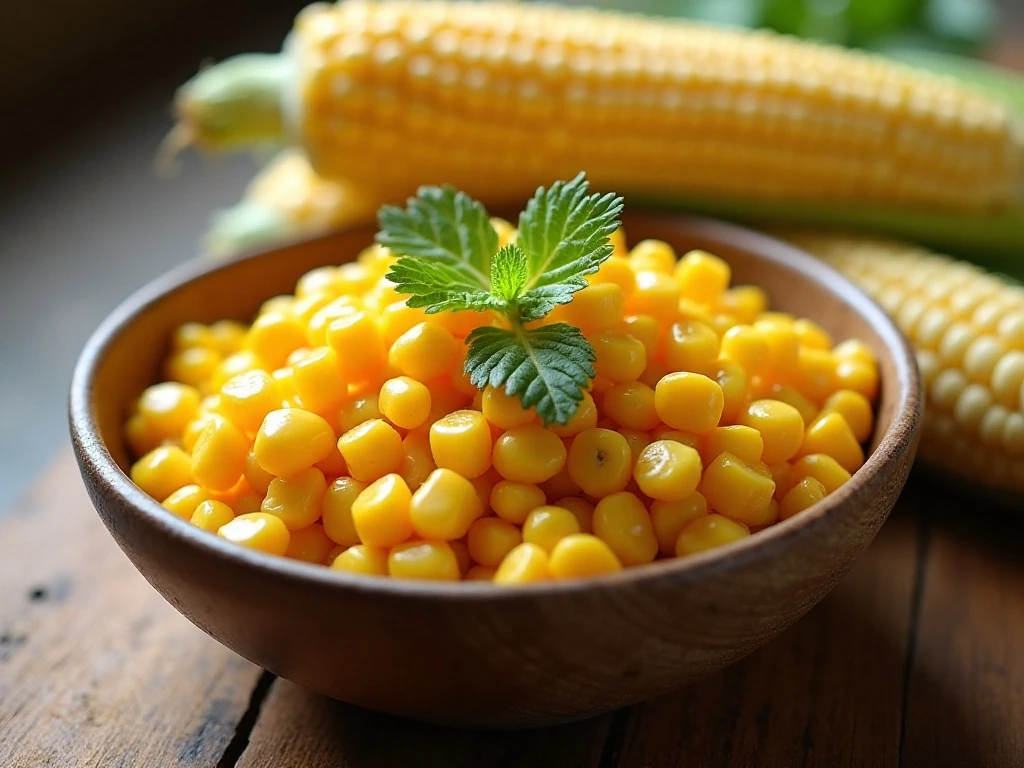
Freezing corn at home captures the best part of summer in a practical, budget-friendly way. When the ears are fresh and fully developed, the kernels are plump, juicy, and naturally sweet, making them far more satisfying than a forgotten bag from the freezer aisle.
This method is also wonderfully simple. You do not need special equipment beyond a large pot, a bowl for ice water, a sharp knife, and freezer-safe storage bags or containers.
The finished corn is versatile enough for a busy weeknight dinner or a cozy winter meal. Stir it into chowder, fold it into cornbread, scatter it over tacos, or spoon it into a skillet with butter and herbs.
For another colorful way to use corn, try our creamy lime corn salsa when fresh produce is in season.
Ingredients You’ll Need
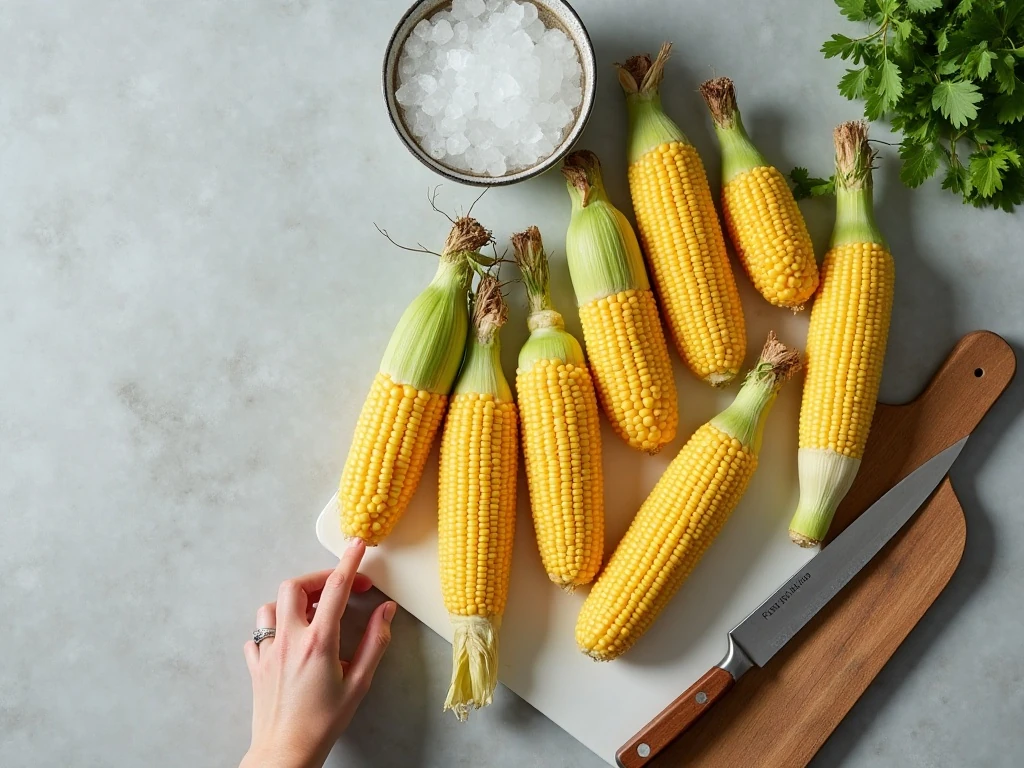
The ingredient list is intentionally short because good corn does most of the work. This recipe starts with 8 medium ears and produces about 4 cups of frozen kernels.
- 8 medium ears of sweet corn: Choose ears with bright green husks, fresh-looking silk, and firm, fully developed kernels.
- Water: Use enough to cover the ears comfortably in a large pot.
- Ice and cold water: Prepare a generous ice bath before the corn leaves the boiling water.
- Optional butter and salt: Add 1–2 tablespoons of unsalted butter and salt later when serving, rather than freezing them with the corn.
Plain blanched corn is the most flexible choice for storage. It can be seasoned differently each time you use it, whether the final dish needs chili, garlic, herbs, lime, or simple butter and salt.
Meal-size portions are especially useful. Divide the approximately 4 cups into several packages so you can open only what a soup, casserole, or side dish requires.
How to Make It Step-by-Step
Step 1: Husk the corn and remove every strand of silk. Rinse the ears under cool water, checking the tops and sides for any remaining silk or loose debris.
Step 2: Fill a large pot with water and bring it to a full, active boil. The pot should be large enough that the ears can be submerged without crowding, which helps the water return to a boil efficiently.
Step 3: Carefully place the whole ears into the boiling water and blanch for exactly 4 minutes. This brief cooking time slows enzyme activity that can otherwise affect the corn’s flavor, color, and texture while it sits in the freezer.
Step 4: Move the ears immediately into a large bowl of ice and cold water. Let them cool for about 4–5 minutes, turning them once if needed, until the heat has stopped cooking the kernels.
Step 5: Drain the cooled ears very well. Excess water can create more ice crystals and contribute to a watery texture, so give the cobs time to drain while you organize your cutting board and freezer containers.
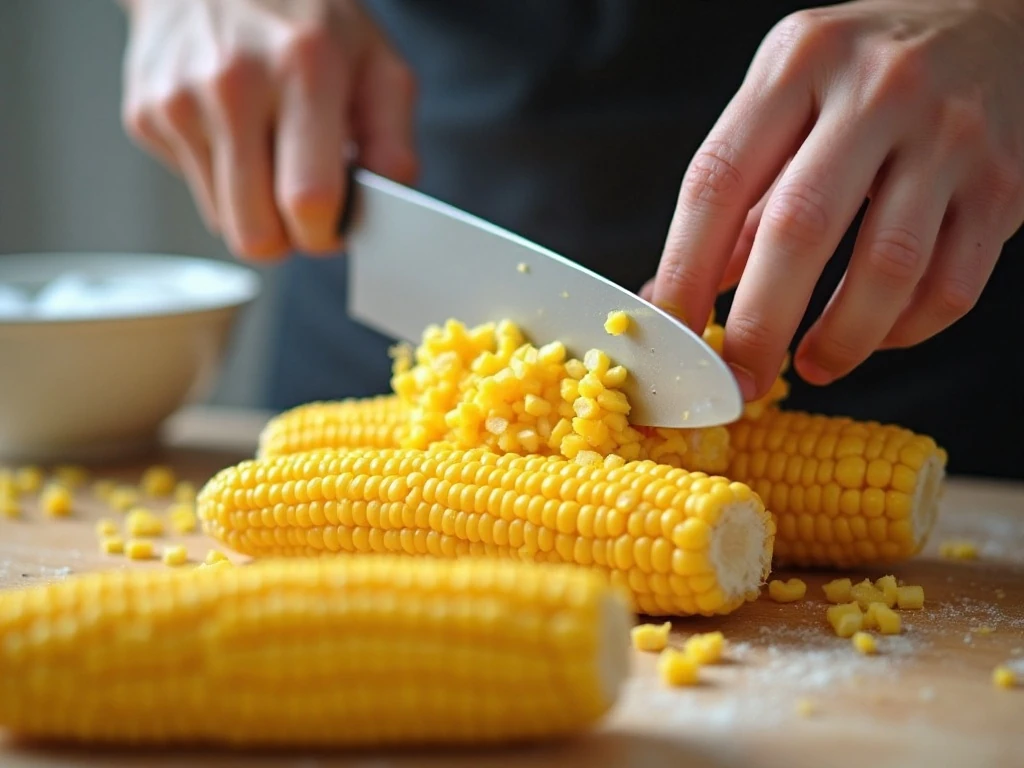
Step 6: Stand one ear upright on its flat end and use a sharp knife to cut downward along the cob. Avoid cutting too deeply, since the goal is to remove the kernels without taking large, tough pieces of cob.
Step 7: Rotate the cob and continue cutting until all sides are cleared. Afterward, lightly scrape the cob with the back of the knife to collect the creamy corn milk and small pieces left behind.
Step 8: Pack the kernels into freezer bags or airtight freezer containers. Leave about 1/2 inch of headspace in rigid containers, and press as much excess air as possible from freezer bags before sealing them.
Step 9: Label each package with the date and the amount inside. Lay the sealed bags flat on a baking sheet or freezer shelf so they freeze quickly, then stack them once solid.
Step 10: Use the corn directly from frozen whenever possible. Steam, sauté, or simmer it until heated through, then season with butter, salt, and pepper to taste.
Pro Tips for Sweet, Tender Frozen Corn
Start with corn that is as fresh as possible. Sugar in sweet corn gradually changes into starch after harvest, so freezing ears soon after buying or picking them gives you the best flavor.
Do not skip the ice bath. The 4–5 minute cooling period stops residual heat from continuing to cook the kernels, helping them remain pleasantly tender instead of soft.
Drain with care before cutting and packing. Wet kernels freeze with extra surface moisture, which can form larger ice crystals and make the thawed corn less vibrant.
- Use a stable cutting board and a sharp knife to make clean downward cuts.
- Cut close to the cob, but do not force the blade deeply into it.
- Freeze in meal-size portions instead of one large package.
- Press air out of freezer bags to help reduce freezer burn.
- Freeze packages flat for faster freezing and easier storage.
It is tempting to add butter and salt before freezing, but plain corn is generally more versatile and stores better. Add 1–2 tablespoons of unsalted butter and salt when serving so each dish can have its own seasoning.
If you are planning a full seasonal spread, these roasted Brussels sprouts and sweet potatoes make a delicious companion to a buttery corn side dish.
Storage and Reheating
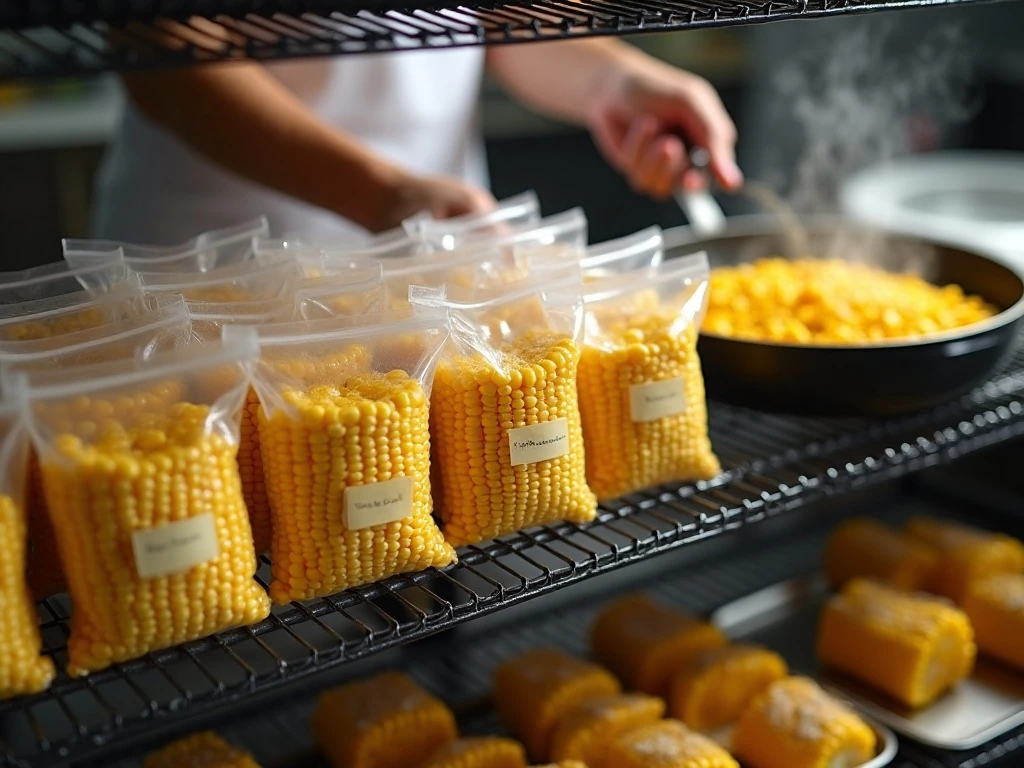
Keep the sealed corn in a consistently cold freezer. For the best quality, use it within about 8–12 months, although proper packaging and a steady freezer temperature are important throughout that time.
Freezing the packages flat is helpful because thin portions freeze quickly and can be arranged neatly. Once solid, stand the bags upright like files or stack them in a labeled basket so you can find smaller portions easily.
There is no need to thaw the kernels before cooking. Add them directly to a pot of soup, a casserole, a skillet, or a steamer basket and cook until hot throughout.
- Steaming: Steam from frozen until tender and heated through.
- Sautéing: Warm in a skillet with butter or oil, stirring until hot.
- Simmering: Add to soups, stews, or sauces and cook until heated through.
For a quick side dish, warm the corn in a skillet with 1–2 tablespoons of unsalted butter, then add salt and pepper. A squeeze of lime, a pinch of smoked paprika, or a handful of chopped herbs can be added after reheating.
Ways to Use Your Frozen Corn

Frozen corn is ready for much more than a side dish. Its sweet flavor works in creamy chowders, chicken tortilla soup, macaroni and cheese, savory muffins, enchiladas, and vegetable fried rice.
Add a portion to a winter pasta dinner for bright color and a little sweetness. During the warmer months, it also fits perfectly into our fresh summer pasta salad, especially when you want a make-ahead dish with colorful vegetables.
For a family meal, spoon the corn into a casserole with shredded chicken, rice, and a creamy sauce. For a lighter option, toss hot kernels with black beans, tomatoes, lime, and herbs for a fast bowl topping.
It can also become the star of a skillet. Sauté frozen corn with onions and peppers, then serve it beside grilled meat, roasted vegetables, or eggs.
If you enjoy sweet-and-savory dinners, use the corn as a bright side dish with our sweet chili chicken. The gentle sweetness of the kernels balances spicy sauces beautifully.
Troubleshooting Common Problems
If the corn tastes bland after freezing, the original ears may not have been especially fresh, or the corn may need seasoning after reheating. Butter, salt, pepper, lime juice, and fresh herbs can restore plenty of character.
If the kernels seem watery, focus on thorough draining after the ice bath. Packing warm or wet corn can also create excess ice, so cool it rapidly and let the surface moisture drain before filling the bags.
If the kernels are tough, they may have been cut too deeply into the cob, or the ears may have been overmature. Choose fully developed but fresh ears, blanch for 4 minutes, and cut only through the kernel rows.
If freezer burn appears, check that the bags are well sealed and that excess air has been pressed out. Rigid containers should have about 1/2 inch of headspace, while freezer bags should be filled in practical portions and sealed tightly.
How to Freeze Summer’s Sweet Corn for Winter
Ingredients
Method
- Husk 8 fresh, fully developed ears of sweet corn, remove all silk, and rinse the ears under cool water.
- Bring a large pot of water to a full boil. Carefully add the whole ears and blanch them for 4 minutes.
- Immediately transfer the hot ears to a large bowl filled with ice and cold water. Cool them for about 4–5 minutes to stop the cooking.
- Drain the ears thoroughly. Using a sharp knife, cut downward along each cob to remove the kernels, avoiding a deep cut into the cob, then lightly scrape the cob to collect the remaining sweet milk.
- Pack the kernels into freezer bags or airtight freezer containers in meal-size portions. Leave about 1/2 inch of headspace in rigid containers, or press excess air from freezer bags before sealing.
- Label every package with the date and freeze the corn in a flat layer so it freezes quickly. Once solid, the bags may be stacked or stored upright to save space.
- When ready to serve, cook the corn directly from frozen by steaming, sautéing, or simmering until heated through. Finish with optional butter, salt, and pepper.
Notes
Final Thoughts
Freezing summer’s sweet corn is one of the easiest ways to preserve a taste of the season for winter. With 4 minutes of blanching, a quick 4–5 minute ice bath, careful draining, and airtight packaging, 8 medium ears become about 4 cups of ready-to-cook kernels.
Keep the corn plain when freezing, portion it for the meals you actually make, and label every package with the date. When cold weather arrives, you can cook the kernels straight from frozen and finish them with butter, salt, pepper, or any seasoning that suits the dish.
For another easy freezer-friendly side idea, see our slow cooker sweet potatoes. Together, homemade frozen corn and tender sweet potatoes make winter dinners colorful, comforting, and full of summer flavor.