Do-Ahead Busy Day Oven Bunwiches are saucy ground beef and melted cheese sandwiches that you assemble hours ahead, wrap individually in foil, refrigerate, and bake when dinner is needed. The filling takes about 15–20 minutes to prepare, simmers for about 10 minutes, and the wrapped bunwiches bake at 350°F (175°C) for 20–25 minutes.
Each bun is packed with savory beef, tender onion and celery, tangy tomato sauce, ketchup, yellow mustard, and a touch of brown sugar. The result is a warm, nostalgic sandwich with a soft bun, molten American cheese, and a filling thick enough to stay neatly inside while it bakes.
Jump to RecipeWhy You’ll Love This Recipe
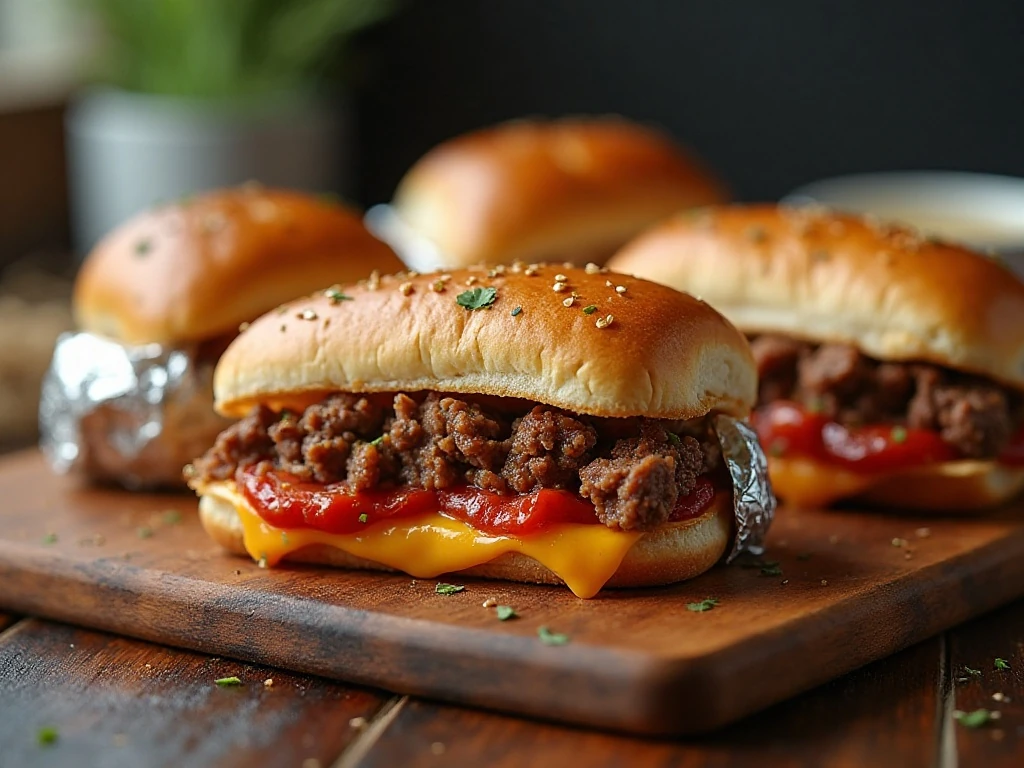
Busy evenings call for food that can be prepared before the rush begins, and these oven bunwiches answer that need beautifully. You can cook the beef mixture in the afternoon, assemble all eight sandwiches, and refrigerate them until dinner time or the next day.
Unlike a skillet sandwich that must be served as soon as it is made, each bunwich is wrapped on its own. That makes the recipe especially useful for families with different schedules, casual parties, packed gatherings, or a relaxed weekend supper.
- Make-ahead friendly: Assemble several hours ahead or refrigerate overnight.
- Comforting flavor: Tomato sauce, ketchup, mustard, and brown sugar create a familiar sweet-tangy beef filling.
- Easy serving: The foil wrappers help keep the sandwiches warm and make cleanup simple.
- Family-sized: The recipe makes eight individual bunwiches from one pound of ground beef.
If your household enjoys creative beef-and-cheese meals, you may also like these cheeseburger stuffed meatballs for another fun dinner idea.
Ingredients You’ll Need
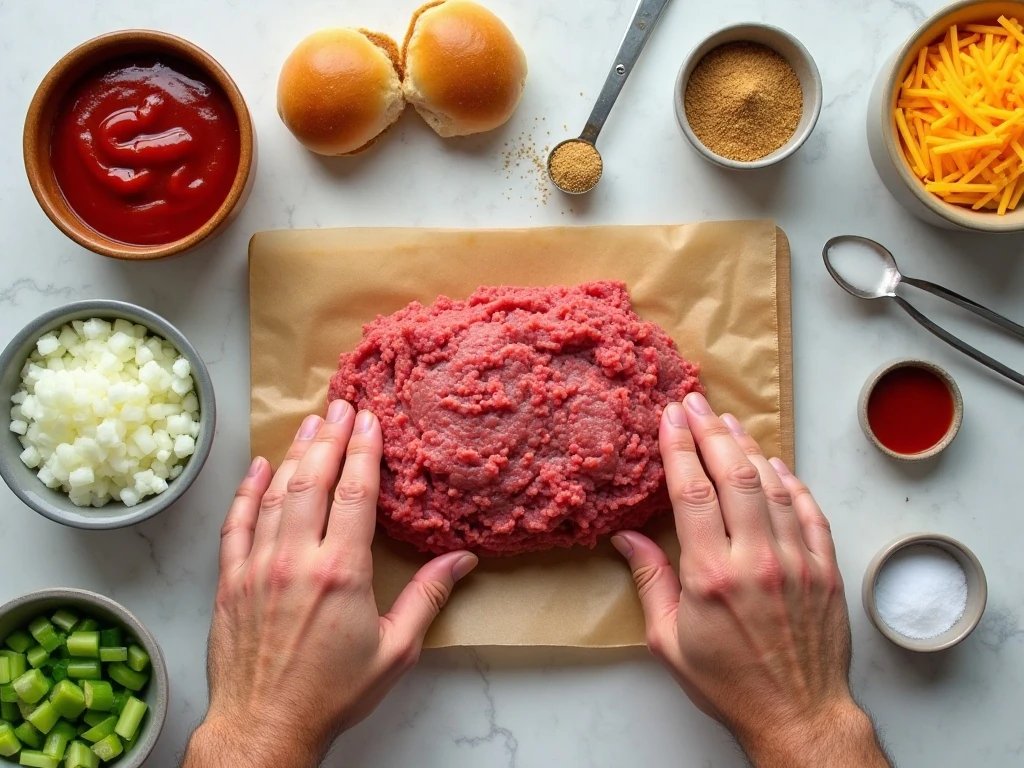
The ingredient list is short, practical, and built from familiar grocery-store staples. Ground beef provides the hearty base, while onion and celery add gentle sweetness, savory depth, and a little texture.
The sauce ingredients work together rather than competing with one another. Tomato sauce supplies moisture, ketchup adds a sweet tomato note, mustard brings tang, and brown sugar rounds out the acidity with a subtle caramel-like sweetness.
- 1 pound ground beef: Use your preferred lean-to-fat ratio, then drain the skillet well after browning.
- 1/2 cup onion and 1/2 cup celery: Chop both finely so they blend into the filling and soften quickly.
- Tomato sauce and ketchup: These form the saucy base that coats the beef.
- Mustard, brown sugar, salt, and pepper: These simple seasonings give the filling its classic sweet-and-savory profile.
- 8 hamburger buns and 8 American cheese slices: Choose sturdy buns that can hold the filling and remain intact during wrapping.
For another comforting skillet meal to add to your menu, take a look at this easy skillet lasagna. Both recipes are practical choices when you want a filling dinner without a complicated preparation routine.
How to Make It Step-by-Step
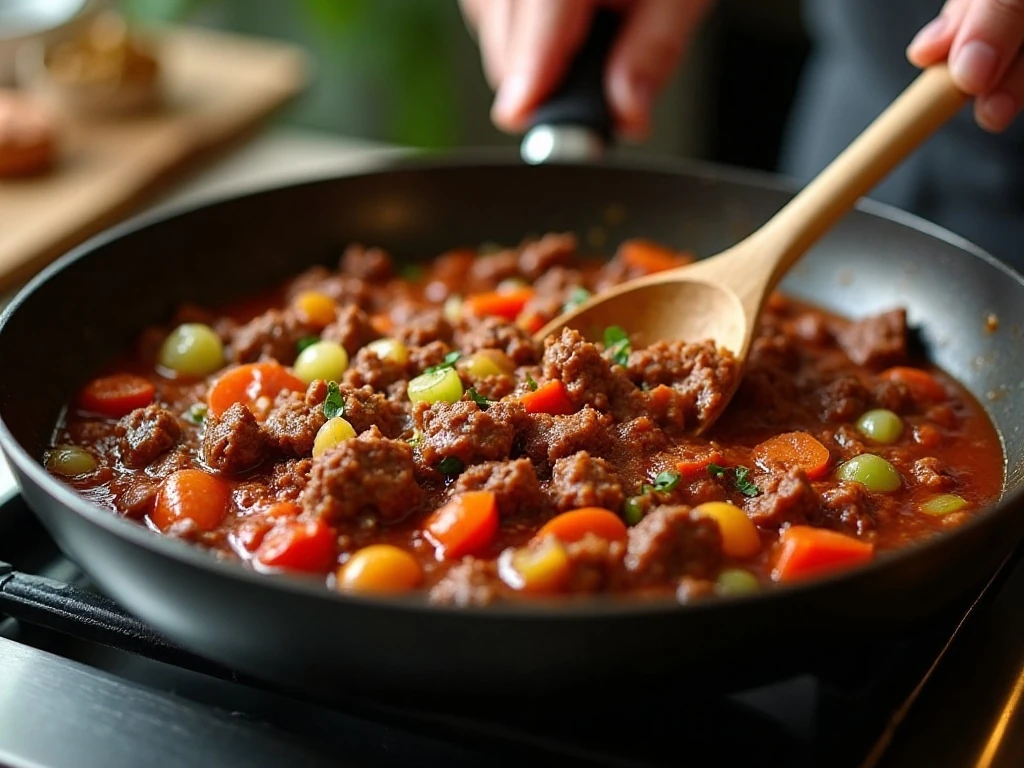
Step 1: Begin by preparing the vegetables and measuring the sauce ingredients before turning on the stove. Finely chop the onion and celery so they soften at the same pace as the beef, and keep the ketchup, mustard, brown sugar, salt, and pepper close at hand.
Step 2: Place the ground beef, chopped onion, and chopped celery in a large skillet. Cook over medium heat, breaking the beef into small crumbles, until it is no longer pink and the vegetables are starting to soften.
Step 3: Carefully drain off excess fat from the skillet. This matters especially for a make-ahead recipe because extra fat can collect in the foil and make the buns heavy or greasy after refrigeration.
Step 4: Add the tomato sauce, ketchup, yellow mustard, packed brown sugar, salt, and black pepper to the drained beef. Stir until every crumble is coated and the sauce is evenly distributed throughout the skillet.
Step 5: Simmer the mixture uncovered for about 10 minutes, stirring occasionally. The finished filling should look thick and spoonable, with very little loose liquid; if it is watery, the buns are more likely to become soggy while they rest.
Step 6: Split the hamburger buns and place the bottoms on a clean work surface or baking sheet. Spoon the beef mixture evenly among the eight bottoms, leaving enough room around the edges to keep the filling from spilling out.
Step 7: Place one slice of American cheese over each beef portion and add the matching bun top. The cheese melts into the hot filling during baking, helping create the rich, familiar texture that makes these sandwiches so satisfying.
Step 8: Wrap each bunwich tightly in aluminum foil, folding the seams securely so the sandwiches remain enclosed. Refrigerate them for several hours or overnight; this is the point that makes the recipe so useful on a busy day.
Step 9: When ready to bake, preheat the oven to 350°F (175°C). Place the foil-wrapped sandwiches on a baking sheet, leaving a little space between them so heat can circulate.
Step 10: Bake for 20–25 minutes, until the bunwiches are hot and the American cheese is melted. Open one wrapper carefully to check the center, then serve immediately while the filling is warm and the cheese is soft.
Pro Tips for the Best Bunwiches

The most important detail is controlling moisture. Drain the browned beef thoroughly, and do not rush the uncovered simmer; a thick filling stays in place far better than a loose one.
When choosing buns, look for sturdy hamburger buns that are not sliced completely through or overly delicate. A bun with a firm crumb is easier to fill, wrap, refrigerate, and bake without splitting.
- Chop finely: Small pieces of onion and celery distribute evenly through every bite.
- Stir while simmering: Occasional stirring prevents sticking and helps the sauce reduce evenly.
- Divide evenly: Use roughly the same amount of filling in each bunwich so all eight sandwiches finish at the same time.
- Wrap tightly: A secure foil package keeps the bun from drying and helps retain the sandwich’s heat.
- Use a baking sheet: It catches any stray drips and makes it easier to move all the wrapped sandwiches in and out of the oven.
American cheese is the traditional choice here because it melts smoothly and evenly. Published variations sometimes use cheddar or omit celery, but this version keeps the classic balance of beef, tomato-ketchup sauce, individually wrapped buns, and melted cheese.
Make-Ahead, Storage, and Reheating
These bunwiches are designed to be assembled ahead. Once wrapped, refrigerate them for several hours or overnight, then bake at 350°F (175°C) for the standard 20–25 minutes.
If you freeze the wrapped sandwiches, thaw them before baking for the most dependable result. Frozen bunwiches can require additional baking time, and the center should be hot before serving.
For food quality and safety, refrigerate the assembled sandwiches promptly rather than leaving them at room temperature. Store leftovers chilled and reheat until hot, keeping them wrapped during reheating to help protect the buns from drying.
These sandwiches are also easy to serve with simple sides. A crisp salad with tomatillo avocado ranch dressing adds a cool, creamy contrast to the warm beef filling.
What to Serve with Oven Bunwiches
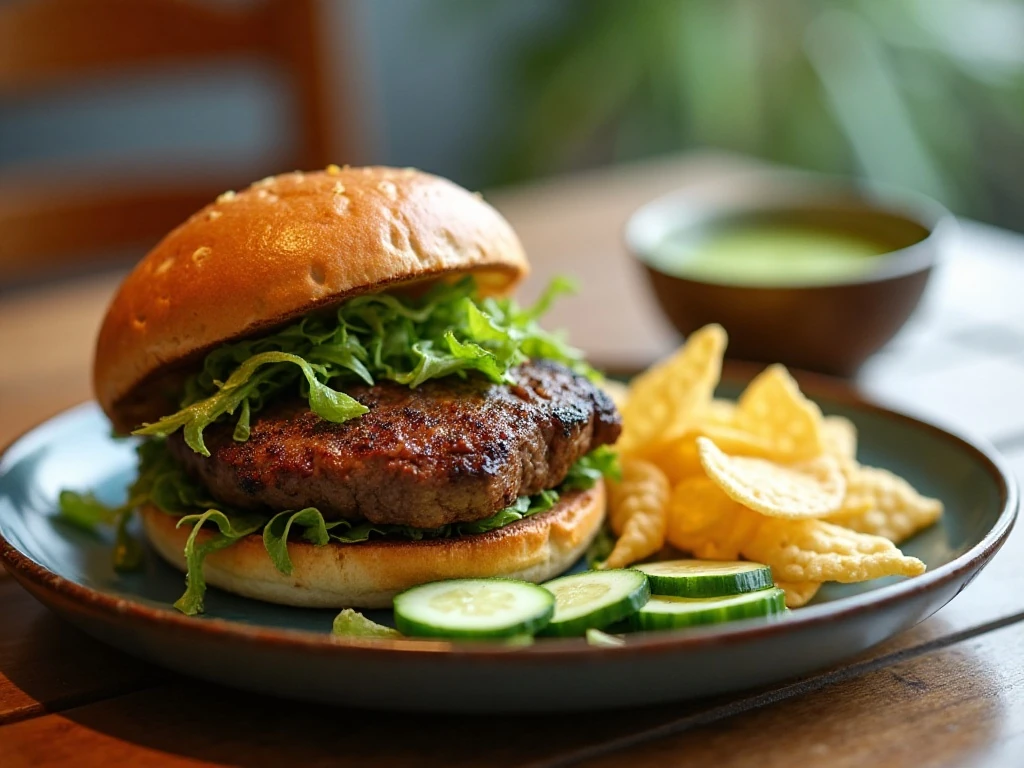
The bunwiches are hearty enough to stand alone, but a few fresh or crunchy sides make the meal feel complete. Try a simple green salad, carrot sticks, sliced cucumbers, potato chips, or a bowl of seasonal fruit.
For a relaxed party spread, cut the bunwiches in half after baking and arrange them on a platter. They pair nicely with a bright tomato side such as this fresh bruschetta recipe, especially when you want a little color and acidity alongside the rich beef.
Keep dessert uncomplicated after such a comforting main dish. A batch of Golden Oreo cupcakes makes a cheerful finish for a family dinner, potluck, or casual gathering.
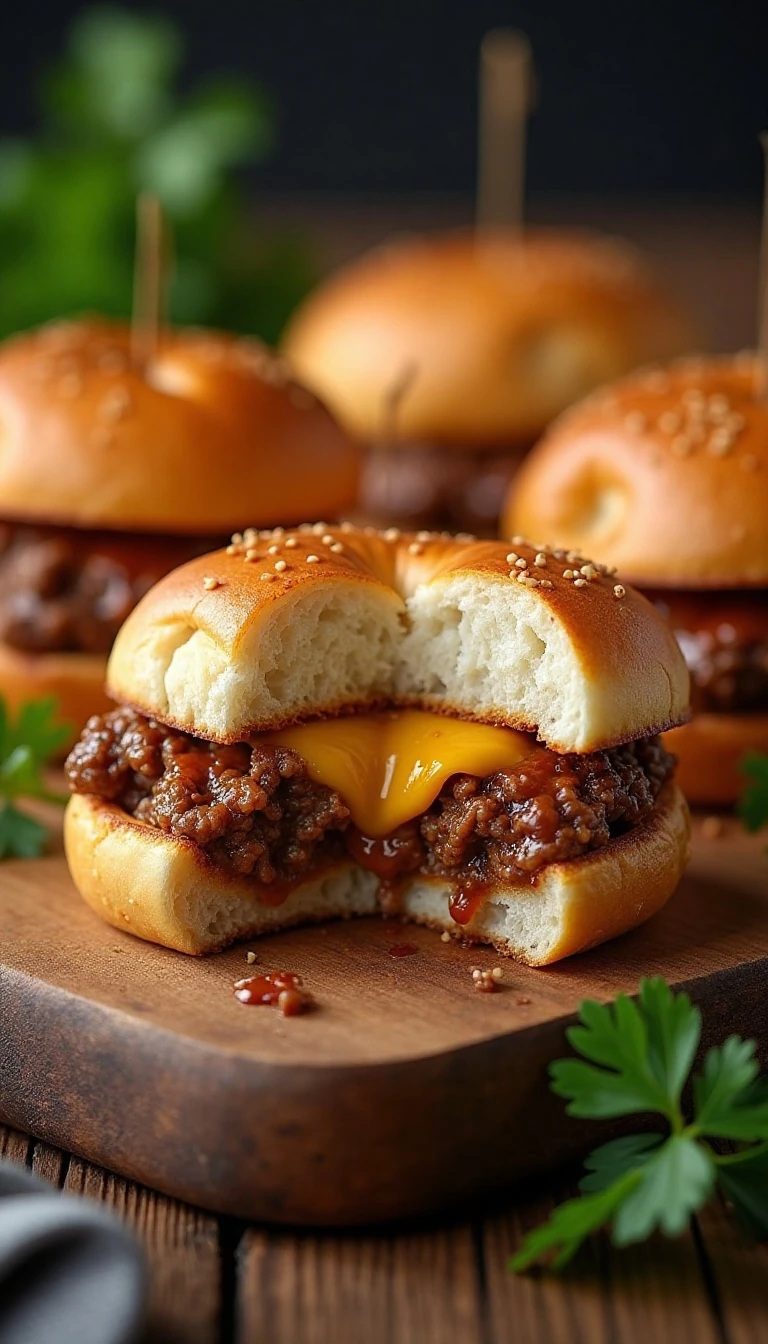
Do-Ahead Busy Day Oven Bunwiches
Ingredients
Method
- Brown the ground beef, onion, and celery together in a large skillet over medium heat until the beef is no longer pink and the vegetables begin to soften. Drain off excess fat thoroughly so the make-ahead filling will not become greasy or loosen the buns.
- Stir in the tomato sauce, ketchup, prepared yellow mustard, brown sugar, salt, and black pepper. Bring the mixture to a gentle simmer and cook uncovered for about 10 minutes, stirring occasionally, until thick enough to sit in the buns.
- Split the hamburger buns, keeping the tops and bottoms together as pairs. Spoon the warm beef mixture onto the eight bun bottoms, place one American cheese slice over each portion, and replace the bun tops.
- Wrap each assembled bunwich securely in aluminum foil, making sure the seams are closed. Refrigerate the sandwiches for several hours or overnight until you are ready to bake them.
- Heat the oven to 350°F (175°C). Arrange the foil-wrapped bunwiches on a baking sheet and bake for 20–25 minutes, until the sandwiches are hot throughout and the cheese has melted.
- Open the foil carefully because steam may escape, then serve the bunwiches immediately. Keep the sandwiches in their foil for serving if you want them to stay warm during a busy family meal.
Notes
Final Thoughts
Do-Ahead Busy Day Oven Bunwiches earn their place in the best family recipe collection because they combine straightforward ingredients with genuinely useful preparation. The beef filling can be made ahead, the sandwiches can wait in the refrigerator, and the oven does the final work when everyone is ready to eat.
For the tastiest result, remember the three essentials: drain the beef well, simmer the sauce until thick, and wrap every bunwich securely. At the end of the bake, you will have warm, tender buns filled with seasoned beef and melted cheese—a cozy meal that feels special without requiring last-minute effort.
Make the full batch for dinner, save a few for another busy evening, or serve them wrapped in foil for an easy informal buffet. However you serve them, these nostalgic bunwiches are proof that a little planning can turn simple ingredients into a satisfying oven-fresh meal.