These Christmas Tree Brownies are an easy holiday dessert made from a fudgy 13 x 9-inch brownie slab cut into triangles, topped with green buttercream, sprinkles, and candy-cane trunks. The complete scratch recipe takes about 25 to 35 minutes to prepare, 25 to 30 minutes to bake, at least 1 hour to cool, and 15 to 20 minutes to decorate, yielding about 12 to 16 adorable brownie trees.
Every bite combines a rich chocolate center with creamy vanilla frosting and cheerful candy decorations. They are simple enough for a beginner, fun for children to decorate, and festive enough for a Christmas cookie tray, classroom party, family gathering, or holiday dessert table.
Jump to RecipeWhy You’ll Love This Recipe
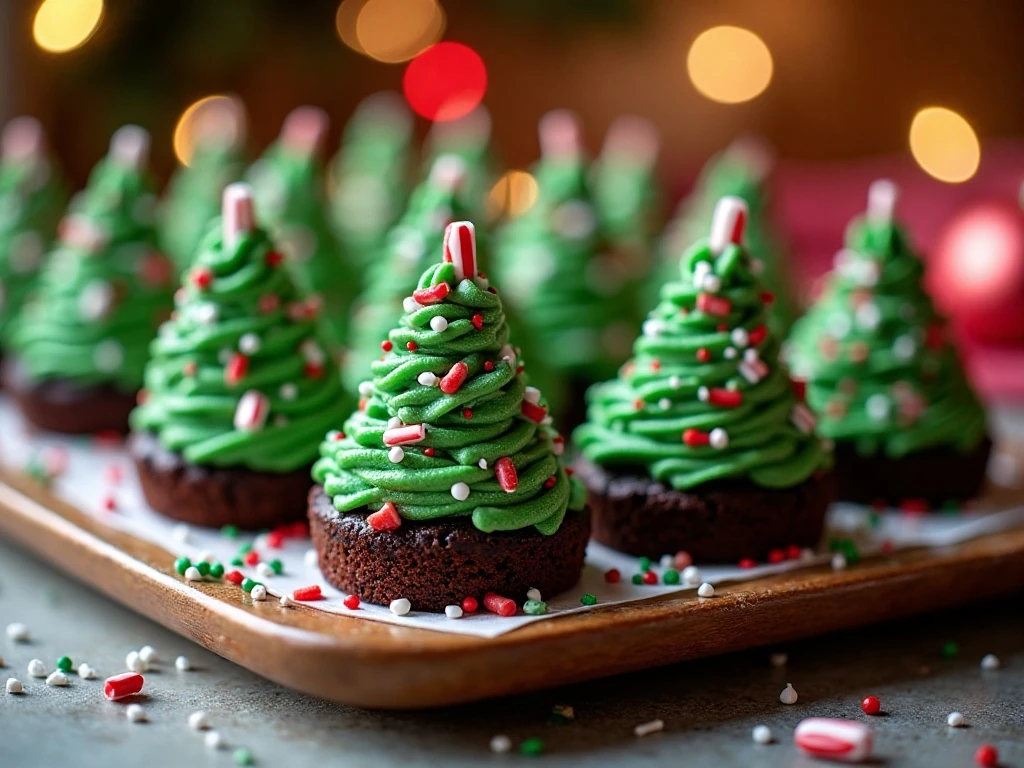
Christmas Tree Brownies bring the look of a decorated Christmas tree to a dessert that is much easier than baking and assembling individual cookies. The brownie base is made in one pan, so most of the work happens before the decorating begins.
The texture is fudgy and chocolate-rich, with a delicate crackly top and optional semisweet chocolate chips throughout. Green frosting adds sweetness and color, while candy-cane trunks give every tree a playful finishing touch.
This is also a wonderful recipe for making memories. Set out bowls of sprinkles, nonpareils, yellow candies, and extra icing so each person can create a slightly different tree.
If you are preparing a full holiday dessert spread, pair these with our reindeer brownie idea for another easy chocolate centerpiece.
Ingredients You’ll Need
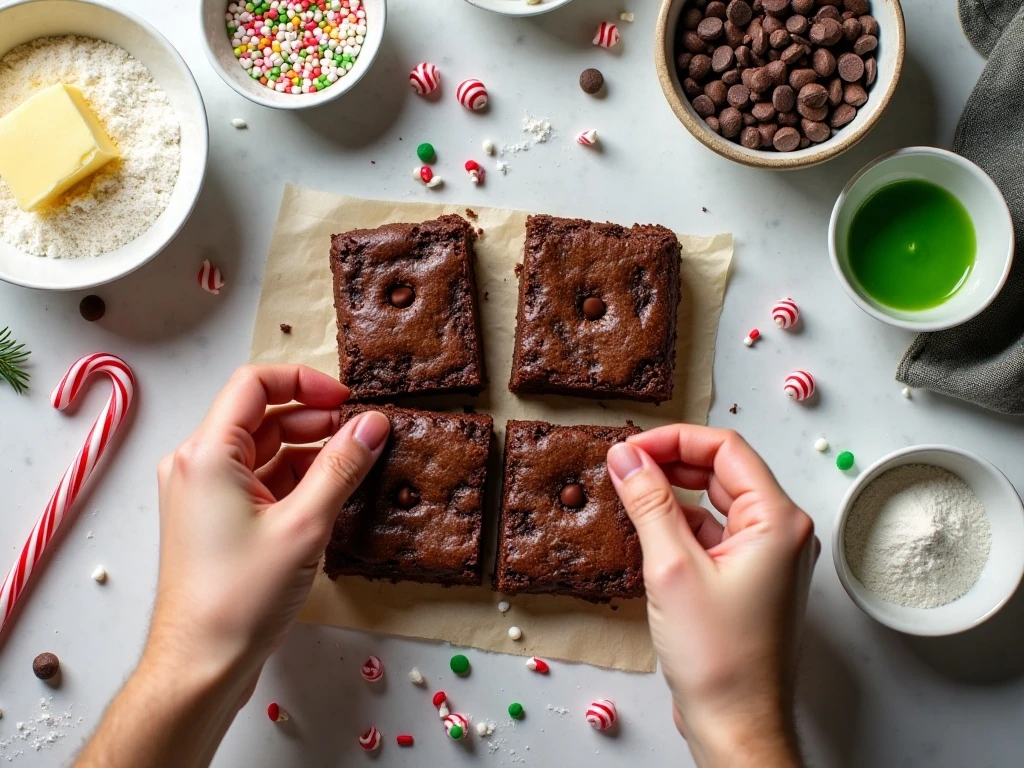
The brownie batter uses everyday pantry staples: melted unsalted butter, granulated sugar, eggs, vanilla, unsweetened cocoa powder, flour, and salt. Chocolate chips are optional, but they add soft pockets of semisweet chocolate that make the brownies especially satisfying.
- Butter: Melted butter gives the brownies a rich flavor and moist texture.
- Cocoa powder: Unsweetened cocoa creates the deep chocolate color and taste.
- Eggs: Four large eggs provide structure while keeping the center tender.
- Frosting: Softened butter, powdered sugar, milk or cream, and vanilla make a simple buttercream.
- Decorations: Green gel coloring, 12 to 16 candy canes or straight pieces, and assorted sprinkles complete the trees.
Gel food coloring is useful because it produces a strong green shade without adding much liquid to the frosting. Yellow candies or a little yellow icing can be used to make tiny stars for the treetops.
For a broader holiday candy table, our chocolate tree candy makes a fitting companion.
How to Make It Step-by-Step
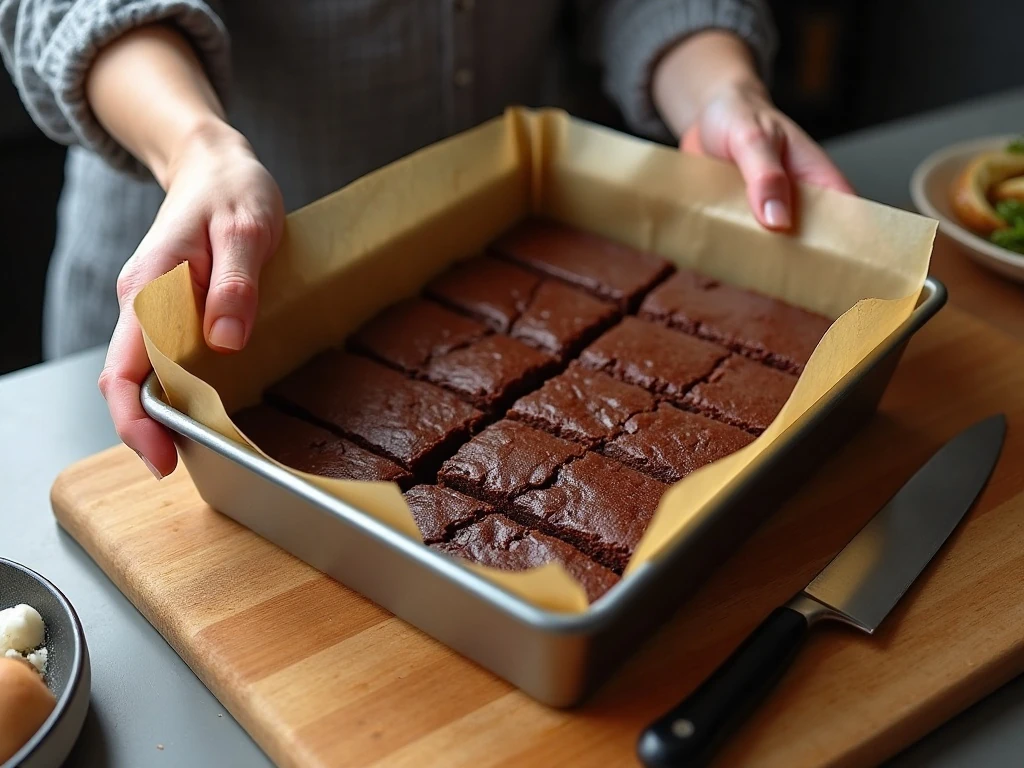
Step 1: Begin by heating the oven to 350°F (175°C). Line a 13 x 9-inch baking pan with parchment paper, leaving the paper hanging over two sides so the finished brownie slab can be lifted out easily.
Step 2: Add the melted butter and granulated sugar to a large bowl and whisk them together. Add the four eggs and vanilla extract, then continue whisking until the mixture looks smooth and cohesive.
Step 3: Add the cocoa powder, flour, and salt to the bowl. Stir only until the dry ingredients disappear, because overmixing can make the finished brownies less tender.
Step 4: Fold in the semisweet chocolate chips if you are using them. Spread the batter into the lined pan and smooth the top so it bakes evenly from edge to edge.
Step 5: Bake for about 25 to 30 minutes. The center should be set, and a toothpick should come out with a few moist crumbs rather than wet batter; avoid waiting for the toothpick to look completely dry.
Step 6: Let the brownies cool completely in the pan for at least 1 hour. Once cool, chill them for 20 to 30 minutes if possible, since a brief chill helps the slab hold its shape during cutting.
Step 7: Use the parchment overhang to lift the brownie slab onto a cutting board. Cut it into long strips or rows, then cut each row into triangles, saving the small scraps for snacking or crumbling over ice cream.
Step 8: For the frosting, beat the softened butter until creamy. Gradually beat in the powdered sugar, milk or heavy cream, and vanilla extract, adding a little more liquid only if the frosting needs to loosen.
Step 9: Tint the frosting green with gel food coloring. Transfer it to a piping bag with a small star or round tip, or snip the corner from a zip-top bag if you prefer a simple decorating setup.
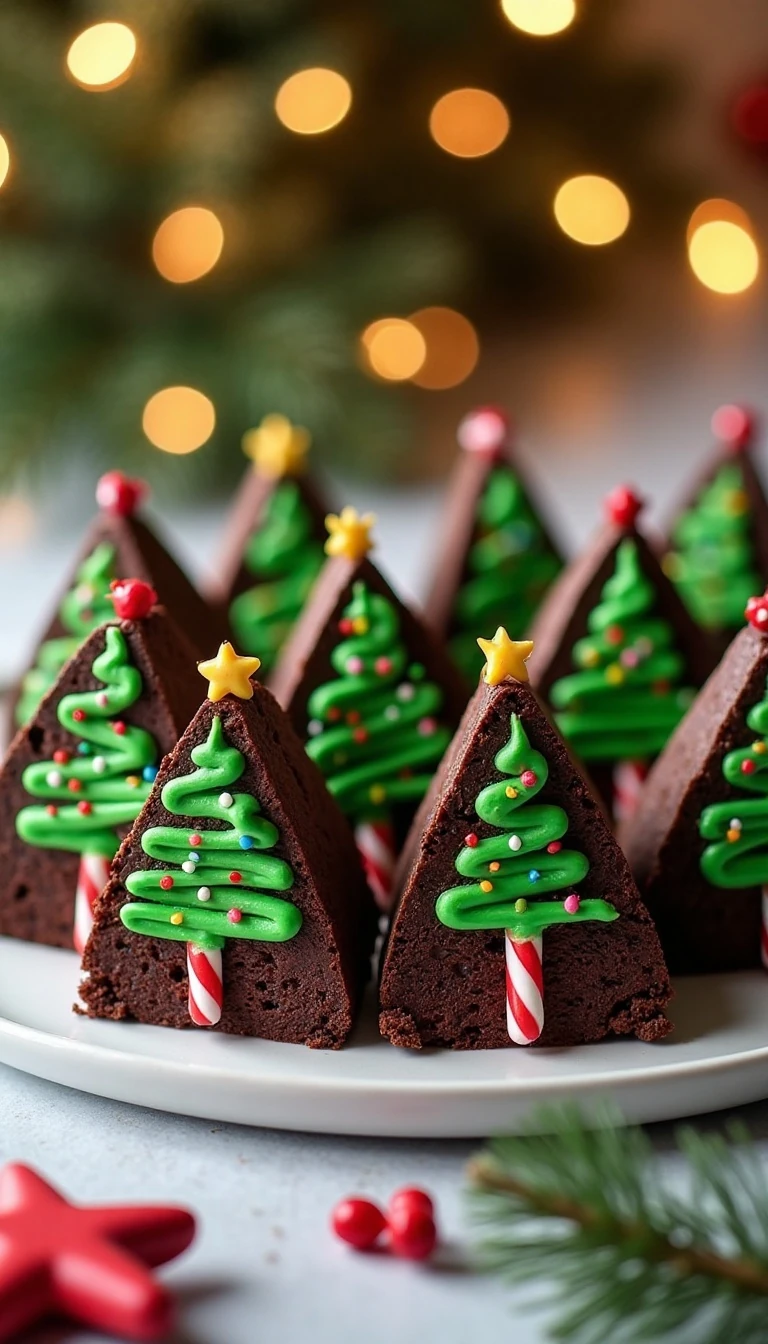
Step 10: Pipe a continuous zigzag from the top point of each brownie triangle down to its wide base. Press a candy-cane piece into the bottom edge as the trunk, then add sprinkles, nonpareils, or a yellow star before the frosting sets.
Decorating Ideas for Festive Brownie Trees
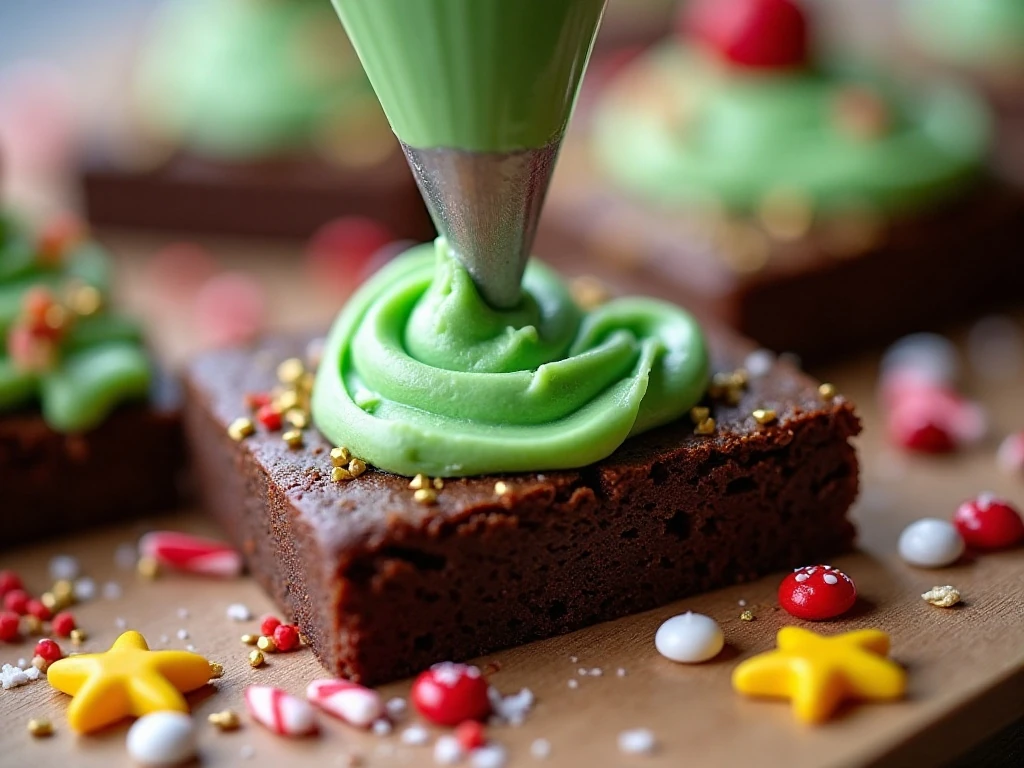
The classic design uses one green frosting zigzag, but you can make every tree look special with a few small changes. A star tip creates ridged branches, while a round tip gives a clean, graphic line.
- Use red and white sprinkles for a traditional Christmas palette.
- Add silver or gold nonpareils for a sparkling appearance.
- Place one yellow candy at the top of each tree as a star.
- Use mini candies as ornaments, spacing them along the frosting.
- Mix light and dark green frosting for a woodland look.
Cut candy canes into straight pieces if the curved tops are difficult to insert. Push each trunk in gently after frosting, and support the brownie with your other hand so the triangle does not crack.
For another sweet option that works well beside these trees, serve a small pan of sugar cookie fudge cut into festive squares.
Pro Tips for Clean Cuts and Great Texture
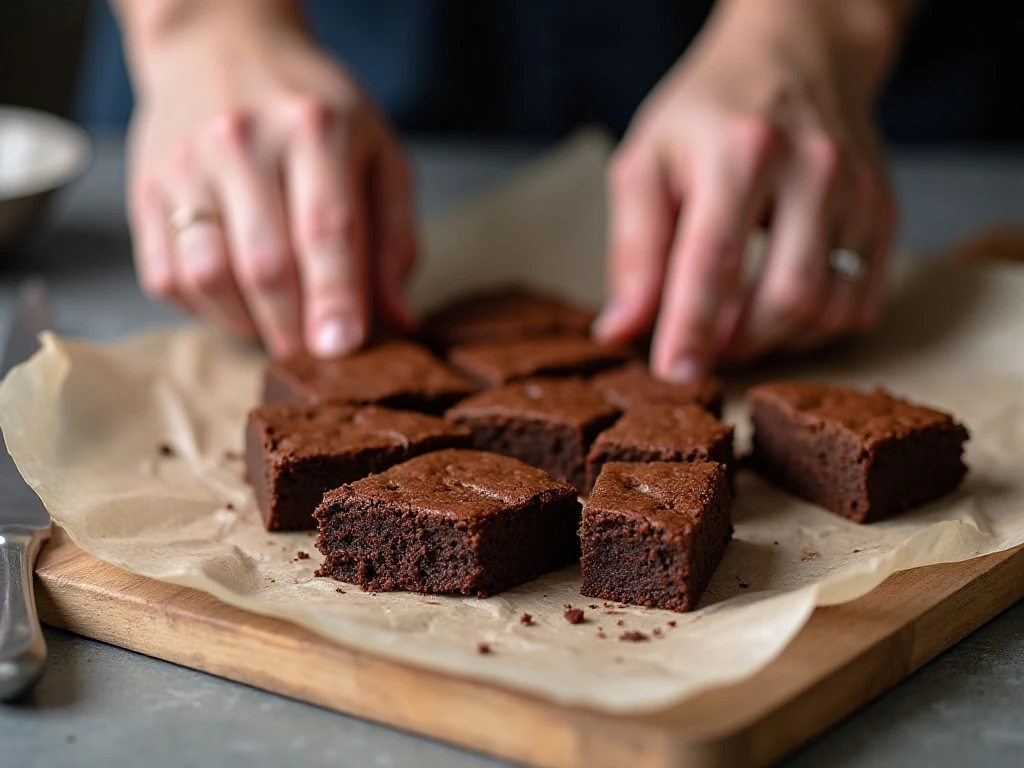
Cooling is the most important part of this recipe. Warm brownies are soft and crumbly, which makes triangular cuts rough and leaves crumbs in the frosting, so allow the full cooling time before decorating.
Use a sharp knife and wipe the blade between cuts for neat edges. If the brownie slab feels sticky, chill it for the recommended 20 to 30 minutes, then make long, deliberate cuts instead of sawing back and forth.
Do not overmix after adding the flour. A few moist crumbs on the toothpick indicate a fudgy center, while baking until the tester is perfectly dry can produce a firmer brownie.
For a shortcut, use one 18- to 19-ounce box of fudge brownie mix. Add the eggs, oil, and water listed on that particular box, bake according to its directions at 350°F (175°C), and allow the brownies to cool fully before cutting and decorating.
Because boxed mixes vary by brand, follow the package instructions rather than applying a universal amount of liquid or eggs. This keeps the texture reliable and prevents a batter that is too dry or too loose.
If you are serving a mixed menu, balance this rich dessert with a savory family meal such as turkey taco burrito bowls before bringing out the holiday sweets.
Storage and Serving Suggestions
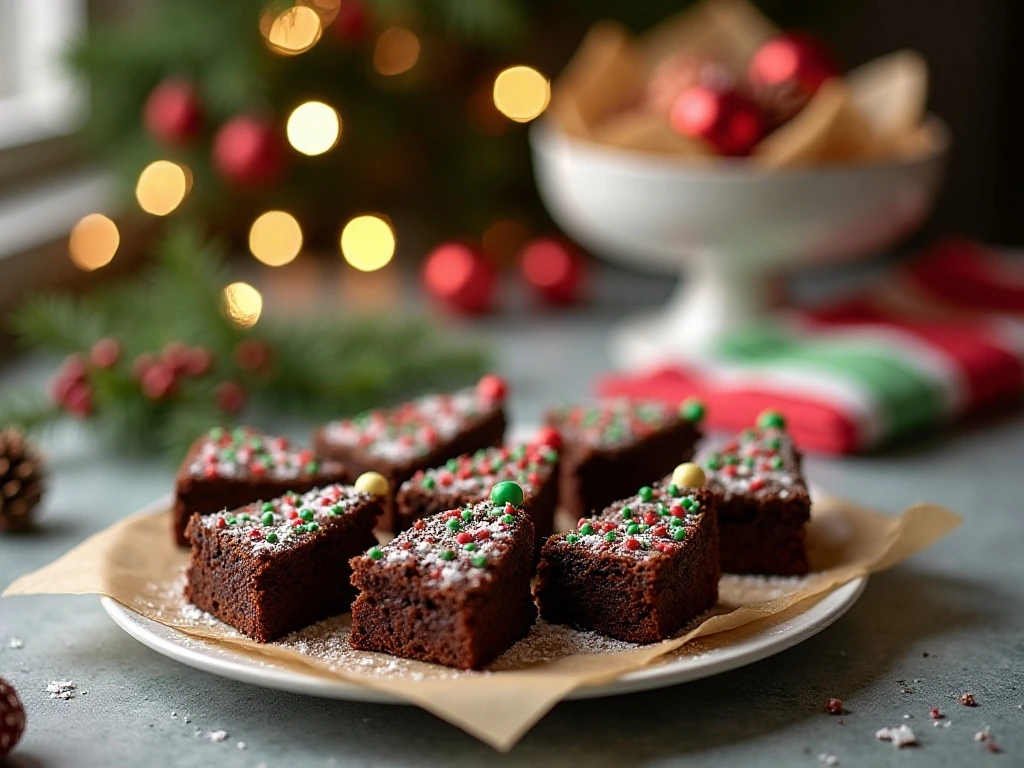
Arrange the finished trees on a platter with the trunks pointing toward the edge so guests can pick them up easily. They look especially charming when placed in alternating rows, with a few extra sprinkles scattered around the base of the platter.
Keep the brownies in a covered container so the frosting does not dry out. If your kitchen is warm, refrigerate them, then let them sit briefly before serving so the brownie texture softens and the chocolate flavor comes through fully.
Store the trees in a single layer when possible to protect the frosting and candy decorations. If stacking is necessary, place parchment between layers and avoid pressing down on the piped icing.
The brownie scraps should not be discarded. Break them into pieces for a holiday sundae, layer them with whipped cream in small glasses, or enjoy them as the cook’s reward while the decorated trees wait for guests.
For a vegetable side to serve before dessert at a holiday gathering, consider our grilled zucchini boats. Their savory flavor provides a pleasant contrast to these rich chocolate treats.
Christmas Tree Brownies
Ingredients
Method
- Heat the oven to 350°F (175°C). Line a 13 x 9-inch baking pan with parchment paper, leaving enough paper overhanging the sides to lift out the cooled brownie slab.
- Whisk the melted butter and granulated sugar together until smooth. Add the eggs and vanilla extract, then whisk until the mixture is evenly blended.
- Stir in the cocoa powder, flour, and salt just until no dry streaks remain. Fold in the semisweet chocolate chips if using, taking care not to overmix the batter.
- Spread the batter evenly in the prepared pan. Bake for about 25 to 30 minutes, until the center is set and a toothpick inserted in the middle comes out with a few moist crumbs.
- Cool the brownies completely in the pan for at least 1 hour. For cleaner cuts, chill the cooled brownies for another 20 to 30 minutes before shaping them.
- Lift the brownie slab from the pan using the parchment paper. Cut it into long strips or rows, then cut each row into triangular tree shapes; a 13 x 9-inch pan usually produces 12 to 16 trees, with some scraps.
- Make the frosting by beating the softened butter until smooth. Gradually add the powdered sugar, milk or cream, and vanilla, then beat until creamy and tint the frosting green with gel food coloring.
- Pipe green frosting in a zigzag pattern over each brownie triangle, moving continuously from the top point to the wide base. Insert a candy-cane piece into the bottom of each tree and finish with sprinkles or candy decorations.
Notes
Final Thoughts
This Christmas Tree Brownies recipe turns a simple pan of homemade brownies into a cheerful holiday dessert with very little fuss. The key is to bake the chocolate slab until the center is set, cool it completely, chill it briefly for tidy triangles, and decorate with a confident green zigzag.
Whether you choose the scratch version or the boxed-mix shortcut, these brownie trees are sure to bring smiles. Make them with family, customize the ornaments with your favorite candies, and serve them as a festive centerpiece everyone will want to try.