This Easy Chocolate Christmas Tree Candy Recipe makes about 24 festive no-bake treats with only green candy melts, pretzel sticks, Christmas sprinkles, and mini M&M candies. Melt the confectionery coating, pipe it into tree shapes over the pretzels, decorate while soft, and refrigerate for 15–30 minutes until firm.
Each little tree combines a crisp, salty pretzel trunk with smooth, sweet green candy coating and colorful candy decorations. The simple piping method is quick enough for a busy holiday afternoon and fun enough to make with children, while the finished candies look charming on cookie trays, dessert tables, and edible gift plates.
Jump to RecipeWhy You’ll Love This Recipe

These Christmas tree candies deliver a wonderful mix of textures without requiring an oven, candy thermometer, or complicated candy-making technique. The pretzel sticks provide a crisp, lightly salty center, while the green coating creates a smooth sweet shell around every bite.
The recipe is also wonderfully forgiving. The trees do not need to be perfectly identical, and a slightly wavy zigzag often makes them look more like charming handmade evergreens.
They are especially useful during the holiday season because the preparation takes only 10–15 minutes, melting takes about 3–5 minutes, and chilling takes 15–30 minutes. For another festive project with a pastry focus, try these Christmas tree pastries alongside your candy tray.
- No baking required
- About 24 small candies from one batch
- Easy to customize with holiday decorations
- Kid-friendly piping and decorating
- Convenient for cookie exchanges and edible gifts
Ingredients You’ll Need
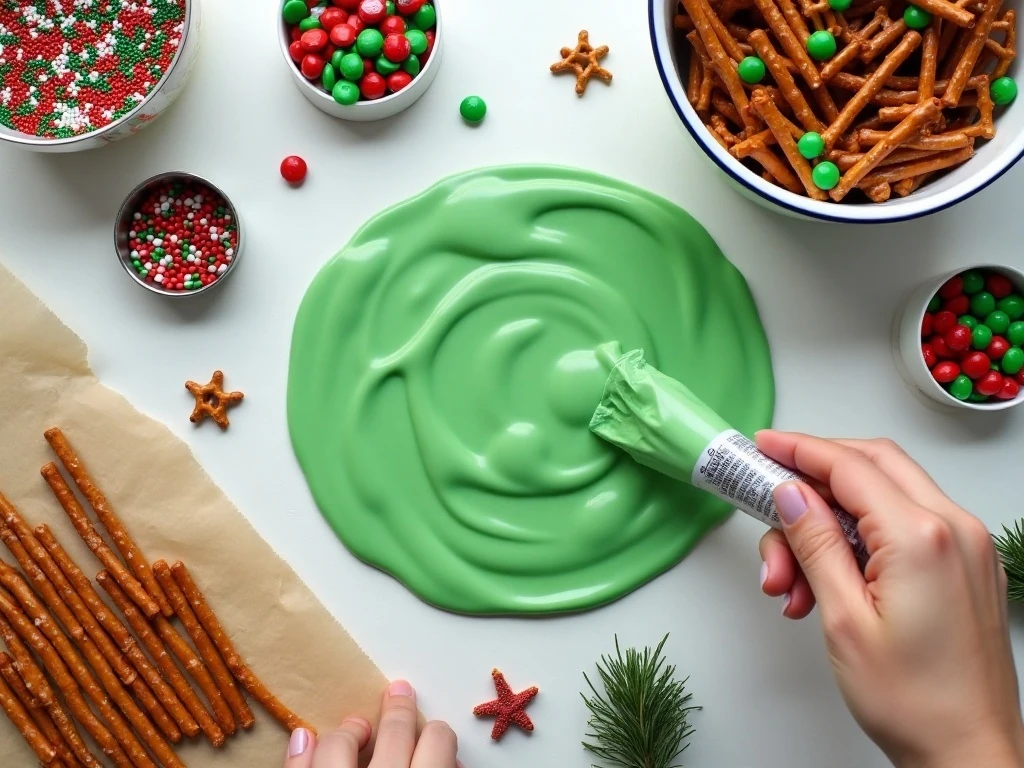
You need just four main ingredients to make these chocolate Christmas trees. Green candy melts or green confectionery coating create the tree shape, set firmly, and remain easy to handle once chilled.
- 12 ounces green candy melts: Choose a smooth green coating designed for melting and dipping.
- 24 small pretzel sticks: These become the trunks and add a crisp, salty contrast.
- 1/4 cup assorted Christmas sprinkles: Use nonpareils, jimmies, tiny stars, or a colorful holiday blend.
- 1/4 cup mini M&M candies or other small candy decorations: These act like bright ornaments on the trees.
You will also need parchment paper or wax paper, a baking sheet, a microwave-safe bowl, and a piping bag, decorating bag, or zip-top bag. A small pair of kitchen scissors makes it easy to snip a controlled opening in the bag.
For a second chocolate treat with a crisp, chewy texture, keep our chocolate peanut butter rice krispy cups in mind for your holiday dessert spread.
How to Make It Step-by-Step
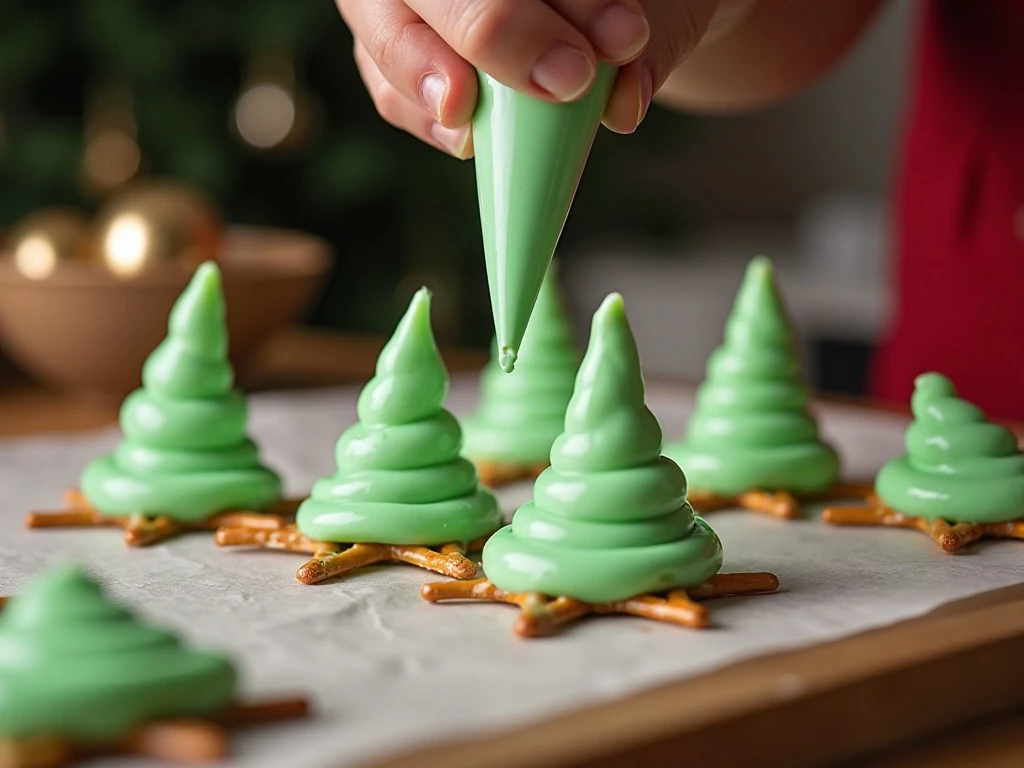
Step 1: Prepare the baking sheet by lining it with parchment paper or wax paper. Arrange the 24 pretzel sticks in a single layer with space between them, placing each one vertically or at a slight angle so there is room to pipe a tree around it.
Step 2: Place the green candy melts or confectionery coating in a microwave-safe bowl. Heat according to the package directions in 20–30-second intervals, stirring thoroughly after each interval so the warmer pieces melt the remaining coating without overheating it.
Step 3: Continue stirring until the coating is glossy and smooth, with no visible lumps. If it seems too thick for piping, stir in a small amount of vegetable shortening or paramount crystals, but never add water because even a little moisture can make the coating seize.
Step 4: Pour or spoon the melted coating into a piping bag, decorating bag, or sturdy zip-top bag. Snip a small corner opening; a smaller opening gives you better control and lets you build the tree gradually.
Step 5: Pipe a zigzag triangle over each pretzel stick, starting near the top and working downward. Keep the lines close together near the top, then widen the zigzag toward the bottom so the coating forms a recognizable Christmas tree around the pretzel trunk.
Step 6: Add the decorations immediately while the candy coating is soft. Sprinkle the Christmas sprinkles over each tree, then place mini M&M candies or other small candy decorations wherever you want colorful ornament-like details.
Step 7: Transfer the baking sheet to the refrigerator and chill the candies for 15–30 minutes. They are ready when the coating feels completely firm and lifts cleanly from the parchment or wax paper.
Step 8: Carefully peel each candy from the liner, taking care not to bend the pretzel trunk. Arrange the finished trees on a platter, or place them in an airtight container with parchment between layers.
Pro Tips for Perfect Chocolate Trees
The most important timing tip is to decorate each tree immediately after piping. Candy coating hardens quickly, and sprinkles or mini candies will not stick well once the surface begins to set.
Work with a small bag opening rather than cutting a large corner. You can always make the opening bigger, but a small opening makes it easier to create neat zigzags and prevents the coating from flowing too quickly.
- Keep the coating smooth: Stir after every microwave interval and avoid overheating.
- Use a steady rhythm: Move the piping bag from side to side in one continuous motion.
- Leave the trunks visible: Let a little pretzel extend below the green triangle for a clear tree-trunk effect.
- Decorate over the tray: This catches stray sprinkles and keeps cleanup simple.
- Do not add water: Use vegetable shortening or paramount crystals if the coating needs thinning.
For a different holiday flavor profile, you can serve these sweet candies with a savory snack board that includes our easy hot pepper jelly. The sweet-and-spicy contrast is appealing at parties, especially when several small bites are served together.
Decorating Ideas and Serving Suggestions

A classic mix of red, white, and green sprinkles gives the trees a traditional Christmas appearance. For a snowy design, use mostly white sprinkles and add a few silver or blue candies for a cool winter effect.
You can also make each tree look like a different evergreen by varying the amount of decoration. Some can have a simple sprinkle of ornaments, while others can receive a heavier coating of candy pieces for a bright, colorful display.
- Arrange the trees around a bowl of holiday candies.
- Place one tree beside each mug of cocoa or coffee.
- Package a few in clear treat bags tied with ribbon.
- Add them to a cookie exchange platter for a no-bake option.
- Use them as edible place-card treats at a Christmas gathering.
For a larger dessert table, balance the bright green trees with chocolate cupcakes. These sugar-free chocolate cupcakes can offer a contrasting baked option for guests who prefer a softer dessert.
Storage and Make-Ahead Advice
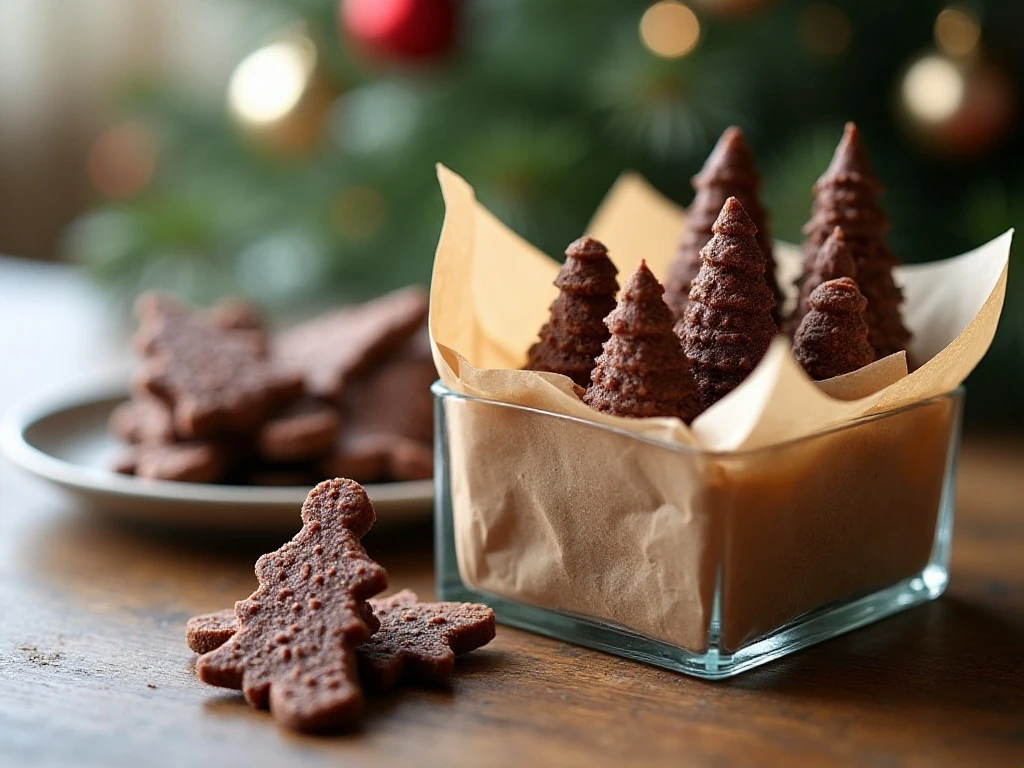
Once completely firm, store the chocolate Christmas tree candies in an airtight container at a cool room temperature. Place parchment or wax paper between layers to help protect the piped branches and decorations.
Because candy melts are made for confectionery use, the trees are easy to handle after setting. Avoid storing them in a warm or sunny location, since heat can soften the coating and make the candies more difficult to move.
You can prepare the trees ahead of a holiday gathering and keep them sealed until serving. If the candies feel slightly soft after being stored, refrigerate them briefly for 15–30 minutes until firm again.
For a rich dessert pairing, cut these candies into small portions for a party platter with chocolate chip oatmeal carmelitas. The chewy oat bars and crisp pretzel trees create a pleasing variety of textures.
Troubleshooting Common Problems
If the coating is too thick, it may drag against the pretzel and produce broken-looking zigzags. Stir in a small amount of vegetable shortening or paramount crystals, mixing thoroughly before testing the flow again.
If the trees spread too much, the coating may be overly warm or the piping opening may be too large. Let the coating cool slightly while stirring, then use a smaller opening and pipe with a lighter hand.
If the decorations fall off, they were probably added after the surface had begun to set. Work on one or two trees at a time, decorating each immediately before moving to the next.
Finally, if a tree does not look perfect, do not discard it. Extra sprinkles can hide small uneven areas, and the handmade appearance is part of the charm of these quick holiday candies.

Easy Chocolate Christmas Tree Candy Recipe
Ingredients
Method
- Line a baking sheet with parchment paper or wax paper. Arrange 24 pretzel sticks on the lined sheet, leaving enough space between them for the piped tree shapes.
- Melt the green candy coating according to the package directions, usually in the microwave in 20–30-second intervals. Stir well after every interval and continue until the coating is smooth.
- Transfer the melted coating to a piping bag, decorating bag, or zip-top bag with a small corner snipped off. Pipe a zigzag triangle over each pretzel stick, beginning near the top and widening toward the bottom.
- Immediately scatter Christmas sprinkles and mini M&M candies over each freshly piped tree while the coating is still soft. Refrigerate the baking sheet for 15–30 minutes, or until the candies are completely firm.
- Carefully peel the chocolate trees from the parchment paper and arrange them on a serving platter or store them in an airtight container.
Notes
Final Thoughts
This Easy Chocolate Christmas Tree Candy Recipe is a cheerful way to make a festive dessert with very little equipment or preparation. Green candy coating, pretzel sticks, sprinkles, and mini candies transform into edible trees that are crisp, colorful, and ready after a short chill.
Keep the piping relaxed, decorate while the coating is soft, and allow the candies to become completely firm before moving them. Whether served at a Christmas party, packed as gifts, or added to a dessert tray, these tiny trees bring plenty of holiday spirit to every sweet bite.
1 thought on “Easy Chocolate Christmas Tree Candy Recipe”