This red velvet cheesecake cake recipe combines tender, cocoa-kissed red velvet cake, a rich baked cheesecake center, and silky cream cheese frosting in one spectacular dessert. It yields 12–16 servings and is ideal for birthdays, holidays, dinner parties, and any celebration that calls for a showstopping homemade cake.
Every bite brings together tangy cream cheese, buttery frosting, moist red velvet crumbs, and a subtle hint of cocoa. The cheesecake layer is baked separately so it stays creamy and sturdy, while a short chill makes the final cake much easier to assemble and slice beautifully.
Jump to RecipeWhy You’ll Love This Recipe
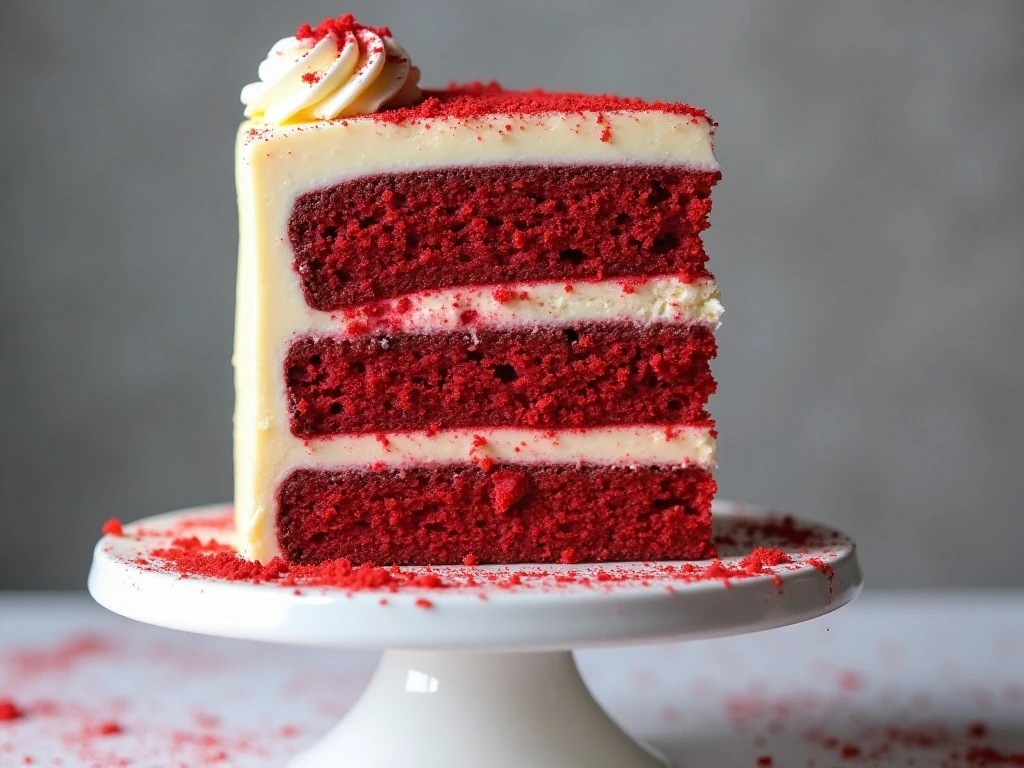
This red velvet cheesecake cake has the drama of a celebration cake but the familiar flavors of a classic Southern dessert. The bright red layers look beautiful against the pale cheesecake and white frosting, making every slice feel special.
The texture is just as appealing as the appearance. Moist red velvet cake surrounds a creamy, tangy cheesecake layer, while the frosting adds a soft finish without hiding the gentle cocoa flavor.
Although the dessert takes several hours from start to finish, most of that time is cooling and chilling. You can prepare the cheesecake and cake layers ahead, which makes this a practical choice when you want a polished dessert for guests.
If you enjoy creative cheesecake desserts, our no-bake s’mores cheesecake is another fun option with a completely different texture and flavor profile.
Ingredients You’ll Need
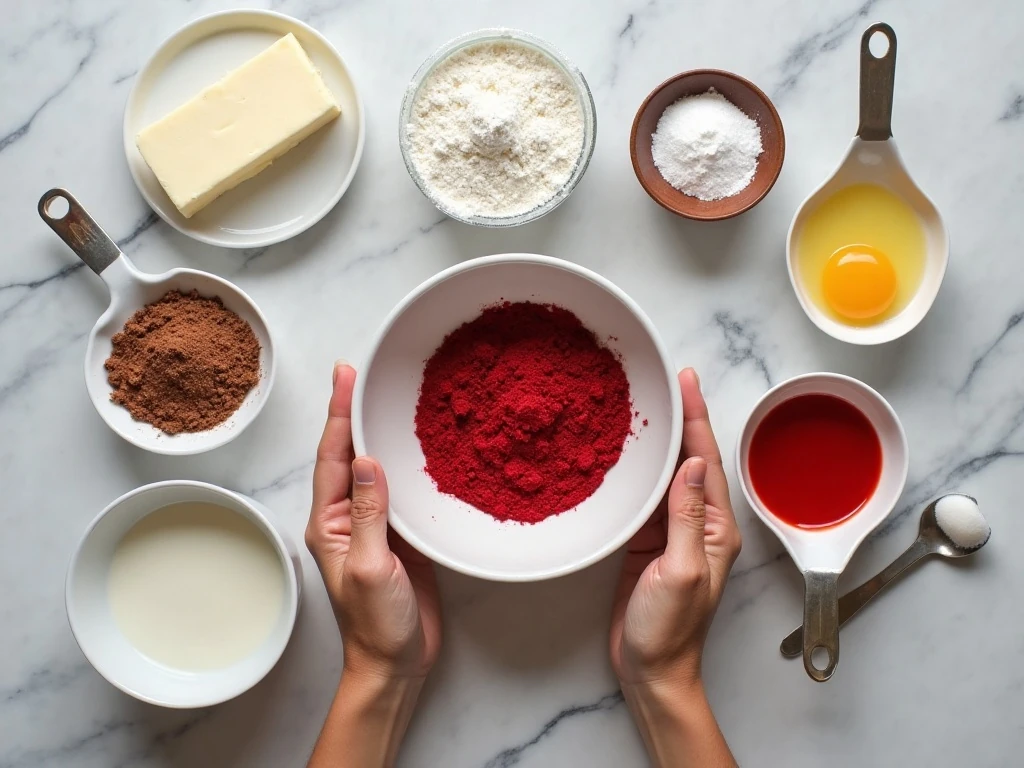
Full-fat cream cheese is important in both the cheesecake layer and frosting because it provides body, richness, and a smooth finish. Let it soften at room temperature before mixing so the finished texture is free of lumps.
- Cheesecake layer: cream cheese, sugar, eggs, sour cream, and vanilla create a rich but lightly tangy center.
- Red velvet layers: flour, sugar, baking soda, natural cocoa powder, salt, eggs, vegetable oil, buttermilk, red coloring, vanilla, and white vinegar form the tender cake.
- Frosting: cream cheese, unsalted butter, sifted powdered sugar, vanilla, and an optional pinch of salt make a creamy coating.
Use 2 tablespoons of red liquid food coloring for the classic shade, or use about 1–2 teaspoons of red gel coloring. Natural unsweetened cocoa powder is the right choice here because its flavor and acidity work well with the buttermilk, baking soda, and vinegar.
For another layered dessert idea, keep our chocolate layer cake on your baking list.
How to Make It Step-by-Step
Step 1: Heat the oven to 325°F for the cheesecake. Line the bottom of a 9-inch springform pan with parchment and lightly grease the sides, creating a clean release without adding excess fat to the batter.
Step 2: Beat the softened cream cheese and granulated sugar until smooth. Add the eggs one at a time, mixing after each addition, then blend in the sour cream and vanilla until the batter is creamy and even.
Step 3: Pour the cheesecake batter into the prepared springform pan and bake for 35–45 minutes. The center should be just set but still have a slight wobble when the pan is gently nudged, since it will continue firming as it cools.
Step 4: Cool the cheesecake completely, then refrigerate it until firm. Freezing it for 1–2 hours before assembly is especially helpful because a cold cheesecake layer is less likely to crack or break when transferred.
Step 5: Heat the oven to 350°F and grease and line two 9-inch round cake pans. In one bowl, whisk the flour, sugar, baking soda, cocoa powder, and salt until the dry ingredients are evenly distributed.
Step 6: In a second bowl, whisk the eggs, vegetable oil, buttermilk, red food coloring, vanilla, and white vinegar. Pour the wet ingredients into the dry ingredients and mix only until combined; stopping promptly keeps the cake tender.
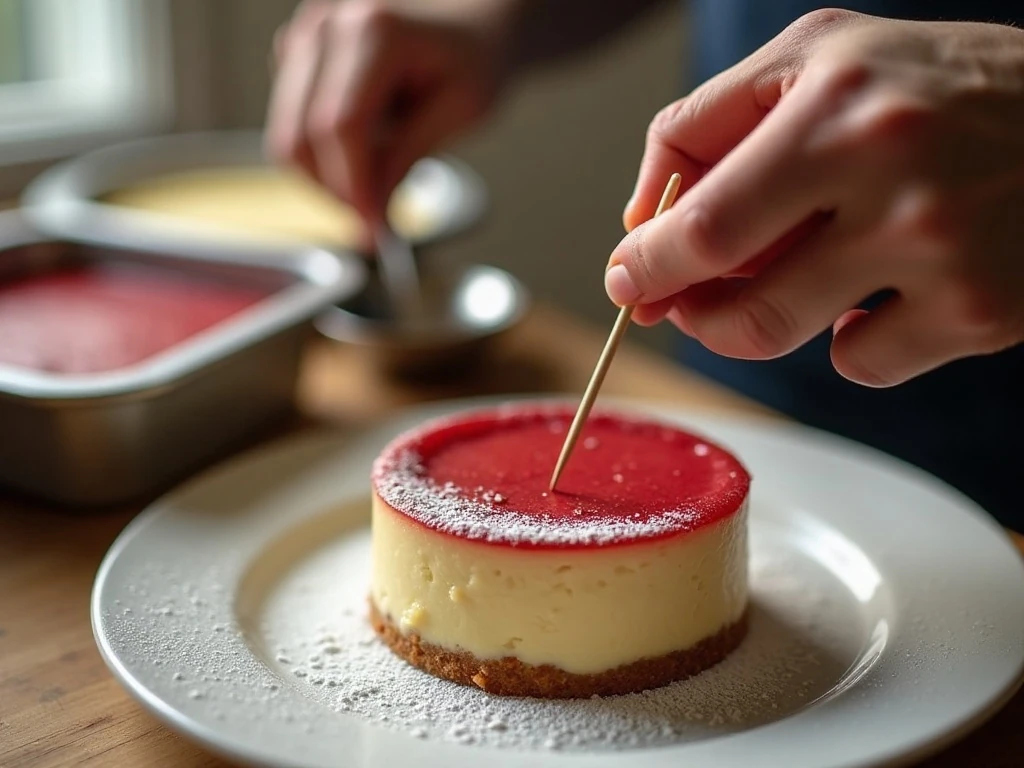
Step 7: Divide the batter evenly between the prepared pans and bake for 25–30 minutes. Test the centers with a toothpick, looking for a few moist crumbs rather than a completely dry result.
Step 8: Let the red velvet cakes cool in their pans for about 10 minutes, then transfer them to a wire rack. Allow them to cool completely before frosting, because warm layers can soften the frosting and make the cake slide.
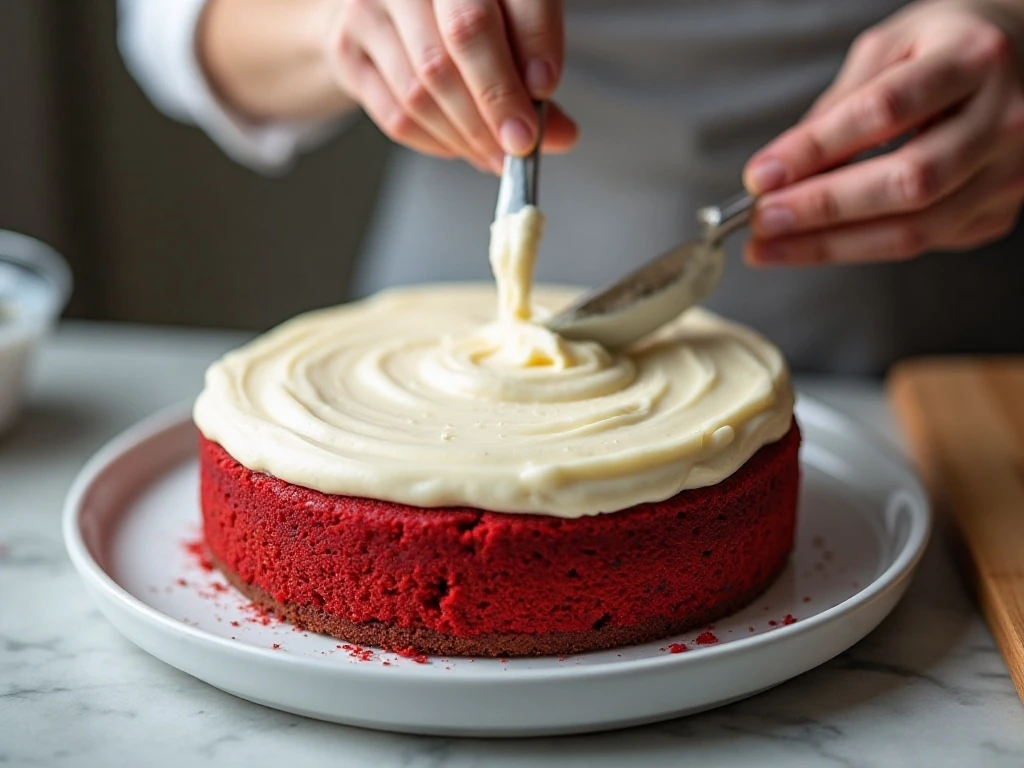
Step 9: Make the frosting by beating the softened cream cheese and butter until smooth and creamy. Gradually add the sifted powdered sugar, then mix in the vanilla and optional salt; add a little more powdered sugar if the frosting needs to be thicker.
Step 10: Level the red velvet layers with a serrated knife if they have domed tops. Place one layer on a serving plate, spread it with a thin layer of frosting, carefully set the chilled cheesecake on top, and finish with the second red velvet layer.
Step 11: Spread a thin crumb coat over the entire cake and refrigerate it for 20–30 minutes. Cover the chilled cake with the remaining frosting, then refrigerate for at least 1 hour before slicing for the cleanest layers.
Pro Tips for a Perfect Cake
Room-temperature cream cheese blends more smoothly than cold cream cheese, so plan ahead and soften it before beginning. Avoid substituting reduced-fat cream cheese, which may create a softer cheesecake and a less stable frosting.
Do not overmix the red velvet batter after the wet and dry ingredients meet. A few small streaks can disappear as you finish folding, while excessive mixing can make the baked layers dense.
The cheesecake should not be baked until completely firm in the oven. That slight center wobble is a useful sign that the center will remain creamy rather than dry after chilling.
For a tidy presentation, use a long serrated knife and wipe the blade between cuts. If crumbs collect on the knife, a brief chill before slicing can make the frosting and layers easier to manage.
Need a quick party sweet with cheesecake flavor? Try this colorful cherry cheesecake dip for an easy dessert table addition.
Storage and Make-Ahead Advice
Because the cake contains cream cheese cheesecake and frosting, keep it refrigerated. Cover the finished cake or place it in a cake carrier, and enjoy it within several days for the best texture and freshness.
This recipe is well suited to advance preparation. Bake and chill the cheesecake layer, bake and cool the red velvet layers, and prepare the frosting before assembly; the final cake can then be finished when you are ready to serve.
For the prettiest slices, remove the cake from the refrigerator briefly before serving, but do not leave it sitting out for an extended period. A chilled cake holds its layers firmly and makes the red, white, and cream-colored contrast especially striking.
Serving Ideas
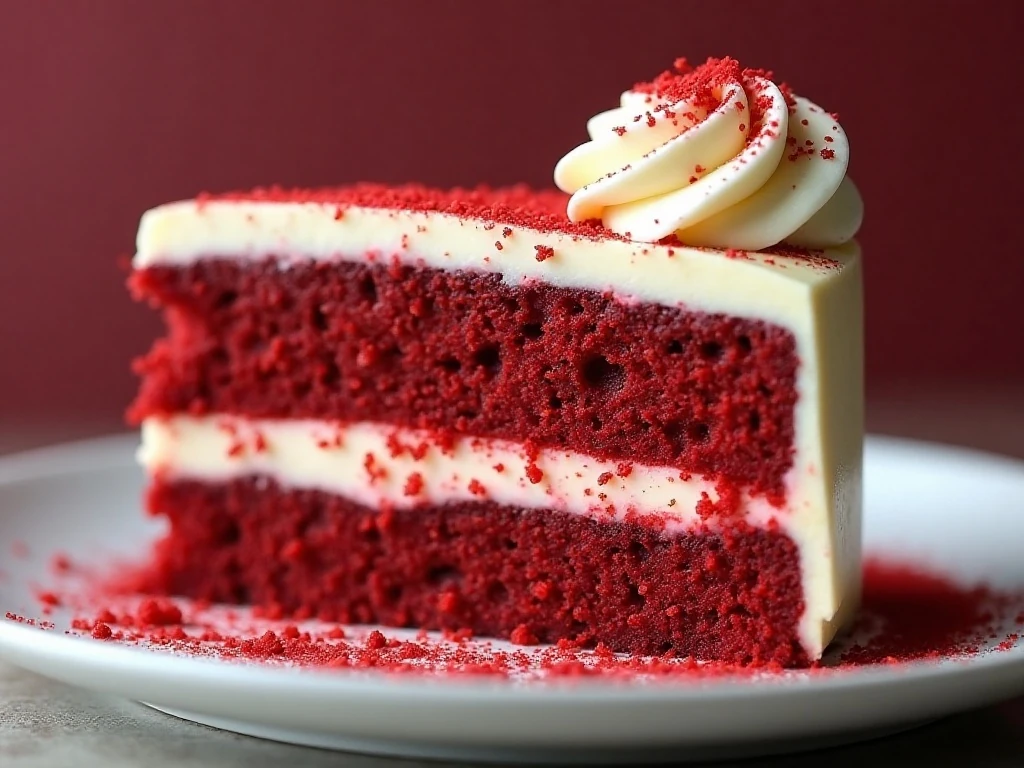
Serve each slice on its own so the layers remain the focus, or add a few red velvet crumbs on top for a simple bakery-style finish. A small spoonful of fresh berries can provide a bright contrast to the rich cream cheese frosting.
This cake is substantial, so thin slices are usually enough for a satisfying dessert. For a different celebration cake, our almond cream cake offers a delicate nutty flavor and soft cream finish.
For an especially festive presentation, pipe a few small frosting rosettes around the top edge and scatter reserved red velvet crumbs in the center. Keep the decoration restrained so the bold color of the cake remains the star.
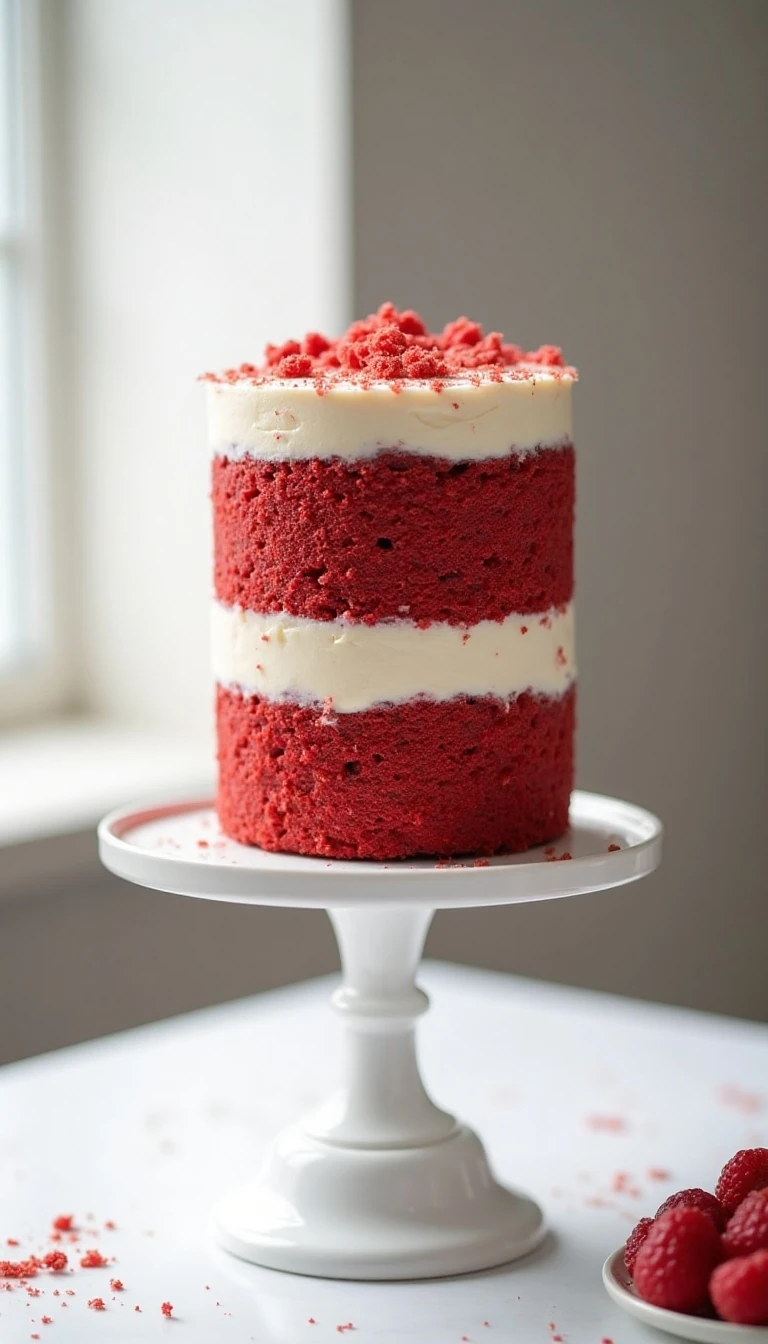
Red Velvet Cheesecake Cake
Ingredients
Method
- Heat the oven to 325°F. Line the bottom of a 9-inch springform pan with parchment and lightly grease the sides.
- Beat the cream cheese and sugar until smooth, add the eggs one at a time, and mix in the sour cream and vanilla. Pour the batter into the prepared pan and bake for 35–45 minutes, until the center is just set but still slightly wobbly.
- Cool the cheesecake completely, then refrigerate it until firm. For easier handling, freeze the chilled layer for 1–2 hours before assembly.
- Heat the oven to 350°F and grease and line two 9-inch round cake pans. Whisk together the flour, sugar, baking soda, cocoa powder, and salt.
- In a separate bowl, whisk the eggs, oil, buttermilk, red food coloring, vanilla, and vinegar. Add the wet mixture to the dry ingredients and mix only until combined.
- Divide the batter between the prepared pans and bake for 25–30 minutes, until a toothpick comes out with a few moist crumbs. Cool the cakes in their pans for about 10 minutes, then transfer them to a rack to cool completely.
- Beat the cream cheese and butter until smooth and creamy. Gradually add the sifted powdered sugar, then beat in the vanilla and optional pinch of salt, adding a little more powdered sugar if needed for consistency.
- Level the red velvet layers if necessary. Place one cake layer on a serving plate, spread on a thin layer of frosting, carefully add the chilled cheesecake layer, and top with the second red velvet layer.
- Apply a thin crumb coat, refrigerate the cake for 20–30 minutes, and then cover it with the remaining frosting. Refrigerate for at least 1 hour before slicing.
Notes
Final Thoughts
This red velvet cheesecake cake recipe is worth the planning because it delivers three irresistible elements in every bite: moist red velvet cake, creamy baked cheesecake, and tangy cream cheese frosting. The finished dessert looks elegant enough for a major celebration while relying on familiar ingredients and straightforward techniques.
Give the cheesecake plenty of time to chill, watch the baking times closely, and use full-fat room-temperature cream cheese for the best results. Once assembled, the cake can rest in the refrigerator until serving, making it a dependable centerpiece for birthdays, holidays, and special dinners.
When you are craving a playful fried dessert to serve alongside your cake, our funnel cake apple fries make a delicious companion for a dessert spread.