This Easy Cherry Candy Cane Breakfast Danish is a festive holiday breakfast pastry made with refrigerated crescent-roll dough, canned cherry pie filling, and a quick powdered-sugar glaze. It takes about 15–20 minutes to assemble, bakes in 22–28 minutes at 375°F, and serves approximately 8–10 people.
The finished Danish has flaky, golden pastry wrapped around sweet, jammy cherry filling, with a smooth vanilla or almond glaze that makes every slice taste bakery-worthy. Its playful candy-cane shape makes it a beautiful centerpiece for Christmas morning, a holiday brunch, or a cheerful breakfast buffet.
Jump to RecipeWhy You’ll Love This Recipe

This cherry candy cane Danish looks wonderfully elaborate, but the method is friendly enough for a first-time holiday baker. Refrigerated crescent dough handles the pastry base, canned cherry pie filling provides the sweet fruit center, and the glaze takes only a minute to whisk together.
The shape is the real holiday star. Alternating strips of dough create a braided look, while one curved end transforms an ordinary fruit Danish into a festive candy cane that guests will notice as soon as it reaches the table.
It is also an excellent make-and-share breakfast. Cut it into 8–10 portions and serve it with coffee, tea, fresh fruit, or a savory egg dish such as this hearty hashbrown breakfast casserole for a complete brunch spread.
Ingredients You’ll Need
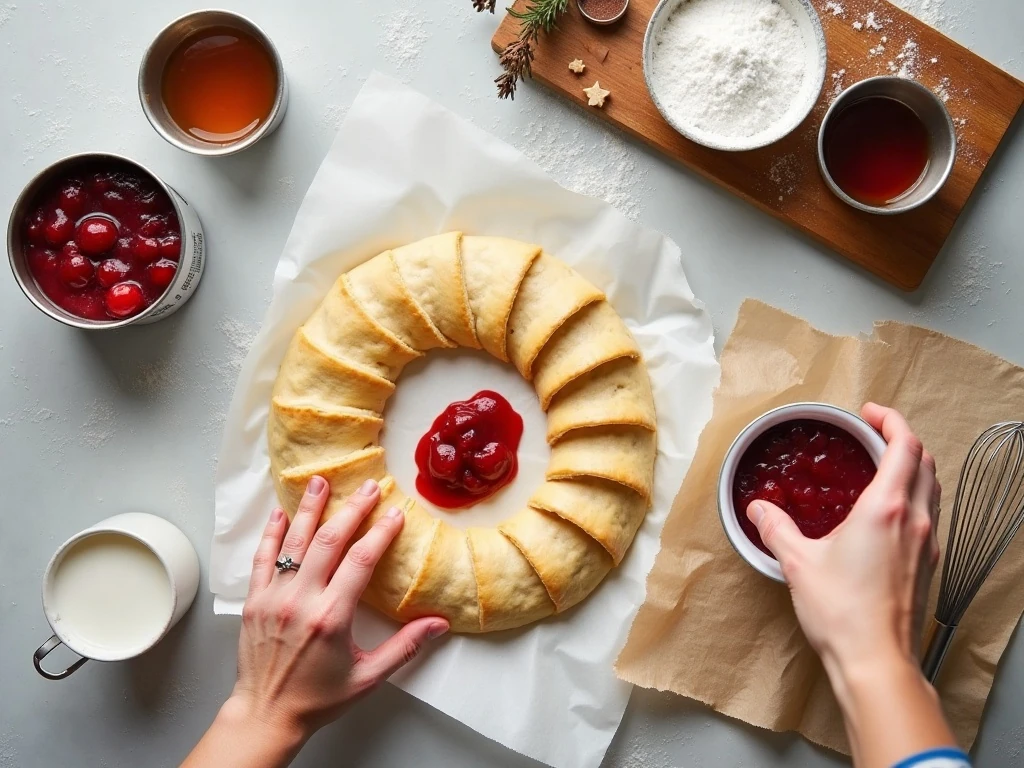
The ingredient list is short, which is part of the appeal of this recipe. Have everything ready before opening the dough, since crescent dough is easiest to shape while it is cool.
- Crescent-roll dough: Use two 8-ounce cans of refrigerated crescent dough, or one 16-ounce package of crescent dough sheets. Sheets make it especially easy to cut even strips.
- Cherry pie filling: One 21-ounce can supplies the colorful, glossy fruit center. Spoon it carefully so the filling stays within the dough.
- Powdered sugar: One cup creates a generous, pretty glaze without requiring cooked frosting.
- Milk: Start with 1 1/2 tablespoons and add up to 2 tablespoons if needed to reach a drizzle-friendly consistency.
- Extract: Vanilla gives a classic flavor, while 1/2 teaspoon almond extract is an especially lovely match for cherries.
For another sweet breakfast or brunch idea, keep our easy peach cake in mind. Its fruit-forward flavor makes a nice companion to this cherry pastry on a larger dessert-and-breakfast table.
How to Make It Step-by-Step
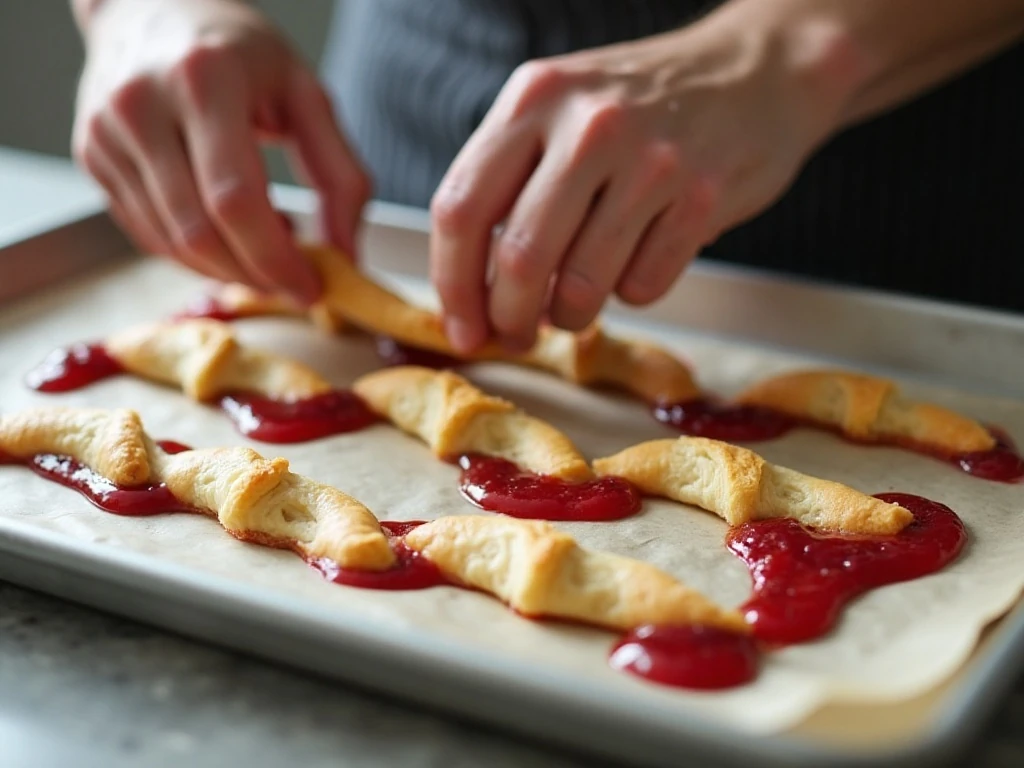
Step 1: Heat the oven to 375°F and line a large baking sheet with parchment paper. Place the pan on a level work surface because the Danish will be assembled and baked right there, and moving it later can distort the candy-cane curve.
Step 2: Unroll the crescent dough and arrange it into a candy-cane outline, overlapping the seams. Leave a wide strip through the center for the filling; if you are using dough sheets, cut 1-inch strips down both sides while keeping the middle section whole.
Step 3: Spoon the cherry pie filling down the center of the dough. Use a modest, even amount rather than piling it high, since too much filling can bubble over the edges and make the pastry difficult to slice.
Step 4: Fold the dough strips diagonally across the cherries, alternating between the left and right sides. Keep the folds slightly loose so the dough can expand in the oven, then curve one end into the hook of the candy cane.
Step 5: Check the dough before baking. If it has become warm or sticky, chill the shaped Danish for 10 minutes; this brief rest helps the layers hold their form and reduces the chance of filling leakage.
Step 6: Bake for 22–28 minutes, or until the pastry is puffed and deep golden brown. Rotate the baking sheet halfway through if your oven browns unevenly, but avoid opening the door repeatedly.
Step 7: Let the Danish cool on the baking sheet for at least 10 minutes. The short cooling period allows the cherry filling to thicken slightly, making cleaner portions and protecting the glaze from instantly disappearing into the warm pastry.
Step 8: Whisk together the powdered sugar, milk, and vanilla or almond extract until smooth. Drizzle the glaze over the warm-to-cool Danish in thin lines, then serve once the glaze has set enough to remain distinct.
Optional Cream-Cheese Variation
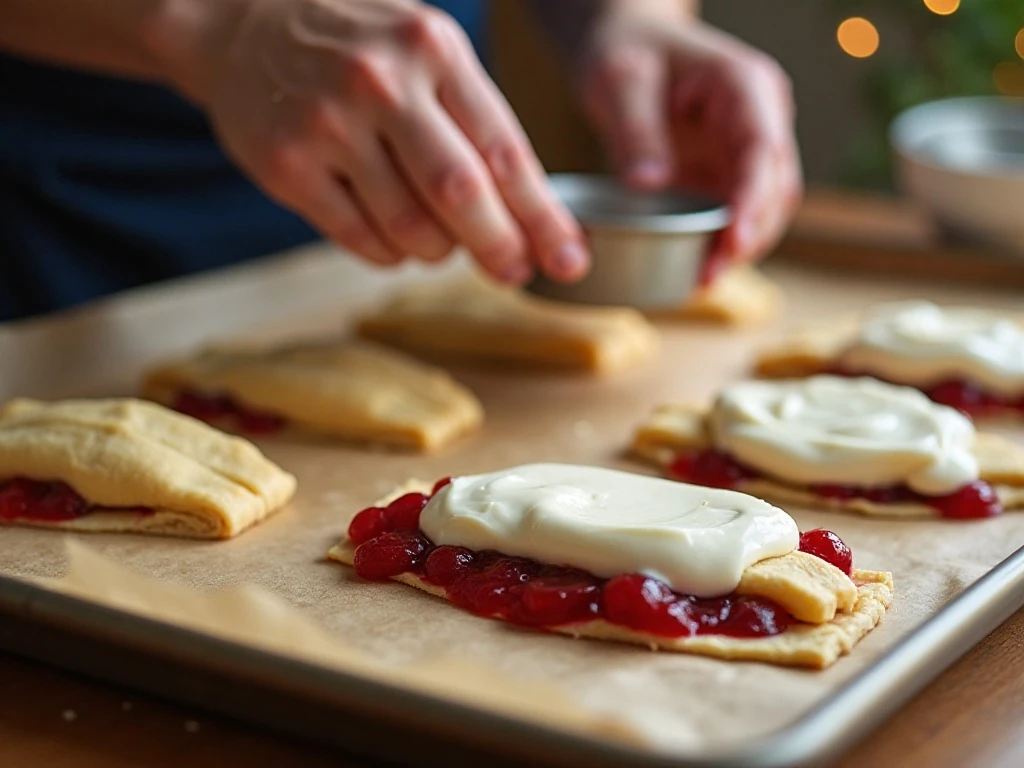
If you enjoy a richer, cheesecake-like layer, add the optional cream cheese before the cherries. Beat 4 ounces of softened cream cheese with 1/4 cup granulated sugar and 1/2 teaspoon vanilla until smooth and spreadable.
Place the cream cheese in a narrow strip beneath the cherry pie filling, keeping it away from the outer edges. Continue with the same folding and baking instructions, watching for the same deep golden-brown finish.
This variation adds richness without changing the festive shape. It is especially good when served with coffee or alongside a savory dish such as an easy breakfast casserole.
Pro Tips for a Beautiful Danish
- Shape on parchment: Build the entire Danish directly on the lined baking sheet. Once filled, the dough is delicate and can stretch or lose its curve if transferred.
- Keep the filling contained: Leave a small border around the filling and do not overfill the center. A narrower filling line produces a neater braid and cleaner slices.
- Chill when needed: Ten minutes in the refrigerator is enough if the dough becomes soft during shaping. Cold dough is easier to fold and less likely to spread.
- Use almond extract thoughtfully: The 1/2 teaspoon amount adds a bakery-style cherry-almond note. Vanilla is a softer, more traditional alternative.
- Glaze at the right time: Let the Danish cool until just warm before drizzling. If it is piping hot, the glaze may become thin and soak into the pastry.
- Rotate the pan: Turning the baking sheet halfway through baking can help the candy cane brown evenly, especially in an oven with a hot spot.
For a rustic bread option on the same brunch menu, serve slices of easy beer bread with butter. The mildly savory bread balances the sweet cherry pastry and gives guests a second homemade option.
Serving, Storage, and Make-Ahead Notes
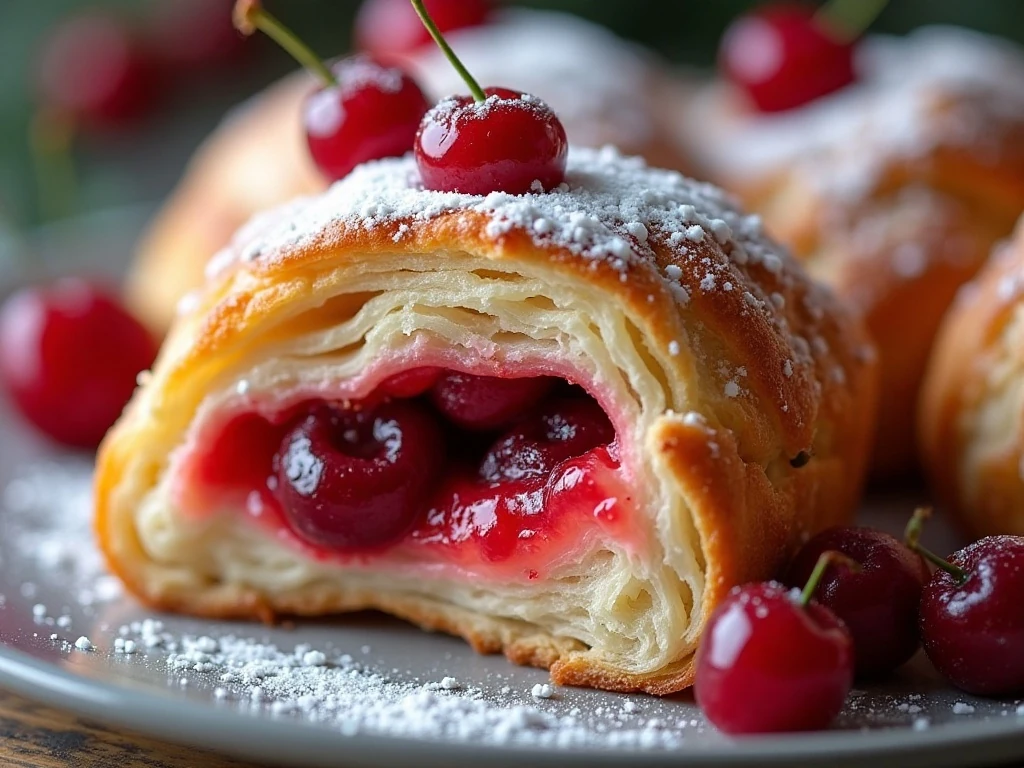
Serve the Danish in thick diagonal slices so each portion includes golden pastry, cherry filling, and glaze. A dusting of powdered sugar is not necessary because the glaze already gives the pastry a finished appearance, though a few fresh cherries near the platter make a pretty presentation.
The Danish is at its best the day it is baked, after it has cooled enough for the filling to settle. Store leftovers covered at room temperature for a short period or refrigerate them if your kitchen is warm; bring portions to room temperature before serving.
For a holiday brunch, assemble the pastry shortly before baking rather than leaving the filled dough sitting for a long time. If the dough softens while you work, use the recommended 10-minute chill before placing it in the oven.
Complete a festive breakfast table with a fruit-based sweet such as this pineapple banana dessert. The bright fruit flavor pairs naturally with cherries and keeps the menu colorful.
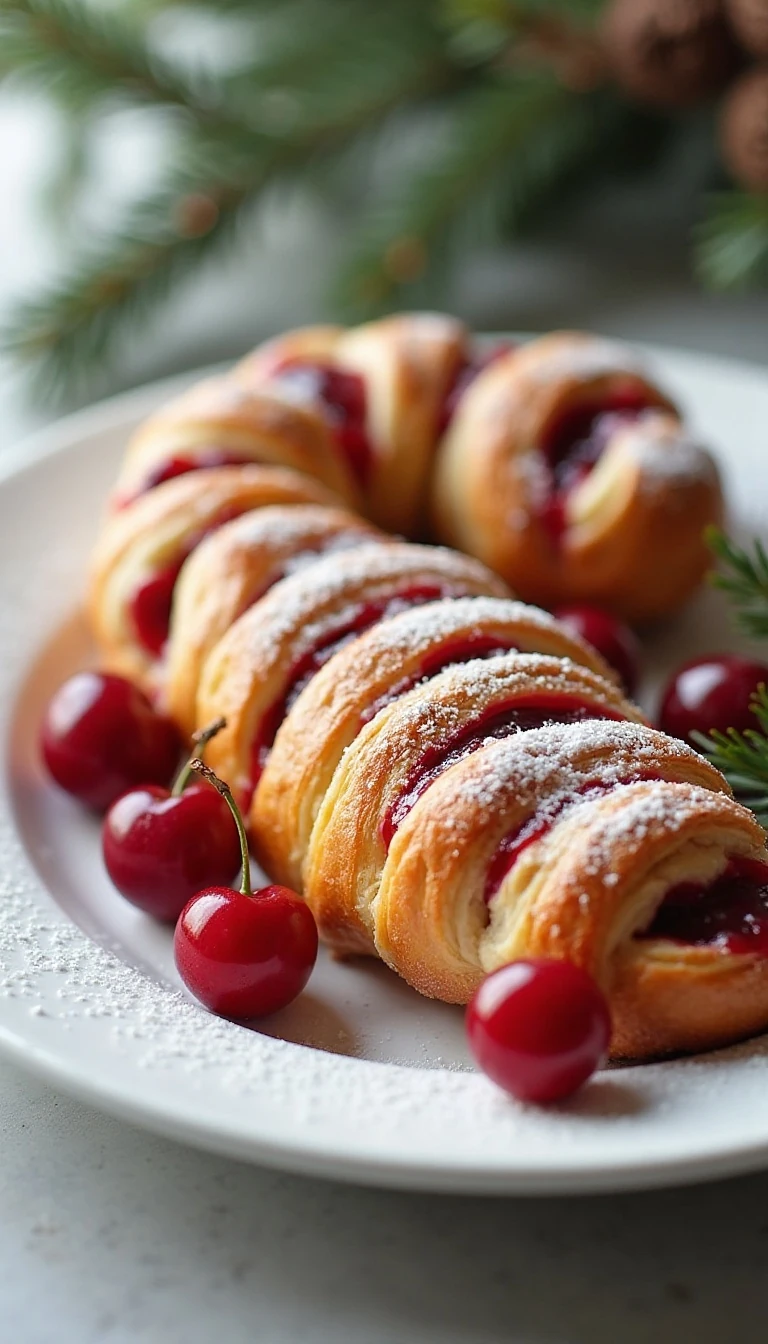
Easy Cherry Candy Cane Breakfast Danish
Ingredients
Method
- Heat the oven to 375°F and line a large baking sheet with parchment paper. Assemble the pastry directly on the lined pan so the shaped candy cane does not need to be moved.
- Unroll the crescent dough and arrange the pieces into a candy-cane shape, overlapping the seams and leaving a wide center area. If using a 16-ounce package of crescent dough sheets, cut 1-inch strips along both sides while leaving the middle intact.
- Spoon the cherry pie filling down the center of the dough. Keep the layer narrow and avoid overfilling because extra filling may leak as the Danish bakes.
- Fold the dough strips diagonally over the cherry filling, alternating from side to side to create a braided appearance. Curve one end of the dough to form the hook of the candy cane.
- Bake for 22–28 minutes, rotating the pan halfway through if needed, until the pastry is puffed and deep golden brown. If the dough becomes soft while shaping, chill the assembled Danish for 10 minutes before baking.
- Cool the Danish on the baking sheet for at least 10 minutes. Letting it cool until just warm helps the filling settle and allows the glaze to remain visible instead of melting away.
- Whisk the powdered sugar with 1 1/2–2 tablespoons milk and the vanilla or almond extract until smooth. Drizzle the glaze over the cooled Danish, then slice and serve.
Notes
Final Thoughts
This Easy Cherry Candy Cane Breakfast Danish brings together everything a holiday breakfast needs: simple ingredients, a manageable preparation, warm fruit flavor, and a memorable presentation. The crescent dough becomes golden and flaky, the cherry filling stays bright and sweet, and the quick glaze adds just the right finishing touch.
For the neatest result, remember the three most important details: assemble directly on parchment, avoid overfilling, and chill the shaped Danish if the dough becomes soft. Once baked and glazed, the candy-cane form does most of the decorating work for you.
Whether you serve it on Christmas morning, bring it to a brunch gathering, or make it for an ordinary weekend that deserves something special, this pastry is easy to love. Slice it just before serving and watch the red cherry center, braided crust, and white glaze turn a simple breakfast into a festive occasion.