This easy bread and butter pickle recipe makes crisp, sweet-and-tangy pickle chips at home with fresh cucumbers, yellow onions, vinegar, sugar, and classic pickling spices. The recipe yields about 4 to 6 pint jars and includes instructions for preparing the vegetables, making the brine, filling the jars, and processing them safely in a boiling-water canner.
Despite the name, bread and butter pickles contain no bread or butter. Each bite has a bright vinegar tang, gentle sweetness, warm turmeric color, and savory mustard and celery seed flavor. They are delicious beside sandwiches, burgers, grilled meats, salads, or a simple lunch board, and the flavor is best after 24 to 48 hours before becoming even more rounded after about a week.
Jump to RecipeWhy You’ll Love This Recipe
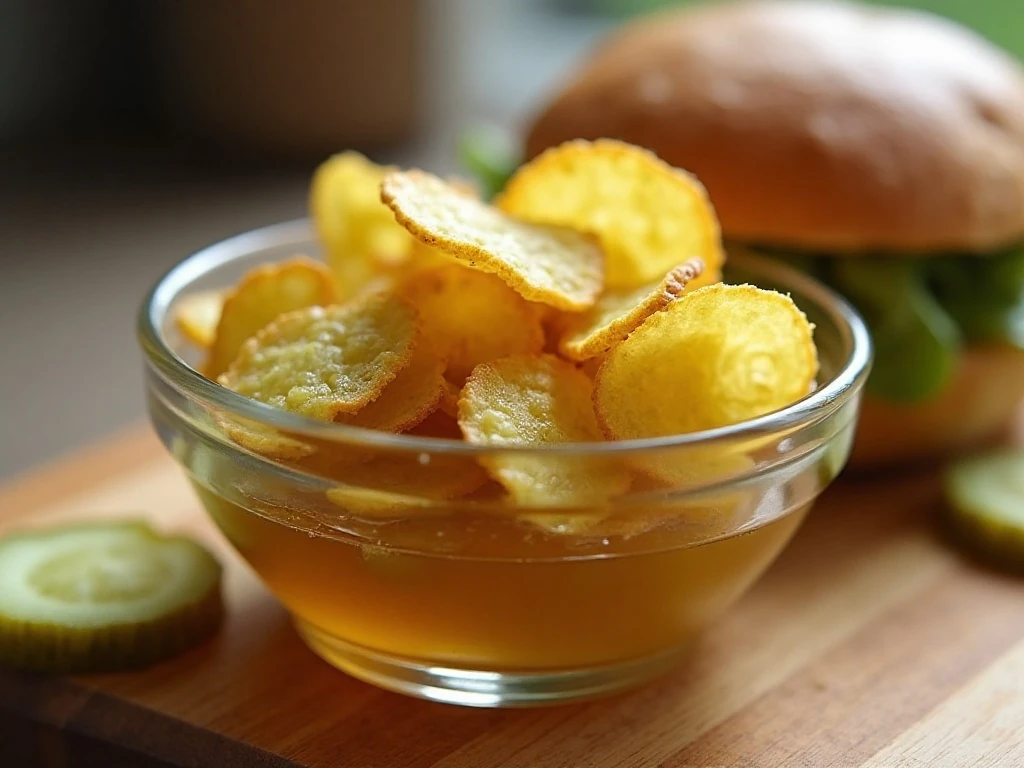
These homemade bread and butter pickles are wonderfully simple once the vegetables are sliced. The cucumber rounds stay pleasantly crisp, the onions become tender without disappearing, and the golden brine clings to every ridged edge.
The flavor is familiar and comforting: sweet enough to balance the vinegar, tangy enough to wake up a sandwich, and warmly spiced without being hot. A teaspoon of crushed red pepper flakes can add a little heat to a refrigerator-only batch, but the classic recipe is mild and family-friendly.
Another reason to make them is versatility. Serve the pickles with a cheeseburger, tuck them into a grilled cheese, chop them into tuna salad, or place them beside roasted chicken. If you are planning a casual meal, they make a bright side dish alongside an easy pasta bake.
Ingredients You’ll Need
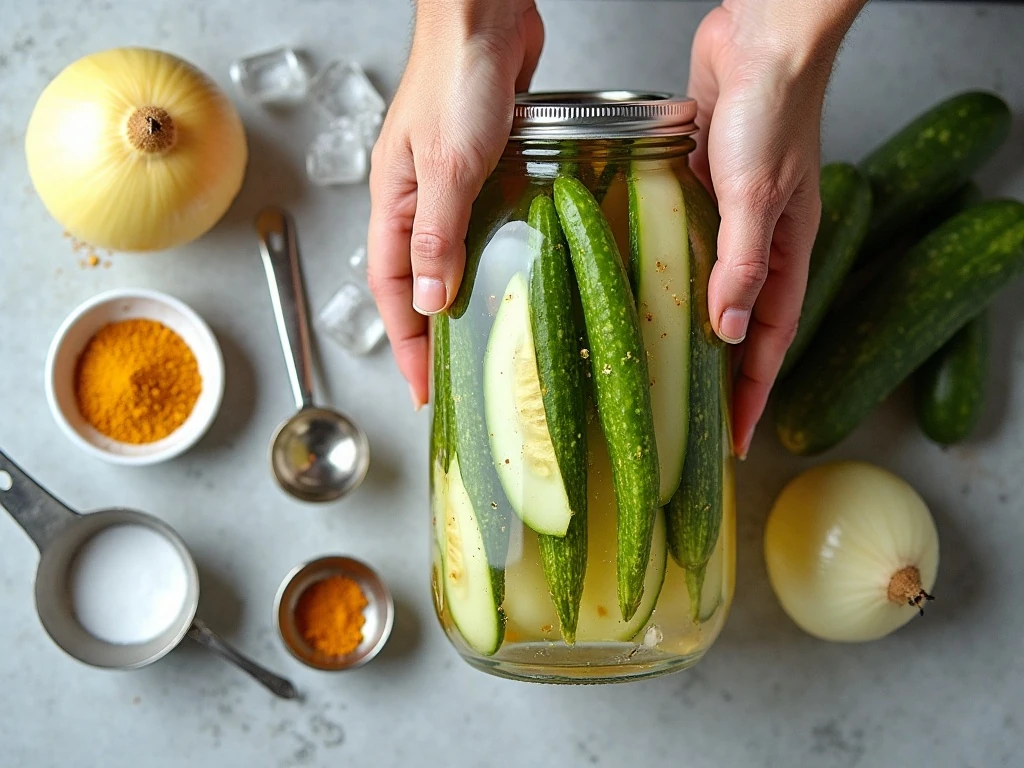
Choose pickling cucumbers that are small, firm, and ideally 3 to 5 inches long. Their compact size and dense texture help the finished pickle remain crisp, while oversized garden cucumbers may contain more seeds and excess water.
- Cucumbers: Four pounds, sliced into even 1/4-inch rounds.
- Onions: Two pounds of yellow or white onions, thinly sliced.
- Pickling salt: One-half cup for the salting and ice-resting stage.
- Brine: Four cups of 5% acidity white vinegar, four cups of granulated sugar, and one-half cup of water.
- Spices: Two tablespoons mustard seed, one tablespoon celery seed, and one tablespoon ground turmeric.
Do not swap in vinegar with an acidity below 5%, and do not reduce the vinegar, sugar, or salt when following a shelf-stable canning recipe. These ingredients are part of the tested balance for flavor and preservation, not simply seasoning choices.
The recipe does not contain bread or butter; the name refers to an old-fashioned style of sweet pickle. For another sweet homemade treat to serve after a pickle-friendly lunch, try this blueberry butter cake.
How to Make It Step-by-Step
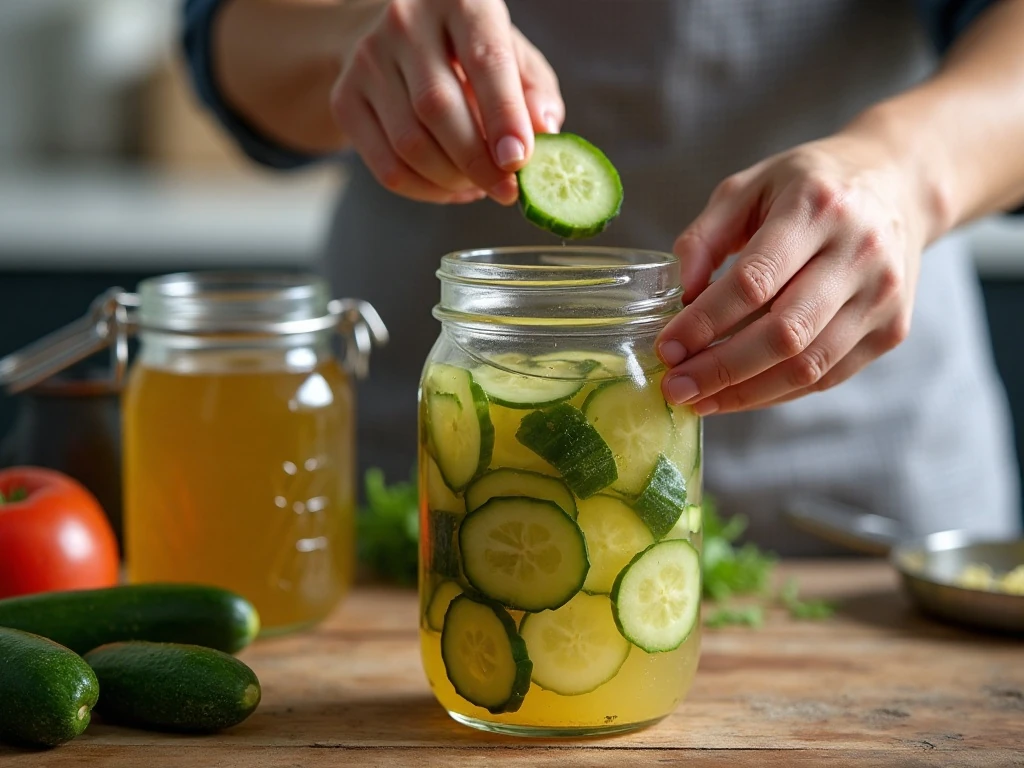
Step 1: Wash the cucumbers under cool running water and trim off the blossom ends. This detail matters because blossom ends can contain enzymes that soften cucumbers during pickling, so removing them helps protect the texture.
Step 2: Slice the cucumbers into consistent 1/4-inch rounds and thinly slice the onions. Even slices cook at a similar rate, giving each jar a pleasing mixture of crisp cucumber and tender onion.
Step 3: Place the vegetables in a large bowl, sprinkle them with the pickling salt, and cover them with ice. Refrigerate or let the mixture stand for 1 to 3 hours; this salting stage helps draw out extra moisture and prepares the vegetables for the brine.
Step 4: Drain the cucumber and onion mixture thoroughly, rinse it well under cold water, and drain it again. Take time to remove excess water because a well-drained vegetable mixture keeps the finished brine from becoming diluted.
Step 5: Add the vinegar, sugar, water, mustard seed, celery seed, and turmeric to a large stainless-steel or enamel pot. Bring the brine to a boil while stirring until the sugar has fully dissolved and the spices are distributed throughout the liquid.
Step 6: Add the drained vegetables to the boiling brine and heat until the mixture returns to a boil. Avoid prolonged boiling, since too much heat can turn the cucumbers soft rather than pleasantly crisp.
Step 7: Pack the hot vegetables into clean, hot pint jars, arranging the cucumber slices and onions evenly. Cover them with hot brine, leaving the headspace called for in the current tested canning recipe, commonly 1/2 inch.
Step 8: Remove air bubbles with a nonmetallic bubble remover or another approved utensil, then wipe the rims clean. Apply the lids and process the jars in a boiling-water canner for about 10 minutes, adjusting for altitude according to current USDA or Ball instructions.
Step 9: Transfer the jars to a protected surface and leave them undisturbed for 12 to 24 hours. Once cool, test the seals, label the jars with the date, and move sealed jars to a cool, dark storage area.
Pro Tips for Crisp, Flavorful Pickles
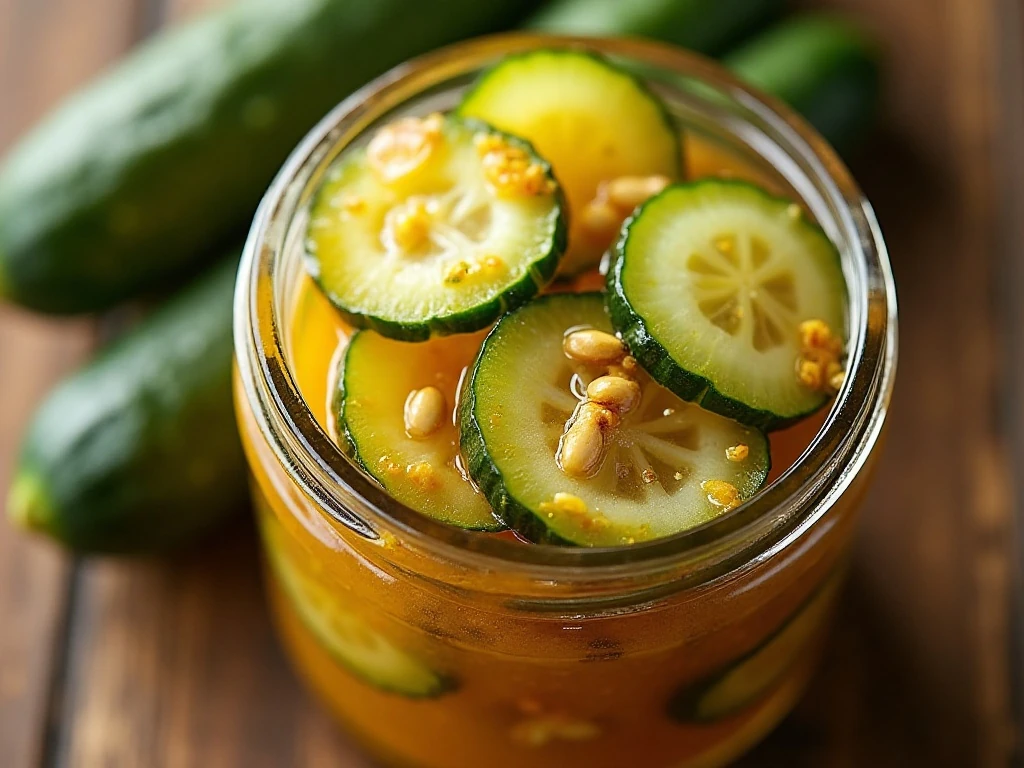
The cucumber choice makes a noticeable difference. Farmers market or garden cucumbers should be processed soon after picking, and smaller specimens generally give a firmer bite than large, mature cucumbers.
Keep the slices close to 1/4 inch rather than cutting them paper-thin. Thin slices can lose their structure during heating, while consistent medium slices hold enough texture to stand up to the sweet brine.
Use a large pot so the vegetables can heat evenly without being crushed. Once the mixture returns to a boil, move promptly to jar filling instead of simmering it for an extended period.
Turmeric gives the pickles their recognizable sunny color, while mustard seed and celery seed provide the savory, gently spiced character. If you want heat, add the optional crushed red pepper flakes only for a refrigerator batch unless the tested preservation formula specifically includes them.
For a complete casual spread, serve these pickles with rich desserts such as peanut butter cup brownies after dinner. The vinegar tang is a welcome contrast to chocolate and peanut butter.
Canning, Cooling, and Storage
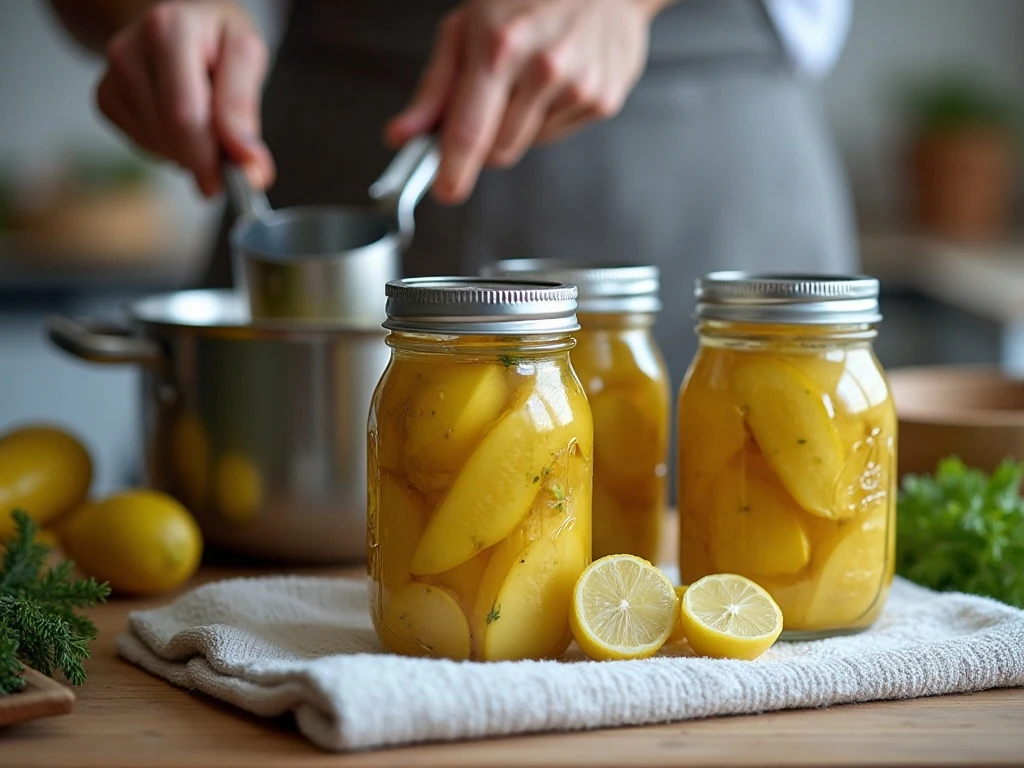
Use clean, hot pint jars and follow a current tested boiling-water canning procedure. The processing time is about 10 minutes for pint jars, but altitude can change the required time, so consult current USDA or Ball guidance for your location.
During filling, leave the headspace specified by that tested recipe, commonly 1/2 inch. Removing air bubbles and wiping the rims are small steps that help the lids seal correctly.
After processing, cool the jars undisturbed for 12 to 24 hours. A properly sealed lid should not flex when pressed in the center; any jar that does not seal should be refrigerated and used promptly.
Store sealed jars in a cool, dark place and avoid temperature swings. The pickles can be tasted after 24 to 48 hours, although the spices and brine become more rounded after about one week.
If you prefer refrigerator pickles, you may add 1 to 2 garlic cloves per jar and the optional red pepper flakes. This refrigerator-only version must remain refrigerated and must not be stored at room temperature, because it is not a substitute for a tested shelf-stable canning formula.
Serving Ideas for Bread and Butter Pickles
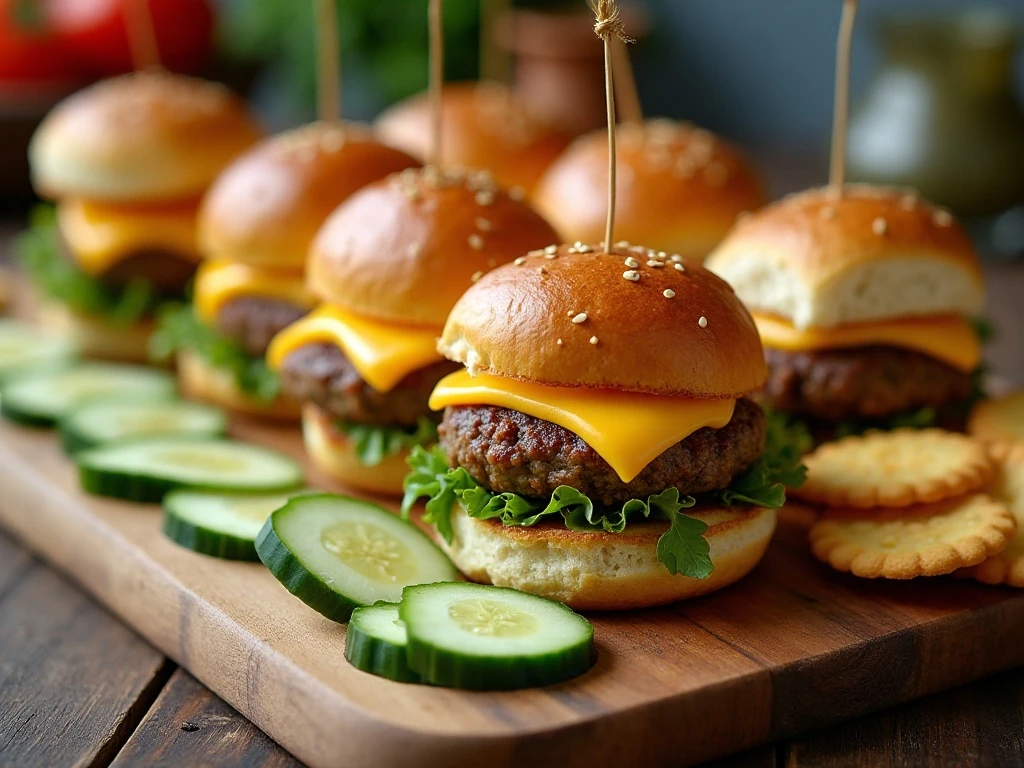
Drain a few pickle chips and pile them onto burgers, pulled pork sandwiches, deli sandwiches, or egg salad. Their crisp sweetness also works beautifully with fried chicken, grilled sausages, baked ham, and sharp cheeses.
For an easy appetizer, arrange the pickles with crackers, cheddar, cream cheese, and sliced vegetables. You can also chop them finely and stir them into potato salad or tuna salad for extra crunch and tang.
Keep the meal relaxed with a breakfast-style side dish such as an easy German pancake, or finish a gathering with a slice of no-bake German chocolate pie. The pickles add a refreshing savory note among richer dishes.
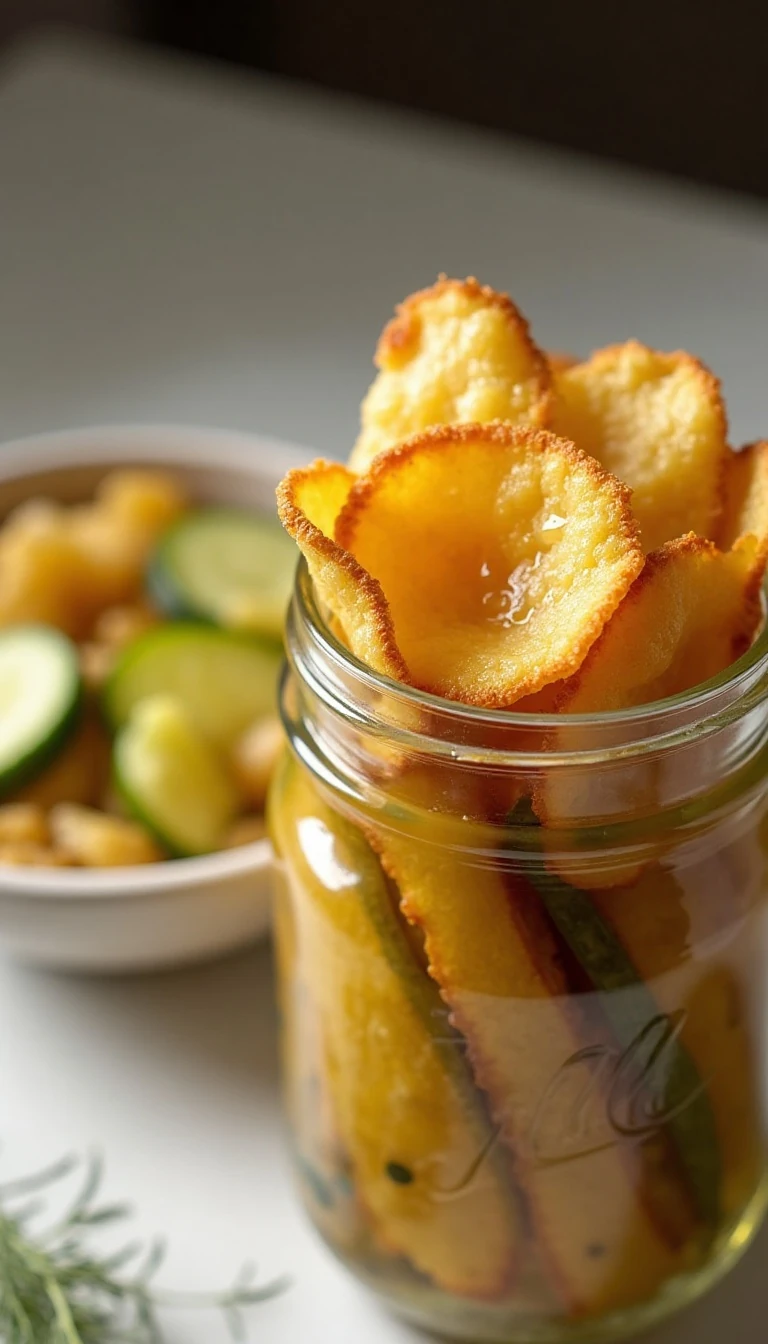
Easy Bread and Butter Pickle Recipe at Home
Ingredients
Method
- Wash the cucumbers carefully, trim away both ends, and be especially sure to remove the blossom ends. Slice the cucumbers into even 1/4-inch rounds, then thinly slice the onions.
- Combine the cucumber slices and onions in a large bowl or food-safe container. Sprinkle them with the pickling salt, cover generously with ice, and refrigerate or let stand for 1 to 3 hours.
- Drain the salted vegetables very thoroughly, then rinse them well under cold water to remove excess salt. Drain again, allowing as much liquid as possible to escape so the finished brine stays balanced.
- In a large stainless-steel or enamel pot, combine the 5% acidity white vinegar, sugar, water, mustard seed, celery seed, and turmeric. Bring the mixture to a boil over medium-high heat, stirring until the sugar dissolves.
- Add the drained cucumbers and onions to the hot brine. Heat until the mixture returns to a boil, but do not keep it boiling for a long time because prolonged cooking can soften the vegetables.
- Pack the hot vegetables into clean, hot pint jars, then ladle in enough hot brine to cover them. Leave the headspace specified by the current tested canning recipe, commonly 1/2 inch, and remove trapped air bubbles.
- Wipe the jar rims, apply the prepared lids, and process the pint jars in a boiling-water canner for about 10 minutes, adjusting the time for altitude according to current USDA or Ball guidance. Keep the jars covered with water during processing.
- Remove the jars carefully and cool them undisturbed for 12 to 24 hours. Check each seal, refrigerate any jar that has not sealed, and store sealed jars in a cool, dark place.
Notes
Final Thoughts
Making bread and butter pickles at home is a rewarding way to preserve fresh cucumbers with a dependable sweet-and-tangy brine. The essential details are simple: choose firm cucumbers, remove the blossom ends, salt and drain the vegetables well, avoid prolonged boiling, and use 5% acidity vinegar.
For shelf-stable jars, follow a current tested canning procedure and make the required altitude adjustments rather than guessing at processing details. Once the jars have cooled and sealed, give the flavor at least 24 to 48 hours to develop, then enjoy the pickles even more after their first week.
Whether you serve them with sandwiches, grilled foods, cheese, or a full homemade dessert table, these golden pickle chips bring crunch and brightness to nearly any meal. Prepare a batch while cucumbers are at their freshest, and you will have a classic pantry favorite ready whenever dinner needs a tangy finishing touch.