This homemade bread bowls recipe makes six golden, crusty loaves with sturdy centers that are perfect for serving soup. Made with active dry yeast, warm water, sugar, salt, oil, and gradually added all-purpose flour, the dough rises twice before baking at 400°F for 20–25 minutes.
Each bread bowl has a tender, chewy interior and a lightly crisp crust that holds creamy chowder, chili, stew, or chicken soup beautifully. Prepare the bowls in about 2 hours 15 minutes plus cooling time, then tear the removed bread into delicious bites as you eat.
Jump to RecipeWhy You’ll Love This Recipe
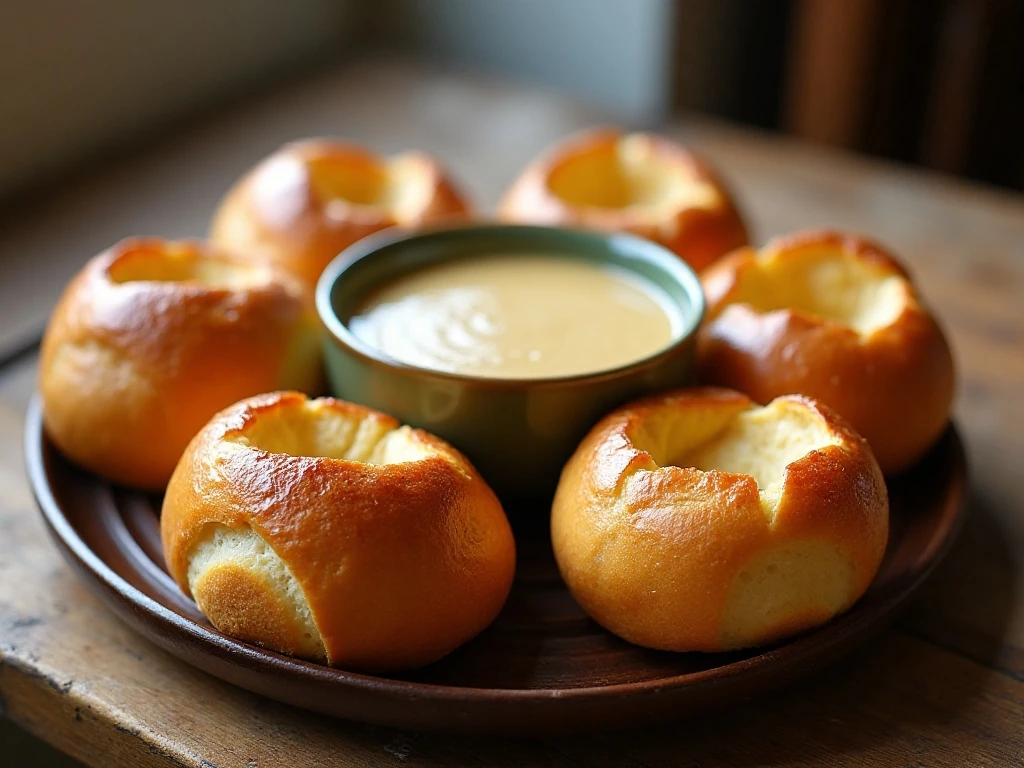
There is something especially inviting about placing a steaming bowl of soup inside fresh bread. The crust protects your hands from the heat, while the inside slowly absorbs savory broth, cream, or tomato sauce and becomes part of the meal.
This recipe creates six individual bread bowls with a pleasantly chewy crumb and a golden exterior. The loaves are substantial enough for soup but still tender enough to pull apart and enjoy with butter.
The dough is straightforward and uses pantry basics. You do not need a special bread-bowl pan, and the rounded shape comes from forming each portion into a tight ball before the second rise.
For a comforting dinner, fill these bowls with your favorite creamy soup. Our cream of chicken soup is an especially cozy pairing because its thick texture is less likely to soak through the bread too quickly.
Ingredients You’ll Need
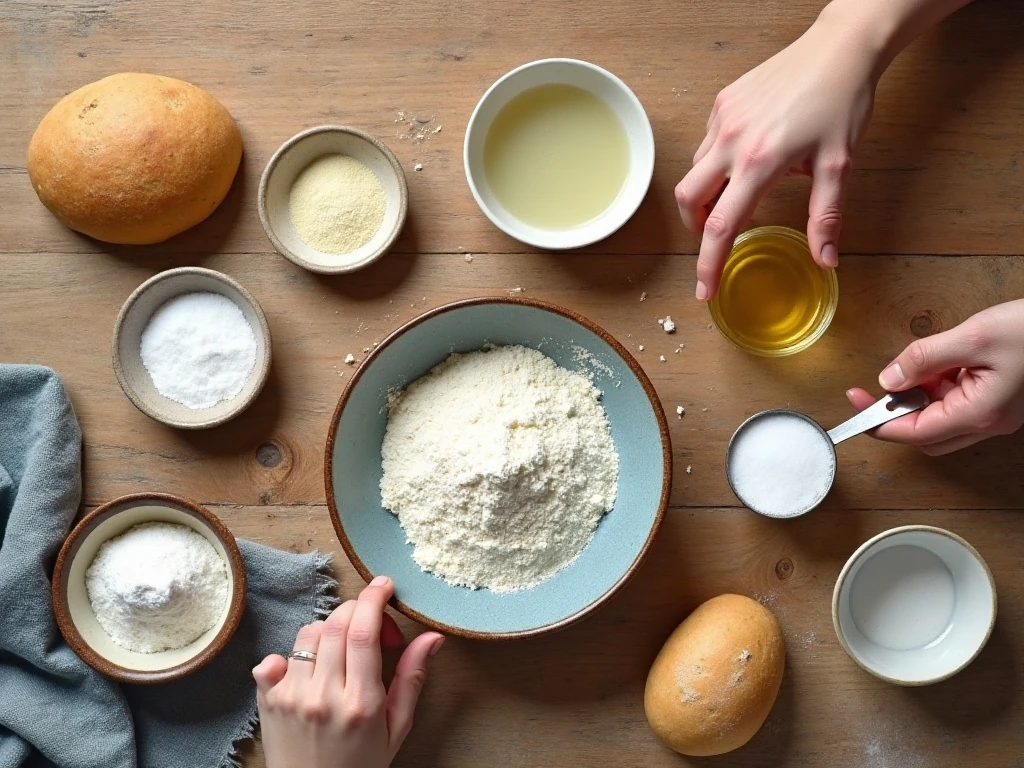
Active dry yeast provides the lift that turns the simple dough into light, rounded loaves. Use one standard 1/4-ounce packet, which equals 2 1/4 teaspoons.
- Warm water: Use 2 1/2 cups at about 110–115°F. Water that is too hot can damage the yeast, while cool water may slow the rise.
- Sugar: One tablespoon gives the yeast a helpful start and adds a subtle balance to the finished bread.
- Salt: Two teaspoons season the dough and keep the flavor from tasting flat.
- Oil: Two tablespoons of canola or vegetable oil add tenderness and make the dough easier to handle.
- All-purpose flour: You will need 6–7 cups, but add it gradually rather than measuring all of it directly into the bowl.
The flour range matters because humidity, measuring technique, and the flour itself affect how much the dough can absorb. Begin with about 3 cups, then add more in small amounts until the dough is soft, slightly tacky, and workable.
If you enjoy baking projects with a different flavor profile, try this cranberry orange bread for a sweet loaf to serve another day.
How to Make It Step-by-Step
Step 1: Activate the yeast by combining it with the warm water in a large mixing bowl. Let the mixture stand for about 5 minutes, and look for a foamy surface that shows the yeast is ready to use.
Step 2: Stir the sugar, salt, oil, and approximately 3 cups of flour into the yeast mixture. Mix until the ingredients are combined and a loose, shaggy dough begins to form.
Step 3: Add the remaining flour a little at a time. Stop adding flour when the dough is soft and slightly tacky but not overly sticky, since too much flour can produce heavy bread.
Step 4: Knead the dough by hand for 6–8 minutes, or use a dough hook until the dough is smooth and elastic. Proper kneading develops structure, helping each loaf hold its shape and support a generous portion of soup.
Step 5: Place the dough in a lightly greased bowl and turn it once so the surface has a thin coating of oil. Cover the bowl and let it rise in a warm place for approximately 1 hour, until the dough has doubled in size.
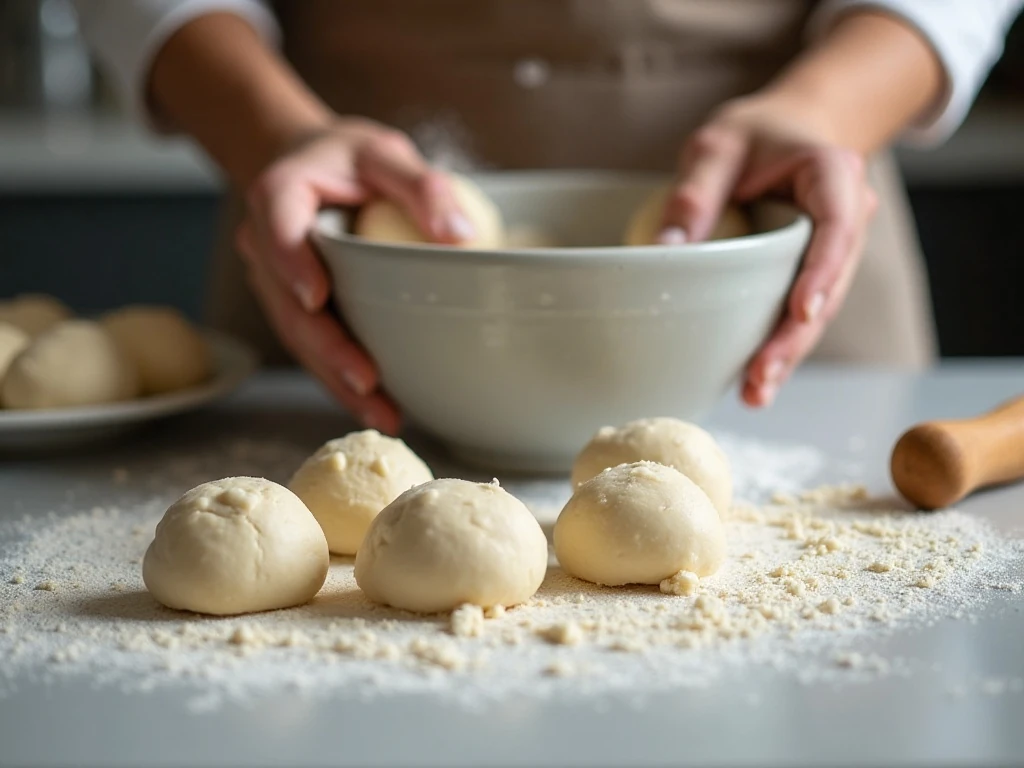
Step 6: Punch down the dough gently to release excess air, then divide it into 6 equal portions. Shape each portion into a smooth, tight ball by drawing the outer edges underneath and pinching the seam closed.
Step 7: Arrange the dough balls on greased or parchment-lined baking sheets, leaving room for expansion. Cover them and let them rise for about 30 minutes, until they look puffy but still hold their rounded shape.
Step 8: Bake the loaves at 400°F for 20–25 minutes. They are ready when the crust is golden brown and the loaves sound hollow when tapped on the bottom or side.
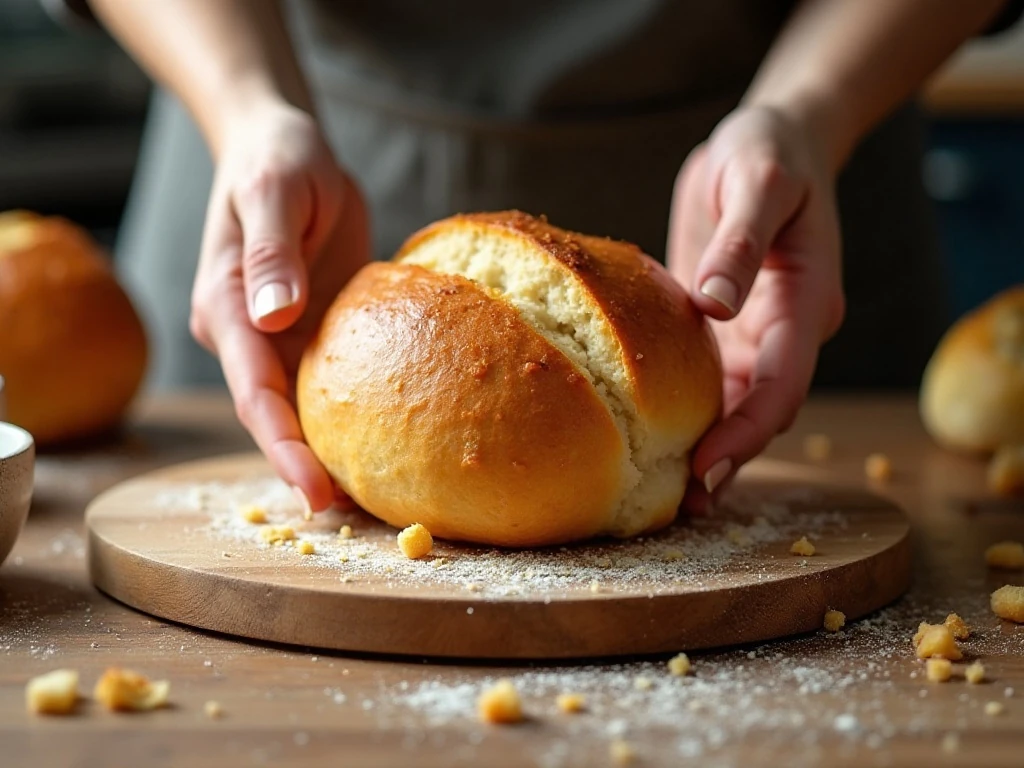
Step 9: Transfer the loaves to a wire rack and let them cool before cutting. Slice a round from the top, remove the center, and leave a sturdy shell about 1/2 inch thick before filling with soup shortly before serving.
For another creative bread project, take a look at this patterned leopard bread. It uses a very different presentation, but the same attention to dough texture makes a noticeable difference.
Pro Tips for Sturdy Bread Bowls
The most important tip is to resist adding all 7 cups of flour at once. A dough that is overloaded with flour may be easier to handle initially, but the baked bowls can turn dense and dry.
Use the texture of the dough as your guide. It should feel soft and slightly tacky, and it should pull away from the bowl or work surface after kneading without leaving a thick coating on your hands.
- Check the yeast: The warm-water mixture should become foamy after about 5 minutes. If it remains completely flat, check the yeast freshness and water temperature before continuing.
- Build a tight surface: When shaping, tuck the edges underneath each ball. This creates a smooth top and helps the loaves rise upward rather than spreading too widely.
- Do not rush cooling: Hot bread is fragile and more likely to tear when hollowed. Let the loaves cool on a wire rack before cutting into them.
- Leave enough structure: Keep the walls and base about 1/2 inch thick. Removing too much crumb can create weak spots and allow soup to leak.
- Toast the interiors: For an even firmer bowl, place the hollowed loaves briefly in the oven to dry and lightly toast the inside before filling.
For a savory bread served beside soup instead of around it, this homemade focaccia makes a wonderful companion with olive oil, herbs, or roasted vegetables.
Serving Ideas and Soup Pairings

Fill the bread bowls shortly before serving so the crust remains sturdy and the soup stays hot. Ladle soup into the center, but leave a little room at the top to prevent spills as the bowl is carried to the table.
Thick, creamy soups are the easiest match because they soak into the crumb slowly. Cream of chicken, broccoli cheddar, clam chowder, potato soup, creamy tomato soup, and corn chowder all work beautifully.
Hearty chili and thick bean stew are also excellent choices. Their dense texture sits comfortably in the bowl, while toppings such as shredded cheese, sour cream, chopped green onions, or parsley add color and flavor.
- Serve creamy soup with cracked black pepper and fresh parsley.
- Top chili with cheddar, scallions, and a spoonful of sour cream.
- Add toasted bread pieces from the center as crunchy soup toppers.
- Place the bread bowls on small plates to catch any drips.
For a seasonal breakfast or snack, this pumpkin bread made with yogurt is another soft homemade loaf worth trying, though its sweet flavor is best kept separate from savory soup service.
Storage, Reheating, and Make-Ahead Tips
Once fully cooled, store the unfilled bread bowls in an airtight container or tightly wrapped at room temperature. They are best enjoyed within a couple of days, when the crust and crumb are at their freshest.
If you need to prepare them ahead, bake the loaves, cool them completely, and store them before hollowing. Cut and remove the centers closer to serving time so the shells retain their strength.
To refresh the crust, warm the loaves in a 350°F oven until heated through. After hollowing, briefly toast the interiors if needed, but watch them carefully so the edges do not become too dark.
Filled bread bowls are best served immediately. If soup remains, store it separately and reheat it on the stovetop or according to your soup recipe before filling fresh or reheated bowls.
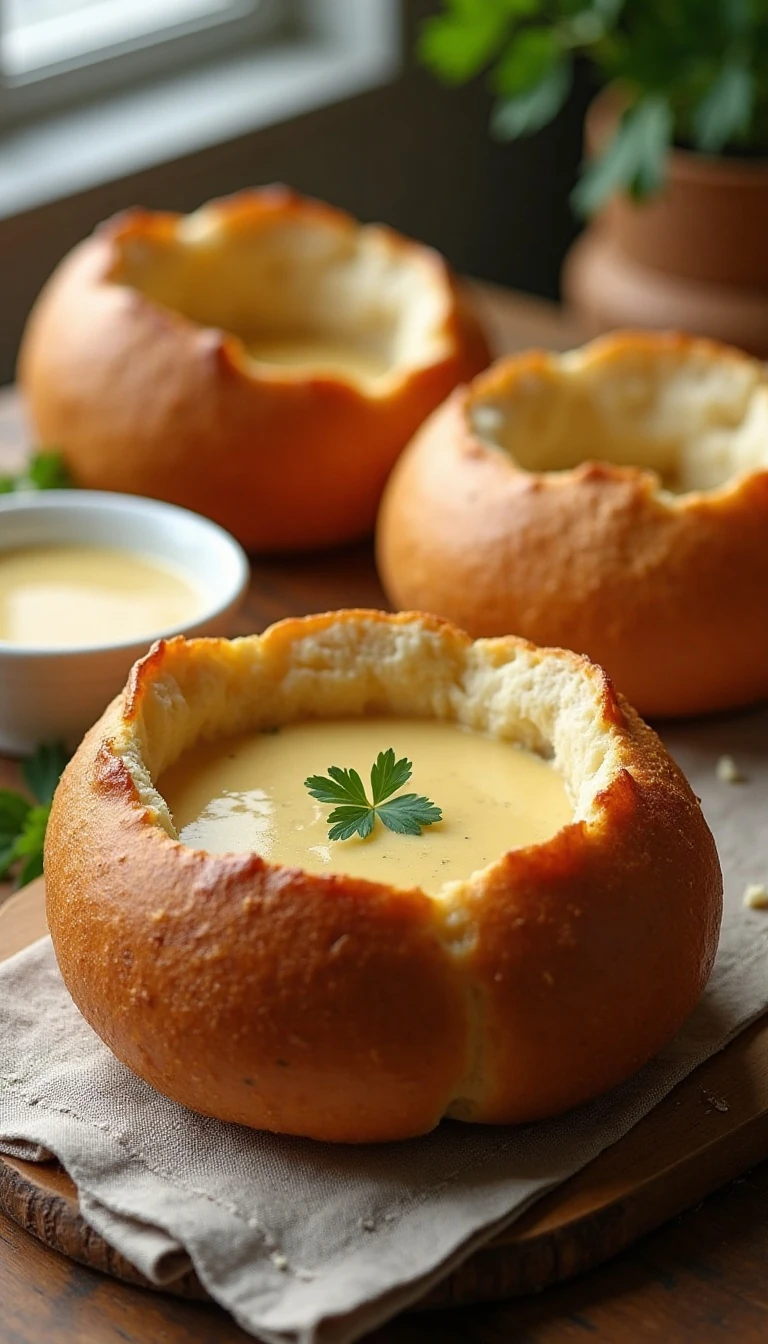
Homemade Bread Bowls
Ingredients
Method
- Dissolve the active dry yeast in the warm water and let it stand for about 5 minutes, until foamy. Stir in the sugar, salt, oil, and approximately 3 cups of the flour.
- Add the remaining flour gradually, mixing until a soft dough forms. The dough should feel slightly tacky but should not be overly sticky.
- Knead the dough by hand for 6–8 minutes, or use a dough hook until it becomes smooth and elastic. Place it in a lightly greased bowl, cover, and let it rise in a warm place for approximately 1 hour, until doubled.
- Punch down the risen dough and divide it into 6 equal portions. Shape each portion into a smooth, tight ball and arrange the balls on greased or parchment-lined baking sheets.
- Cover the shaped dough and let it rise for about 30 minutes. Bake at 400°F for 20–25 minutes, until the loaves are golden brown and sound hollow when tapped.
- Cool the loaves on a wire rack before cutting a round from the top of each one. Remove the center while leaving a sturdy shell about 1/2 inch thick, then fill with soup shortly before serving.
Notes
Final Thoughts
Homemade bread bowls turn an everyday soup dinner into a warm, memorable meal. With a soft, chewy center, a golden crust, and enough structure to hold a generous serving, these loaves are both practical and delicious.
Plan for about 20–25 minutes of mixing and preparation, 1 hour for the first rise, 30 minutes for the second rise, and 20–25 minutes of baking, followed by cooling. Add the flour gradually, shape the dough tightly, and leave a sturdy 1/2-inch shell when hollowing.
Serve the bowls with creamy soup, hearty chili, or thick stew, and enjoy every last piece of the edible bowl. Once you make this six-loaf recipe, soup night may never feel quite the same.