This easy no-knead focaccia bread recipe makes one 9 x 13-inch pan of crispy, golden focaccia with a light, fluffy, bubbly center. Mix the wet dough in about 15–20 minutes, let it rise for 8–24 hours, give it a second rise in a well-oiled metal pan, then bake at 425°F (220°C) for 25–30 minutes.
The result is richly flavored bread with crisp, olive-oil-fried edges, a tender crumb, and salty rosemary-flecked dimples. It is simple enough for a first-time bread baker, yet impressive enough to serve with dinner, soup, sandwiches, or dips such as this easy fiesta dip.
Jump to RecipeWhy You’ll Love This Recipe

Focaccia can look like a bakery specialty, but this method is remarkably forgiving. The dough is mixed with a spoon, not kneaded by hand, and the long rise gives the flour time to absorb the water while the yeast develops deep, lightly sweet flavor.
The high hydration is the secret to the soft, open crumb. The dough will feel much wetter and stickier than sandwich bread dough, so resist the urge to add extra flour; that sticky texture is what helps create those wonderful air pockets.
Generous olive oil serves two purposes. It adds a fruity, savory flavor to the bread and fries the underside and edges as the focaccia bakes, producing the contrast of crisp crust and fluffy middle that makes every square so tempting.
This bread is perfect alongside soups, pasta, grilled vegetables, and salads. It also makes a delicious base for lunch sandwiches or a sturdy dipper for hot spinach and artichoke dip.
Ingredients You’ll Need
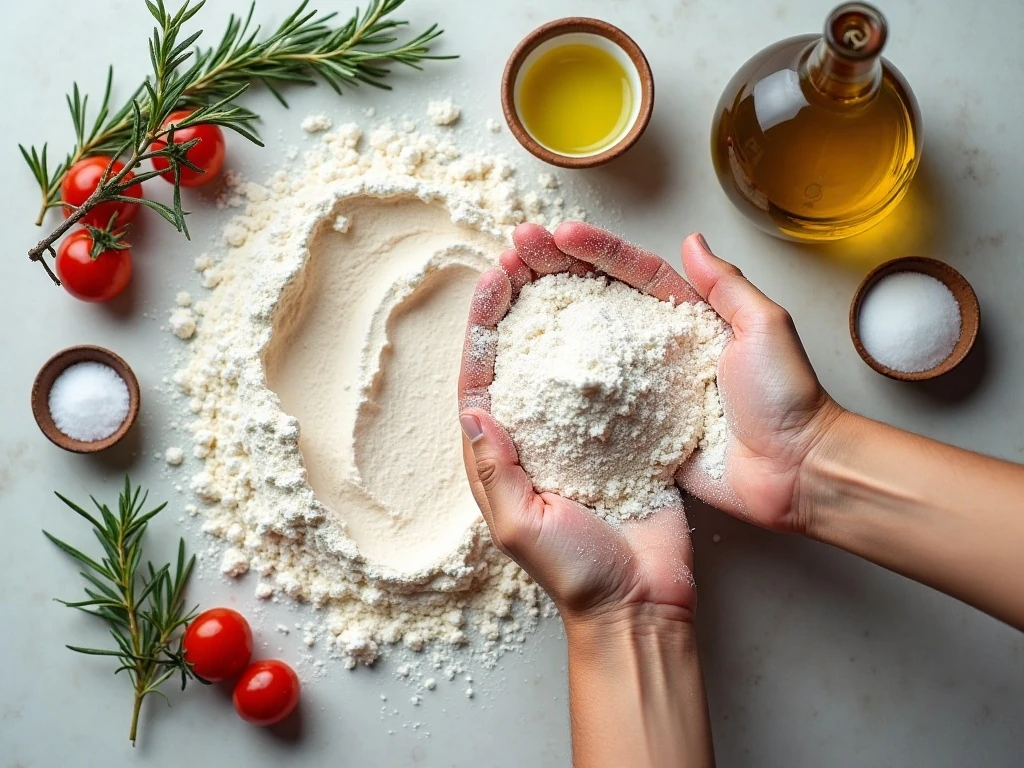
The ingredient list is short, but each item has an important role in the finished loaf. Weighing the flour and water gives the most consistent result, especially because small measuring differences can greatly affect such a wet dough.
- Flour: Bread flour gives a pleasantly chewy structure, while all-purpose flour also works well and produces a tender, airy focaccia.
- Lukewarm water: Water that feels comfortably warm helps the instant yeast begin working without overheating it.
- Instant yeast: Use 7 g, or 2¼ teaspoons, for the long fermented dough.
- Fine salt: Salt seasons the bread and supports the dough structure.
- Extra-virgin olive oil: Divide the ¼ cup between the dough, pan, and final drizzle.
- Finishing ingredients: Flaky sea salt and fresh rosemary are classic, while tomatoes, olives, roasted garlic, and thinly sliced onion add color and savory flavor.
Choose a 9 x 13-inch metal pan if possible. Metal conducts heat efficiently and is the best choice for a deeply browned, crisp bottom; glass generally will not give the same oil-fried edges.
For another slow-rise bread project, you can also try this sourdough crockpot bread when you want a crusty loaf with a different shape and flavor.
How to Make It Step-by-Step
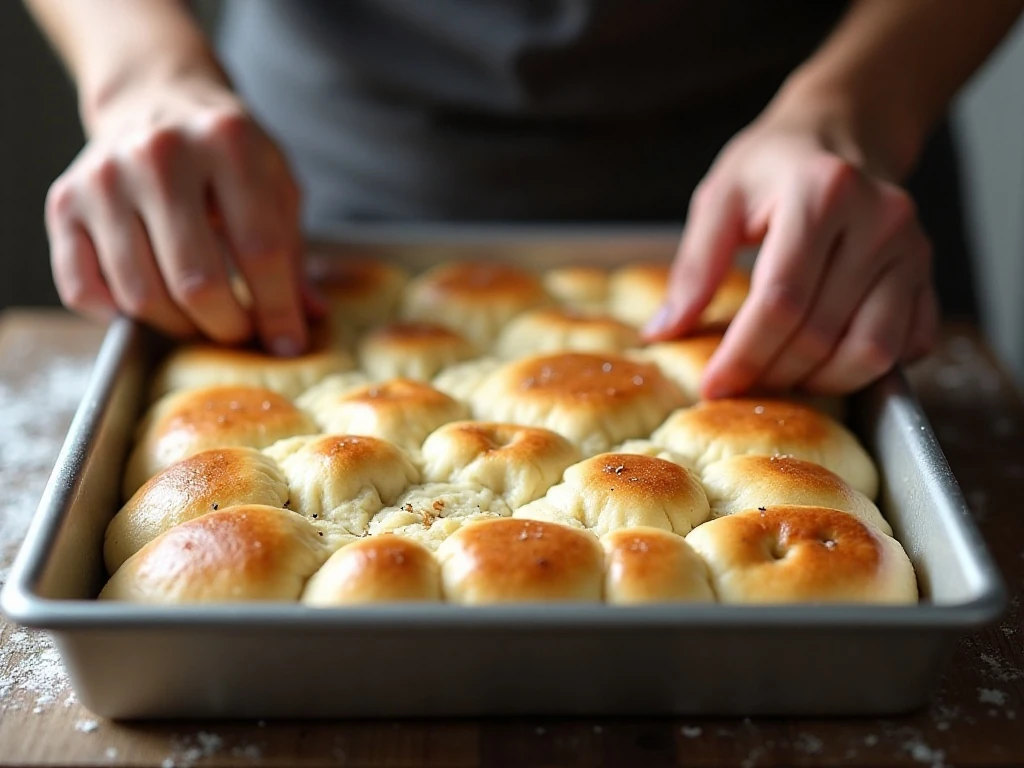
Step 1: Combine the flour, instant yeast, and fine salt in a large bowl. Add the lukewarm water and about 2 tablespoons of olive oil, then stir with a wooden spoon or spatula until every bit of dry flour is incorporated.
Step 2: Check the texture before covering the bowl. The mixture should be very wet, sticky, and shaggy, with no kneading required; if it looks like a firm ball of dough, it is likely too dry.
Step 3: Cover the bowl tightly and leave it at room temperature for 8–24 hours. The dough is ready when it has doubled, looks bubbly across the surface, and feels full of air; a cool kitchen may require the longer end of the range.
Step 4: Add 1–2 tablespoons of olive oil to a 9 x 13-inch metal pan, making sure the base and corners are coated. Scrape the risen dough into the pan, turn it once in the oil, and handle it gently so you preserve as many bubbles as possible.
Step 5: Use oiled hands to nudge the dough toward the corners. Do not force it if it springs back; cover it and let it rest for 10–15 minutes, then stretch it again when the gluten has relaxed.
Step 6: Cover the pan and begin the second rise. Let the dough proof for 1½–2 hours, until it looks very puffy and fills most of the pan with a soft, inflated surface.
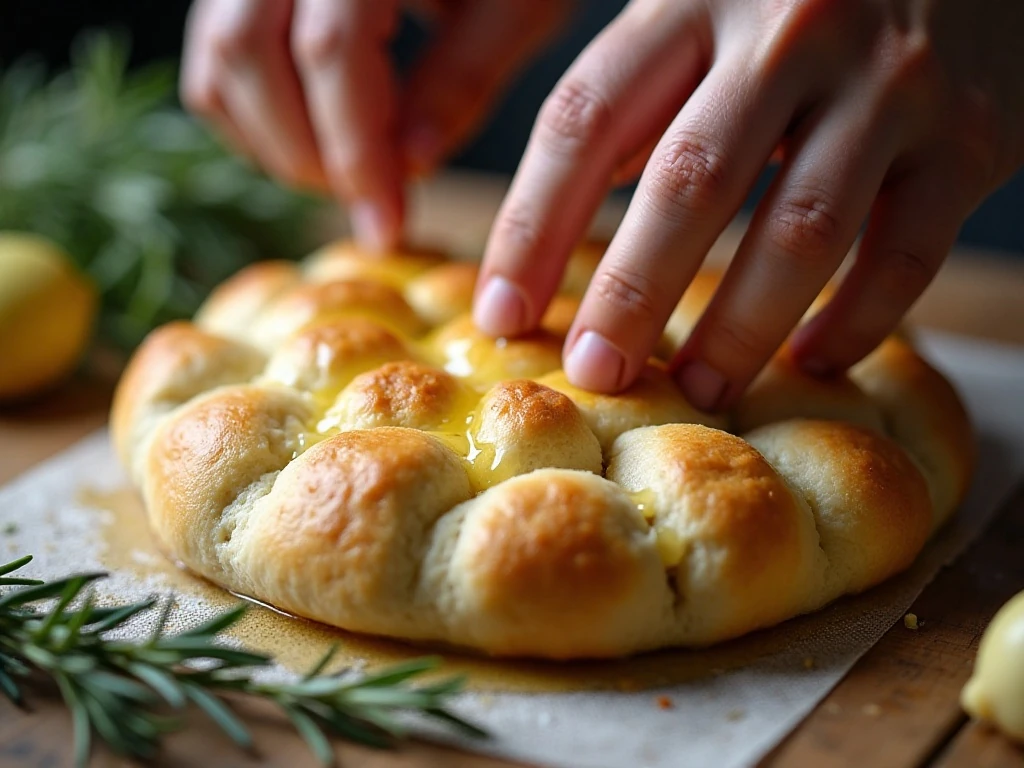
Step 7: Heat the oven to 425°F (220°C) while the dough finishes proofing. Drizzle the remaining olive oil over the top, then oil your fingertips so they move through the dough without sticking or tearing.
Step 8: Press your fingertips deeply into the dough to form the signature focaccia dimples. Reach close to the bottom of the pan, but press with care rather than aggressively punching down the dough; the goal is to create pockets while keeping the surrounding dough airy.
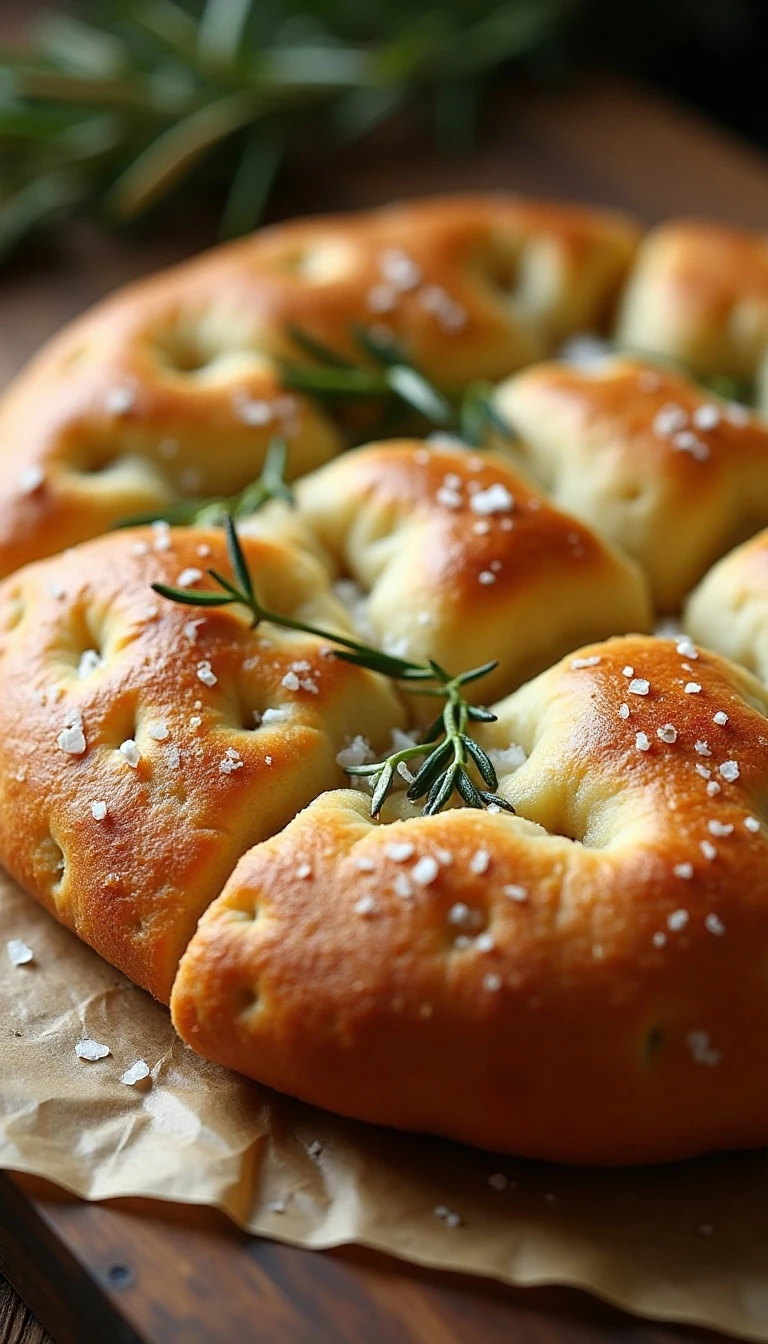
Step 9: Sprinkle the surface with flaky sea salt and fresh rosemary. Add halved cherry tomatoes, sliced olives, roasted garlic, or thinly sliced onion if desired, pressing larger toppings lightly into the dough so they stay in place.
Step 10: Bake for 25–30 minutes, rotating the pan once if your oven browns unevenly. The focaccia should be deeply golden on top, crisp around the edges, and fragrant with olive oil and rosemary.
Step 11: Let the bread cool in the pan for at least 10 minutes before cutting. This short rest allows the crumb to settle while keeping the crust pleasantly crisp and the center tender.
Pro Tips for Crispy Edges and a Fluffy Center
The most important rule is to trust the dough. A wet dough may seem unusual, but adding flour during mixing or shaping can make the baked bread dense and less airy.
- Oil the pan generously: The oil should cover the base and reach into the corners. This helps prevent sticking and creates the crisp, savory underside that defines great focaccia.
- Protect the bubbles: Move the dough with a light touch during transfer and stretching. Avoid pressing it flat before the final dimpling.
- Give resistant dough time: If it pulls away from the corners, stop stretching and wait 10–15 minutes. The dough will relax and become easier to shape.
- Wait for a truly puffy second rise: Under-proofed dough can bake up tight. Look for a soft, inflated surface before adding the dimples and toppings.
- Dimple immediately before baking: Pressing right before the focaccia goes into the oven helps preserve the air bubbles and distributes the olive oil across the surface.
- Watch the final minutes: The bread should be deeply golden, not pale. If one side colors faster, rotate the pan once during baking.
For a same-day focaccia, use the same 2¼ teaspoons of instant yeast and let the dough rise in a warm place for about 2 hours. Continue with the 1½–2-hour pan proof, then bake as directed; the longer overnight rise simply offers more developed flavor and a little extra convenience.
Topping Ideas and Serving Suggestions

Rosemary and flaky sea salt make a fragrant classic, but focaccia welcomes many savory additions. Cherry tomatoes become sweet and jammy in the oven, olives add a briny bite, roasted garlic melts into the crumb, and thinly sliced onion turns golden around the edges.
Keep toppings modest so they do not weigh down the dough or release too much moisture. A few well-spaced ingredients allow the bread’s crisp crust and airy center to remain the focus.
Serve warm squares as an appetizer, place them beside a bowl of soup, or use them to mop up a saucy main dish. For a casual spread, pair the focaccia with dips, including this easy Big Mac casserole as part of a fun comfort-food table.
Focaccia is also excellent for sandwiches. Slice a square horizontally once it has cooled, then fill it with roasted vegetables, cheese, greens, or sliced meat for a lunch that feels special without requiring complicated bread shaping.
Storage, Freezing, and Reheating

Focaccia is best on the day it is baked, when the crust is at its crispiest. Store leftovers in an airtight container or tightly wrapped at room temperature for up to 2 days; refrigeration can make the crumb firm more quickly.
To refresh a piece, warm it in a 350°F oven for several minutes until the edges are crisp and the center is soft again. Avoid microwaving for too long because it can make the crust chewy.
For longer storage, wrap cooled pieces securely and freeze them for up to 1 month. Thaw at room temperature, then reheat in a 350°F oven until warmed through.
Keep sweet treats separate from the bread, but if you are planning a dessert table after dinner, these peppermint brownies make a chocolatey finish.
Easy No-Knead Focaccia Bread Recipe (Crispy & Fluffy)
Ingredients
Method
- Mix the flour, instant yeast, and fine salt in a large bowl. Add the lukewarm water and about 2 tablespoons of the olive oil, then stir with a wooden spoon or spatula until no dry flour remains.
- Cover the bowl tightly and let the sticky dough rise at room temperature for 8–24 hours. It should double in size and become bubbly and visibly aerated.
- Pour 1–2 tablespoons of olive oil into a 9 x 13-inch metal baking pan. Transfer the dough into the pan, turn it once to coat it with oil, and gently stretch it toward the corners.
- Cover the pan and let the dough rise for another 1½–2 hours, until very puffy. If it resists while stretching, let it rest for 10–15 minutes before trying again.
- Heat the oven to 425°F (220°C). Drizzle the remaining olive oil over the dough, oil your fingertips, and press deeply into the dough to make dimples that reach close to the bottom of the pan.
- Sprinkle with flaky sea salt, fresh rosemary, and any optional toppings. Bake for 25–30 minutes, rotating the pan once if needed, until deeply golden on top and crisp around the edges.
- Cool the focaccia for at least 10 minutes before slicing into about 12 pieces. Serve warm or at room temperature.
Notes
Final Thoughts
This easy no-knead focaccia proves that excellent homemade bread does not require complicated techniques or hours of active work. Stir together the wet dough, give it time to rise, coat a metal pan generously with olive oil, and let the oven create the crisp crust and pillowy center.
Remember to handle the dough gently, wait for both rises to finish, and dimple it thoroughly just before baking. Once you taste the salty, rosemary-scented edges and airy crumb, this simple recipe is likely to become a regular part of your bread-baking routine.
Cut the focaccia into about 12 pieces and serve it warm, at room temperature, or reheated the next day. Whether paired with dip, soup, pasta, or a sandwich filling, every square brings bakery-style comfort straight to your kitchen.