This mini red velvet layer cakes recipe makes six individual two-layer cakes from one tender 9-by-13-inch sheet cake. The cakes require 25–30 minutes of preparation, bake in 18–22 minutes, and need about 45–60 minutes for cooling and assembly, making the full project approximately 1½ to 2 hours.
Each petite cake has a soft, lightly cocoa-scented crumb, a classic red velvet color, and tangy cream cheese frosting between and around the layers. They are just the right size for birthdays, showers, holidays, dinner parties, or any occasion that calls for a memorable homemade dessert.
Jump to RecipeWhy You’ll Love This Recipe
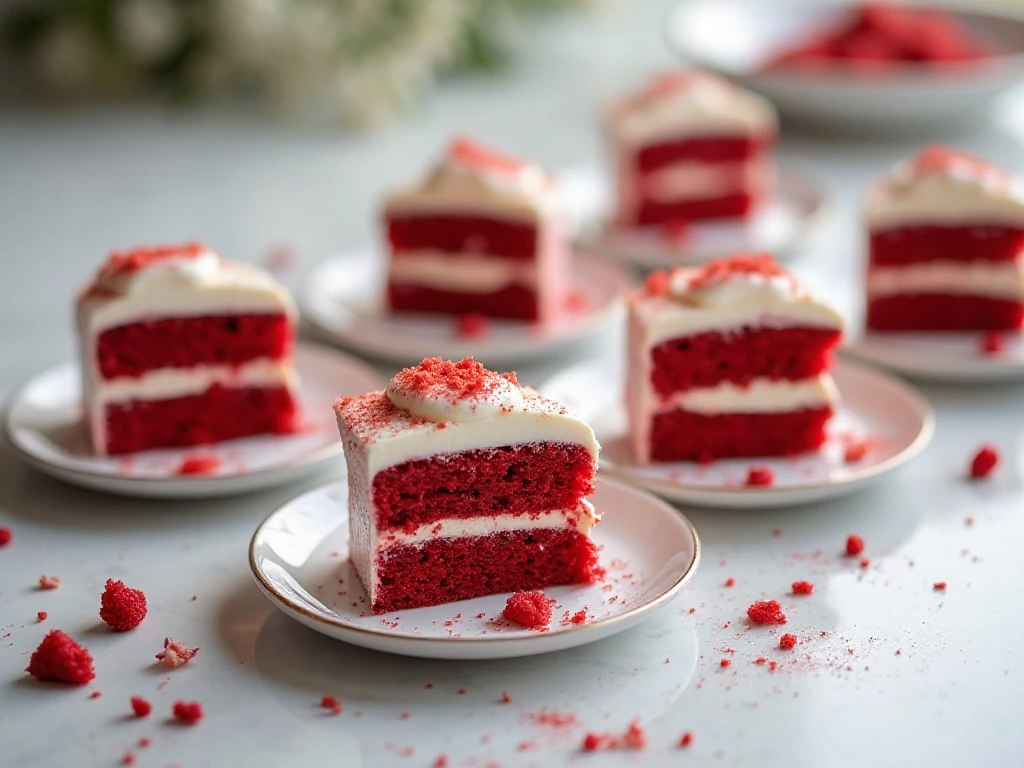
These mini red velvet layer cakes deliver the charm of a full celebration cake without requiring a stack of round pans or complicated decorating. A single sheet cake becomes six neat individual desserts, so every guest receives a beautiful serving with balanced cake and frosting.
The flavor is classic red velvet: gently chocolatey rather than deeply rich, with a subtle tang from buttermilk and vinegar. The cream cheese frosting adds cool, creamy sweetness that complements the soft oil-based crumb.
They are also wonderfully adaptable. Serve them with simple swoops of frosting for a rustic look, pipe a decorative border for a birthday, or scatter red velvet crumbs over the top for an easy professional finish.
If you are planning a brunch dessert table, you might also enjoy these bite-size pancake muffins alongside the cakes for a playful assortment of small treats.
Ingredients You’ll Need
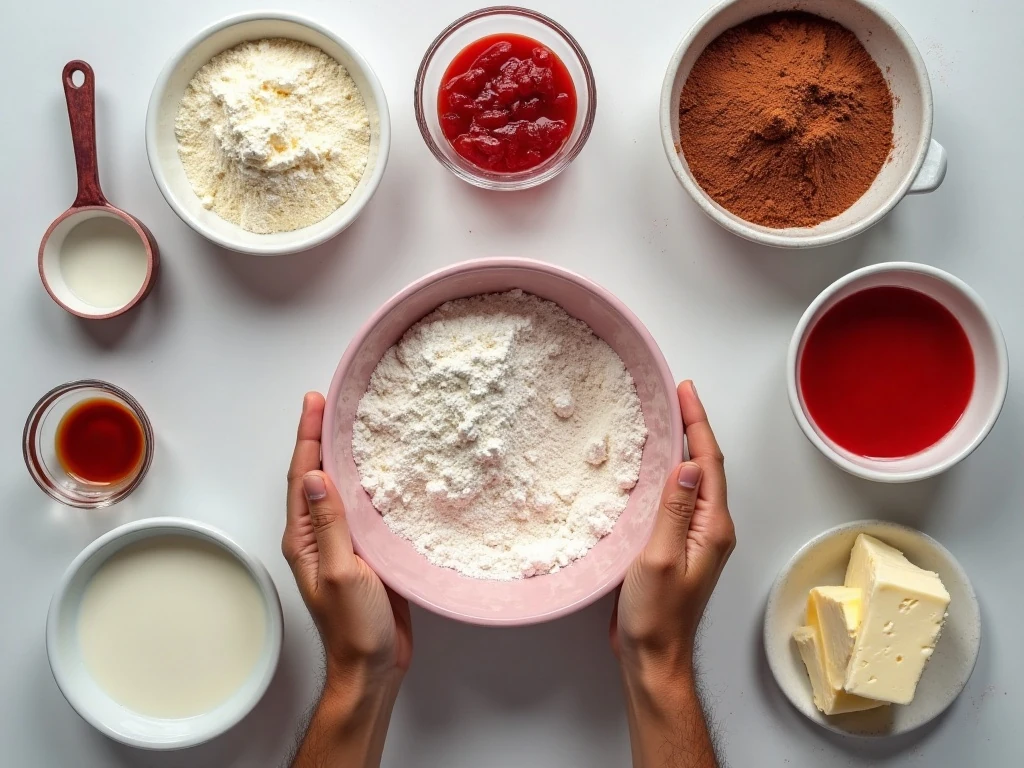
The cake batter uses pantry-friendly ingredients, but a few details make a meaningful difference in the finished texture and color. Natural cocoa powder is the best choice here because it works with the baking soda and white vinegar to create the intended leavening balance.
- Flour and sugar: All-purpose flour provides structure, while granulated sugar keeps the crumb tender and sweet.
- Natural cocoa powder: The modest amount gives red velvet its soft cocoa character without turning the cake into a chocolate cake.
- Oil and buttermilk: Neutral oil keeps the layers moist, and room-temperature buttermilk contributes tenderness and tang.
- Eggs, vanilla, and vinegar: These ingredients support the batter’s structure and classic flavor.
- Red food coloring: Use 1 ounce of liquid coloring or approximately 1 1/2 to 2 tablespoons of gel coloring for a deeper shade.
- Cream cheese frosting: Full-fat cream cheese, unsalted butter, sifted confectioners’ sugar, vanilla, and a pinch of salt create a smooth, stable finish.
Set the eggs and buttermilk out before baking, and soften the cream cheese and butter before mixing the frosting. Ingredients at room temperature blend more evenly and help prevent a lumpy batter or frosting.
How to Make It Step-by-Step
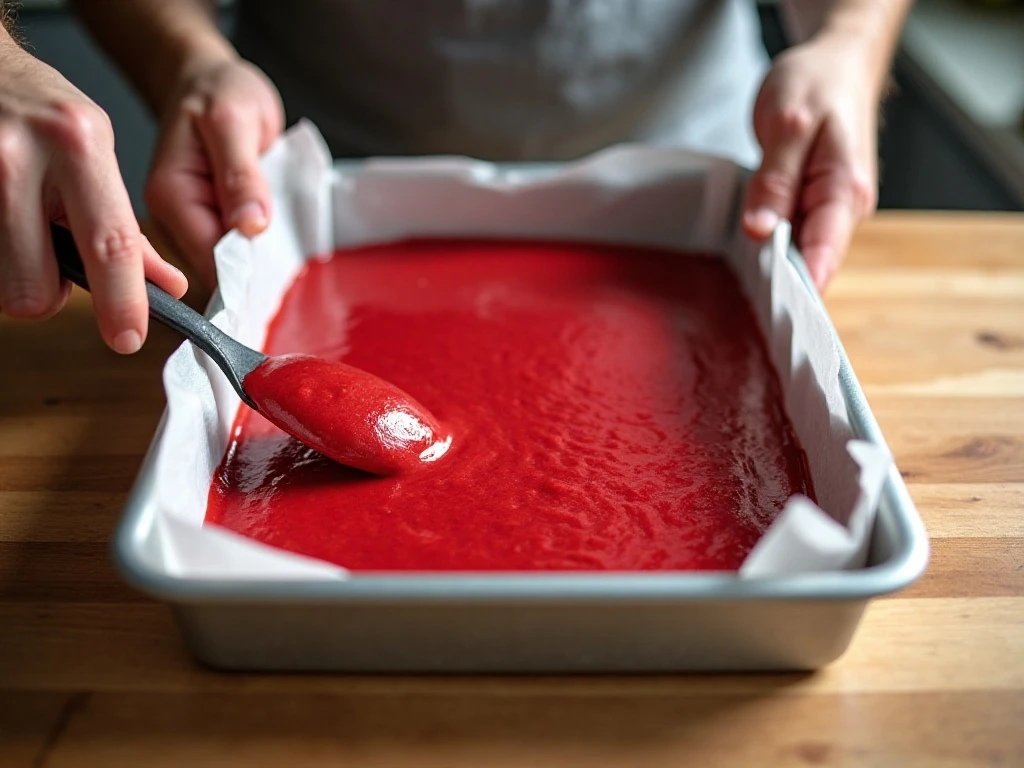
Step 1: Heat the oven to 350°F (175°C), then grease and line a 9-by-13-inch baking pan with parchment paper. The parchment should cover the bottom and extend slightly up two sides, giving you a helpful lift point after cooling.
Step 2: Whisk the flour, granulated sugar, baking soda, salt, and natural cocoa powder in a large bowl until evenly combined. Breaking up cocoa lumps now prevents dry pockets from appearing in the finished cake.
Step 3: In another bowl, whisk together the vegetable oil, room-temperature buttermilk, eggs, vanilla, vinegar, and red food coloring. Continue until the liquid looks uniform and the coloring is distributed throughout.
Step 4: Pour the wet ingredients into the dry ingredients and mix just until combined. Stop as soon as the flour disappears, since overmixing develops gluten and can make these petite layers heavy.
Step 5: Pour the batter into the prepared pan and spread it evenly with a spatula. Bake for 18–22 minutes, checking for a lightly springy center and a toothpick that shows a few moist crumbs.
Step 6: Let the cake cool in the pan for about 10 minutes, then transfer it to a rack to cool completely. Once it is cool, chill it briefly so the sheet cake becomes firm enough for clean, even cutting.
Step 7: Beat the softened cream cheese and butter until completely smooth, then gradually add the sifted confectioners’ sugar. Beat in the vanilla and salt, adding 1–2 tablespoons of heavy cream or milk only if the frosting needs loosening.
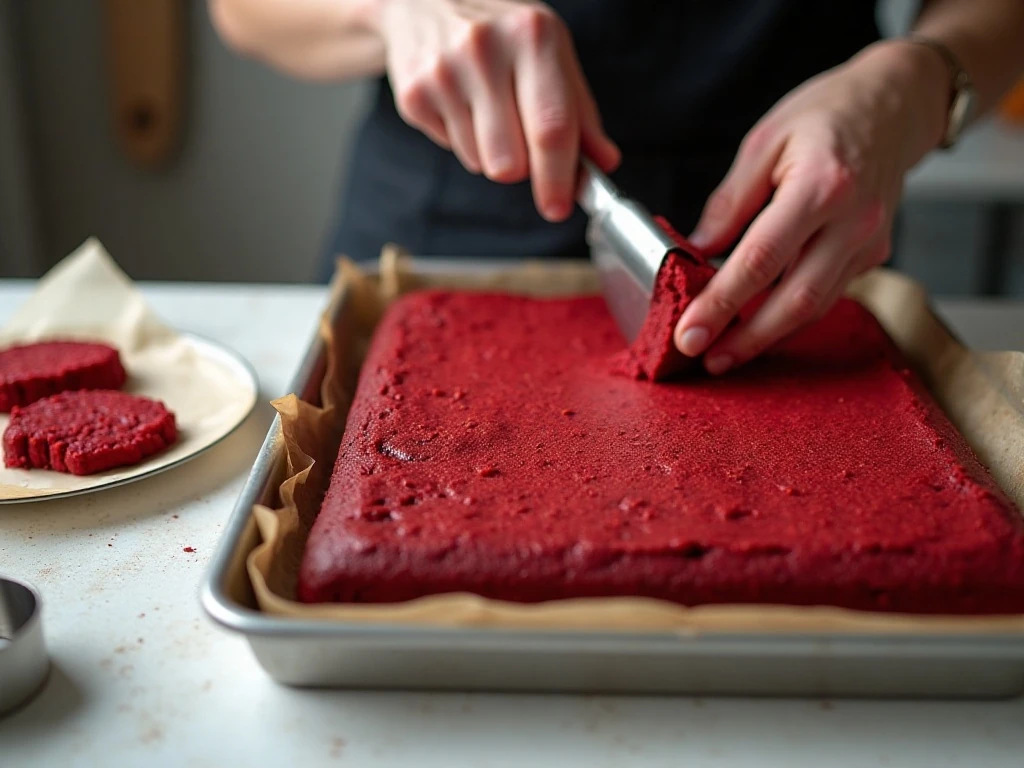
Step 8: Cut 12 rounds with a 2 1/2- to 3-inch round cutter. Press straight down rather than twisting, and wipe the cutter clean between cuts to keep the red layers crisp and attractive.
Step 9: Put one round on each plate and spread it with frosting before adding the second round. Frost the tops and sides, or leave the sides partially exposed for a relaxed naked mini-cake appearance.
Step 10: Chill the assembled cakes for 20–30 minutes before serving. Finish with reserved cake crumbs, a small frosting rosette, or a light dusting of confectioners’ sugar just before presenting them.
For another petite, party-friendly dessert, take a look at these raspberry mini cheesecakes. Their berry-and-chocolate profile makes a lovely contrast on a dessert buffet.
Decorating and Serving Ideas
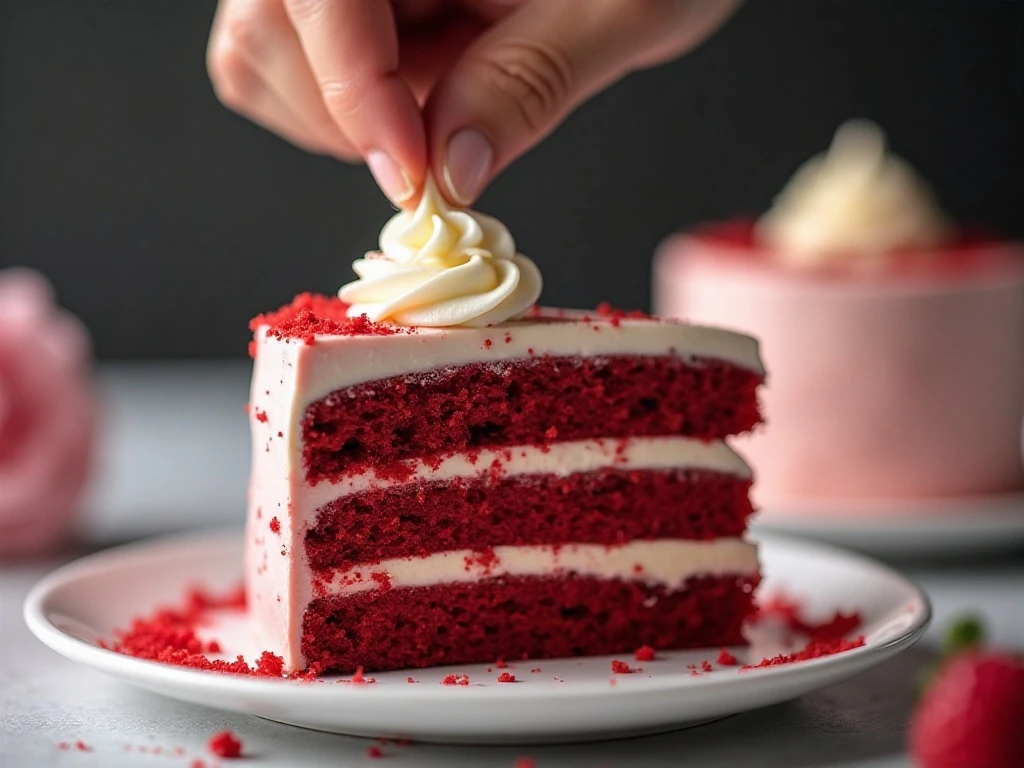
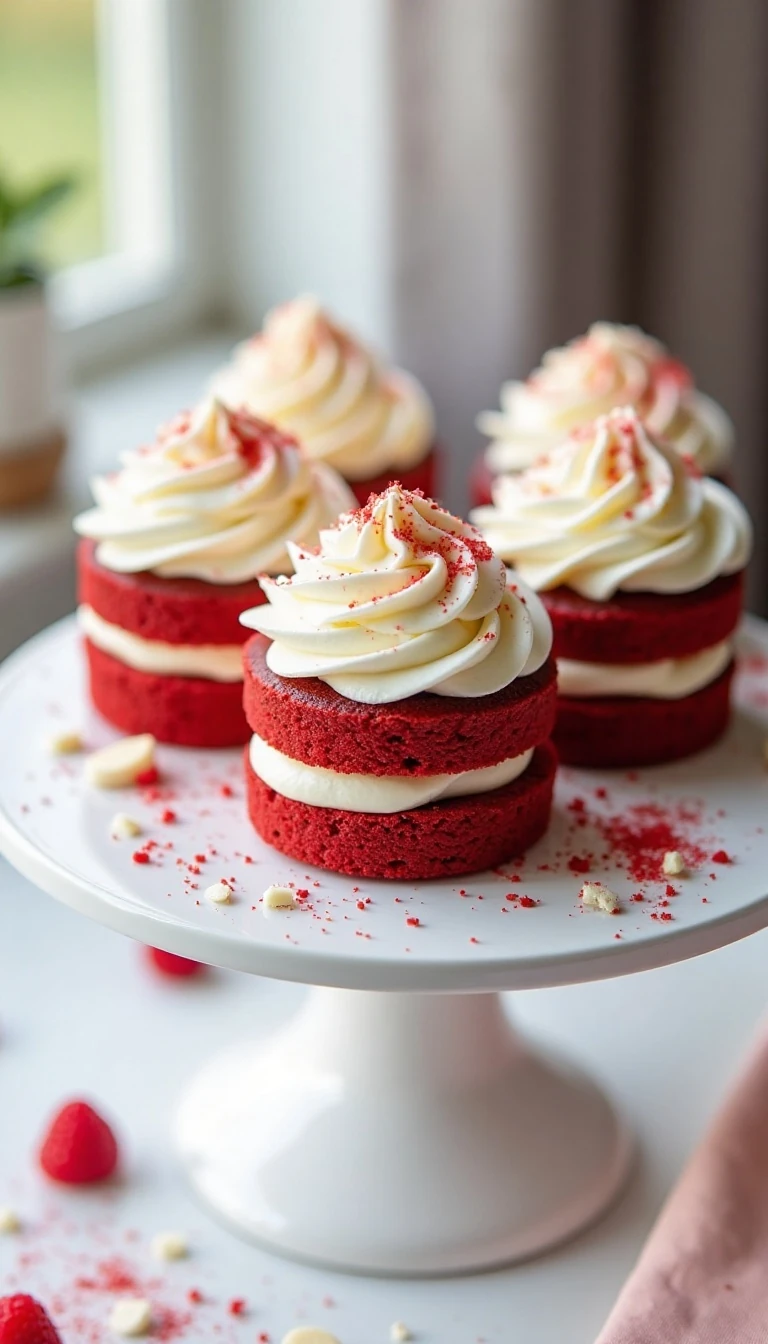
The easiest finish is a smooth crown of cream cheese frosting with a few red velvet crumbs scattered in the center. To make those crumbs, simply crumble the reserved cake scraps between your fingers and sprinkle them over the frosted tops.
For a more polished presentation, pipe small stars or rosettes around the edge using a piping bag. Fresh raspberries, chocolate curls, or tiny white sprinkles provide color contrast, but add delicate garnishes shortly before serving.
These cakes look especially attractive on individual dessert plates with a few crumbs placed around the base. Serve them chilled or let them sit briefly at room temperature so the frosting softens while the cake remains pleasantly cool.
If these cakes are part of a larger celebration menu, balance the dessert table with savory favorites such as pesto roasted red potatoes. A small dessert and hearty side selection can make an informal gathering feel thoughtfully planned.
Pro Tips for Tender Mini Cakes
- Measure carefully: Use the listed cup and gram amounts, leveling dry ingredients when measuring by volume.
- Choose natural cocoa: Dutch-process cocoa has a different acidity and is not the preferred option for this baking soda-and-vinegar formula.
- Mix lightly: Once the flour is incorporated, stop mixing promptly to protect the delicate crumb.
- Chill before cutting: A briefly chilled sheet cake produces cleaner rounds and less tearing.
- Use a crumb coat: Spread a thin first layer of frosting, chill the cakes for 15 minutes, and then apply the final coating.
- Keep the cutter clean: Wiping away crumbs between cuts makes the layers look sharper and more uniform.
Vinegar is traditional in red velvet cake and helps provide its characteristic flavor and leavening balance. Some versions replace it with an additional teaspoon of buttermilk, but this recipe keeps the classic vinegar-based approach.
Gel coloring is useful when you want a deeper red without adding as much liquid. Whichever type you choose, mix it thoroughly into the wet ingredients before combining them with the flour.
Storage and Make-Ahead Advice
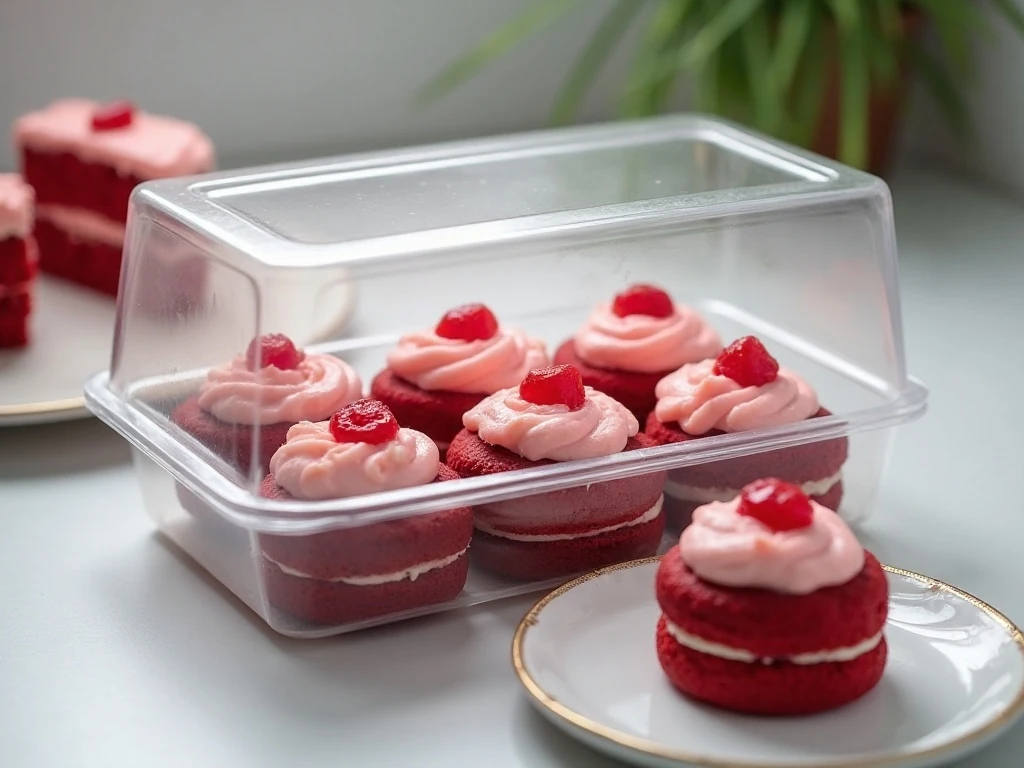
Because the frosting contains cream cheese, store the finished mini cakes covered in the refrigerator. They are best enjoyed within several days, and chilling also helps the frosting hold its shape during serving.
You can bake the sheet cake ahead, cool it completely, wrap it well, and chill it before cutting. The reserved scraps can be frozen in a sealed container and later used as red velvet crumbs for decoration.
For a party, assemble the cakes earlier on the day of serving and chill them for at least the recommended 20–30 minutes. Keep the garnish simple until the last moment so the tops remain neat and the colors stay vivid.
For a main-dish idea to serve before dessert, consider this honey garlic chicken. If brunch is your occasion, zucchini bread pancakes can round out the menu with warm spice and a cozy homemade feel.
Mini Red Velvet Layer Cakes
Ingredients
Method
- Heat the oven to 350°F (175°C). Grease a 9-by-13-inch baking pan and line it with parchment paper, leaving a little overhang to make the cooled cake easier to lift.
- Whisk together the flour, sugar, baking soda, salt, and natural cocoa powder in a large bowl. In a separate bowl, whisk the oil, buttermilk, eggs, vanilla, vinegar, and red food coloring until smooth.
- Add the wet mixture to the dry ingredients and stir just until no large streaks of flour remain. Do not overmix, because excess mixing can make the small cake layers dense.
- Pour the batter into the prepared pan and spread it evenly into the corners. Bake for 18–22 minutes, until the center springs back lightly and a toothpick comes out with a few moist crumbs.
- Cool the cake in the pan for about 10 minutes, then transfer it to a rack to cool completely. Chill the sheet cake briefly once cool so the layers cut more cleanly.
- Beat the softened cream cheese and butter until smooth. Gradually beat in the sifted confectioners’ sugar, then add the vanilla and salt; mix in heavy cream or milk only if the frosting is too stiff.
- Use a 2 1/2- to 3-inch round cutter to cut 12 cake rounds. Clean the cutter between cuts for sharper edges, and reserve the scraps for crumbs or freeze them for another dessert.
- Place one cake round on each serving plate and spread it with frosting. Add a second round, then frost the tops and sides or leave some sides exposed for a pretty naked-cake finish.
- Chill the assembled cakes for 20–30 minutes before serving. This short rest firms the frosting and makes each mini cake easier to slice and present.
Notes
Final Thoughts
Mini red velvet layer cakes are an inviting way to turn a familiar favorite into an individual celebration dessert. The moist red cake, tangy cream cheese frosting, and tidy two-layer design feel special without demanding advanced decorating skills.
Prepare the sheet cake gently, chill it before cutting, and give the assembled cakes a short rest in the refrigerator for the cleanest results. Whether you choose a simple naked finish or a generous swirl of frosting, these six petite cakes are ready to make birthdays, holidays, showers, and ordinary evenings taste deliciously festive.