This Easy Instant Pot Honey Garlic Chicken Recipe delivers tender chicken in a sweet, savory, garlicky sauce in about 35 to 40 minutes. The chicken cooks under High Pressure for 10 minutes, followed by a short natural release, while a simple cornstarch slurry turns the cooking liquid into a glossy sauce for spooning over rice.
Every bite balances honey’s mellow sweetness with low-sodium soy sauce, ketchup, garlic, ginger, and a splash of vinegar. It is a comforting dinner for busy weeknights, yet the browned chicken and shiny sauce make it special enough for sharing with guests.
Jump to RecipeWhy You’ll Love This Recipe
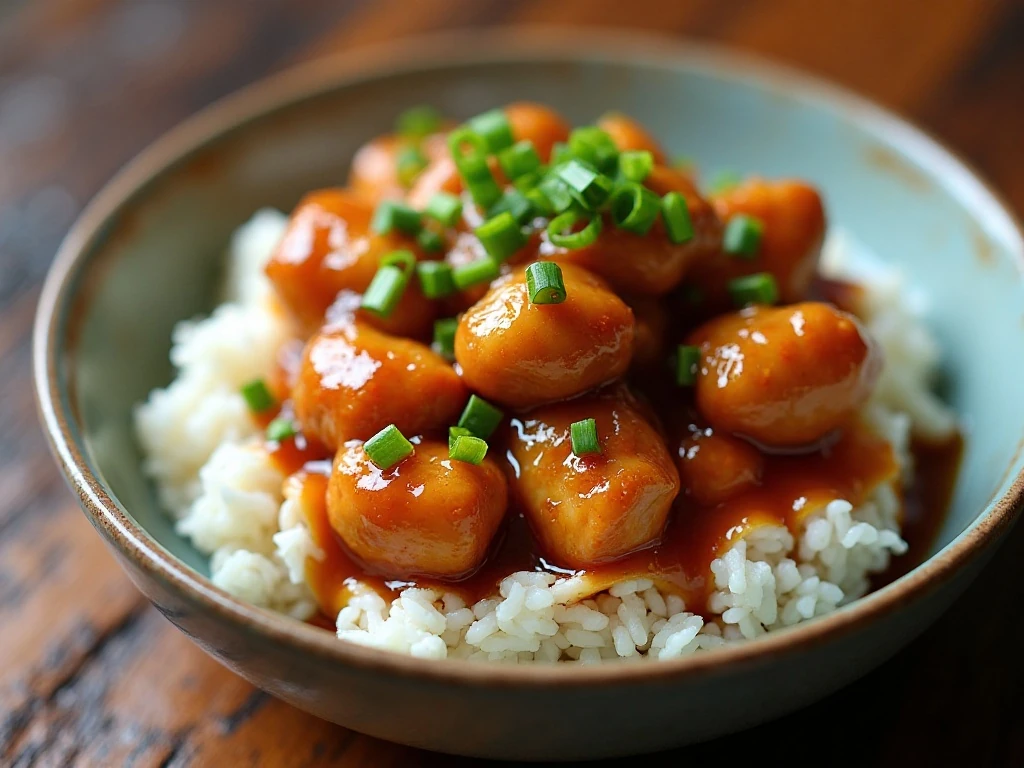
This Instant Pot chicken dinner is built for the nights when you want a homemade meal without spending hours at the stove. The pressure cooker produces juicy chicken while the sauce comes together from pantry-friendly ingredients that are easy to keep on hand.
The honey garlic sauce is rich without being heavy. Honey gives it a rounded sweetness, soy sauce brings savory depth, ketchup adds gentle tomato tang, and vinegar keeps the finished dish bright rather than flat.
It is also flexible enough for different family preferences. Use chicken thighs for the juiciest result, or choose chicken breasts when you prefer leaner meat and a sliceable texture.
If you enjoy saucy chicken dinners, you may also like this creamy garlic mushroom chicken for another comforting skillet-style meal.
Ingredients You’ll Need
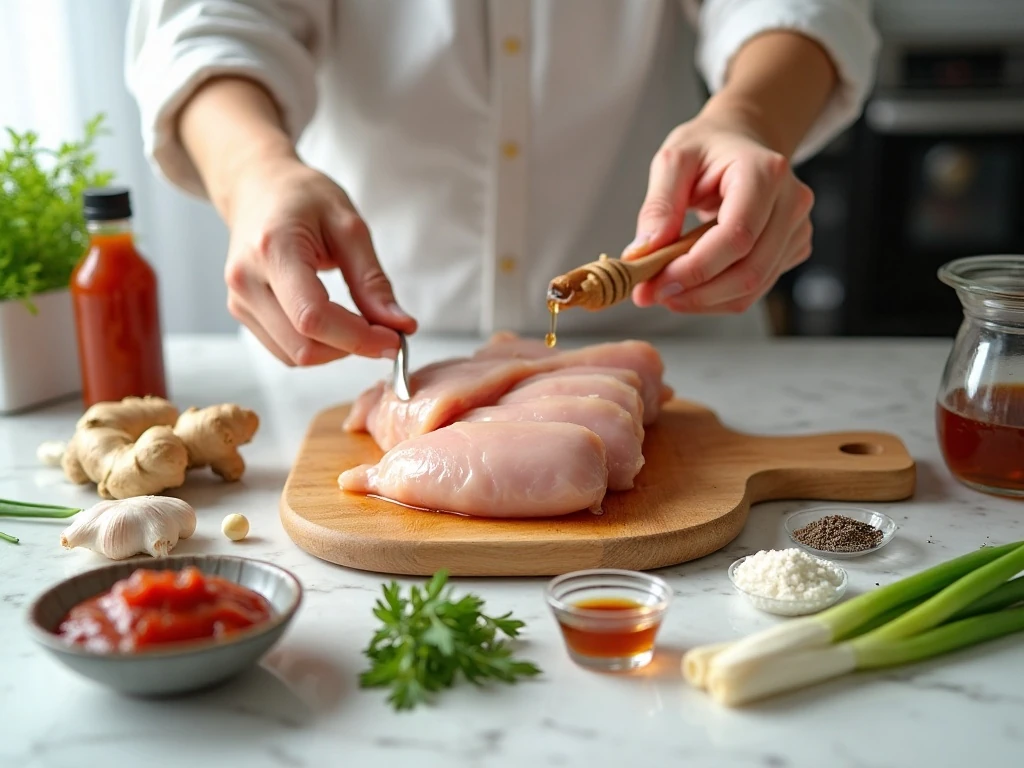
Start with 1 1/2 pounds of boneless, skinless chicken thighs or breasts. Patting the chicken dry helps the seasoning adhere and gives it a better chance of browning during the Sauté stage.
- Chicken: Thighs stay especially moist, while breasts work well when the pieces are similar in size.
- Seasoning: Kosher salt and black pepper provide a simple base before the sauce is added.
- Sauce: Honey, low-sodium soy sauce, ketchup, water or chicken broth, garlic, ginger, and vinegar create the sweet-savory flavor.
- Thickener: A mixture of 1 tablespoon cornstarch and 2 tablespoons cold water gives the sauce a smooth, spoon-coating consistency.
- Garnish: Cooked white rice, green onions, and optional sesame seeds complete the meal.
Fresh ginger is optional, but its warm, lightly peppery flavor fits beautifully with garlic and honey. Rice vinegar or apple cider vinegar can be used, so choose whichever is already in your pantry.
How to Make It Step-by-Step
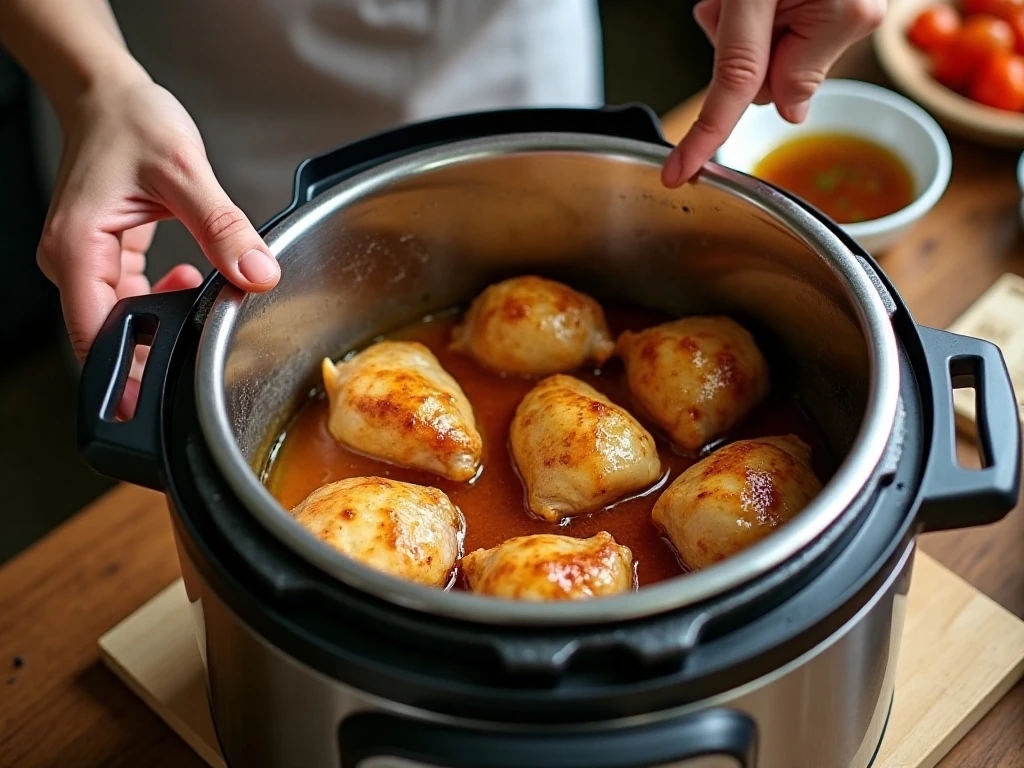
Step 1: Pat the chicken dry with paper towels, then season it on both sides with the kosher salt and black pepper. Dry surfaces brown more readily, and even seasoning at this stage ensures the chicken itself is flavorful beneath the glaze.
Step 2: In a medium bowl, whisk together the honey, low-sodium soy sauce, ketchup, water or chicken broth, minced garlic, grated ginger, and vinegar. Mixing the sauce before it goes into the pot makes the cooking process quick and helps distribute the garlic and ginger evenly.
Step 3: Select Sauté on the Instant Pot and add the neutral oil. Brown the chicken in batches for approximately 2 minutes per side, taking care not to crowd the pot; the chicken does not need to cook through at this point.
Step 4: Press Cancel to stop Sauté, then pour the prepared sauce around the chicken. Use a wooden or silicone utensil to scrape every browned bit from the bottom, since stuck honey and ketchup can trigger a Burn warning.
Step 5: Lock the lid and set the pot to High Pressure for 10 minutes. When the cycle ends, allow a natural release for 5 to 10 minutes, then carefully release the remaining pressure according to your pressure cooker’s instructions.
Step 6: Move the cooked chicken to a clean plate so the sauce can be thickened without overcooking the meat. Slice or shred chicken breasts after cooking, while thighs can be served whole or pulled into tender pieces.
Step 7: Stir the cornstarch with 2 tablespoons cold water until smooth and lump-free. Set the Instant Pot to Sauté, whisk the slurry into the sauce, and simmer for 2 to 3 minutes, stirring often, until the sauce turns glossy and thick.
Step 8: Return the chicken to the pot and turn the pieces gently until coated. Spoon the chicken and plenty of sauce over cooked white rice, then finish with green onions and sesame seeds if desired.
How to Get a Thick, Glossy Sauce
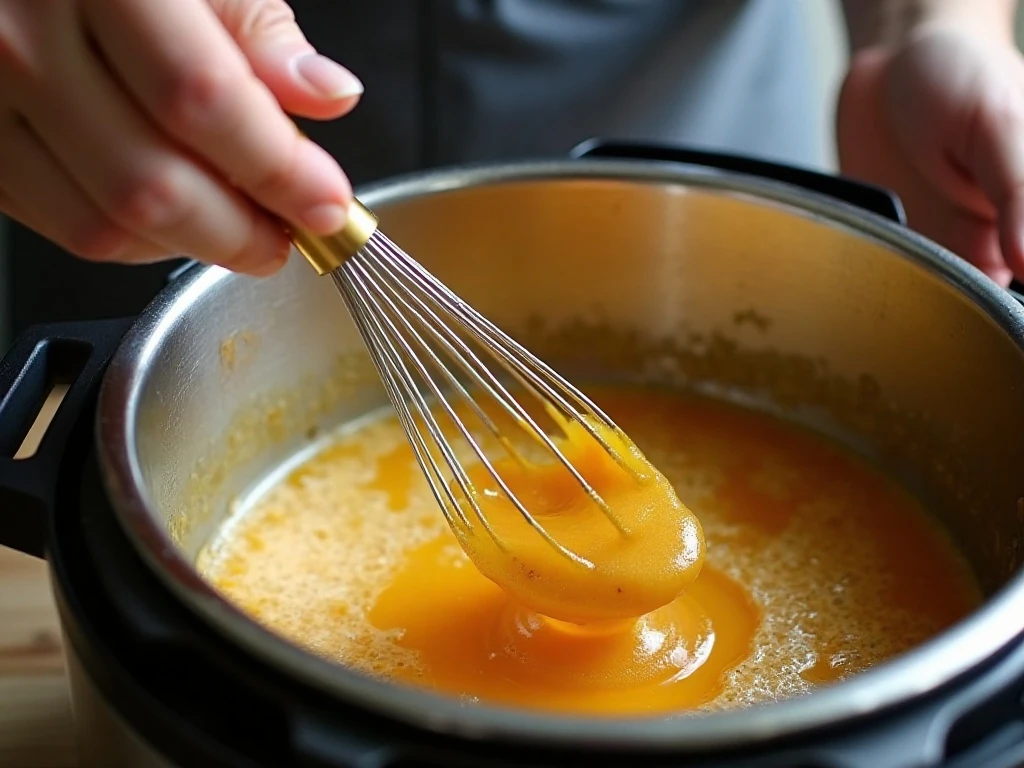
The sauce should be thickened after pressure cooking, not before. Cornstarch begins to thicken as it simmers, and adding it early can make the liquid too dense and increase the chance of scorching on the bottom of the pot.
Always use cold water for the slurry and whisk it until completely smooth before adding it. A brief 2- to 3-minute simmer is enough; prolonged boiling can make the sauce overly tight.
For a thinner serving sauce, stop simmering as soon as it lightly coats a spoon. For a thicker glaze, continue stirring for a little longer while watching the bottom carefully.
For another sweet-and-savory dinner idea, compare the flavors with this honey garlic salmon recipe.
Chef’s Tips for Perfect Instant Pot Chicken
- Choose similar pieces: Chicken breasts vary considerably in size, so use pieces that are close in thickness whenever possible.
- Check doneness: The thickest part of the chicken should reach 165°F/74°C. Very large chicken breasts may need an additional 1 to 2 minutes of pressure cooking.
- Do not skip deglazing: Scraping the pot thoroughly after adding the liquid is one of the most important steps for avoiding a Burn warning.
- Brown in batches: Crowding traps moisture and makes browning difficult. Two minutes per side is sufficient for a flavorful surface.
- Adjust sweetness: For a less sweet sauce, reduce the honey to 1/3 cup while keeping the other listed ingredients unchanged.
- Add gentle heat: Red pepper flakes or sriracha can be stirred into the sauce if your family enjoys a spicy finish.
Browning is optional, so you can skip it when speed matters most. Still, those caramelized browned bits add extra flavor, and they become part of the sauce once the pot is deglazed.
For a different chicken preparation, try our crispy Parmesan chicken with lemon garlic pasta when you are in the mood for a crunchy, creamy plate.
Serving Ideas
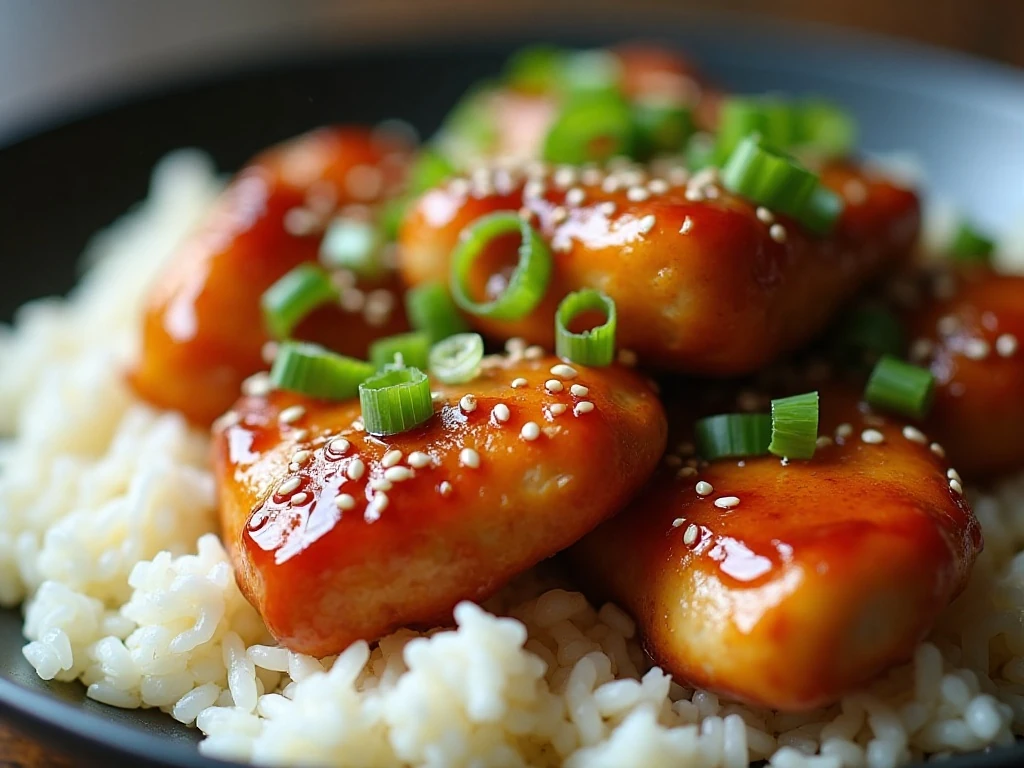
Serve the chicken over a generous bed of cooked white rice so it can absorb the honey garlic sauce. Spoon extra sauce over the top rather than leaving it in the pot; the sauce is one of the best parts of the meal.
Sliced green onions add a fresh, mild bite and a crisp color contrast. Sesame seeds are optional, but they bring a pleasant nutty note and make the finished bowls look inviting.
- Pair with steamed broccoli or green beans for a simple vegetable side.
- Add shredded carrots or cucumber slices for freshness and crunch.
- Serve smaller portions as part of a family-style dinner with extra rice.
- Use the sauce sparingly at first, then add more at the table according to taste.
If you want to plan a spicy chicken dinner for another night, keep these Buffalo chicken marinade ideas nearby.
Storage, Reheating, and Variations
Cool leftovers promptly and store the chicken and sauce in a covered container in the refrigerator for up to 3 days. Keeping the chicken with its sauce helps prevent it from drying out.
Reheat gently in a saucepan over low to medium heat or in the microwave in short intervals. Add a small splash of water if the sauce becomes too thick, and stir between intervals so the chicken warms evenly.
For a tomato-paste variation, replace the 1/4 cup ketchup with 2 tablespoons tomato paste plus 2 tablespoons additional water. You can also use all chicken thighs for the most tender result, or adjust the honey down to 1/3 cup for a less sweet finish.
For another way to prepare chicken with bold flavor, see this all-purpose Buffalo chicken marinade for future meal planning.
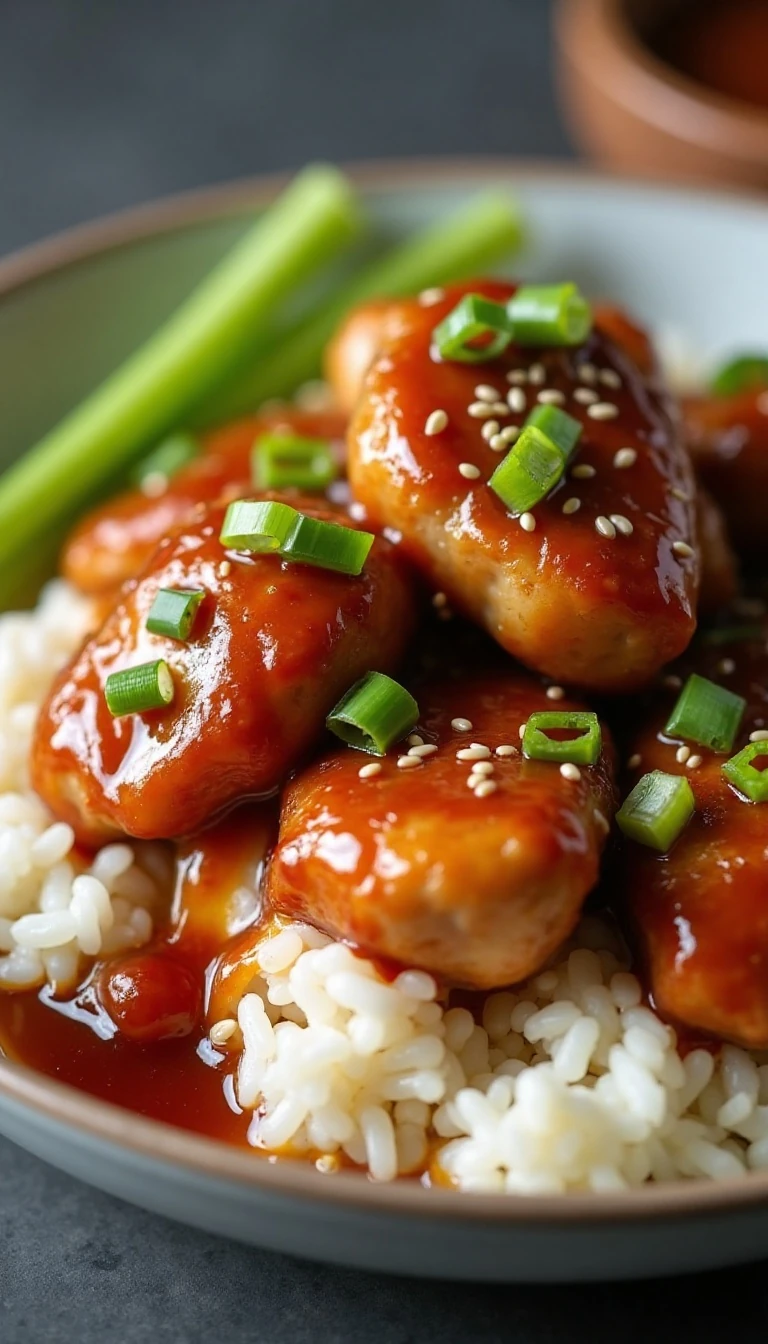
Easy Instant Pot Honey Garlic Chicken
Ingredients
Method
- Pat the chicken dry and season both sides with kosher salt and black pepper.
- Whisk the honey, soy sauce, ketchup, water or broth, minced garlic, grated ginger, and vinegar in a bowl.
- Set the Instant Pot to Sauté, add the oil, and brown the chicken in batches for about 2 minutes per side.
- Cancel Sauté, pour in the sauce, and scrape the bottom of the pot thoroughly to loosen browned bits.
- Secure the lid and cook on High Pressure for 10 minutes. Let the pressure release naturally for 5 to 10 minutes, then release the remaining pressure.
- Transfer the chicken to a plate. Slice or shred cooked chicken breasts, while thighs can remain whole or be shredded.
- Whisk the cornstarch with 2 tablespoons cold water. Set the pot to Sauté, whisk the slurry into the sauce, and simmer for 2 to 3 minutes until glossy and thick.
- Return the chicken to the pot and coat it with sauce. Serve over cooked white rice with green onions and optional sesame seeds.
Notes
Final Thoughts
This Easy Instant Pot Honey Garlic Chicken Recipe earns its place in the regular dinner rotation because it combines a short ingredient list with dependable comfort-food flavor. The chicken becomes tender under pressure, and the final cornstarch slurry transforms the savory cooking liquid into a sauce that clings beautifully to every piece.
Take the extra minute to scrape the pot after adding the sauce, and remember to check the thickest chicken piece for 165°F/74°C. Those small details help prevent scorching and make the finished meal both safe and delicious.
Serve it over rice with green onions, add sesame seeds if you like, and bring the pot to the table while the sauce is warm and glossy. It is a satisfying family dinner that tastes carefully prepared without requiring complicated techniques.
3 thoughts on “Easy Instant Pot Honey Garlic Chicken Recipe”