This sheet pan nachos recipe makes a hot, crispy, cheesy appetizer in about 25 to 35 minutes. Sturdy tortilla chips are layered twice with seasoned ground beef, black beans, onion, jalapeño, and three cups of shredded cheese, then baked at 400°F for 8 to 12 minutes until the cheese melts and the chips stay crisp.
Every bite brings crunchy chips, savory taco-seasoned beef, creamy beans, spicy jalapeño, and rich melted cheese, while fresh pico de gallo, sour cream, guacamole, scallions, cilantro, and lime add cool, bright contrast. This easy appetizer serves 6 to 8 people and is ideal for game days, casual parties, family movie nights, or a quick dinner everyone can customize.
Jump to RecipeWhy You’ll Love This Recipe
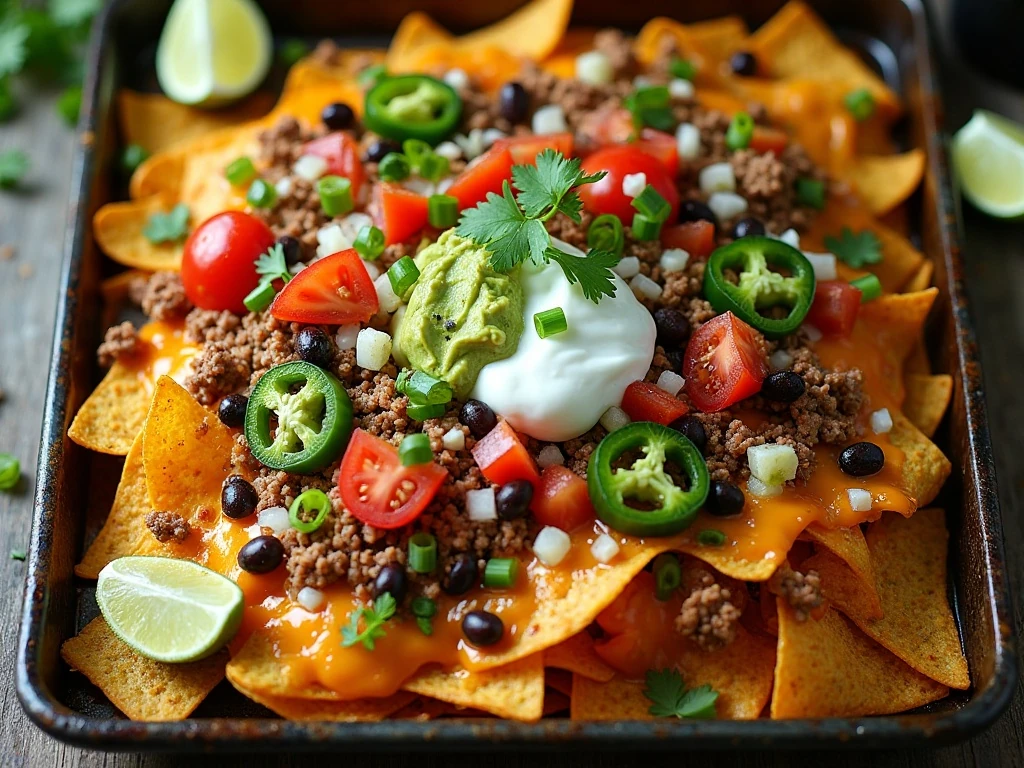
Sheet pan nachos are one of the easiest appetizers to make when you want something hot, generous, and highly shareable. Everything cooks on one pan, the beef can be prepared while the oven heats, and the finished dish goes from oven to table in minutes.
The two-layer method is the detail that makes this recipe especially satisfying. Instead of leaving the bottom chips plain, you spread toppings over half the chips, add another layer, and finish with more beef, beans, vegetables, and cheese.
That arrangement gives nearly every scoop a mix of crunchy chip, savory filling, and melted cheese. It also keeps the top from carrying all the flavor while the bottom becomes an empty pile of chips.
For another party-friendly vegetable appetizer with warm spices and a scoopable texture, try this roasted eggplant dip alongside the nachos. The creamy dip and crisp chips offer a welcome contrast on a snack table.
Ingredients You’ll Need
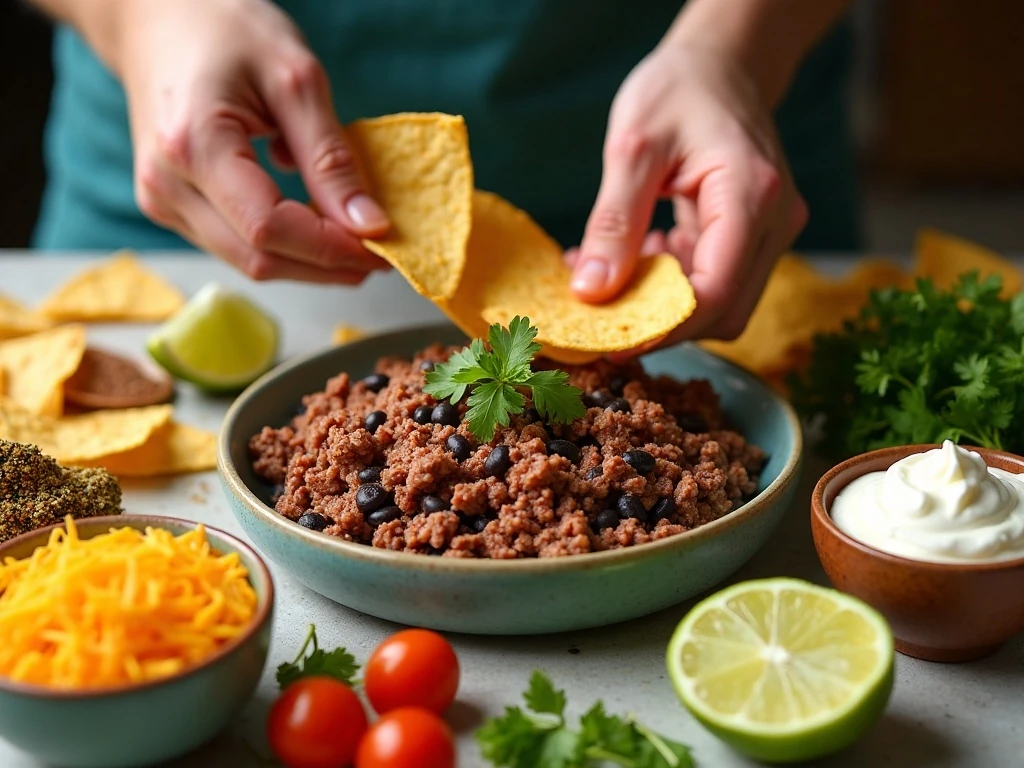
The foundation is one 13-ounce bag of sturdy tortilla chips. Thick chips are important because delicate restaurant-style chips can break or become soggy under the beef, beans, and cheese.
- One tablespoon vegetable oil for cooking the beef.
- One pound lean ground beef for a hearty, savory topping.
- One approximately 1-ounce packet of taco seasoning and one-half cup water.
- One 15-ounce can of black beans, drained and rinsed.
- Three cups shredded cheese, using sharp cheddar, Monterey Jack, or a Mexican cheese blend.
- One-half cup diced red or yellow onion and one thinly sliced jalapeño.
- One-half cup diced tomato or prepared pico de gallo for a fresh finish.
A combination of sharp cheddar and Monterey Jack is a dependable choice. Cheddar brings a bold, salty flavor, while Monterey Jack melts smoothly and helps coat the chips.
Keep the sour cream, guacamole, scallions, cilantro, and lime wedges for serving. These toppings are best added after baking because their cool, fresh textures can be lost in the oven.
If you are planning a larger appetizer spread, these nachos also pair well with sheet pan cauliflower and chickpeas. Both recipes use the oven efficiently and bring colorful, filling options to the table.
How to Make It Step-by-Step
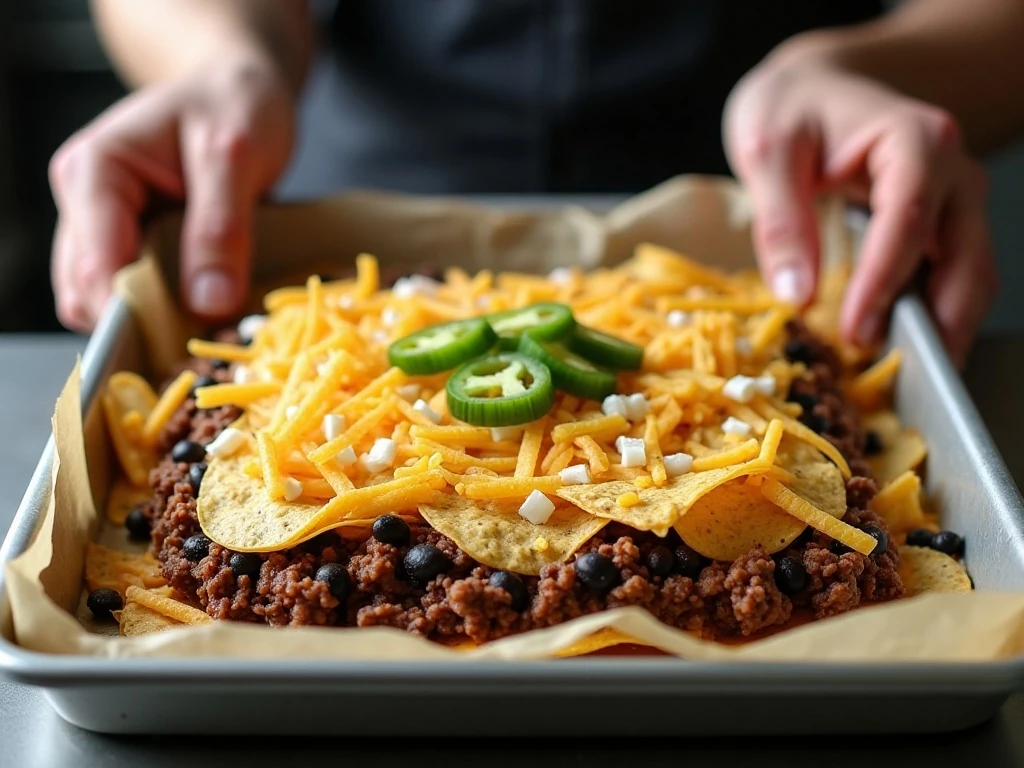
Step 1: Heat the oven to 400°F and line a large rimmed sheet pan with foil or parchment. The rim helps contain the chips and toppings, while the lining makes cleanup much easier after the cheese sets.
Step 2: Heat one tablespoon of vegetable oil in a skillet over medium-high heat. Add the ground beef and cook for 5 to 7 minutes, breaking it into small crumbles as it cooks, until no pink remains.
Step 3: Drain excess fat from the skillet if needed, then add the taco seasoning and one-half cup water. Stir well and simmer for 2 to 3 minutes, allowing the liquid to reduce until it mostly coats the beef rather than pooling in the pan.
Step 4: Spread approximately half of the tortilla chips over the lined sheet pan. Try to create an even layer without crushing the chips, then scatter half of the seasoned beef, black beans, onion, jalapeño, and shredded cheese over them.
Step 5: Add the remaining chips over the first layer and repeat with the remaining beef, beans, onion, jalapeño, and cheese. Spread the cheese across the surface, since exposed cheese melts more evenly and helps hold the toppings in place.
Step 6: Bake for 8 to 12 minutes, checking closely as the end of the baking time approaches. The nachos are ready when the cheese is fully melted, the chips are hot, and the edges remain crisp rather than dark or burnt.
Step 7: Remove the pan from the oven and immediately add the diced tomato or pico de gallo, sliced scallions, and optional cilantro. Serve the nachos at once with sour cream, guacamole, and lime wedges so the chips retain their best crunch.
Pro Tips for Crispy Nachos
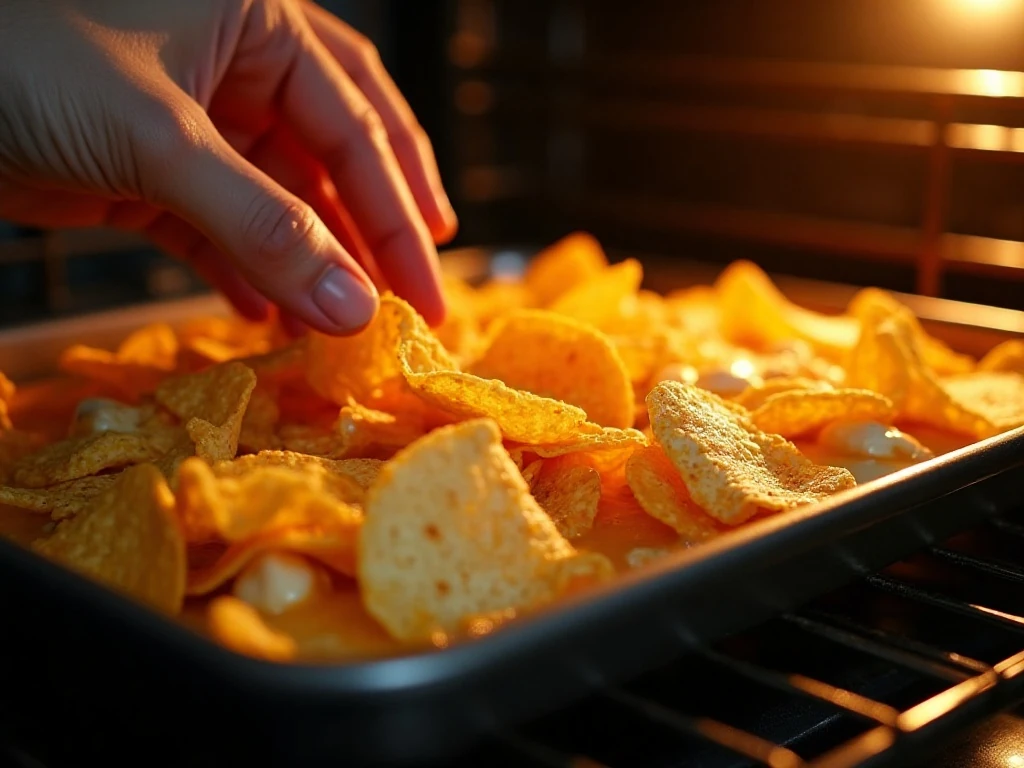
Moisture is the main enemy of crisp nachos, so drain and rinse the black beans thoroughly. Let them sit in a colander for a few minutes, and drain any watery salsa before adding it to the finished pan.
Do not pour pico de gallo or fresh tomato over the chips before baking. Tomatoes release liquid as they heat, which can soften the chips before the cheese has finished melting.
Avoid piling the nachos too high or crowding them beyond the size of the pan. When toppings are packed tightly, steam can collect between the layers instead of allowing the chips to stay crisp.
For an extra-crispy version, bake at 425°F for about 7 to 10 minutes and check frequently. This hotter method shortens the baking window, so stay nearby and remove the pan as soon as the cheese is melted.
Use a wide spatula for serving, but do not wait too long before digging in. Nachos are at their best while the cheese is warm and stretchy and the chips are still firm enough to scoop.
If you are serving other finger foods, these crispy baked orange chicken wings make a flavorful companion. Their sweet citrus glaze balances the salty, cheesy bite of the nachos.
Vegetarian Nacho Variation
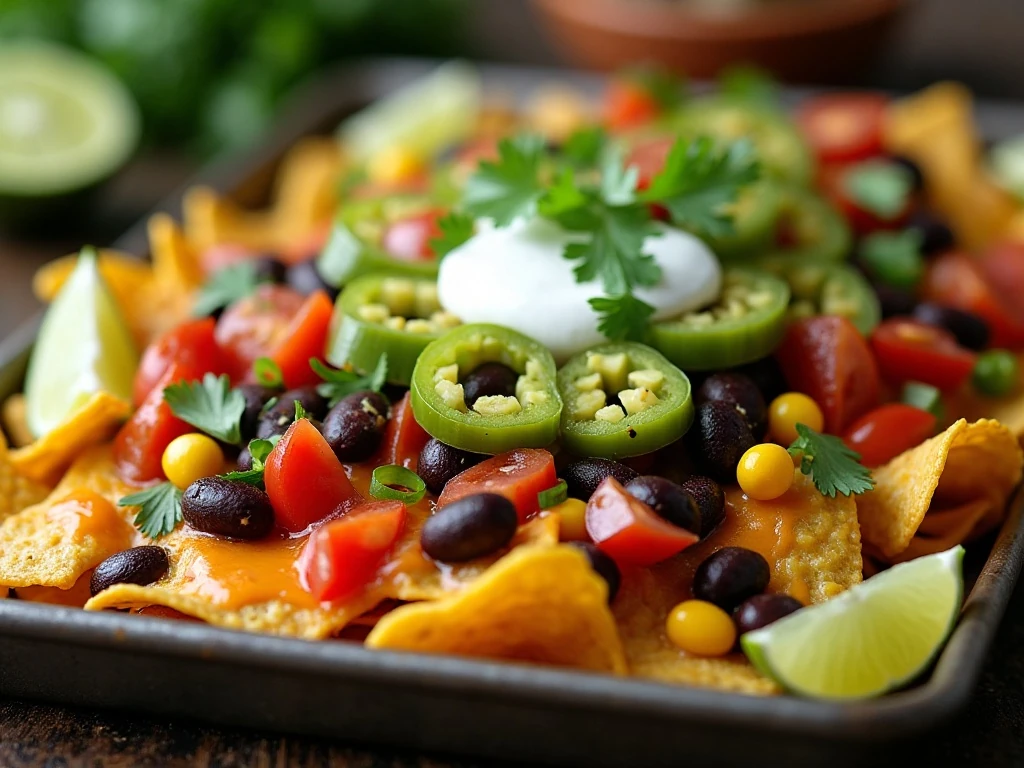
To make this recipe vegetarian, omit the ground beef and replace it with two 15-ounce cans of black beans, pinto beans, or a combination of the two. Drain and rinse the beans well before layering them over the chips.
For more color and substance, add one cup of corn or sautéed bell pepper. You can scatter the vegetables between the two chip layers so the filling reaches the center of the pan instead of resting only on top.
The same baking time generally works for the vegetarian version, though you should still watch the cheese closely. Because the beans and vegetables are already cooked, the goal is simply to heat the filling and melt the cheese without overbaking the chips.
Set out extra jalapeños, guacamole, sour cream, lime, and pico de gallo so guests can build their own bites. This makes the appetizer easy to adapt for different preferences, from mild and creamy to fresh and spicy.
Serving, Storage, and Reheating
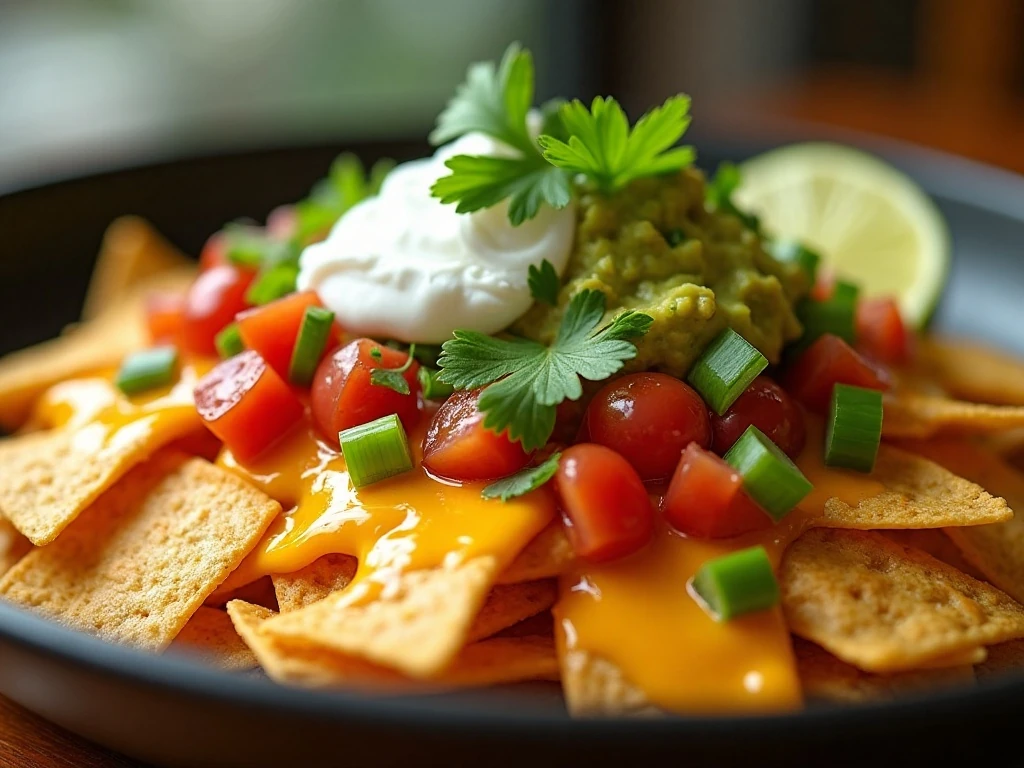
Serve the nachos directly from the sheet pan while they are hot. Add sour cream and guacamole in small spoonfuls across the top or serve them in bowls on the side, which lets guests choose how much cool topping they want.
Fresh cilantro and lime wedges provide a bright finish, while scallions add a mild onion flavor and a crisp green accent. If you prefer less heat, remove the jalapeño seeds before slicing, or use fewer slices on the pan.
Nachos are best eaten immediately and are not ideal for long-term storage because the toppings soften the chips. If you have leftovers, remove as many wet toppings as possible and refrigerate them in a covered container.
Reheat leftovers in a hot oven or toaster oven until the cheese is warm, rather than microwaving them. The oven helps restore some crispness, although freshly baked nachos will always have the best texture.
For a brunch-style gathering, you can finish the menu with a sweet bake such as this easy cinnamon bread. A simple sweet side gives guests a pleasant change after the savory appetizer.
Make-Ahead and Party Planning
You can cook the seasoned beef several hours ahead and refrigerate it in a covered container. Before assembling the nachos, reheat the beef until warm so the short oven time can focus on melting the cheese and crisping the chips.
The beans can also be drained and rinsed ahead, while the onion, jalapeño, scallions, and cilantro can be chopped and stored separately. Keep fresh tomato or pico de gallo chilled and add it only after the nachos come out of the oven.
For a party, assemble the sheet pan just before baking rather than letting the chips sit under the fillings. Have serving bowls of sour cream, guacamole, and lime ready so the hot pan can be finished and served without delay.
If you are creating a full appetizer buffet, a batch of these nachos can be followed by something lightly sweet. These zucchini bread pancakes offer a cozy, bite-sized option for guests who want a softer treat.
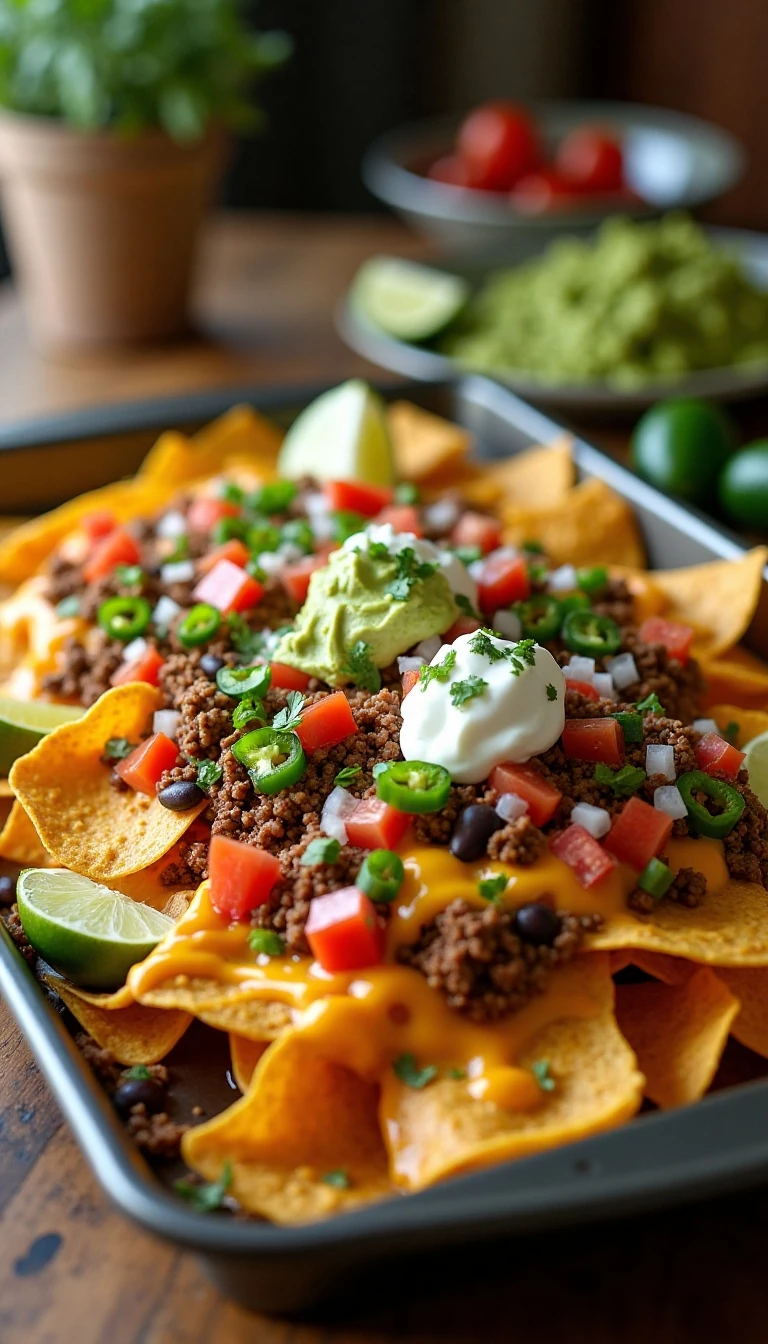
Sheet Pan Nachos Recipe: Easy, Crispy, and Cheesy
Ingredients
Method
- Heat the oven to 400°F. Line a large rimmed sheet pan with foil or parchment for easier cleanup.
- Heat the vegetable oil in a skillet over medium-high heat. Add the ground beef and cook for 5 to 7 minutes, breaking it into small crumbles until no longer pink.
- Drain excess fat if necessary, then stir in the taco seasoning and water. Simmer for 2 to 3 minutes, stirring occasionally, until the liquid is mostly absorbed.
- Spread approximately half of the tortilla chips over the prepared sheet pan. Scatter half of the beef, black beans, onion, jalapeño, and cheese over the chips.
- Add the remaining chips and repeat with the remaining beef, beans, vegetables, and cheese. Distribute the cheese across the surface so it melts evenly.
- Bake for 8 to 12 minutes, until the cheese is fully melted and the chips are hot and crisp. Watch closely near the end because tortilla chips can burn quickly.
- Top the baked nachos with tomato or pico de gallo, scallions, cilantro, and any other cold toppings. Serve immediately with sour cream, guacamole, and lime wedges.
Notes
Final Thoughts
This sheet pan nachos recipe delivers the combination everyone wants from a great appetizer: crisp chips, generous toppings, savory seasoned beef, and plenty of bubbling cheese. The two layers make each serving more flavorful, while fresh toppings added at the end keep the dish colorful and balanced.
Remember the simple keys to success: choose sturdy chips, drain wet ingredients thoroughly, distribute the cheese across both layers, and watch the oven closely during the final minutes. Serve the pan immediately with sour cream, guacamole, scallions, cilantro, and lime for a crowd-pleasing appetizer that disappears quickly.
For a vegetarian pan, replace the beef with two cans of beans and add corn or sautéed bell pepper. Whether you make the classic version or the meatless variation, these hot, cheesy nachos are an easy choice whenever you need a festive appetizer without complicated preparation.