This homemade cold-packed pickled peppers recipe makes about 4 pint jars of crisp, tangy peppers using a tested proportion of 5% acidity white vinegar, water, pickling salt, and fresh peppers. The raw peppers are packed into hot jars, covered with boiling brine, and processed in a boiling-water canner for 10 minutes at elevations from 0 to 1,000 feet.
Each bite is bright, salty, pleasantly sour, and gently sweet, with the fresh flavor of jalapeños, banana peppers, serranos, or your favorite combination. Let the sealed jars rest for at least 1 to 2 weeks before opening so the brine can season the peppers throughout.
Jump to RecipeWhy You’ll Love This Recipe
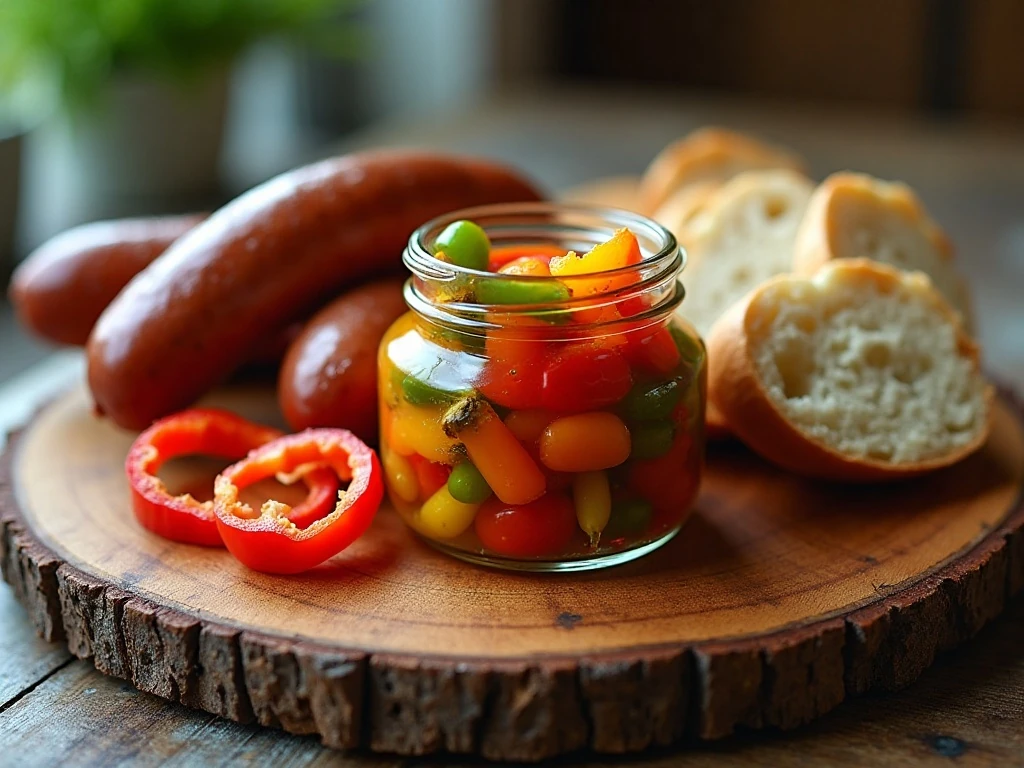
Cold-packing keeps the preparation wonderfully straightforward: the peppers go into the jars raw, and the hot brine does the seasoning and gentle softening during processing. You get peppers that are more vibrant and pleasantly crisp than vegetables that have been boiled before packing.
This recipe is also wonderfully flexible. Use all jalapeños for a classic spicy pickle, banana peppers for a mild and sunny flavor, serranos for extra heat, or a colorful mixture for a jar that looks as good as it tastes.
The balanced brine is the heart of the recipe. Five cups of 5% acidity white vinegar, one cup of water, four teaspoons of pickling salt, and optional sugar create a sharp but rounded pickle that works with everything from grilled meats to creamy casseroles.
When you are planning a savory meal around your peppers, our sausage, peppers, and onions dinner is a particularly delicious pairing.
Ingredients You’ll Need
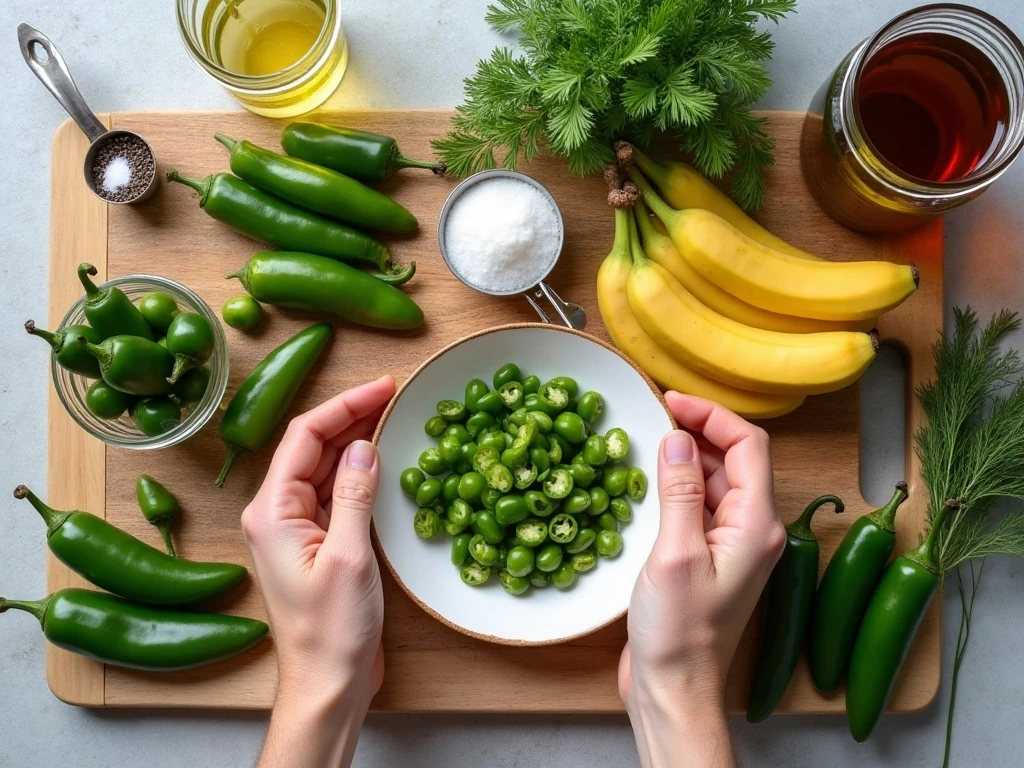
Start with 2 pounds of fresh peppers. Choose firm peppers without soft spots, deep wrinkles, or bruises because fresher produce gives the finished pickles a better bite.
- Fresh peppers: Jalapeños, banana peppers, serranos, or a mixed selection all work well.
- 5% acidity white vinegar: This is essential for a properly acidified canned pickle.
- Water: Use exactly 1 cup; do not increase it.
- Pickling or canning salt: Four teaspoons season the brine without adding unnecessary cloudiness.
- Granulated sugar: Two tablespoons are optional and soften the vinegar’s sharp edge.
- Garlic and seasonings: Two garlic cloves, dill, mustard seed, black peppercorns, or a small amount of sliced onion can add character.
Optional flavorings should remain accents, not substitutes for the tested vinegar, water, and pepper proportions. Avoid changing the acid balance when preparing jars for shelf-stable storage.
For a complete comfort-food menu, serve these peppers beside our copycat hashbrown casserole. The tangy peppers cut beautifully through its creamy, cheesy richness.
How to Make It Step-by-Step
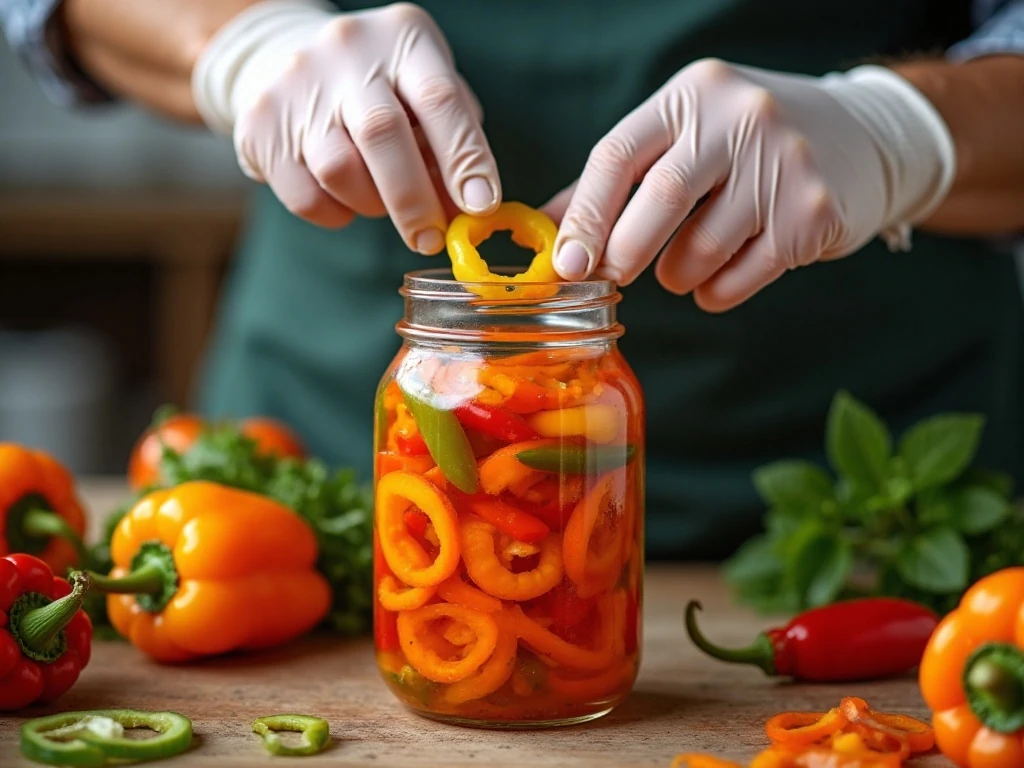
Step 1: Wash the peppers thoroughly under cool running water. Put on food-safe gloves before cutting hot peppers, and avoid touching your eyes or face until the gloves are removed and your hands are washed.
Step 2: Remove the stems from every pepper. Leave small peppers whole, slice larger peppers into rings or strips, and slit whole peppers lengthwise when necessary so the hot brine can penetrate the centers.
Step 3: Prepare clean pint jars, lids, bands, and the boiling-water canner according to current canning instructions. Keep the jars hot while you prepare the brine so the hot liquid can be added safely.
Step 4: Add the vinegar, water, pickling salt, optional sugar, and optional garlic to a stainless-steel or enamel saucepan. Bring the brine to a boil and simmer briefly for about 5 minutes, or until the salt and sugar have dissolved.
Step 5: Pack the raw peppers fairly tightly into the hot pint jars. Arrange rings and strips upright or layer them naturally, but avoid crushing them, and leave exactly 1/2 inch of headspace in each jar.
Step 6: Pour the hot brine over the peppers until they are completely covered. Maintain the 1/2-inch headspace, then slide a nonmetallic bubble remover around the inside edge to release trapped air.
Step 7: Wipe each jar rim carefully so no salt, pepper seeds, or brine remains on the sealing surface. Apply the lids and screw bands fingertip-tight rather than forcing them down.
Step 8: Lower the jars into the boiling-water canner, making sure water covers the jar tops as required by your canning equipment. Process for 10 minutes at elevations from 0 to 1,000 feet, and use the appropriate longer time for higher elevations from a current NCHFP or Ball chart.
Step 9: Remove the jars with a jar lifter and place them upright on a towel, away from drafts. Allow them to cool undisturbed for 12 to 24 hours before checking the seals.
Step 10: Label each sealed jar with the date and pepper variety, then store it in a cool, dark place. Refrigerate any jar that fails to seal and enjoy the peppers after at least 1 to 2 weeks for the fullest flavor.
Getting the Brine and Texture Right
The most important safety detail is the vinegar label. Use white vinegar marked 5% acidity, and do not reduce the vinegar or add extra water because the acidity is essential for safe canning.
For a crisp result, do not cook the peppers in the saucepan. Cold-packed peppers are packed raw, allowing the hot brine and canning process to soften them only slightly while preserving their fresh snap.
The sugar is optional, but it provides a gently rounded flavor. It does not replace the vinegar, and removing it does not require another ingredient to compensate.
If your peppers vary dramatically in size, sort them before packing. Keep small peppers whole, while cutting larger ones so the jars fill evenly and the brine reaches all the surfaces.
Boiling-Water Canning and Storage
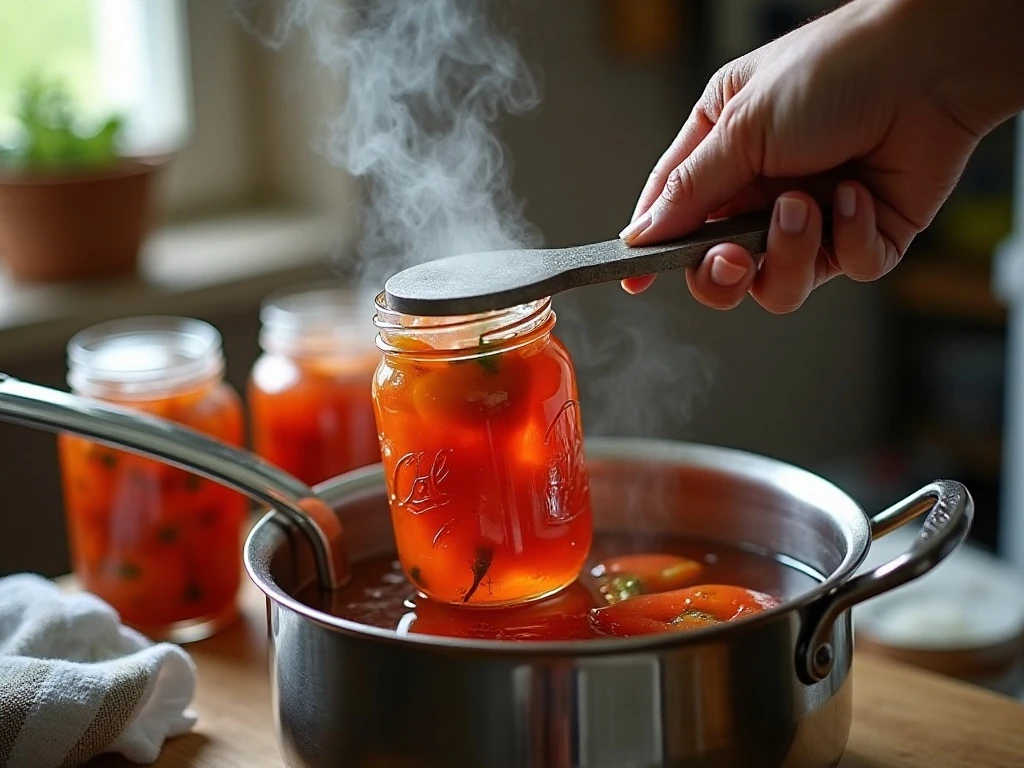
Processing time depends on elevation. At 0 to 1,000 feet, process the filled pint jars for 10 minutes; at higher elevations, use the longer time specified by a current NCHFP or Ball elevation chart.
Cooling undisturbed is part of the process. Do not tighten bands, press the lids, or move the jars repeatedly while they cool for 12 to 24 hours, since the seals need time to form.
After cooling, press the center of each lid to check that it is firm and sealed. Any unsealed jar belongs in the refrigerator, and jars intended as refrigerator pickles must remain refrigerated continuously rather than being stored at room temperature.
Store properly sealed jars in a cool, dark place away from direct sunlight and heat. Although the peppers can be sampled sooner, waiting 1 to 2 weeks allows the vinegar, salt, garlic, and spices to mingle throughout the jar.
For another homemade comfort classic to serve before the pickles, try this creamy cream of chicken soup. Its mellow flavor makes a tangy pepper garnish especially welcome.
Ways to Serve Pickled Peppers
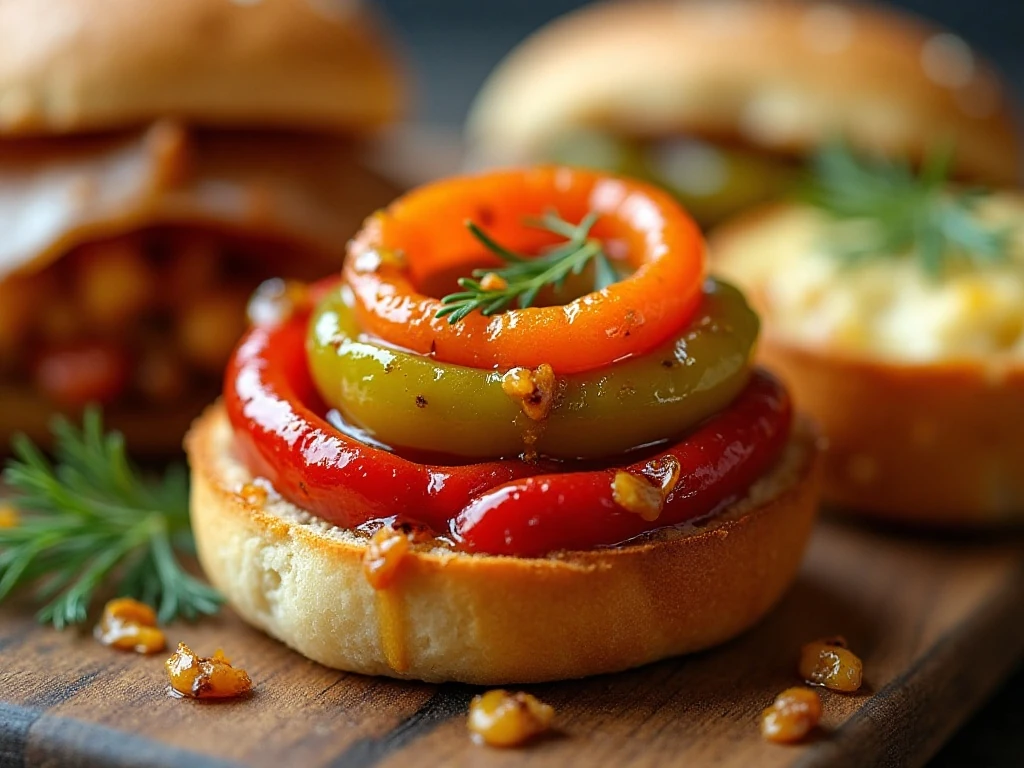
These peppers bring color, acidity, and a little heat to everyday meals. Drain them well before serving if you want their flavor without extra brine.
- Spoon them over grilled sausages, burgers, hot dogs, or pulled pork.
- Scatter them across nachos, tacos, quesadillas, or baked potatoes.
- Add pepper rings to sandwiches, wraps, subs, and Italian-style hoagies.
- Chop them into tuna salad, egg salad, pasta salad, or potato salad.
- Serve them beside roasted chicken, steak, beans, or creamy casseroles.
- Use a small amount as a bright garnish for soups and stews.
For a sweet finish after a savory meal, our homemade fudgesicles make a cool, chocolatey contrast to the peppers’ sharp bite.
Common Questions and Troubleshooting
Why did the peppers float? Peppers may shift or float naturally as air escapes and the jar cools. As long as the jar sealed properly and the peppers were covered by brine when packed, a little movement is normal.
Can I use different vinegar? Use the specified white vinegar labeled 5% acidity. Do not substitute a lower-acidity vinegar or alter the vinegar-to-water ratio for a shelf-stable batch.
Can I make these without canning? Yes, you can prepare them as refrigerator pickles, but the jars must be refrigerated continuously and must not be stored at room temperature. The canning process described here is for shelf-stable storage when current instructions are followed.
Why are my peppers softer than expected? Overcooking is the usual cause. Pack the peppers raw and bring the brine only to a boil before filling the jars; the processing step will soften them slightly.
If you enjoy making nostalgic homemade treats alongside pantry projects, our flaky homemade flakies are a lovely baking-day companion.
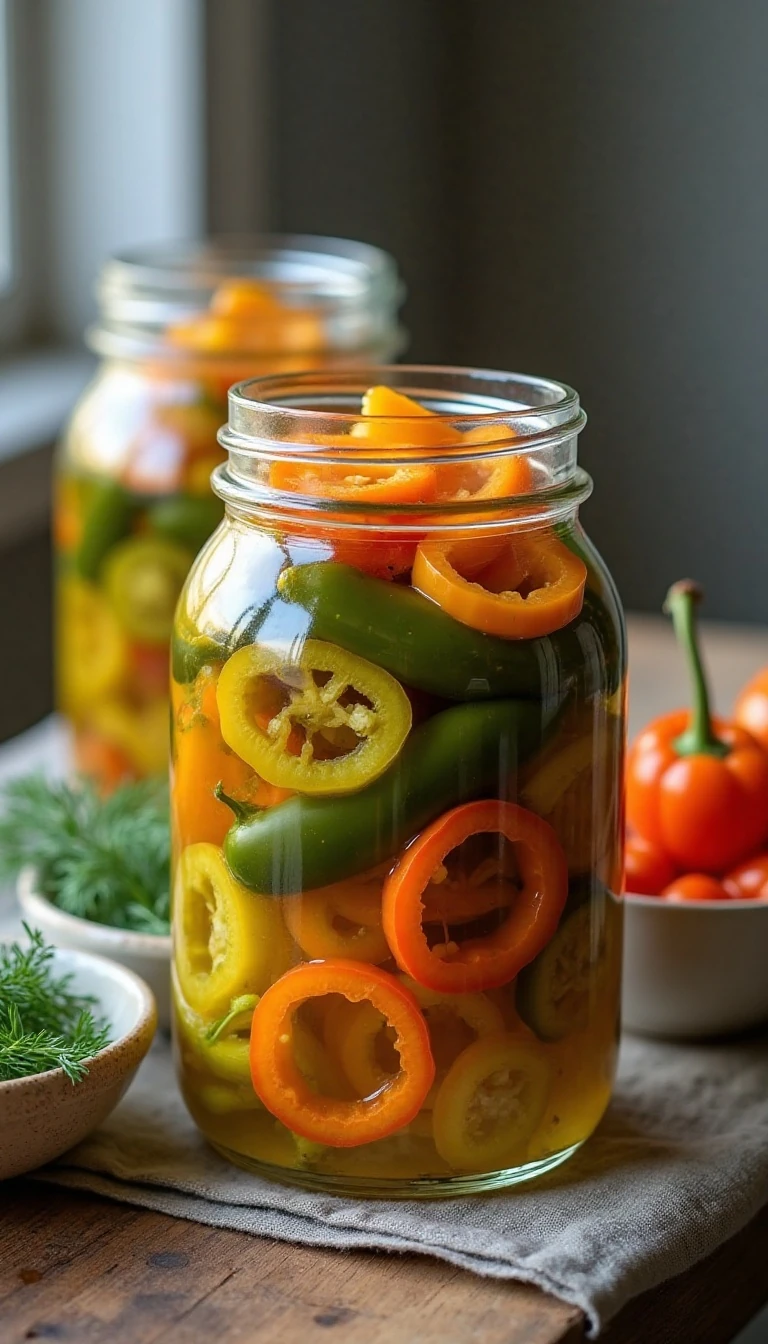
Homemade Cold-Packed Pickled Peppers
Ingredients
Method
- Wash the peppers thoroughly and put on gloves before handling hot peppers. Remove the stems, leave small peppers whole, or cut larger peppers into rings or strips; slit whole peppers lengthwise if needed so the brine can enter.
- Prepare clean pint jars, lids, bands, and a boiling-water canner according to current home-canning instructions. Keep the jars hot until they are ready to fill.
- Combine the 5% acidity white vinegar, water, pickling salt, optional sugar, and optional garlic in a stainless-steel or enamel saucepan. Bring the mixture to a boil and simmer briefly, about 5 minutes or until the salt and sugar dissolve.
- Pack the raw peppers fairly tightly into the hot pint jars. Leave 1/2 inch of headspace at the top of each jar.
- Pour the hot brine over the peppers, making sure they are completely covered while preserving the 1/2-inch headspace. Remove trapped air bubbles, wipe the rims clean, and apply the lids and bands fingertip-tight.
- Place the filled jars in the boiling-water canner and process for 10 minutes at elevations from 0 to 1,000 feet. Use the longer processing time required for your elevation by following the current NCHFP or Ball elevation chart.
- Remove the jars carefully and cool them undisturbed for 12 to 24 hours. Check the seals, label the jars, and store sealed jars in a cool, dark place; refrigerate any jar that does not seal.
Notes
Final Thoughts
Homemade cold-packed pickled peppers are one of the easiest ways to turn a harvest of fresh peppers into a bright, useful pantry staple. The raw-pack method preserves a satisfying bite, while the hot vinegar brine brings the salt, sourness, gentle sweetness, and optional garlic or spice into balance.
Keep the tested proportions intact, use vinegar labeled 5% acidity, follow the correct processing time for your elevation, and give the jars at least 1 to 2 weeks before opening. Once ready, these colorful peppers can wake up a simple sandwich, balance a rich casserole, or add a lively finish to nearly any savory plate.
1 thought on “Homemade Cold-Packed Pickled Peppers Recipe”