These Perfect Individual Cheesecakes in Ramekins are creamy, lightly tangy, and easy to portion for six guests. The recipe uses a buttery graham-cracker crust, full-fat cream cheese, sour cream, vanilla, and a gentle 325°F (165°C) water-bath bake, with only 20–25 minutes of active preparation and 22–28 minutes in the oven.
Each six-ounce ramekin holds a personal cheesecake with a tender, silky center and a pleasantly crisp crust. Chill them for at least 2 hours, or overnight for the best texture, then serve them directly in their ramekins with berries, lemon curd, fruit sauce, whipped cream, or caramel.
Jump to RecipeWhy You’ll Love This Recipe
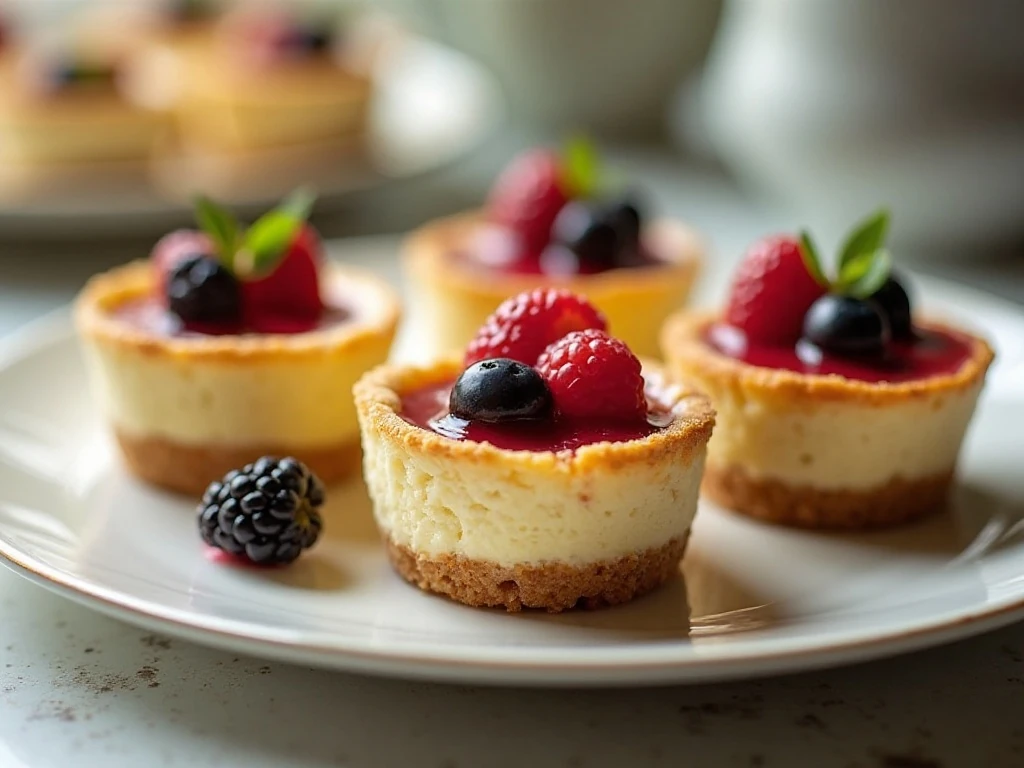
Individual cheesecakes are a wonderful choice when you want a polished dessert without slicing a large cake. Every guest receives a complete serving with its own golden crust, creamy filling, and attractive topping, so there is no need to worry about uneven slices or a cracked centerpiece.
The ramekins also make serving wonderfully simple. These cheesecakes can go straight from the refrigerator to the table, making them especially useful for dinner parties, holidays, showers, and relaxed family meals.
The flavor is classic and balanced. Graham crackers bring warm sweetness, sour cream adds a gentle tang, and vanilla rounds out the rich cream cheese without making the filling heavy or overly sweet.
If you are planning a larger dessert table, pair these ramekin cheesecakes with a festive baked treat such as this cherry and pistachio cake for contrasting color and texture.
Ingredients You’ll Need
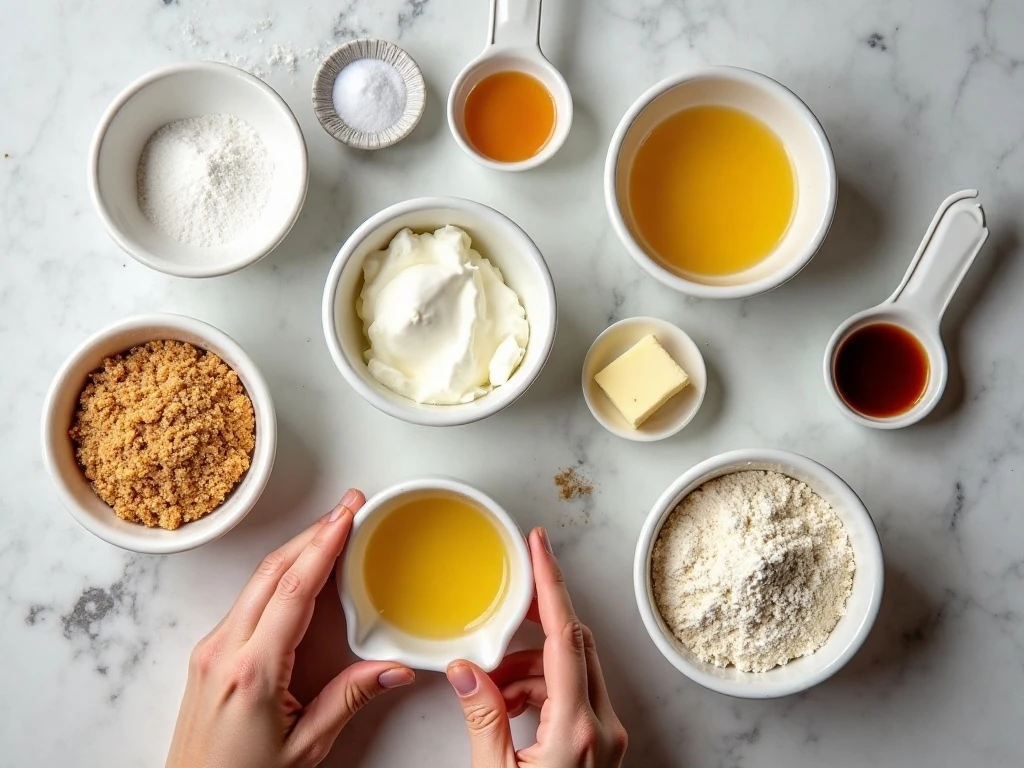
The crust requires only graham-cracker crumbs, melted unsalted butter, granulated sugar, and a pinch of fine salt. About 8 full graham-cracker sheets will produce the 1 cup of crumbs needed for six crusts.
For the filling, use 16 ounces (454 g) of full-fat block cream cheese. Let it soften at room temperature along with the two eggs, because ingredients at similar temperatures combine more smoothly and help prevent lumps.
- Sour cream: Adds moisture and a gentle tang for a softer, more pleasant bite.
- Flour or cornstarch: One tablespoon helps the filling set neatly while remaining creamy.
- Vanilla and salt: Make the dairy flavor taste fuller and keep the sweetness balanced.
Avoid tub-style whipped or spreadable cream cheese for this recipe. Its looser structure can make the filling too soft, especially in a small cheesecake that needs to hold its shape after chilling.
How to Make It Step-by-Step
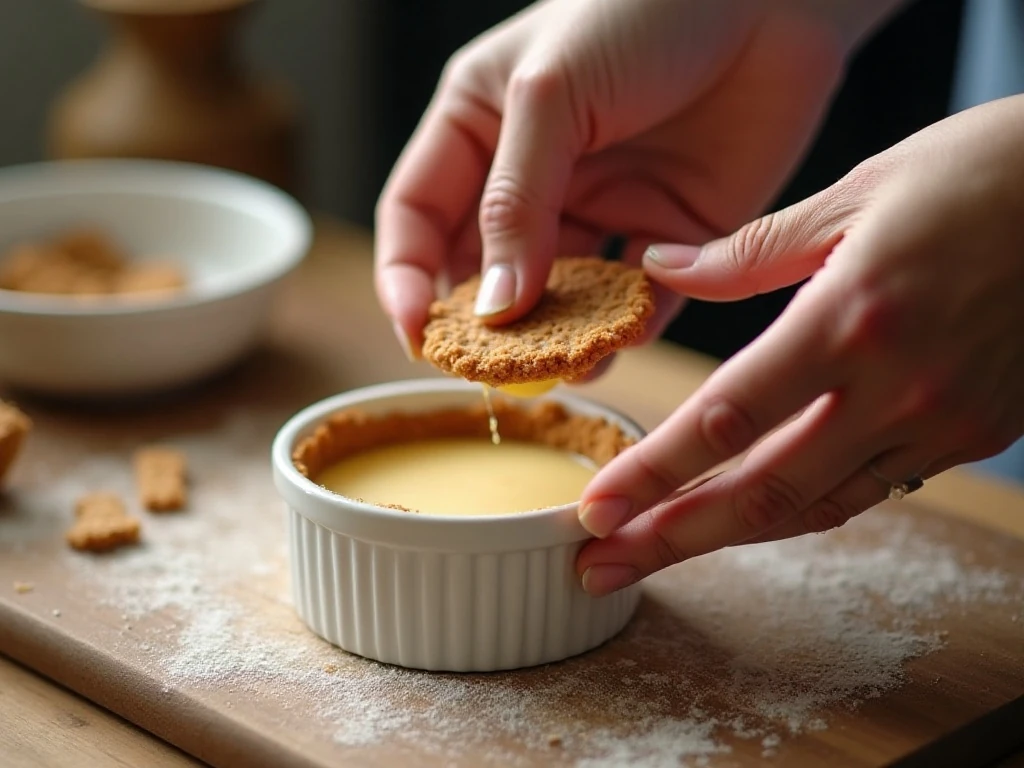
Step 1: Heat the oven to 325°F (165°C), then lightly grease six 6-ounce ramekins. Set them near your work area so the crusts and filling can be divided efficiently without needing to move full ramekins around later.
Step 2: Combine the graham-cracker crumbs, melted butter, granulated sugar, and pinch of fine salt in a bowl. Stir until every crumb looks lightly moistened, which helps the crust hold together rather than crumble when you take a bite.
Step 3: Divide the crust mixture among the six ramekins, using about 2 tablespoons in each one. Press it firmly into an even layer with the back of a spoon or the bottom of a small glass, then bake for 5–7 minutes and cool briefly.
Step 4: For a firmer crust, place the cooled crusts in the refrigerator for 10 minutes before adding the filling. This short chill gives the butter time to firm and helps the base stay distinct beneath the creamy layer.
Step 5: Put the softened cream cheese and sugar in a mixing bowl and beat on medium-low speed until smooth. Keep the speed moderate and stop as soon as the mixture is creamy, because too much air can cause the cheesecakes to puff and then sink.
Step 6: Add the room-temperature eggs one at a time, mixing just until each egg disappears into the batter. Add the sour cream, vanilla, flour or cornstarch, and fine salt, then mix only until the filling is smooth.
Step 7: Divide the filling evenly among the ramekins, leaving a little space at the top of each one. Gently tap the ramekins on the counter once or twice if you see large bubbles, but do not stir the batter vigorously.
Step 8: Place the filled ramekins in a deep roasting pan and carefully pour in enough hot water to reach halfway up their sides. The water bath creates a moist, steady baking environment that helps the centers cook evenly and reduces cracking.
Step 9: Bake for 22–28 minutes. Look for edges that appear set while the centers still have a slight, gentle wobble when the pan is nudged; a fully firm center usually means the cheesecakes have baked too long.
Step 10: Carefully remove the ramekins from the water bath and let them cool to room temperature. Cover them and refrigerate for at least 2 hours, although an overnight chill gives the filling its most settled, sliceable texture.
Water Bath and Baking Tips
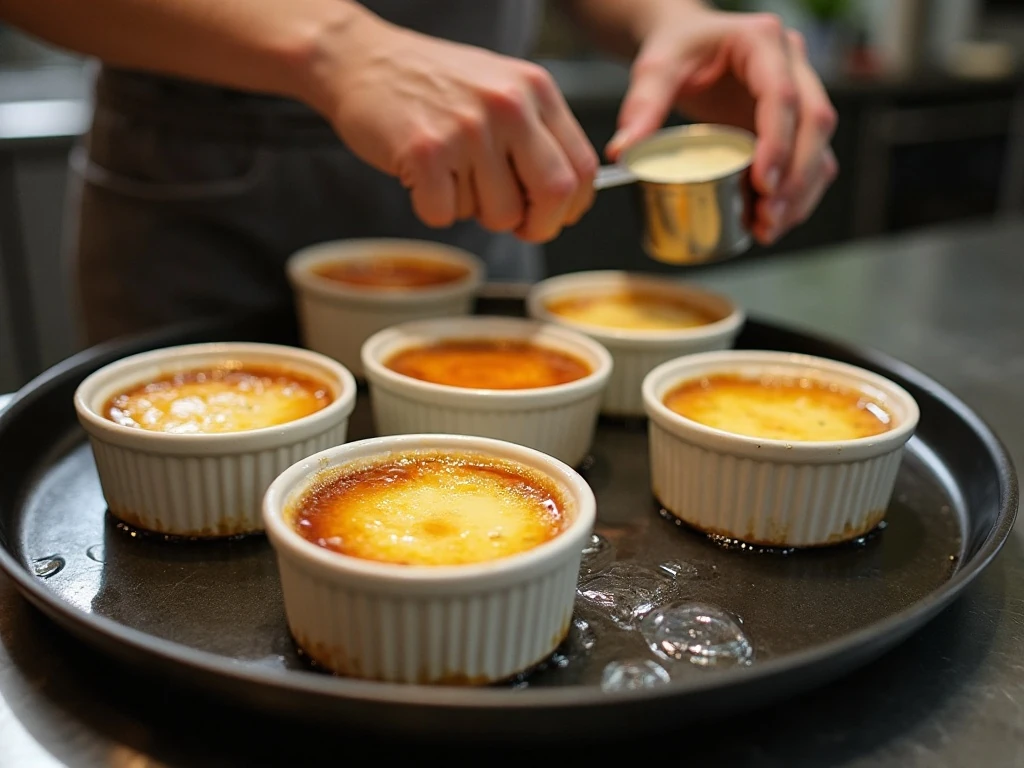
The water bath is one of the most useful techniques in this recipe. It surrounds the ramekins with gentle heat and moisture, preventing the outer edges from cooking much faster than the middle.
Use hot water rather than cold water so the oven temperature does not drop sharply when the roasting pan goes inside. Pour slowly and carefully to avoid splashing water onto the cheesecake batter.
Do not judge doneness by color alone. The edges should look set, but the centers should retain a soft wobble; the filling continues to set as it cools and chills.
Keep the mixer on medium-low speed and avoid extended beating after the eggs are added. Less incorporated air means a smoother surface and a lower chance of dramatic sinking after baking.
For another chilled dessert option when you are hosting, keep this three-ingredient no-churn ice cream in mind. Its cool, scoopable texture makes a nice companion to the dense creaminess of cheesecake.
Serving Ideas and Toppings
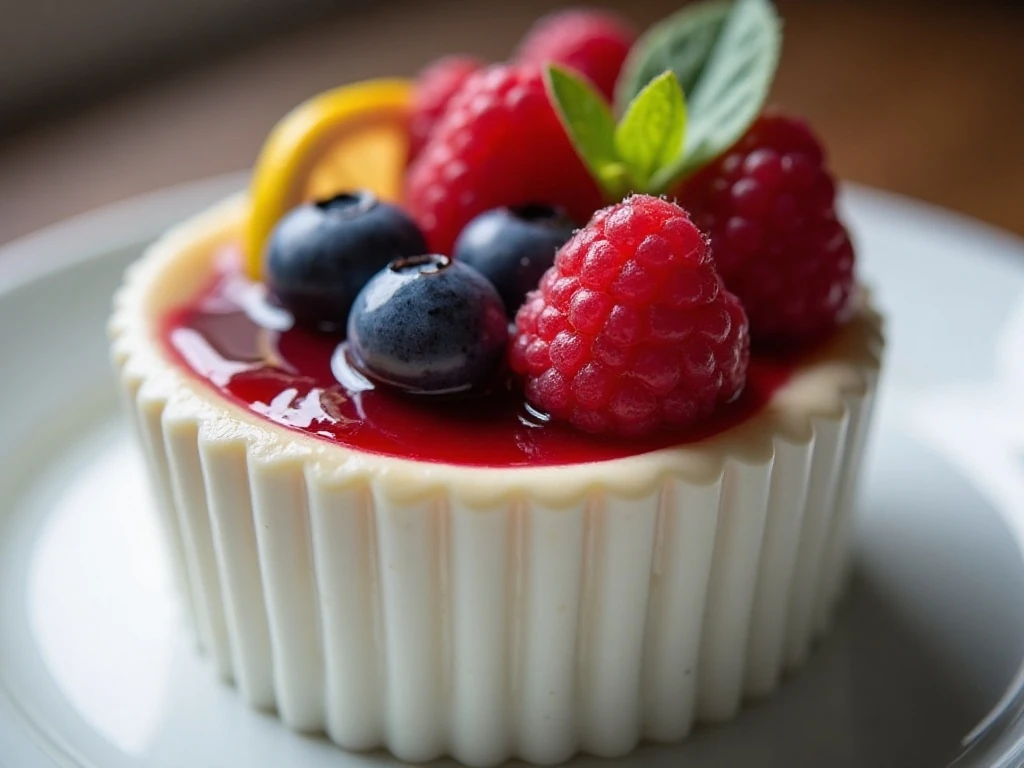
These cheesecakes are designed to be served directly in their ramekins, which keeps the crust intact and makes presentation easy. Add toppings just before serving so fruit and sauces remain bright and do not soften the top during refrigeration.
- Scatter fresh raspberries, blueberries, strawberries, or cherries over each cheesecake.
- Spoon on lemon curd for a vivid citrus contrast.
- Add a little fruit sauce, caramel, or lightly sweetened whipped cream.
- Finish with a few grated curls of lemon zest or a small mint leaf.
For a holiday spread, the tartness of berries cuts through the richness particularly well. A savory main course such as this creamy white sauce lasagna can also be followed by these modestly sized desserts without requiring anyone to face an enormous slice of cake.
Storage and Make-Ahead Advice
Cover the cooled ramekins tightly and refrigerate them for at least 2 hours before serving. Overnight chilling is best when your schedule allows, because the filling becomes firmer and the flavors have time to settle.
Keep the cheesecakes refrigerated until you are ready to add toppings and serve. Their individual portions make them convenient for preparing ahead, and the ramekins protect the delicate crust from being handled.
Add whipped cream, fruit, lemon curd, or caramel shortly before serving. If you use a juicy fruit sauce, spoon it on at the table or immediately before dessert so the crust remains pleasantly crumbly.
When planning a multi-course menu, you can use these cheesecakes as a light final course after a comforting meal such as creamy potato shrimp soup. The bright toppings help finish a rich menu with a fresh note.
Common Mistakes to Avoid
Cold cream cheese is the most common source of lumps. Softening it fully before mixing allows it to combine with the sugar without requiring aggressive beating.
Overmixing is another frequent problem. Extra air can create bubbles, puffing, and uneven settling, so use medium-low speed and mix only until each ingredient is incorporated.
Overbaking can turn a naturally creamy dessert dry and cracked. Remove the ramekins when the edges are set and the middle still has a gentle wobble, trusting that cooling and chilling will finish the setting process.
Finally, do not skip the water bath. Although the cheesecakes can technically bake without one, the hot-water method provides more even heat and is especially helpful for keeping these small portions smooth.
If you prefer a sweet-and-savory menu theme, a spicy main course such as this sweet fire chicken copycat can be followed by a simple berry-topped cheesecake for a cool, creamy finish.
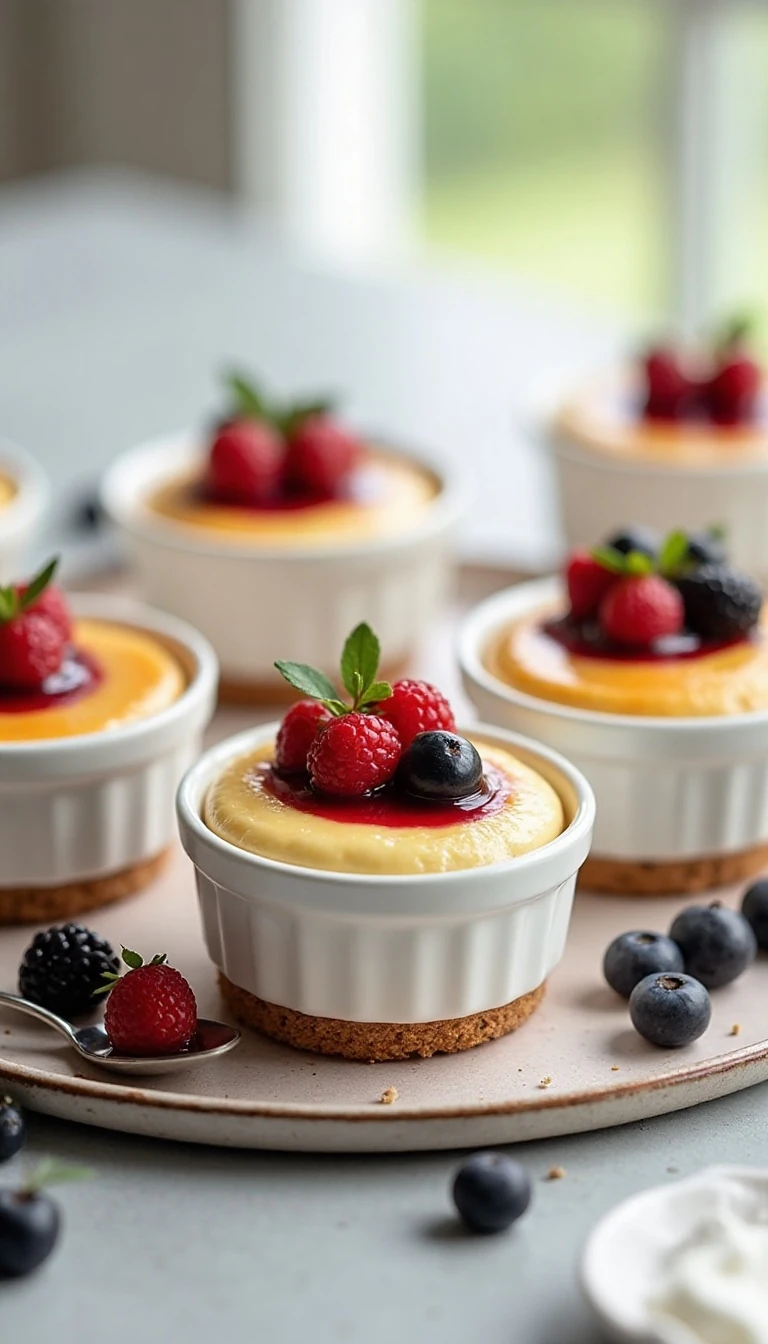
Perfect Individual Cheesecakes in Ramekins
Ingredients
Method
- Heat the oven to 325°F (165°C) and lightly grease six 6-ounce ramekins.
- Mix the graham-cracker crumbs, melted butter, sugar, and pinch of salt. Divide the mixture among the ramekins, using about 2 tablespoons per ramekin, and press it firmly into an even layer.
- Bake the crusts for 5–7 minutes, then cool them briefly. For a firmer crust, chill the baked crusts for 10 minutes before adding the filling.
- Beat the softened cream cheese and sugar on medium-low speed until smooth, taking care not to whip in excess air.
- Add the eggs one at a time and mix just until each is incorporated. Add the sour cream, vanilla, flour or cornstarch, and salt, then mix until smooth.
- Divide the filling among the ramekins, leaving a little space at the top. Arrange the ramekins in a deep roasting pan.
- Pour enough hot water into the roasting pan to come halfway up the sides of the ramekins. Bake for 22–28 minutes, until the edges are set and the centers have a slight, gentle wobble.
- Remove the ramekins from the water bath and cool them to room temperature. Cover and refrigerate for at least 2 hours, or overnight, before serving.
Notes
Final Thoughts
These Perfect Individual Cheesecakes in Ramekins deliver the best parts of classic cheesecake in a charming personal format. The buttery graham-cracker base, tangy sour-cream filling, and gentle water-bath bake create a dessert that feels special while remaining approachable.
Prepare them at least 2 hours ahead, keep the mixer gentle, and remove them from the oven while the centers still wobble slightly. Once chilled, finish each ramekin with berries, lemon curd, whipped cream, fruit sauce, or caramel, and enjoy a restaurant-style dessert from your own kitchen.
1 thought on “Perfect Individual Cheesecakes in Ramekins Recipe”