The best easy homemade perfect banana pudding starts with silky cooked vanilla custard, ripe but firm bananas, crisp vanilla wafers, and softly sweetened whipped cream. This classic recipe serves about 8 people, takes 25 to 30 minutes to prep, cooks in 8 to 12 minutes, and needs at least 4 hours in the refrigerator before serving.
Every spoonful brings together creamy custard, tender banana slices, and vanilla wafers that soften into cake-like bites while chilling. The result is a cool, comforting Southern-style dessert that tastes homemade, festive, and wonderfully nostalgic without requiring difficult pastry techniques.
Jump to RecipeWhy You’ll Love This Recipe
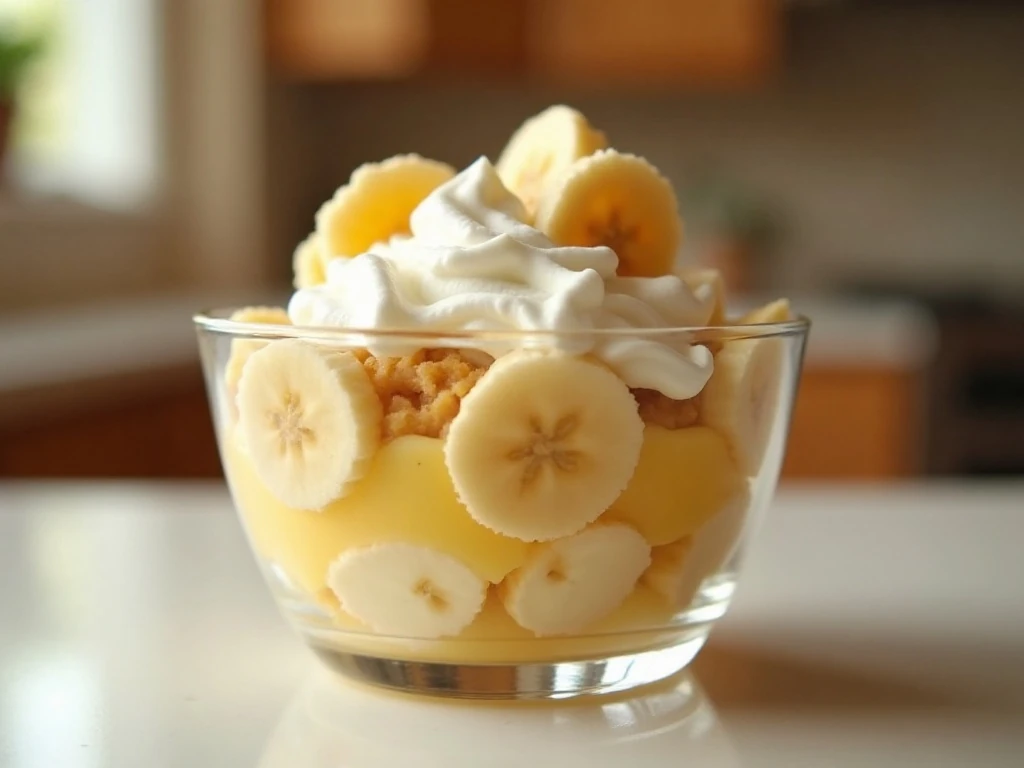
This banana pudding has the rich, old-fashioned flavor people expect from a homemade dessert, but the method is straightforward enough for a first-time custard maker. The flour-thickened pudding becomes smooth and creamy with constant stirring, while egg yolks add a beautiful golden color and satisfying richness.
The dessert is also wonderfully make-ahead friendly. Once assembled, the wafers absorb just enough custard to become tender, giving each bite a soft cake-like texture while still leaving some pleasant vanilla-cookie flavor.
For another creamy dessert to serve at a family gathering, you can also try our homemade chocolate pudding. It makes a lovely companion recipe when you want both chocolate and vanilla options on the dessert table.
- Serves about 8 people.
- Requires about 40 minutes of active preparation and cooking.
- Needs at least 4 hours of chilling, with overnight chilling preferred.
- Uses simple grocery-store ingredients and no complicated equipment.
Ingredients You’ll Need
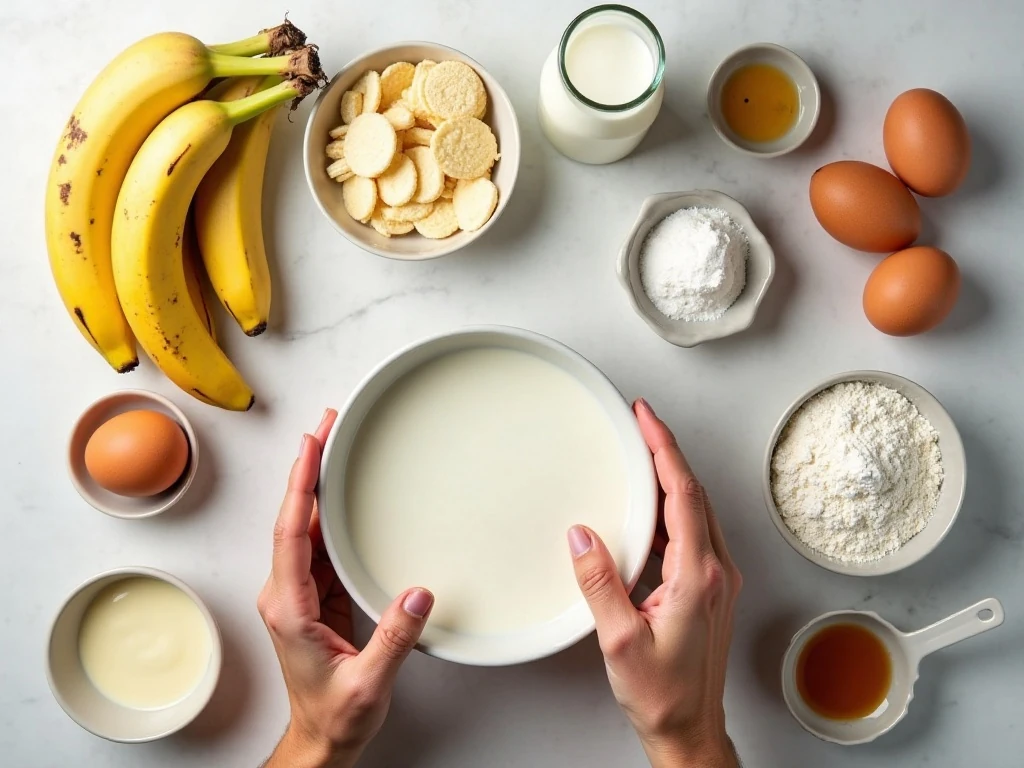
The custard begins with sugar, flour, salt, whole milk, and four large egg yolks. Butter and vanilla are stirred in at the end, giving the pudding a rounded dairy flavor and a fragrant vanilla finish.
Choose bananas that are yellow and ripe but still firm. Bananas with plenty of soft brown spots may taste sweet, but they can become watery and brown quickly once tucked between the warm custard and cookies.
Use one approximately 11-ounce box of vanilla wafers. Their lightly crisp texture is ideal because the cookies soften during refrigeration while retaining enough structure to create recognizable layers.
The topping is a simple combination of one cup heavy whipping cream, two tablespoons powdered sugar, and one-half teaspoon vanilla extract. Whip it only to medium-stiff peaks so it remains creamy and spreadable rather than dry.
If you are preparing a larger dessert spread, a batch of easy homemade fudge can provide a rich chocolate contrast beside this cool, creamy pudding.
How to Make It Step-by-Step
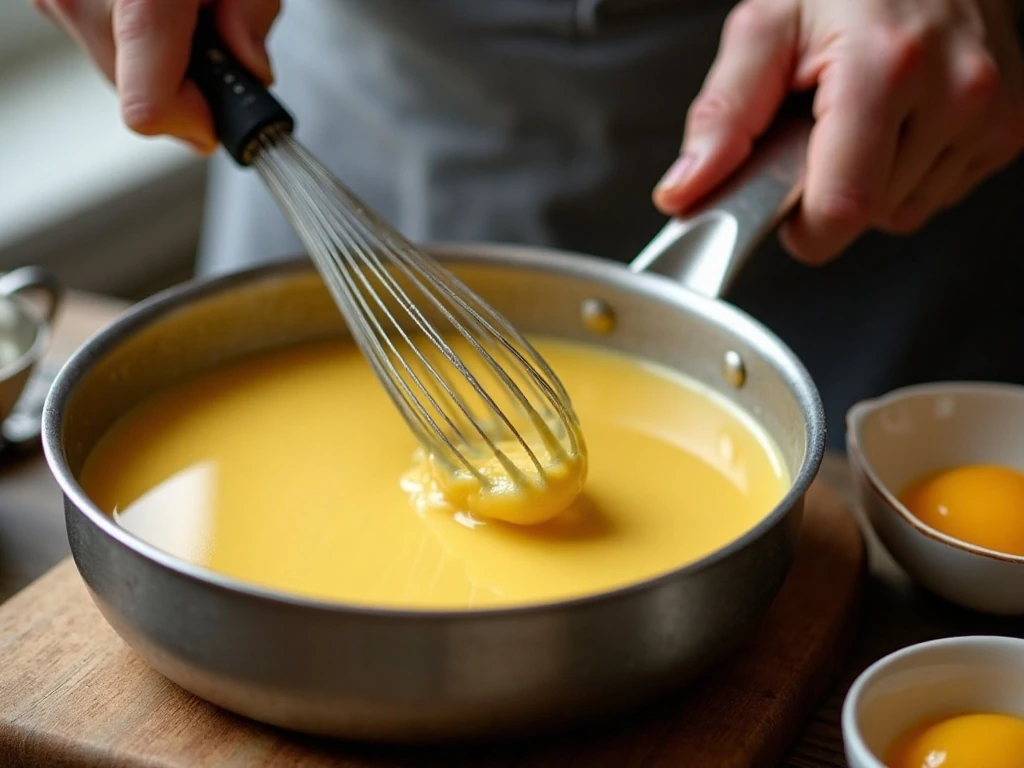
Step 1: Combine the sugar, flour, and salt in a medium saucepan before adding any liquid. Slowly whisk in the whole milk, moving the whisk around the edges and bottom of the pan until no dry pockets or flour lumps remain.
Step 2: Set the saucepan over medium heat and stir constantly as the mixture warms. After about 8 to 10 minutes, it should thicken noticeably and begin to produce gentle bubbles; steady stirring keeps the flour from settling or scorching.
Step 3: Place the four egg yolks in a heat-safe bowl and whisk them lightly. Slowly add a small amount of the hot milk mixture while whisking continuously, which gradually warms the yolks instead of cooking them into scrambled pieces.
Step 4: Pour the tempered yolk mixture back into the saucepan in a slow stream. Continue cooking for about 1 to 2 minutes, stirring constantly, until the custard is thick and glossy; do not let it boil vigorously.
Step 5: Remove the pan from the heat and stir in the unsalted butter and one teaspoon of vanilla extract. For a particularly polished texture, pour the custard through a fine-mesh sieve into a clean bowl to catch any tiny cooked egg particles.
Step 6: Press plastic wrap directly onto the surface of the custard so a skin does not form. Let it cool until warm rather than hot before layering, since very hot custard can make the bananas overly soft and the wafers collapse too quickly.
Step 7: Pour the heavy whipping cream into a chilled bowl and add the powdered sugar and one-half teaspoon vanilla extract. Beat until medium-stiff peaks form, stopping as soon as the cream holds its shape but still looks smooth.
Step 8: Arrange a layer of vanilla wafers in a trifle bowl or baking dish, filling gaps with broken cookies if needed. Add banana slices over the wafers, then spoon custard across the fruit and spread it gently into an even layer.
Step 9: Repeat the wafer, banana, and custard layers until the ingredients are used, making the final layer custard. Spread the whipped cream over the surface and finish with extra wafer crumbs or whole cookies.
Step 10: Cover the dish and refrigerate for at least 4 hours before serving. Overnight chilling is best because it gives the wafers time to soften and lets the vanilla, banana, and custard flavors come together.
Pro Tips for Silky Custard and Fresh Bananas

Constant stirring is the most important custard rule. Use a whisk or heatproof spatula and pay special attention to the bottom corners of the saucepan, where thickening pudding can catch first.
Tempering the egg yolks prevents sudden heat from curdling them. Add the hot milk mixture gradually and whisk continuously, then return everything to the saucepan for the short final cooking period.
Straining is optional, but it is an excellent finishing step when you want a remarkably smooth pudding. Strain the custard while it is still pourable, then cover it directly with plastic wrap as it cools.
Slice the bananas into even pieces so every serving receives fruit in each layer. If you want the brightest banana color, reserve a few slices for the top and add them shortly before serving.
A very light coating of lemon juice can slow browning, but use only a small amount because too much citrus will change the classic flavor. Firm bananas and proper chilling are usually enough for attractive layers.
For a party menu with sweet and savory choices, consider serving easy hot pepper jelly with crackers before dessert. Its bright, sweet-tangy flavor makes a refreshing contrast to the pudding.
Layering and Presentation Ideas

A clear trifle bowl shows off the alternating stripes of golden custard, pale banana, and vanilla wafers. For a casual family dessert, an 8-serving baking dish works just as well and makes scooping especially easy.
Build the first cookie layer tightly enough that the custard cannot run straight through to the bottom. Arrange banana slices in a single layer when possible, then spread custard gently so the fruit stays in place.
Finish with whipped cream and a scattering of crushed wafers. A few whole cookies placed around the rim create a classic bakery-style look without adding extra ingredients.
If individual portions are useful, assemble the pudding in small glasses or jars. The same order applies: wafers, bananas, custard, repeated once or twice, followed by whipped cream and crumbs.
For another simple party-friendly sweet, our creamy pineapple dip is a bright option for a fruit-and-dessert table. Keep the banana pudding chilled until guests are ready to eat.
Storage, Make-Ahead, and Serving
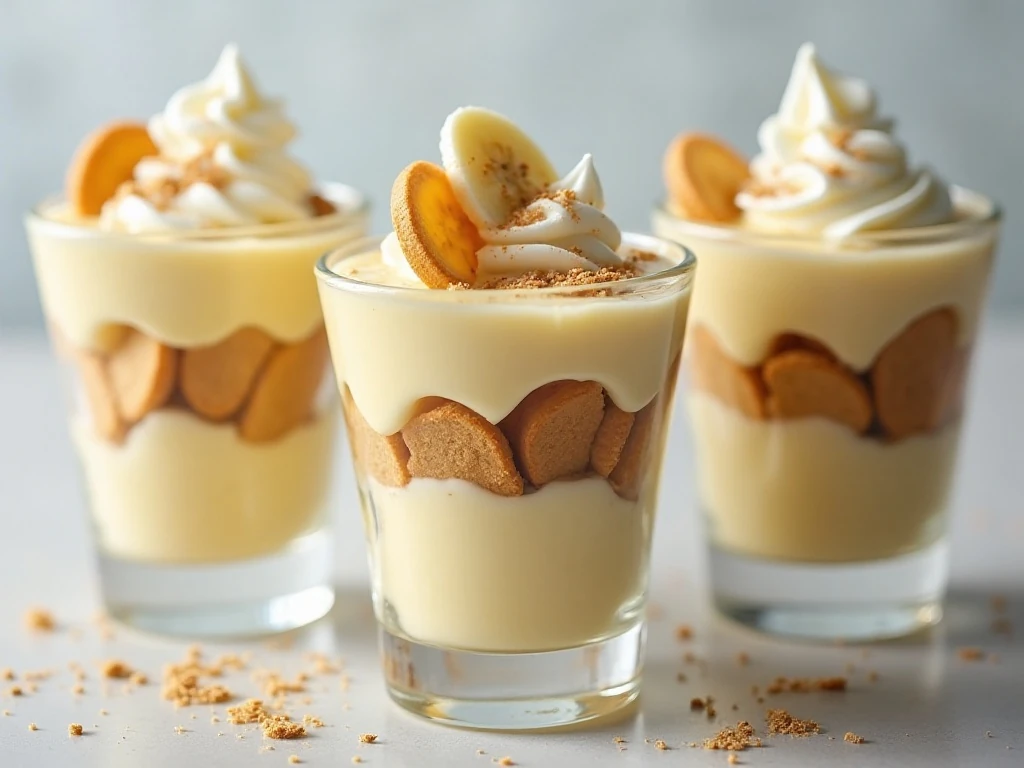
Cover the assembled pudding and refrigerate it for at least 4 hours. Overnight is ideal, but the dessert is best enjoyed while the wafers still have some structure and the bananas look fresh.
Keep leftovers refrigerated and serve them cold. The wafers will continue softening over time, so the texture is usually at its best on the first day after chilling.
For the freshest appearance, add the final decorative banana slices shortly before serving. Store the pudding covered so it does not absorb refrigerator odors or develop a dry surface.
This recipe is not designed for reheating because custard, whipped cream, bananas, and softened wafers are meant to be enjoyed cold. Use a large serving spoon to reach through every layer and portion the dessert evenly.
If you prefer a no-cook shortcut, whisk one 5.1-ounce package of instant vanilla pudding mix with three cups cold milk. Fold in one 14-ounce can of sweetened condensed milk, one teaspoon vanilla extract, and one 8-ounce container of whipped topping, then layer with one box of vanilla wafers and four to five bananas before chilling for 4 hours.
When planning a full meal, easy air fryer meatballs make a convenient savory appetizer to serve before this chilled dessert.
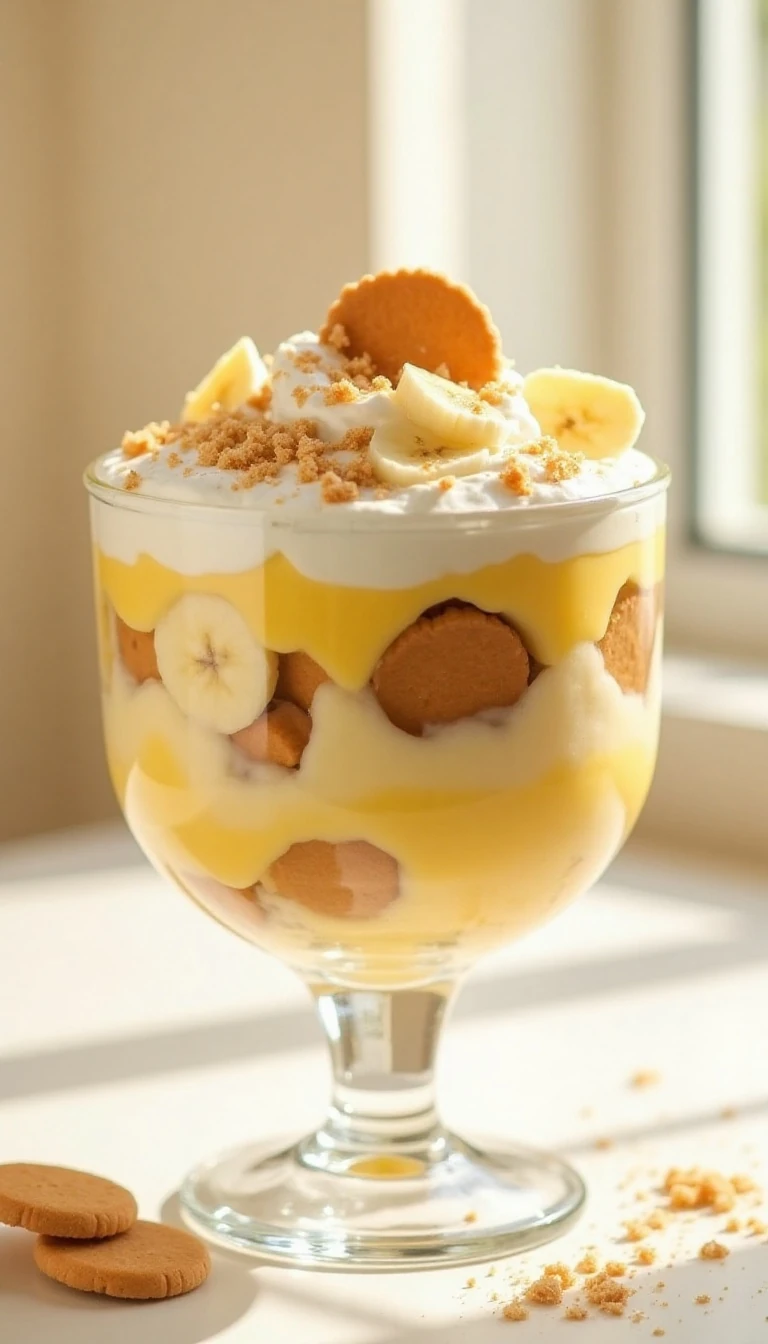
The Best Easy Homemade Perfect Banana Pudding
Ingredients
Method
- Whisk the sugar, flour, and salt in a medium saucepan. Slowly whisk in the whole milk until smooth.
- Cook the milk mixture over medium heat, stirring constantly, until thickened and gently bubbling, about 8 to 10 minutes.
- Temper the egg yolks by whisking a small amount of the hot milk mixture into them. Pour the warmed yolks back into the saucepan.
- Continue cooking for 1 to 2 minutes while stirring constantly. Keep the custard from scorching, and do not allow it to boil vigorously.
- Remove the saucepan from the heat and stir in the butter and vanilla. Strain through a fine-mesh sieve if you want an especially smooth custard.
- Cover the custard surface directly with plastic wrap and cool it until warm rather than hot. Whip the heavy cream with powdered sugar and vanilla until medium-stiff peaks form.
- Layer vanilla wafers, banana slices, and custard in a trifle bowl or baking dish. Repeat the layers, finishing with custard.
- Spread the whipped cream over the top and garnish with wafer crumbs or a few extra cookies. Cover and refrigerate for at least 4 hours before serving.
Notes
Final Thoughts
This homemade banana pudding earns its place as a favorite because every component contributes something important: custard brings richness, bananas add natural sweetness, wafers provide tender vanilla layers, and whipped cream supplies a light finish. The preparation is simple, but the finished dessert feels special enough for holidays, Sunday dinners, potlucks, and birthdays.
Give the custard your full attention while it cooks, choose firm ripe bananas, and allow the assembled pudding plenty of refrigerator time. Once chilled, scoop it generously and enjoy the cool, creamy comfort of a truly classic homemade dessert.