These easy 2-ingredient cherry bars are made with one box of white or yellow cake mix and one can of cherry pie filling. Stir the two ingredients together, press the thick batter into a greased 9 x 13-inch pan, and bake at 350°F for 25 to 30 minutes for a simple cherry dessert with almost no prep.
The finished bars have lightly golden edges, a soft cake-like center, and pockets of sweet-tart cherries in every bite. They are ideal when you need a quick dessert for a family dinner, bake sale, potluck, or afternoon treat, and they need at least 20 to 30 minutes of cooling time before slicing neatly.
Jump to RecipeWhy You’ll Love This Recipe
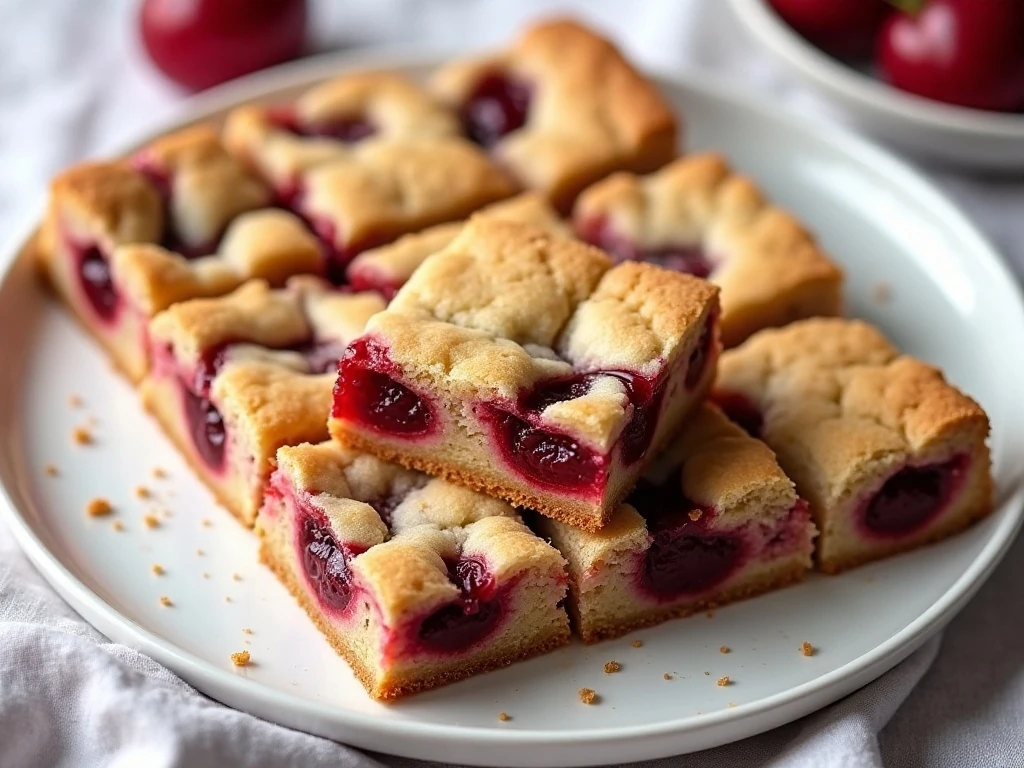
There is something especially satisfying about a dessert that turns two everyday pantry items into a pan of homemade bars. This recipe keeps the shopping list short without sacrificing the buttery cake flavor and juicy cherry character people expect from a classic fruit dessert.
The cake mix creates a tender, lightly sweet base, while the cherry pie filling supplies moisture, fruit, color, and just enough tartness. Because the batter is mixed in one bowl, cleanup is easy and the recipe is friendly to beginner bakers.
These bars are also flexible enough for several occasions:
- Serve them warm after a casual family meal.
- Pack them for a picnic, lunchbox, or bake sale.
- Cut them into small squares for a holiday cookie tray.
- Pair them with coffee, tea, or a scoop of vanilla ice cream.
If you enjoy simple fruit desserts, you may also want to try these easy lime bars for a bright citrus variation.
Ingredients You’ll Need
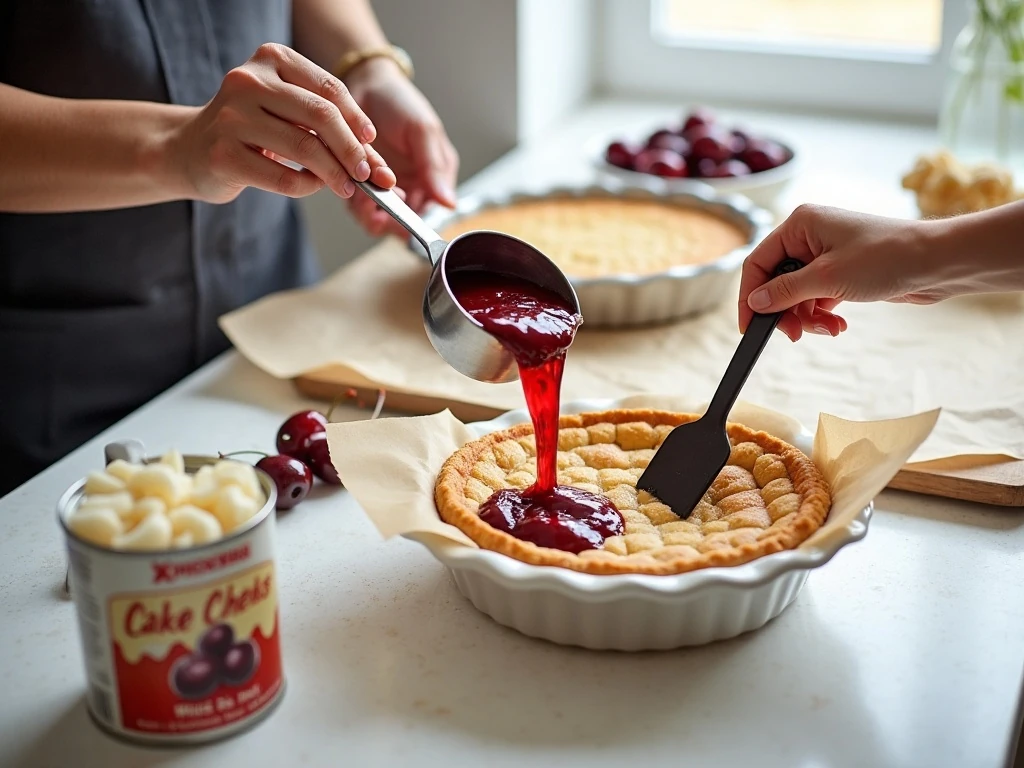
This recipe needs only two ingredients, but choosing the right package sizes helps the bars bake evenly. Use one box of white or yellow cake mix weighing about 15.25 to 16.25 ounces and one can of cherry pie filling weighing about 21 ounces.
- 1 box cake mix: White and yellow cake mixes are the most common choices. White cake mix gives the cherries a vivid contrast, while yellow cake mix adds a slightly richer cake flavor.
- 1 can cherry pie filling: The filling brings the fruit, syrup, and moisture needed to combine with the dry mix. Do not drain it before stirring.
You will also need a 9 x 13-inch baking pan and either nonstick spray or parchment paper for preparing the pan. These are equipment and pan-preparation supplies, not additional recipe ingredients.
Most importantly, do not follow the extra directions printed on the cake-mix box. Leave out the water, eggs, and oil because this two-ingredient formula relies on the cherry pie filling to moisten the dry mix.
How to Make It Step-by-Step
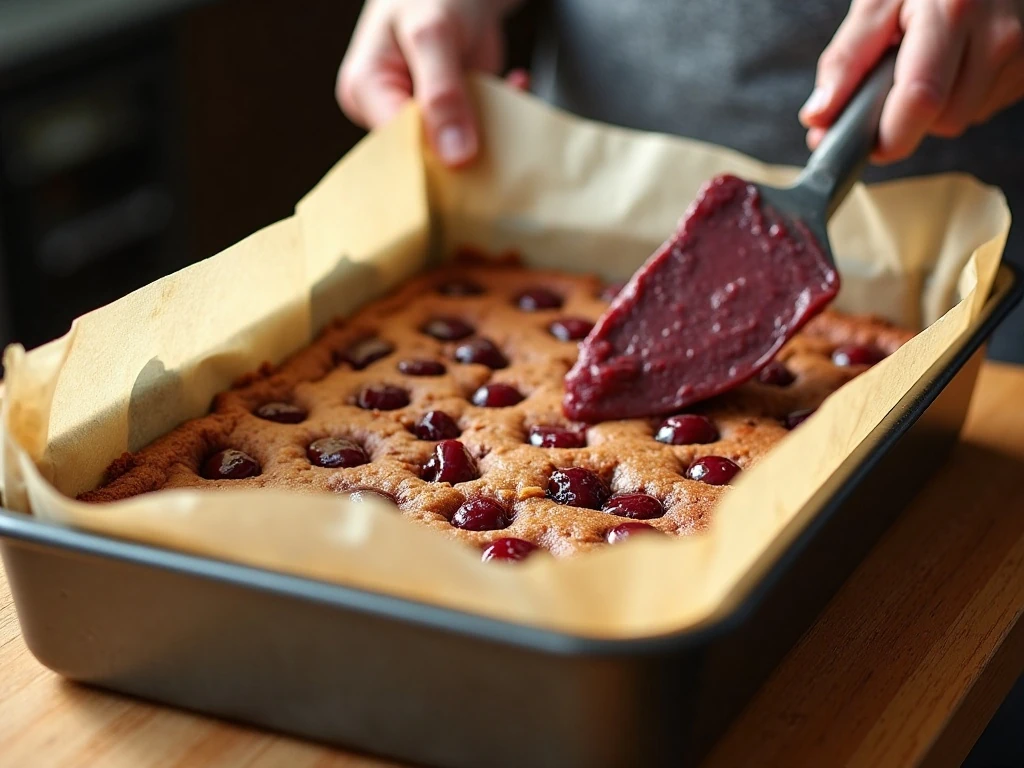
Step 1: Heat the oven to 350°F (175°C), giving it time to reach the correct temperature while you prepare the batter. Grease a 9 x 13-inch pan thoroughly with nonstick spray, or line it with parchment paper so the cooled bars are easier to lift and cut.
Step 2: Pour the dry cake mix into a large mixing bowl and add the entire can of cherry pie filling. Stir with a sturdy spoon or spatula just until no large dry pockets remain, taking care not to overmix the batter.
Step 3: Expect a very thick mixture rather than a pourable cake batter. Cherry pieces will remain visible, and that is exactly what you want because they create bright fruit pockets throughout the finished bars.
Step 4: Scrape the mixture into the prepared baking pan. Lightly grease your spatula, or dampen your hands, then press the batter from corner to corner until the layer is as even as possible.
Step 5: Place the pan in the 350°F oven and bake for approximately 25 to 30 minutes. The top should look lightly golden, and the center should appear set rather than wet or jiggly.
Step 6: Remove the pan and place it on a cooling rack or heat-safe surface. Let the dessert cool for at least 20 to 30 minutes, and preferably until fully cool, because the crumb firms as it rests.
Step 7: Use a sharp knife to cut the slab into bars. For cleaner edges, wipe the knife between cuts and use the parchment overhang to lift the cooled dessert from the pan before slicing.
Pro Tips for Tender Cherry Bars
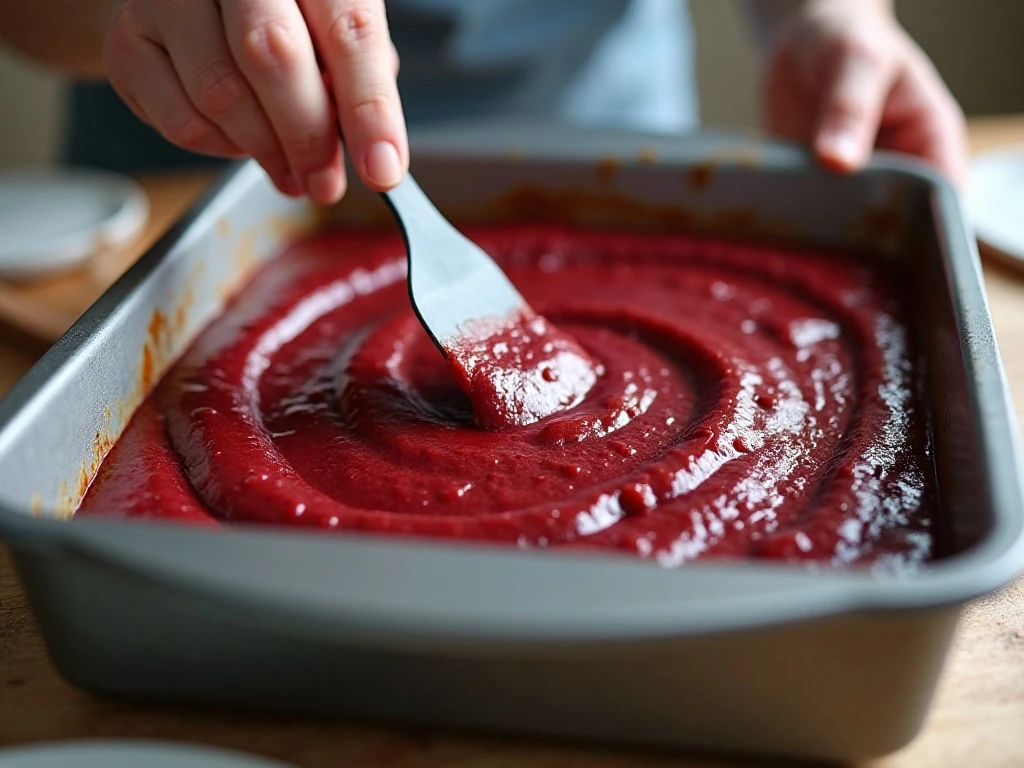
The thick batter is the main point that surprises first-time bakers. Instead of trying to pour it, distribute small scoops around the pan, then press them together with a lightly greased spatula or damp hands.
Stir only until the cake mix and pie filling are evenly combined. Excessive stirring can make the mixture harder to spread and may lead to a denser texture, while a few visible cherry pieces make the bars look and taste more inviting.
- Use parchment if you want easy removal and tidy cutting.
- Check the bars at the 25-minute mark, since ovens and pans vary.
- Do not cut while the bars are hot; the soft center needs time to set.
- For a lighter, more cake-like result, choose angel-food cake mix.
- If using angel-food cake mix, begin checking closer to 20 to 25 minutes.
Angel-food cake mix is a frequently published variation, but it can bake differently from regular white or yellow cake mix. Watch for a lightly golden top and a set center rather than relying on color alone.
For another easy sweet snack with a soft, homemade texture, see this cream cheese cookie recipe when planning your next baking day.
Texture, Flavor, and Serving Ideas
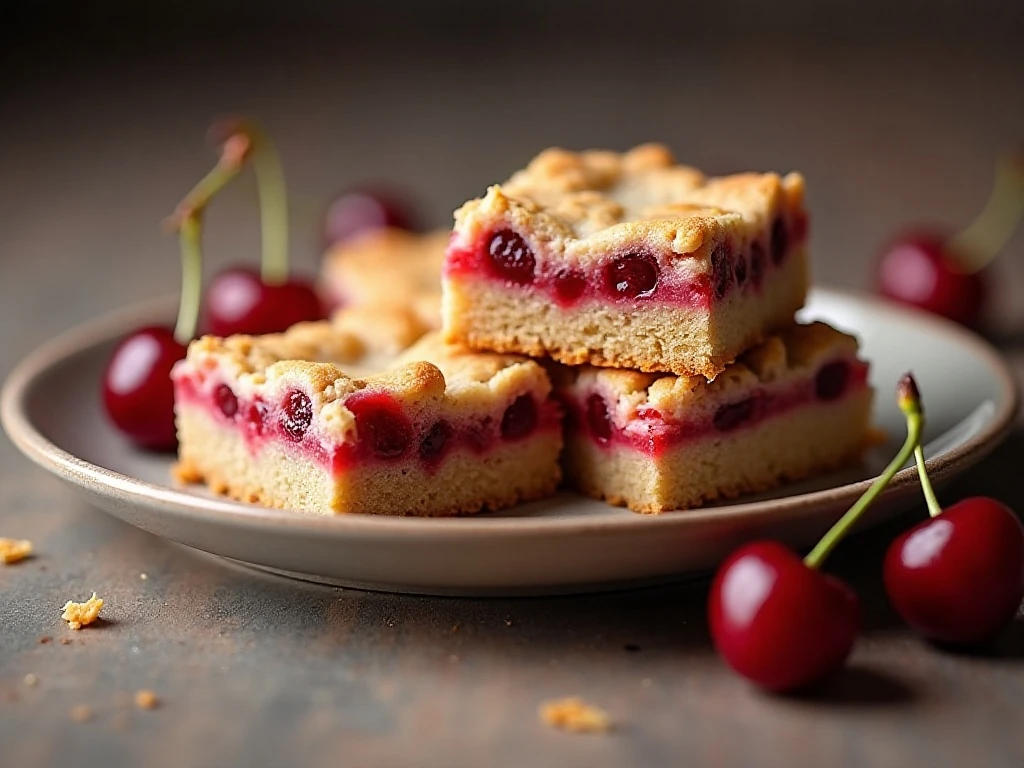
Regular white or yellow cake mix produces bars that are soft, moist, and pleasantly dense, with a gentle chew around the edges. The cherry filling creates a glossy fruit flavor and a sweet-tart contrast that keeps the dessert from tasting flat.
Cut the bars into 16 squares for a standard dessert portion, or make smaller pieces when serving a crowd. The red cherries show beautifully against the golden crumb, so a simple platter is all you need for an attractive presentation.
- Serve at room temperature for the softest texture.
- Enjoy slightly warm with vanilla ice cream.
- Add a dusting of powdered sugar after cooling, if desired.
- Arrange the squares on a cake stand for a casual party dessert.
Because the recipe is already sweet and fruity, it does not need frosting. A clean slice and visible cherry pieces are part of its homemade appeal.
For a savory contrast at a gathering, pair a dessert platter with a colorful Texas caviar appetizer and let guests build a relaxed sweet-and-savory spread.
Storage and Make-Ahead Advice
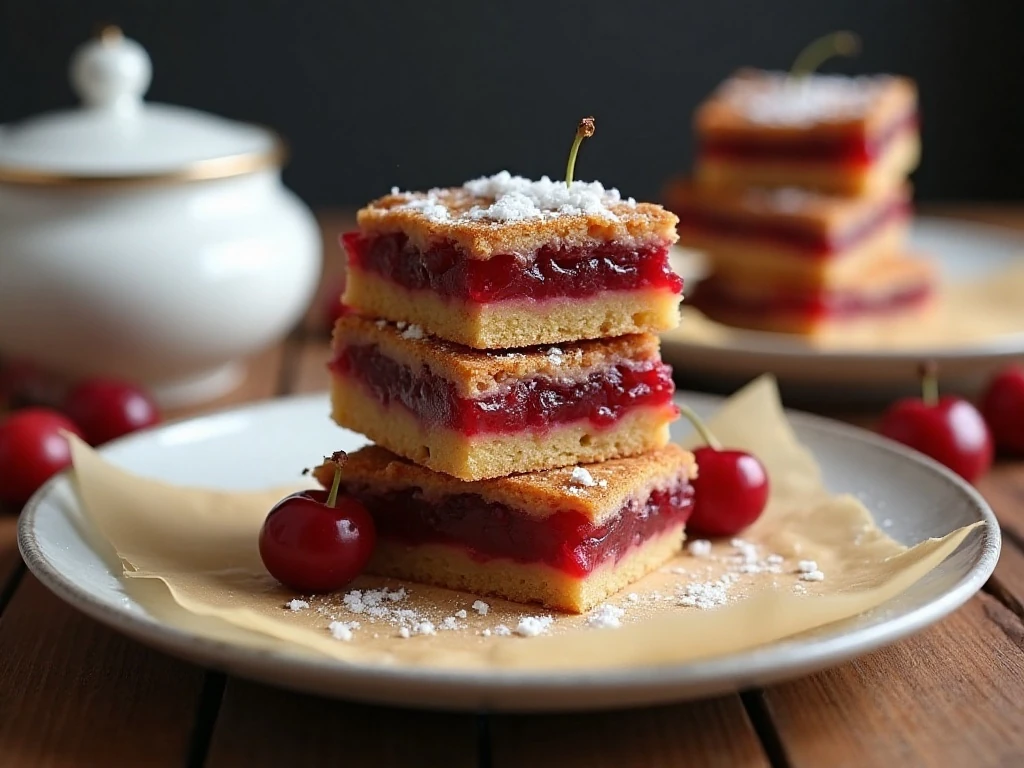
Cool the bars fully before covering them. Keeping them covered prevents the surface from drying and protects the soft cake texture.
For short-term storage, keep the cooled bars in an airtight container at room temperature. If your kitchen is warm or you prefer a firmer texture, refrigerate them and bring them toward room temperature before serving.
These bars are convenient to make ahead because the flavor remains enjoyable after the dessert has had time to rest. Separate layers with parchment if stacking them, especially when the cherry filling is still very soft.
When serving leftovers, allow refrigerated bars to sit out briefly so the crumb softens. You can also enjoy them chilled if you prefer a denser, fudgier bite.
If you are assembling a table of quick treats, these no-bake Frito bars add a crunchy option that requires no oven.
Common Questions About Two-Ingredient Cherry Bars
Can I use any cake mix? White and yellow cake mixes are the most common choices, and angel-food cake mix is a popular variation. Package sizes may vary slightly by brand, so choose a box close to 15.25 to 16.25 ounces.
Should I add eggs, oil, or water? No. Do not add the ingredients normally listed on the cake-mix box. The recipe is designed to use only the dry cake mix and cherry pie filling.
Why is my batter so thick? Thick batter is normal for this recipe. Spread it with a lightly greased spatula or damp hands instead of trying to pour it into the pan.
How do I know when the bars are done? The top should be lightly golden and the center should be set. Bake for approximately 25 to 30 minutes, while checking slightly earlier if using angel-food cake mix.
Can I make another fruit version? This article focuses on the cherry combination provided, but the same style of dessert is often adapted with other canned pie fillings. Keep in mind that moisture and texture can vary with different fillings.
For a family-friendly treat with a different stovetop method, you can also make these easy caramel apples for a fruit-centered dessert spread.

Easy 2-Ingredient Cherry Bars
Ingredients
Method
- Heat the oven to 350°F (175°C). Grease a 9 x 13-inch baking pan with nonstick spray or line it with parchment paper.
- Add the dry cake mix and cherry pie filling to a mixing bowl. Stir just until the ingredients are evenly combined; the mixture will be thick and may contain visible cherry pieces.
- Transfer the batter to the prepared pan. Use a lightly greased spatula or damp hands to spread and press it into an even layer.
- Bake for approximately 25 to 30 minutes, or until the top is lightly golden and the center is set.
- Cool the bars completely, allowing at least 20 to 30 minutes before cutting. Slice into squares and serve.
Notes
Final Thoughts
These easy 2-ingredient cherry bars prove that a memorable dessert does not require a long ingredient list. With one cake mix, one can of cherry pie filling, a 9 x 13-inch pan, and about an hour from start to finish, you can create tender, golden bars filled with bright cherry flavor.
Remember the three details that matter most: leave out the water, eggs, and oil; spread the thick batter evenly; and allow the bars to cool for at least 20 to 30 minutes before cutting. Once sliced, they are ready for coffee breaks, potlucks, celebrations, or a simple sweet bite at home.
Keep this recipe handy whenever you want an uncomplicated bake with dependable results. The short ingredient list, quick preparation, and soft cherry-filled texture make these bars a dessert you will be happy to bake again.