This classic homemade whoopie pie recipe makes about 12 to 14 soft, chewy chocolate sandwiches filled with sweet marshmallow buttercream. The tender cake-like cookies are made with cocoa, buttermilk, and vanilla, then baked at 350°F for 10 to 12 minutes per batch before being paired with a fluffy filling.
Every bite has deep chocolate flavor, a gentle tang from buttermilk, and a creamy marshmallow center that softens the cakes as the pies rest. Follow the simple scoop, bake, cool, and fill method below for bakery-style whoopie pies that are especially delicious after several hours in an airtight container.
Jump to RecipeWhy You’ll Love This Recipe
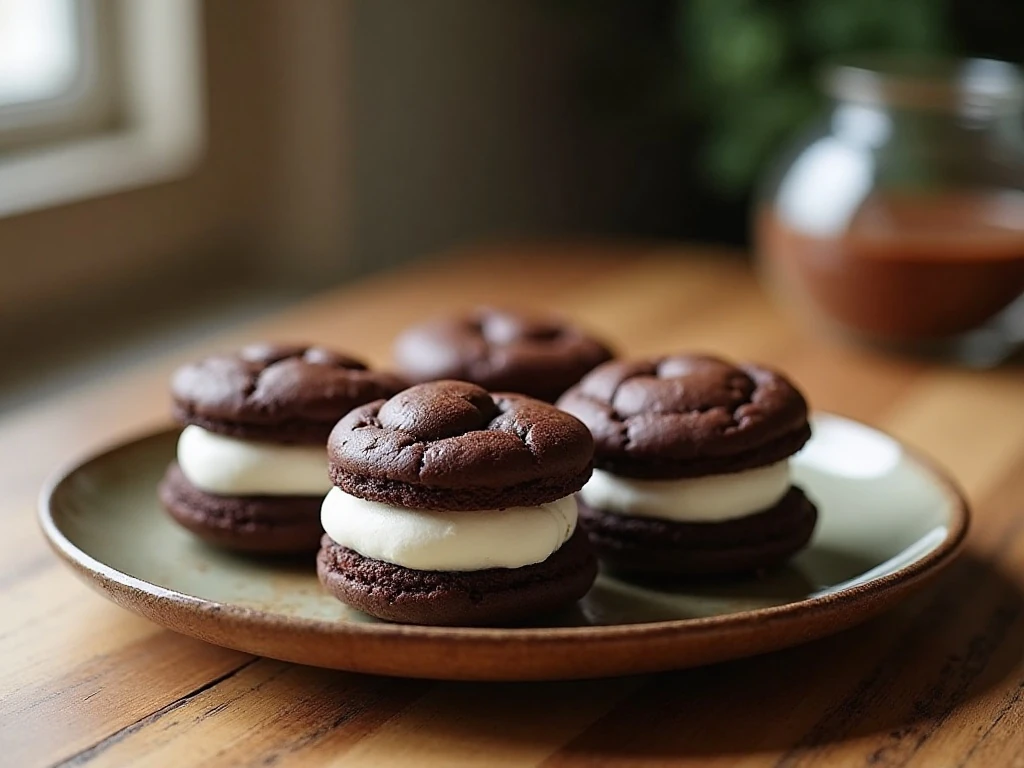
Whoopie pies are wonderfully nostalgic, but they are also practical to make. Instead of rolling and cutting dough, you scoop a thick chocolate batter directly onto parchment, bake it in small rounds, and sandwich the cooled cakes with a sweet, fluffy filling.
The cakes are softer than ordinary cookies and sturdier than cupcakes, giving them that signature chewy, cake-like bite. Buttermilk supplies a slight tang while helping create a tender crumb, and unsweetened cocoa provides a rich chocolate base without making the dessert overly sweet.
The marshmallow filling is light, creamy, and easy to prepare in one bowl. Vegetable shortening helps it hold its shape, while butter and vanilla give it a pleasantly rich flavor.
If chocolate desserts are a favorite in your home, you may also enjoy this creamy chocolate pudding pie for another classic finish to a family meal.
Ingredients You’ll Need
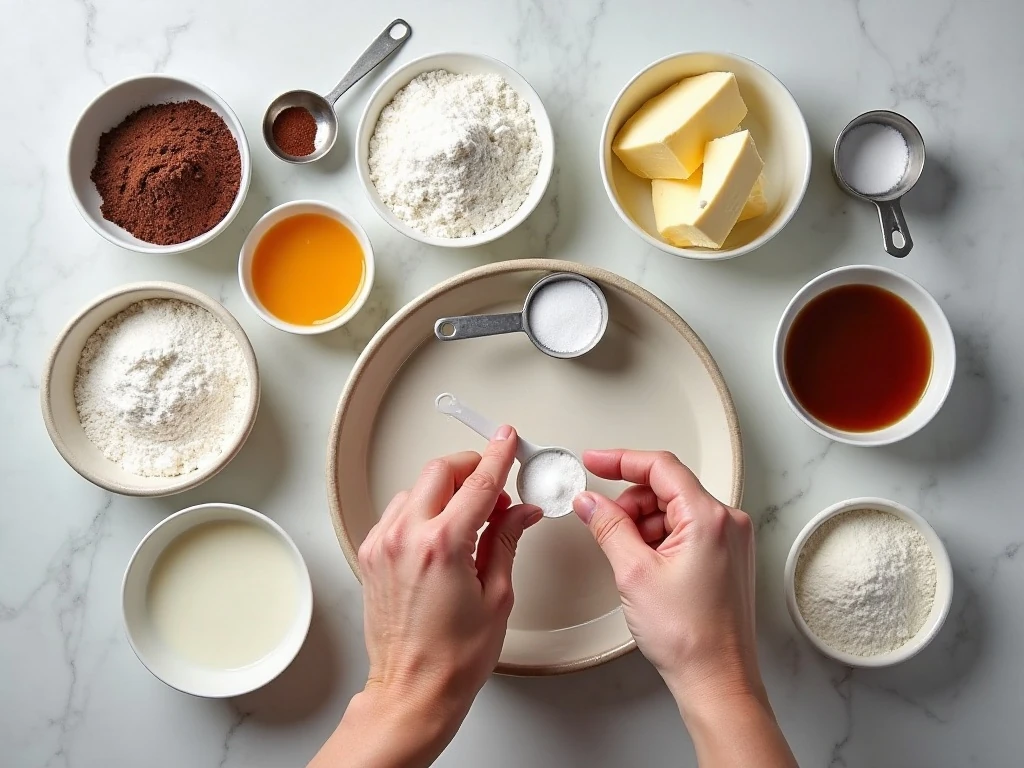
Gather the ingredients before starting, and allow the butter and egg to come to room temperature. Soft butter blends more evenly with sugar, and a room-temperature egg helps the batter mix without leaving cold streaks.
- All-purpose flour: Provides structure while keeping the cakes tender.
- Unsweetened cocoa powder: Brings the chocolate flavor and dark color.
- Baking soda: Helps the cakes rise and keeps them light.
- Buttermilk: Adds traditional tang and supports a soft texture.
- Butter and sugar: Cream together to create a light foundation for the batter.
- Marshmallow creme: Makes the filling fluffy and distinctly classic.
- Shortening: Gives the filling stability and a pale appearance.
Use the cocoa powder specified by the recipe when possible. Natural and Dutch-process cocoa can behave differently in some baked goods, although many modern whoopie pie formulas work well with either type.
How to Make It Step-by-Step
Step 1: Heat the oven to 350°F (175°C), then line one or more baking sheets with parchment paper. Parchment prevents sticking and makes it easier to lift the delicate cakes after baking.
Step 2: Whisk the flour, cocoa powder, baking soda, and salt together in a bowl. This distributes the leavening and salt evenly, so you will not need to overmix the batter later.
Step 3: Place the softened butter and granulated sugar in a large mixing bowl. Beat for about 2 to 3 minutes, until the mixture looks pale and fluffy rather than dense.
Step 4: Beat in the room-temperature egg and vanilla extract. Scrape down the sides of the bowl so the egg is fully incorporated before adding the remaining ingredients.
Step 5: Add the dry ingredients alternately with the buttermilk, beginning and ending with the dry mixture. Mix only until combined; overmixing can make the cakes less tender.
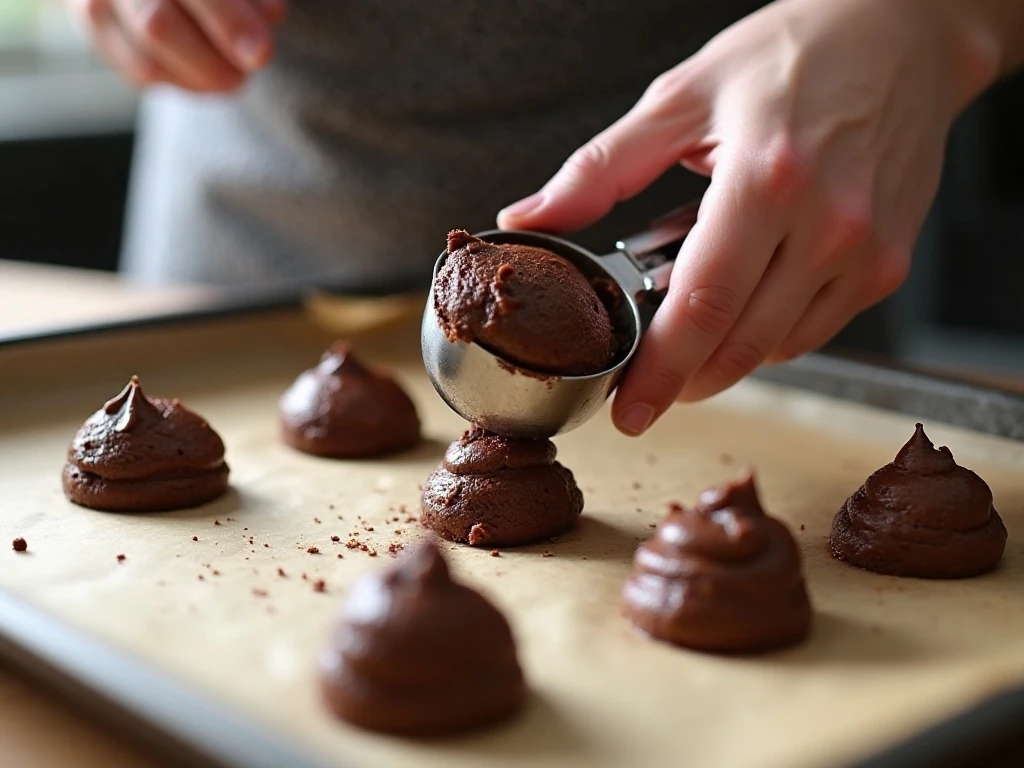
Step 6: Check the batter before scooping. It should be thick enough to mound slightly on the baking sheet, not thin enough to spread into a flat cookie.
Step 7: Drop rounded tablespoons of batter onto the lined sheets, leaving about 2 inches between portions. For consistent results, use a 1 1/2-tablespoon cookie scoop and keep the portions as uniform as possible.
Step 8: Bake each batch for 10 to 12 minutes. The tops should spring back lightly when touched, and the centers should show no wet batter; remove them promptly so they stay soft.
Step 9: Let the cakes cool on the baking sheet for about 5 minutes, then move them to a wire rack. They must be completely cool before filling, since warm cakes can melt the marshmallow mixture and cause the sandwiches to slide.
Step 10: Make the filling by beating the softened butter and shortening until smooth. Add the confectioners’ sugar, marshmallow creme, vanilla, and salt, then beat until fluffy, scraping the bowl whenever needed.
Step 11: Turn half of the cooled cakes flat-side up and spread or pipe filling over them. Place the remaining cakes on top and press gently until the filling reaches near the edges without squeezing it out.
Step 12: Rest the assembled pies for several hours before serving. This waiting period allows the filling to soften the chocolate cakes slightly, creating the traditional soft texture.
Pro Tips for Soft, Even Whoopie Pies
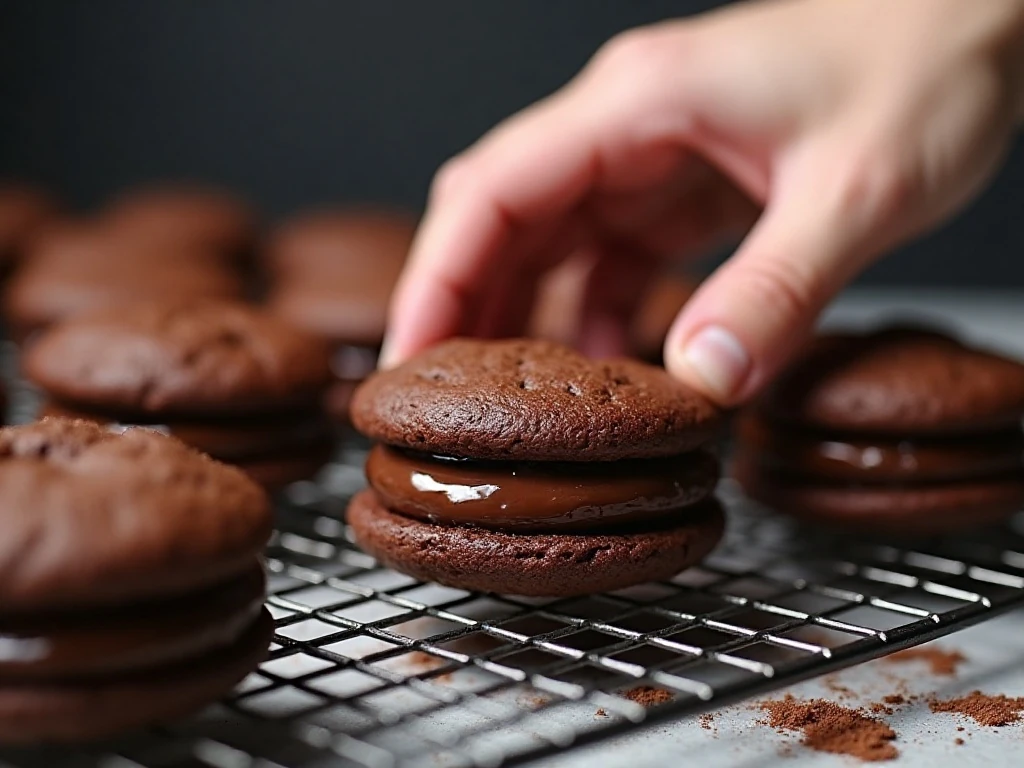
A cookie scoop is one of the best tools for this recipe because matching portions bake at the same speed and create even sandwiches. If you use a spoon, try to measure each rounded tablespoon carefully and keep the scoops similar in size.
Do not flatten the batter after placing it on the baking sheet. The thick batter should mound slightly, and the cakes will spread and puff as they bake.
Watch the first batch closely because oven temperatures vary. The correct visual cue is a lightly springy top with no wet center, not a deeply browned edge.
For the smoothest filling, use softened butter rather than melted butter. Beat the butter and shortening before adding the sugar, then continue beating after all ingredients are added until the mixture looks airy and spreadable.
There are a few traditional variations worth knowing. Some formulas use more shortening in the filling for extra stability, while traditional Maine-style pies may use a cooked flour-and-milk filling instead of marshmallow creme. This version stays with marshmallow creme for an easy, familiar filling.
For a holiday dessert table, pair these chocolate treats with a glass of homemade eggnog. The creamy drink and chocolate-marshmallow combination make a particularly cozy seasonal serving.
Serving and Pairing Ideas
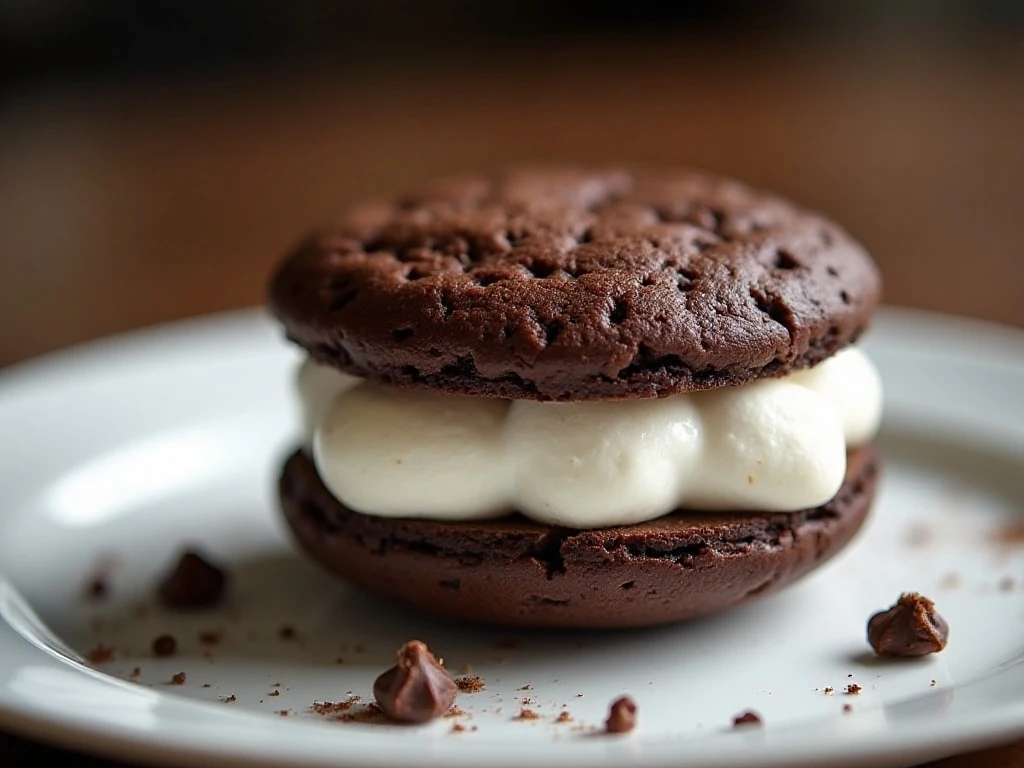
Serve whoopie pies at room temperature so the filling is creamy and the cakes have their softest bite. They are satisfying on their own, but a dusting of confectioners’ sugar or a few chocolate curls can make the presentation feel special.
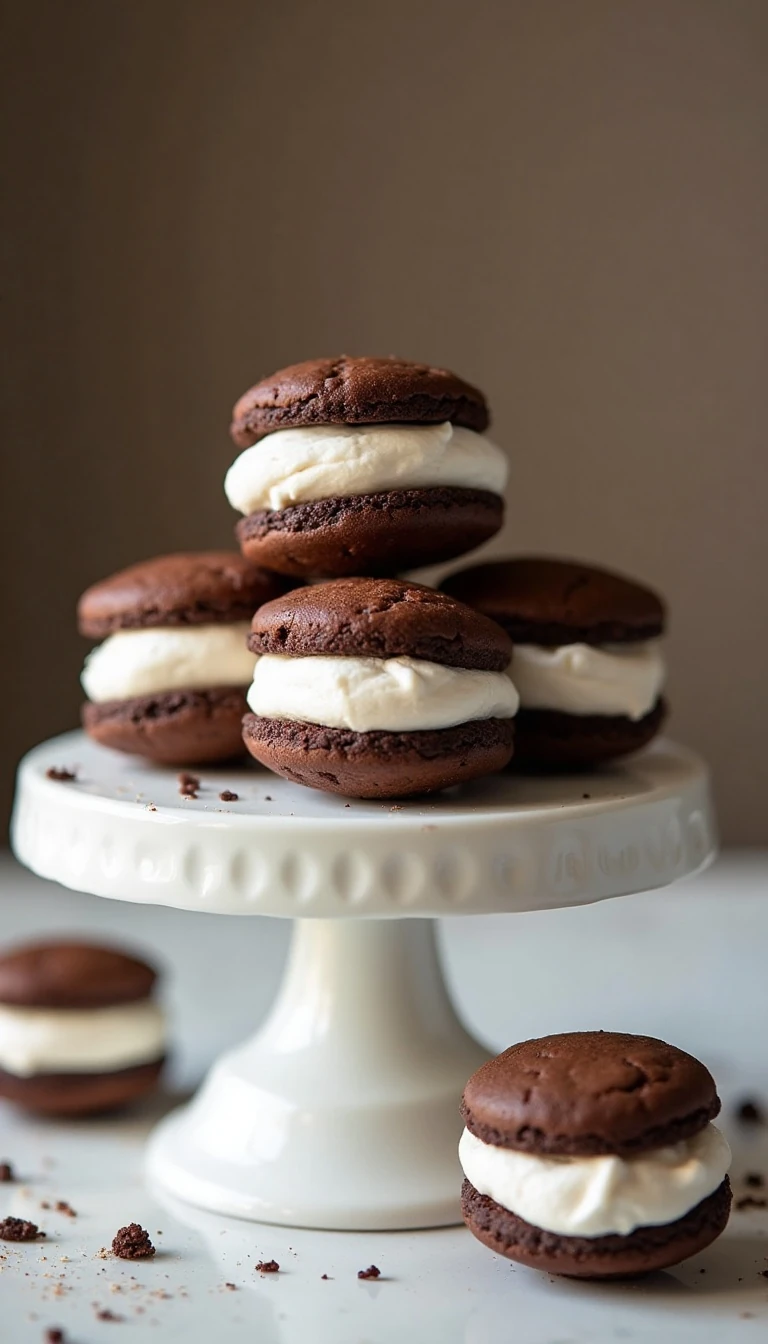
For parties, arrange the pies on a platter with the rounded tops facing upward. A simple white plate shows off the dark cocoa cakes, while small parchment squares make individual portions easy to pick up.
These pies also fit nicely into a dessert buffet with crisp cookies and fruit-based sweets. If you are planning a larger meal, a bowl of fresh homemade coleslaw can provide a bright, tangy side before dessert.
Storage and Make-Ahead Advice
Store filled whoopie pies in an airtight container at room temperature for up to 2 days. This method keeps the cakes soft and gives the filling time to blend into the crumb.
Refrigeration is possible if your kitchen is warm or if you need to keep the pies longer, but the cold temperature may firm the cakes. Let refrigerated pies sit at room temperature briefly before serving for a softer bite.
You can bake the cakes ahead, cool them fully, and fill them later. Keep the unfrosted cakes covered so they do not dry out, and do not assemble them until the filling and cakes are ready.
For more classic homemade baking inspiration, keep this guide to a buttery flaky pie crust nearby. A dependable baking foundation is useful for pies, tarts, and many family dessert projects.
Troubleshooting Common Problems
If the cakes spread too much, the batter may have been too warm, the butter may have been overly soft, or the flour may have been measured lightly. The finished batter should mound slightly when scooped, so check that consistency before baking the full batch.
If the cakes seem dry, they were likely baked too long. Begin checking at 10 minutes and rely on the spring-back test rather than waiting for dark, firm edges.
If the filling slides out, the cakes may not have cooled completely or too much filling may have been added. Chill the filling briefly if needed, then pipe a moderate amount onto the flat side of each cake.
If you enjoy a firmer, spiced cookie alongside these chocolate pies, try our chewy ginger cookies. Their warm spice flavor offers a pleasant contrast to the soft cocoa cakes.
Classic Homemade Whoopie Pie Recipe
Ingredients
Method
- Heat the oven to 350°F (175°C) and line baking sheets with parchment paper.
- Whisk together the flour, cocoa powder, baking soda, and salt in a medium bowl.
- Beat the softened butter and granulated sugar for 2 to 3 minutes, until light and fluffy. Beat in the room-temperature egg and vanilla extract.
- Add the dry mixture alternately with the buttermilk, beginning and ending with the dry ingredients. Mix only until the batter is combined.
- Drop rounded tablespoons of batter onto the prepared sheets, leaving about 2 inches between portions. A 1 1/2-tablespoon cookie scoop makes evenly sized cakes.
- Bake for 10 to 12 minutes, until the tops spring back lightly when touched and no wet batter remains in the centers. Do not overbake.
- Cool the cakes on the baking sheets for about 5 minutes, then transfer them to a rack and cool completely.
- Beat the butter and shortening until smooth. Add the confectioners’ sugar, marshmallow creme, vanilla, and salt, then beat until fluffy, scraping the bowl as needed.
- Spread or pipe filling onto the flat side of half the cooled cakes. Top with the remaining cakes and press gently to form sandwiches.
- Let the filled whoopie pies rest for several hours before serving so the filling can soften the cakes slightly.
Notes
Final Thoughts
This classic homemade whoopie pie recipe delivers everything that makes the dessert memorable: soft chocolate cakes, a slight buttermilk tang, and a sweet marshmallow filling that becomes even better after resting. The process is straightforward, and careful scooping plus complete cooling are the keys to neat, tender sandwiches.
Make a batch for birthdays, bake sales, holidays, or an ordinary afternoon that deserves something special. Once assembled, let the pies rest for several hours, then serve them at room temperature for the softest, chewiest texture.
Keep the recipe close, because these homemade treats are easy to repeat and simple to share. One bite of the creamy center and rich chocolate cake is all it takes to understand why whoopie pies remain a beloved classic.