This easy Sweet and Salty M&M Fudge Recipe combines milk chocolate chips, sweetened condensed milk, creamy peanut butter, colorful M&M candies, crunchy mini pretzels, and flaky sea salt in one irresistibly simple candy. The mixture takes about 10 to 15 minutes to prepare, needs only 2 to 4 minutes of microwave cooking, and chills for at least 2 hours before cutting.
Every bite delivers a smooth, rich chocolate-peanut butter base with pops of candy crunch, salty pretzel pieces, and a delicate finish of sea salt. It is a wonderful holiday treat, party sweet, edible gift, or make-ahead dessert when you want something festive without turning on the oven.
Jump to RecipeWhy You’ll Love This Recipe
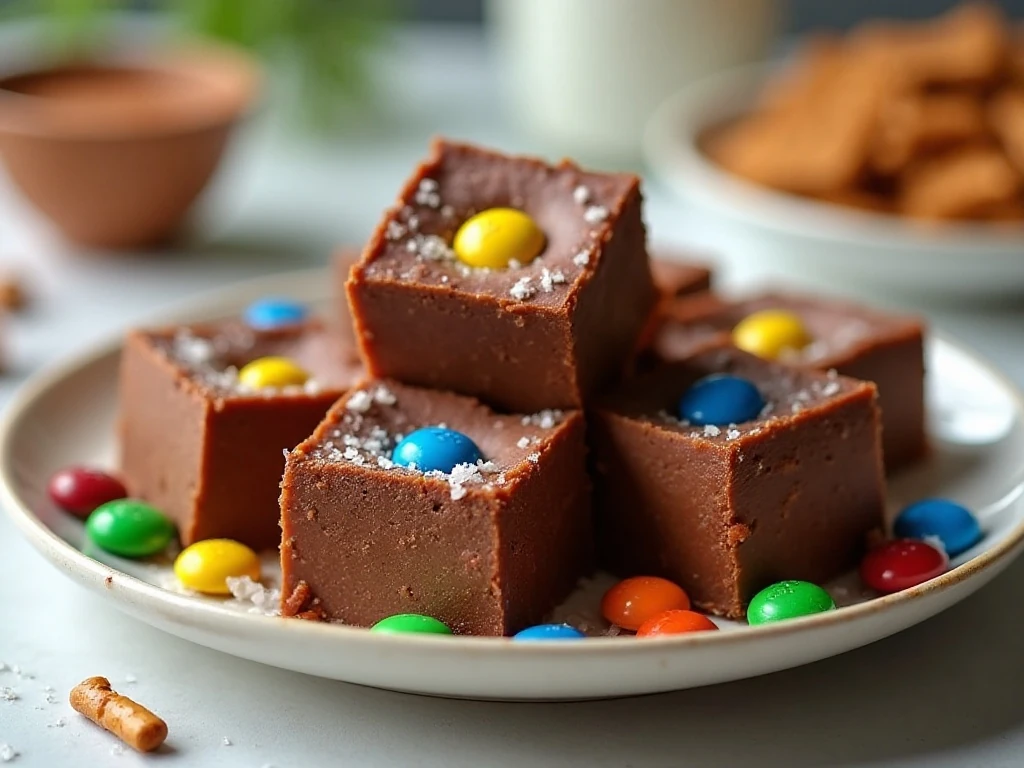
This fudge is designed for busy bakers and candy lovers who want a dependable treat with very little preparation. There is no candy thermometer, stovetop boiling, or complicated timing required; the microwave gently brings the chocolate, condensed milk, and peanut butter together.
The texture is soft enough to bite cleanly but firm enough to hold its square shape. M&M candies add bright color and a little shell-like crunch, while pretzels bring a savory note that keeps the sweetness from becoming overwhelming.
It is also an excellent recipe for sharing. Cut the fudge into small pieces for a dessert tray, tuck squares into a holiday tin, or arrange them in a lined box as a homemade gift.
If you enjoy the combination of chocolate and peanut butter in baked treats, you may also like these peanut butter fudge brownies for another rich dessert idea.
Ingredients You’ll Need
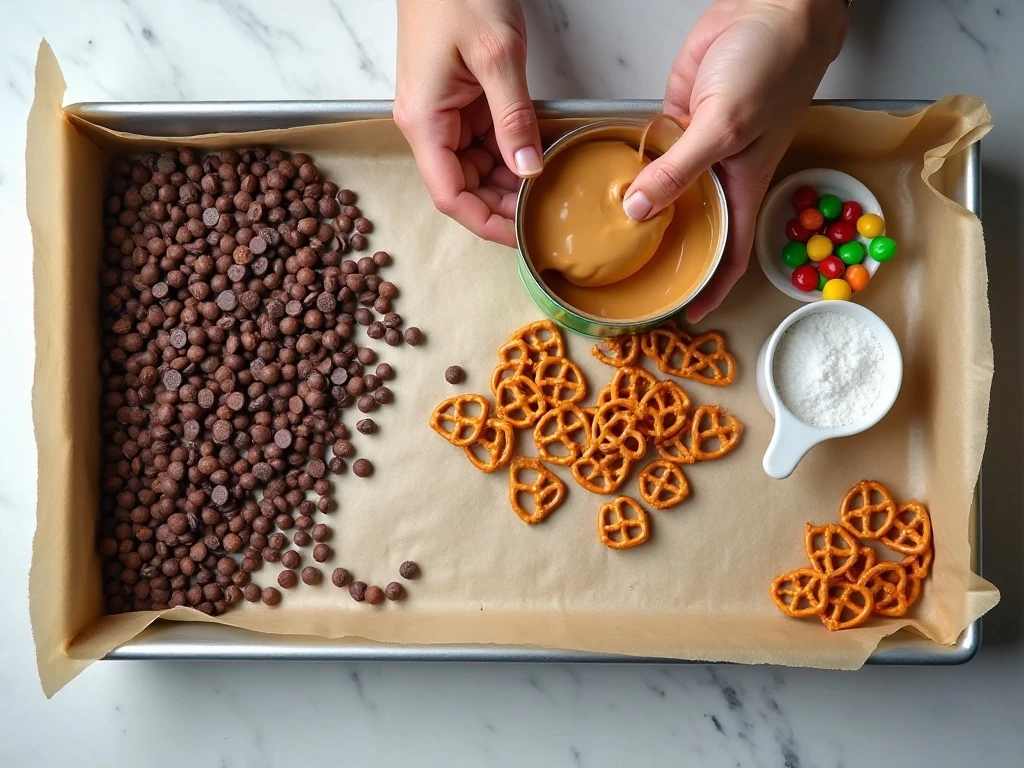
The ingredient list is short, but each item contributes an important part of the finished candy. Use the quantities below for one 8-inch square pan.
- 3 cups milk chocolate chips: These create the smooth chocolate foundation. Choose a brand that melts evenly.
- One 14-ounce can sweetened condensed milk: This adds sweetness and moisture while helping the fudge set into a creamy texture.
- 1/2 cup creamy peanut butter: Creamy peanut butter blends easily into the warm chocolate and gives the candy its nutty flavor.
- 1 cup M&M candies, divided: Half goes inside the fudge and half decorates the top.
- 1 cup mini pretzels, lightly broken and divided: Keep some pieces fairly chunky so their crunch remains noticeable.
- Flaky sea salt: Sprinkle it over the top for a delicate salty finish.
You will also need an 8-inch square baking pan, parchment paper or aluminum foil, a large microwave-safe bowl, a sturdy spatula, and a sharp knife. Lining the pan is especially helpful because it lets you lift out the entire chilled slab before cutting.
For another easy dessert to serve beside this candy, try our no-bake pineapple pie. Its cool, creamy texture makes a pleasant contrast to dense chocolate fudge.
How to Make It Step-by-Step

Step 1: Line an 8-inch square baking pan with parchment paper or aluminum foil, leaving a generous overhang on two sides. Press the lining into the corners as neatly as possible, since those corners will shape the fudge and the overhang will act as handles later.
Step 2: Place the milk chocolate chips, sweetened condensed milk, and creamy peanut butter in a large microwave-safe bowl. Microwave the bowl on high for 1 minute, then remove it carefully and stir thoroughly so the warmer chocolate at the bottom is distributed through the mixture.
Step 3: Return the bowl to the microwave and continue heating in 20- to 30-second intervals. Stir after every interval, stopping as soon as the mixture becomes smooth, thick, and glossy; chocolate often finishes melting while you stir, so extra heating is unnecessary.
Step 4: Add approximately half of the M&M candies and half of the lightly broken mini pretzels to the warm chocolate mixture. Fold gently but thoroughly so the pieces are spread throughout without crushing the candies or turning the pretzels into crumbs.
Step 5: Scrape the fudge into the prepared pan and spread it evenly from corner to corner with a spatula. Press the remaining M&M candies and pretzels lightly over the top while the surface is still soft, then sprinkle with flaky sea salt.
Step 6: Refrigerate the pan for at least 2 hours, or until the fudge feels firm in the center. Lift the slab out by the parchment or foil overhang, peel away the lining, and cut the candy into small squares.
Pro Tips for Smooth, Creamy Fudge
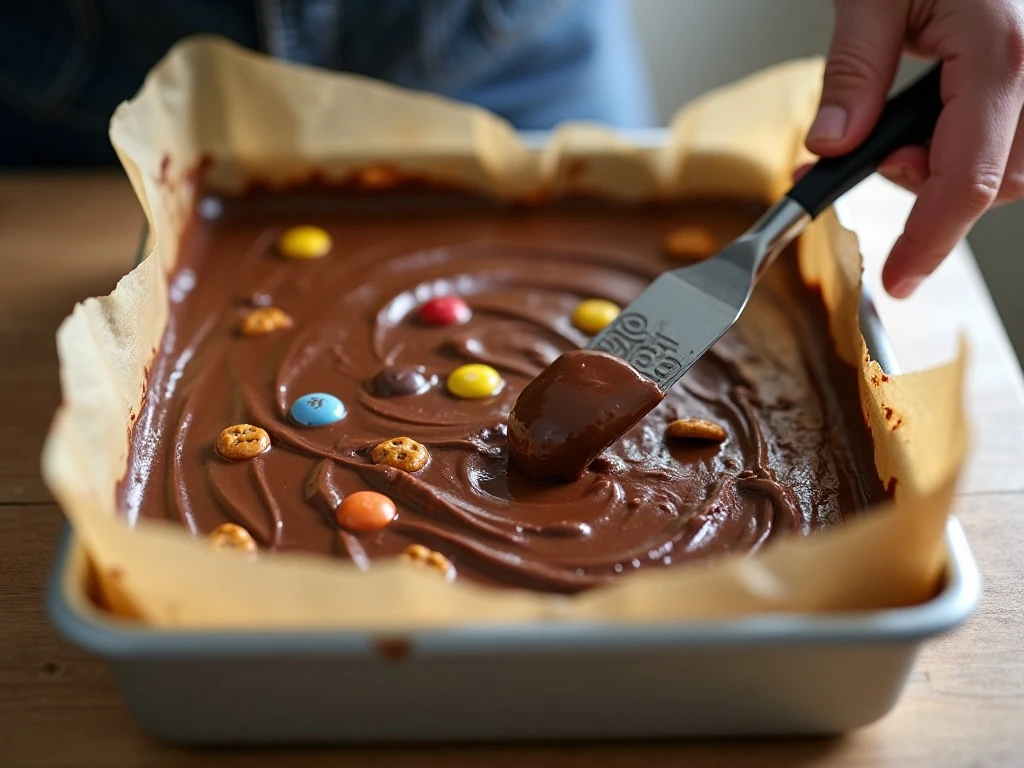
The most important technique is gentle microwave heating. Chocolate can look solid even when it is already hot inside, so thorough stirring between intervals is just as important as the microwave time itself.
- Use short intervals: Once the first minute is complete, use only 20- to 30-second bursts. This gives you control and reduces the chance of greasy or grainy fudge.
- Do not boil the mixture: The goal is simply to melt and combine the ingredients. Boiling can affect the texture and make the finished candy less creamy.
- Reserve the toppings: Mixing some candies and pretzels into the center and saving the rest for the surface makes every piece colorful and crunchy.
- Break pretzels lightly: A mixture of small pieces and a few larger sections creates better texture than finely crushed pretzels.
- Let the fudge set fully: Cutting too early can produce soft, uneven squares. Give the candy the full 2 hours of chilling time, or longer if the center still feels loose.
- Warm the knife: For cleaner cuts, run a large sharp knife under hot water, dry it completely, and make one cut. Repeat the warming and drying process before the next cut.
For the prettiest presentation, place a few extra M&Ms in contrasting colors across the top before chilling. A light scattering of flaky salt is enough; the pretzels and candies already provide plenty of flavor.
When planning a larger dessert table, our pineapple lush cake is another make-ahead option that can be prepared alongside this candy.
Serving Ideas and Variations
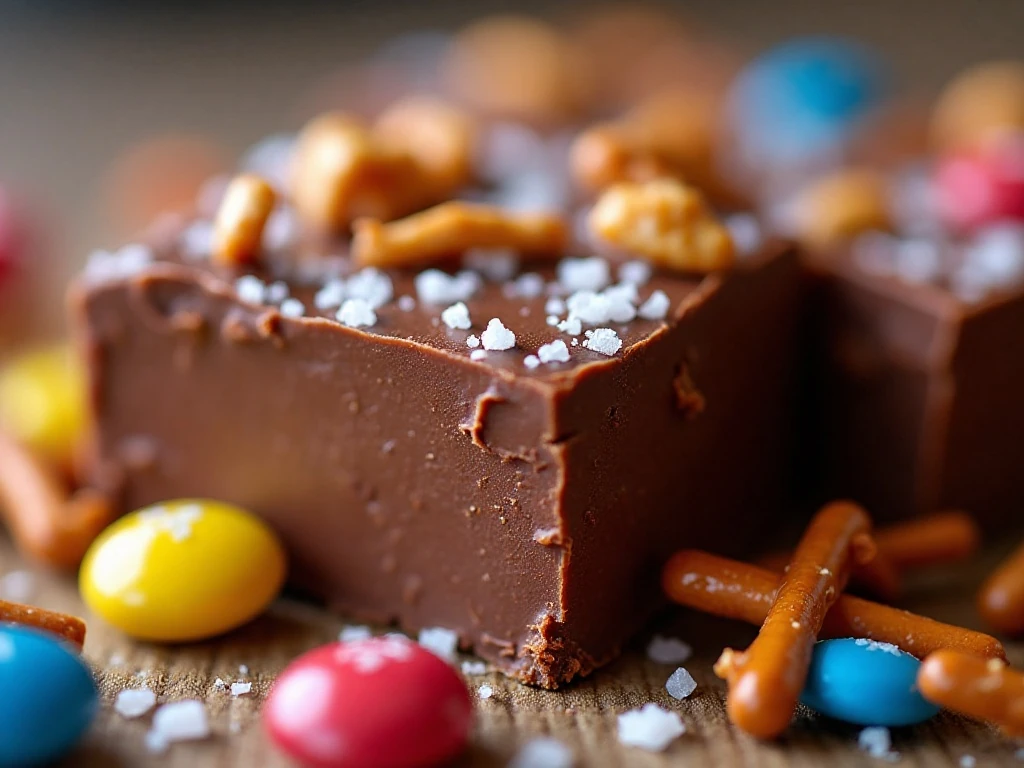
Serve the fudge chilled, slightly cool, or at cool room temperature. Chilled pieces are firmer and especially neat for gift boxes, while room-temperature pieces feel softer and creamier when bitten.
For parties, arrange the squares on a low platter and place a few whole pretzels around the edges to signal the sweet-and-salty flavor. The colorful candy topping makes this fudge suitable for birthdays, school celebrations, holiday gatherings, and casual movie nights.
You can also make the squares smaller for a candy buffet. Because the fudge is rich, petite pieces are often enough, and the smaller size lets guests sample it alongside cookies and other desserts.
Keep the core formula unchanged for the most reliable set. You can vary the color of the M&Ms for different occasions, but keep the total amount at 1 cup and continue dividing it between the mixture and the topping.
If you are assembling a full family meal before dessert, recipes such as this easy skillet lasagna can handle the savory centerpiece while the fudge chills in the refrigerator.
Storage and Make-Ahead Advice
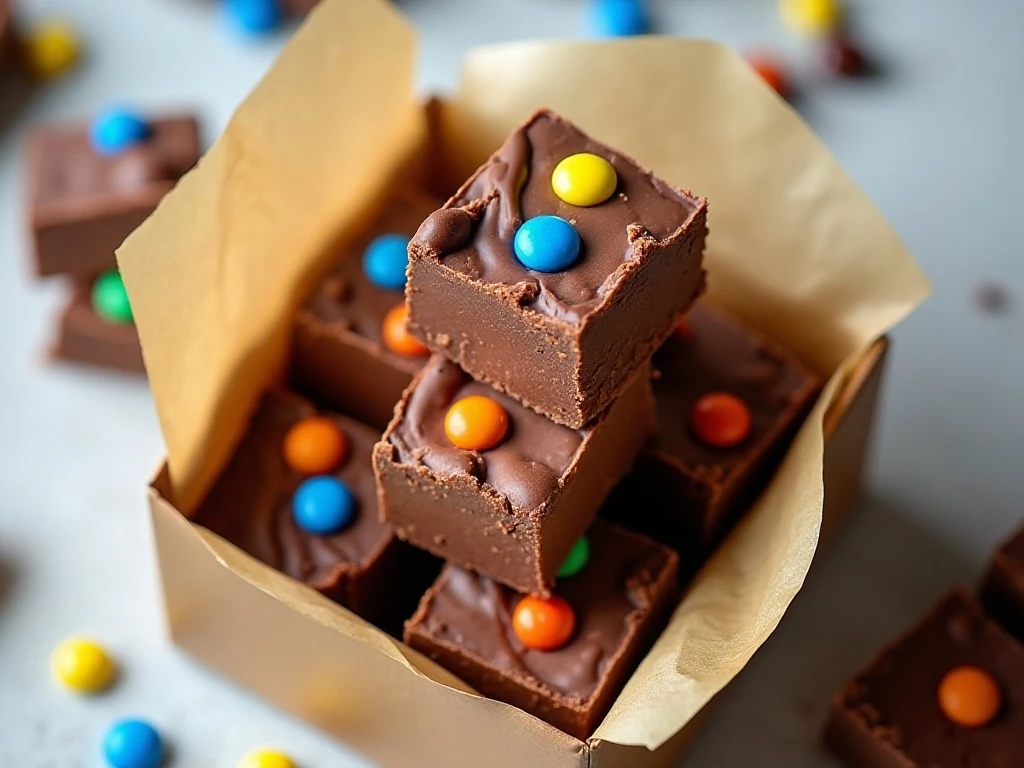
Store finished fudge in an airtight container at cool room temperature for several days. If your kitchen is warm or you prefer a firmer texture, refrigerate it for up to about 2 weeks.
Separate layers with wax paper or parchment so the squares do not stick together. Keeping the container tightly sealed also protects the pretzels from absorbing moisture and losing their crunch.
This recipe is ideal for making ahead because the fudge needs at least 2 hours to firm. Prepare it the day before serving, chill it overnight, and cut it when you are ready to arrange the pieces on a platter or package them as gifts.
When serving refrigerated fudge, allow it to sit briefly if you want the center to soften slightly. Avoid leaving it uncovered for long periods, especially in a humid room, because the pretzels can become less crisp.
Troubleshooting Common Problems
If the mixture seems thick while you are stirring, continue working it with the spatula before adding more microwave time. Residual heat frequently softens the remaining chips, and extra heating can do more harm than good.
If the top looks uneven, use the back of a lightly warmed spatula to smooth it before adding the reserved candies and pretzels. Do not press the toppings too deeply, or they may disappear into the fudge.
If the fudge is difficult to cut, chill it longer and use the warmed, dried knife method. Small squares are more forgiving than large pieces and make the candy easier to serve.
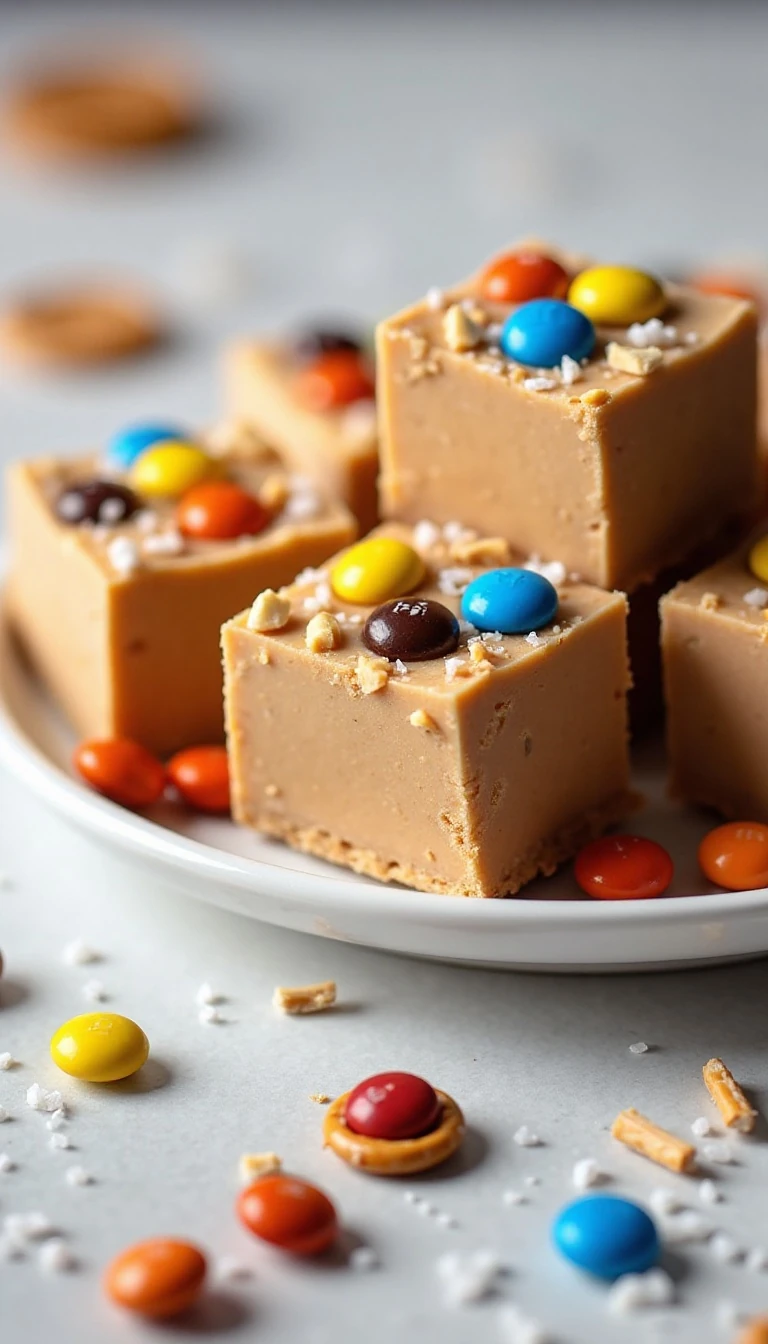
Easy Sweet and Salty M&M Fudge
Ingredients
Method
- Line an 8-inch square baking pan with parchment paper or aluminum foil, leaving enough overhang on two sides to lift out the chilled fudge.
- Add the milk chocolate chips, sweetened condensed milk, and creamy peanut butter to a large microwave-safe bowl. Microwave on high for 1 minute, then stir thoroughly.
- Continue microwaving in 20- to 30-second intervals, stirring after every interval, until the mixture is smooth and glossy. Do not boil or overheat the chocolate.
- Stir approximately half of the M&M candies and half of the lightly broken mini pretzels into the warm fudge mixture.
- Spread the mixture evenly in the prepared pan. Press the remaining M&M candies and pretzels lightly over the surface, then sprinkle with flaky sea salt.
- Refrigerate the pan for at least 2 hours, or until the fudge is firm. Lift it out using the parchment or foil overhang and cut it into small squares.
Notes
Final Thoughts
This Easy Sweet and Salty M&M Fudge Recipe proves that a memorable candy treat can come together with a handful of familiar ingredients and a few careful microwave intervals. The creamy chocolate-peanut butter base, colorful M&Ms, crisp pretzels, and flaky sea salt create a balanced bite with plenty of texture.
Line the pan well, stir patiently, reserve toppings for the surface, and allow the fudge to chill until firm. Once cut into small squares, it is ready for dessert plates, holiday tins, party tables, or any moment that calls for a quick homemade sweet.
For a savory breakfast idea to enjoy before planning your dessert spread, visit our cheesy omelet recipe. Then finish the day with a square of this colorful, crunchy fudge.